Share a password with one person
Give one person access to one login by email, choose what they may do, and set an end date.
- 6 steps
- About 4 minutes
Before you start
- A login saved in your own vault.
- The email address the other person uses for their HashThat account.
- The free plan shares as view only. Passwords Pro adds the other permissions and the start and end dates.
Step 1: Find the login and click Share
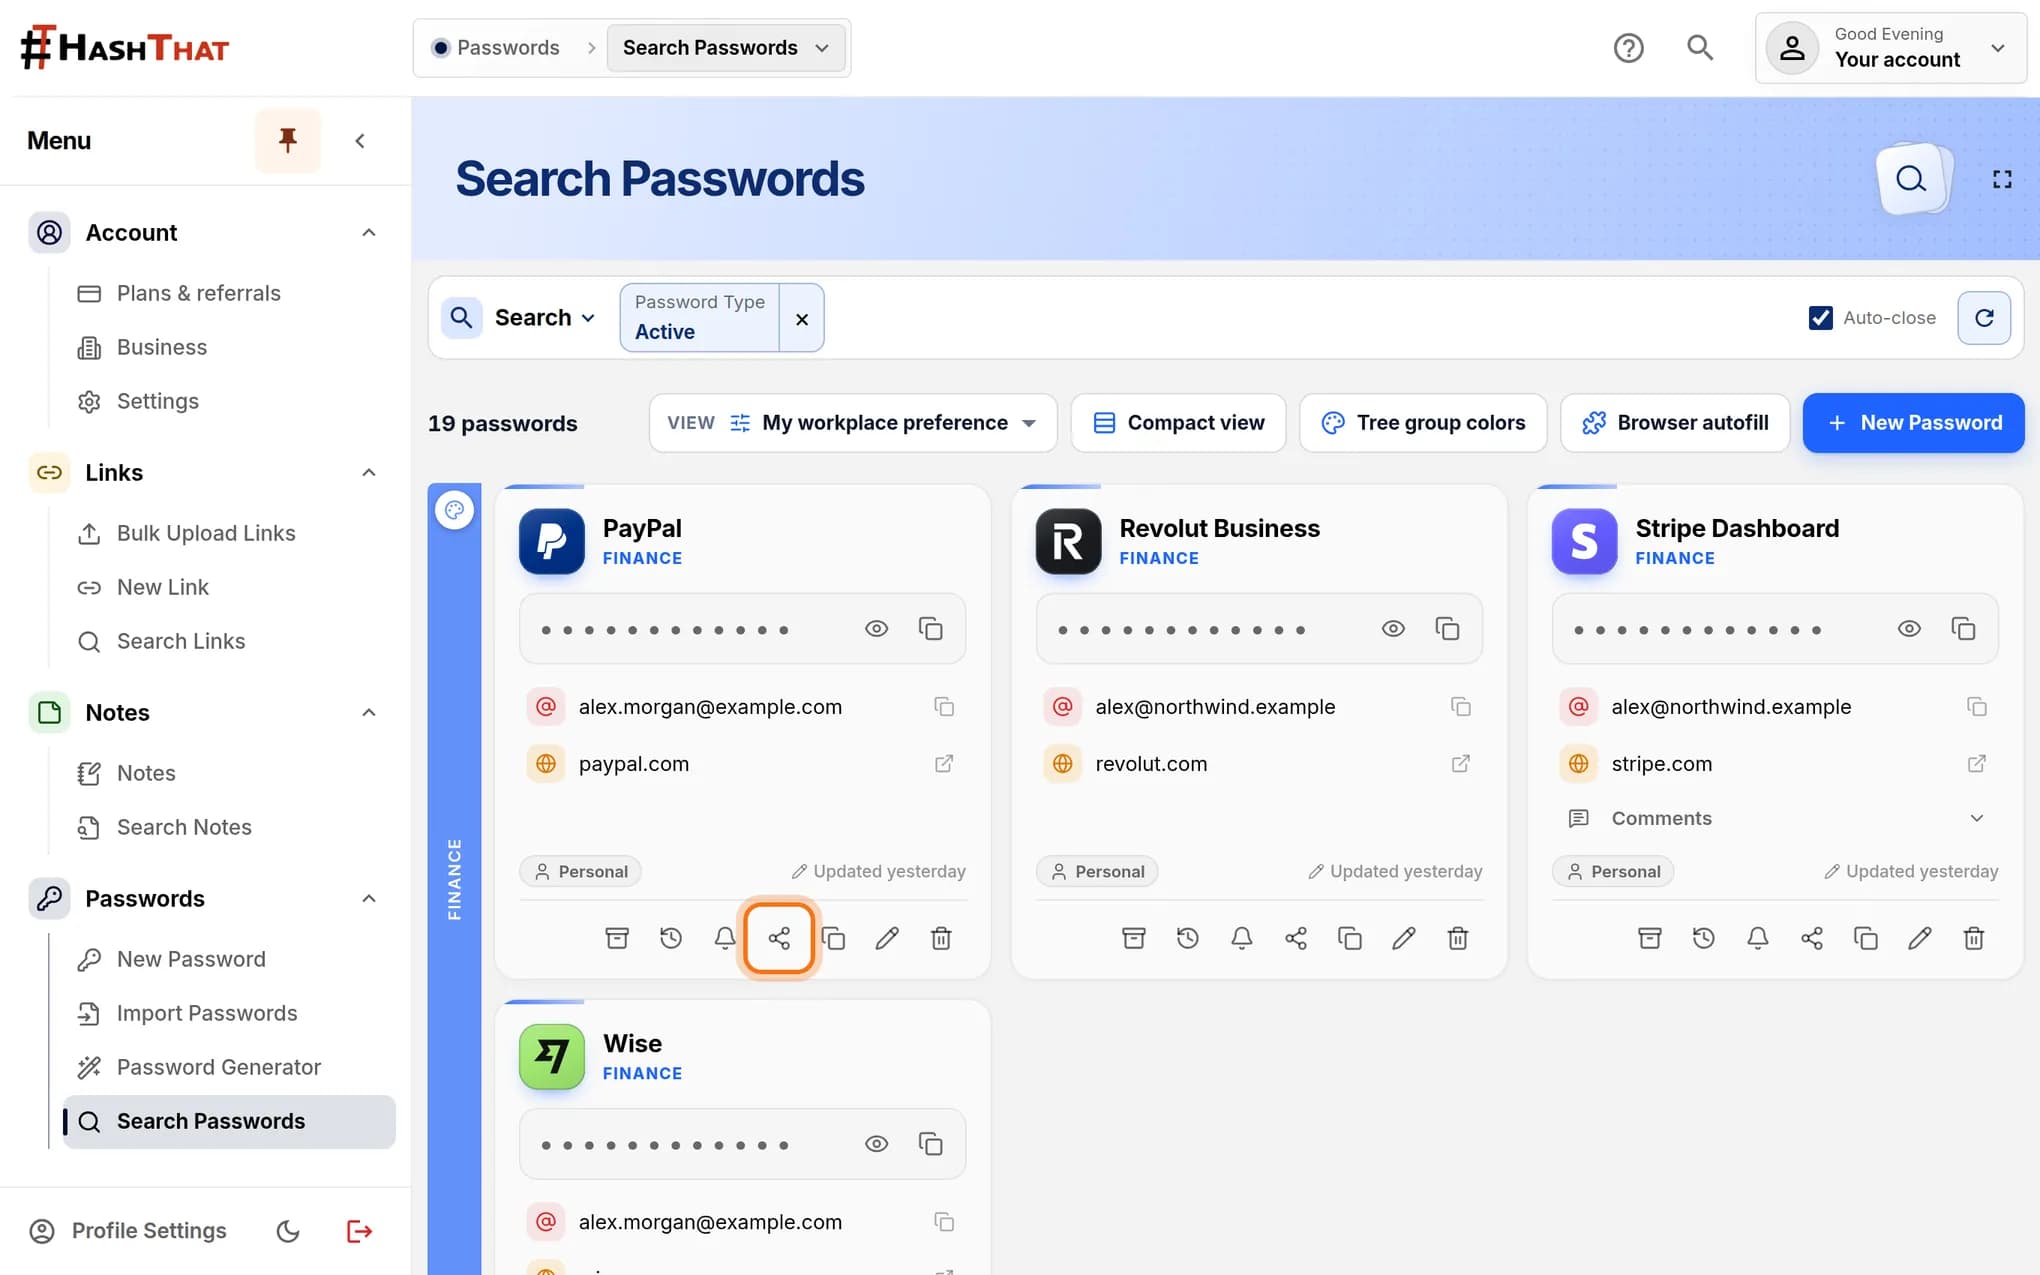
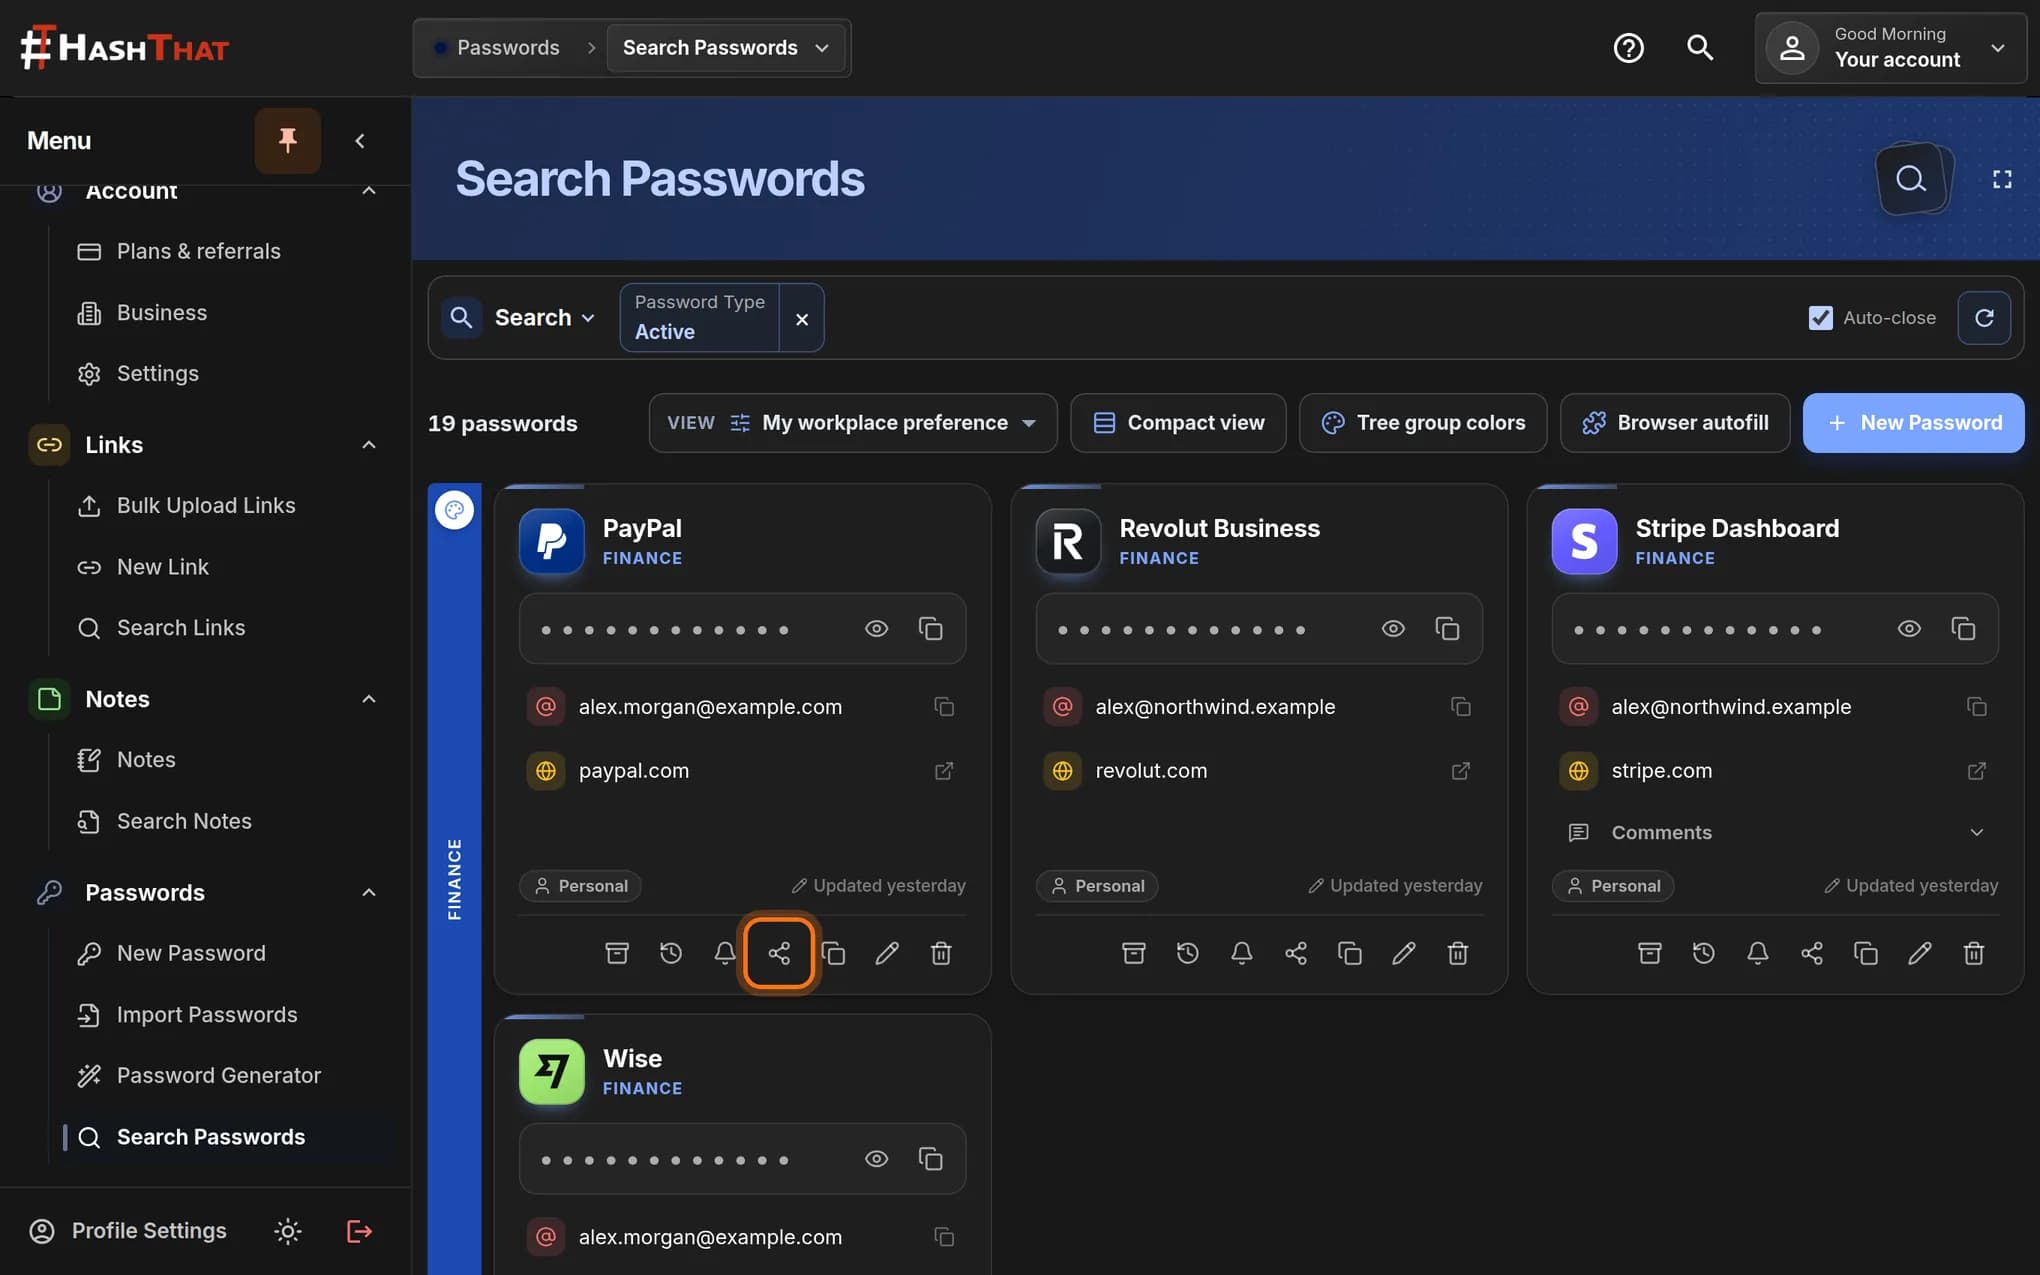
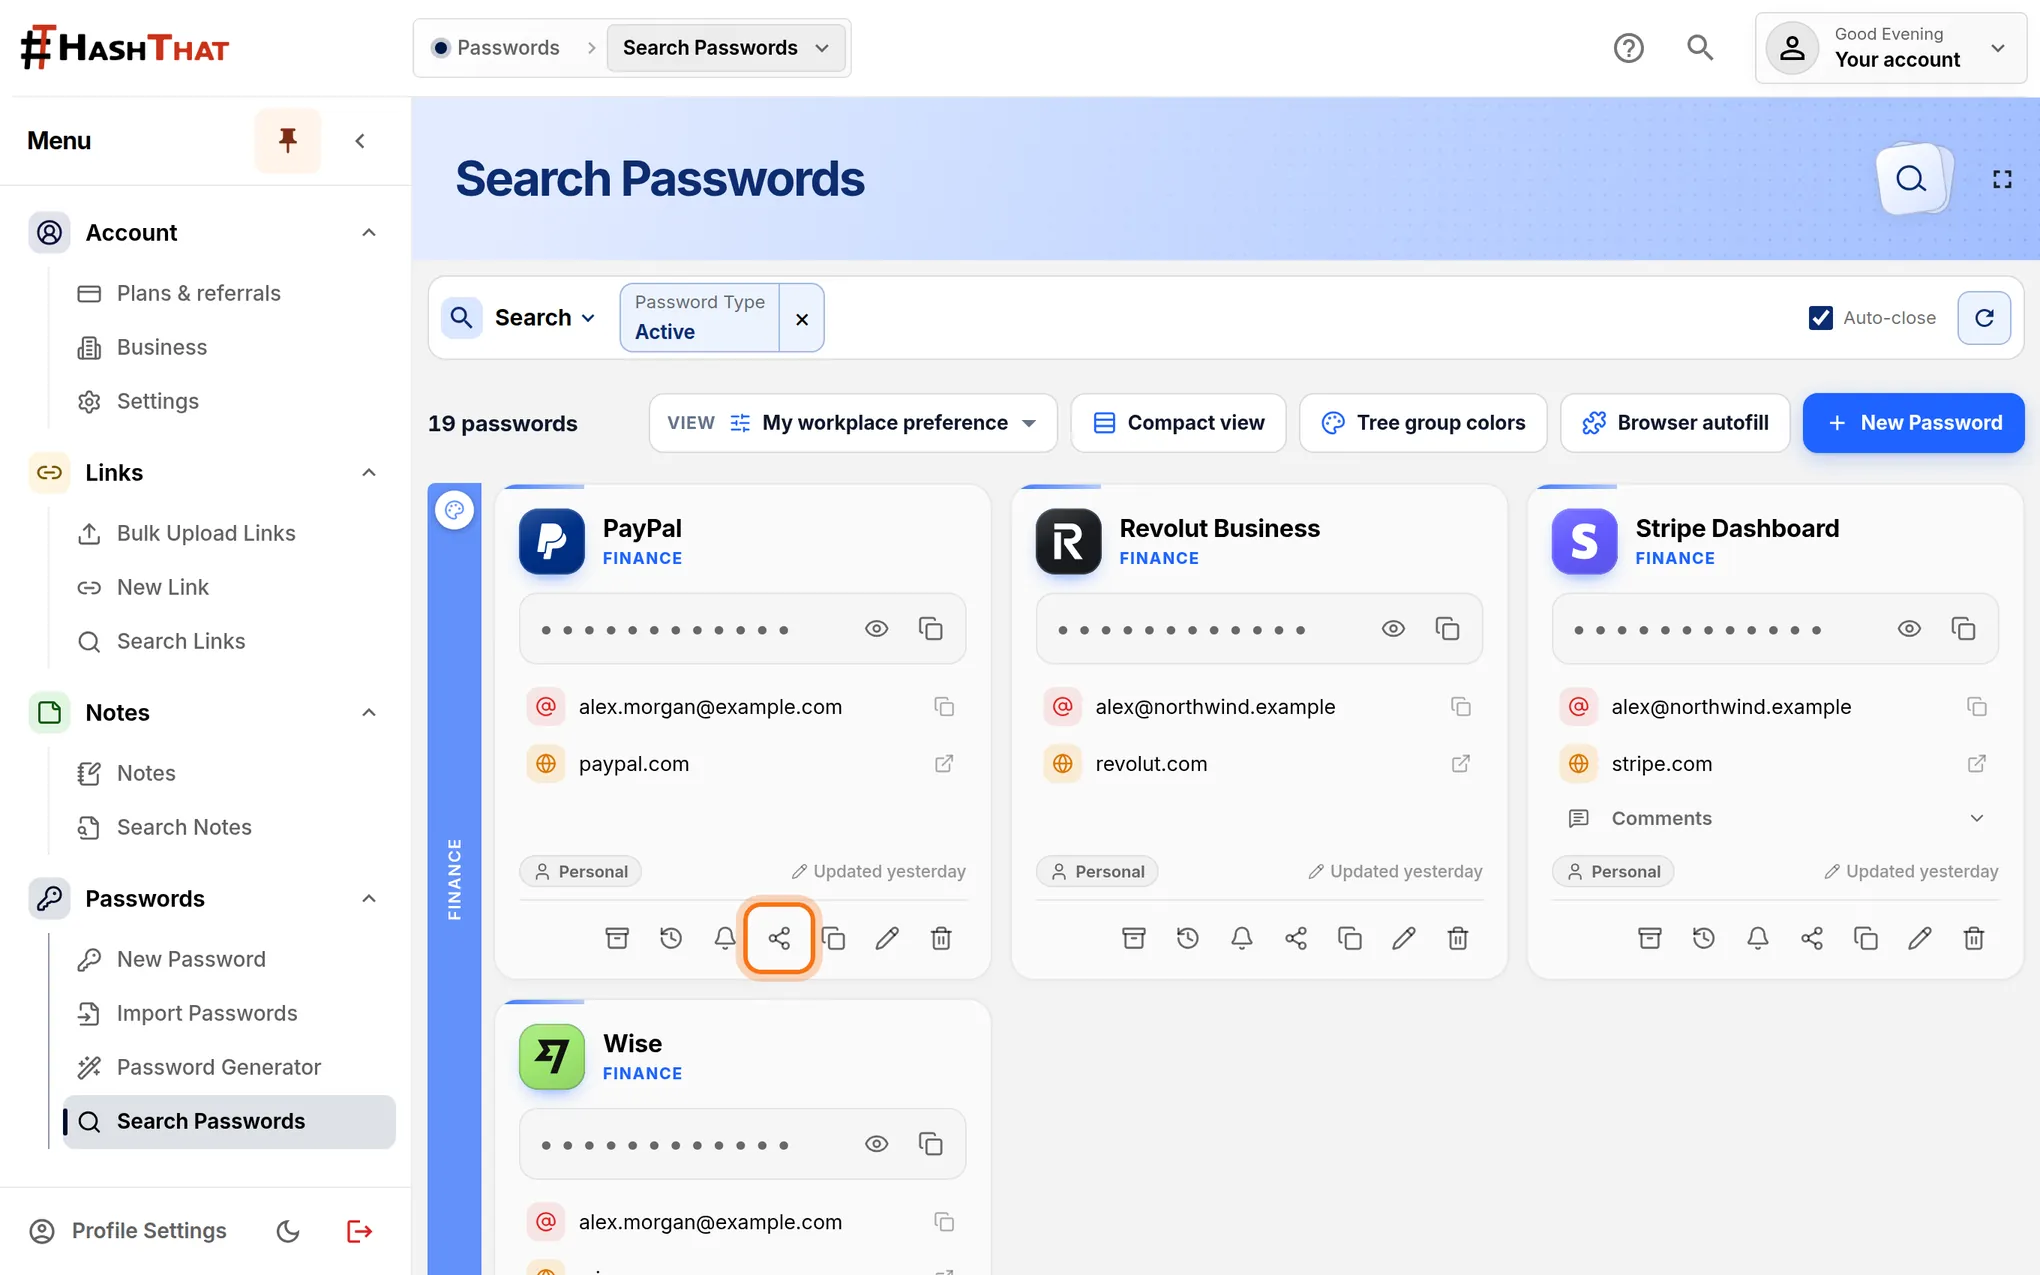
- In the left menu, click Search Passwords.
- Click the coloured category bar that holds the login, or use Search to find it.
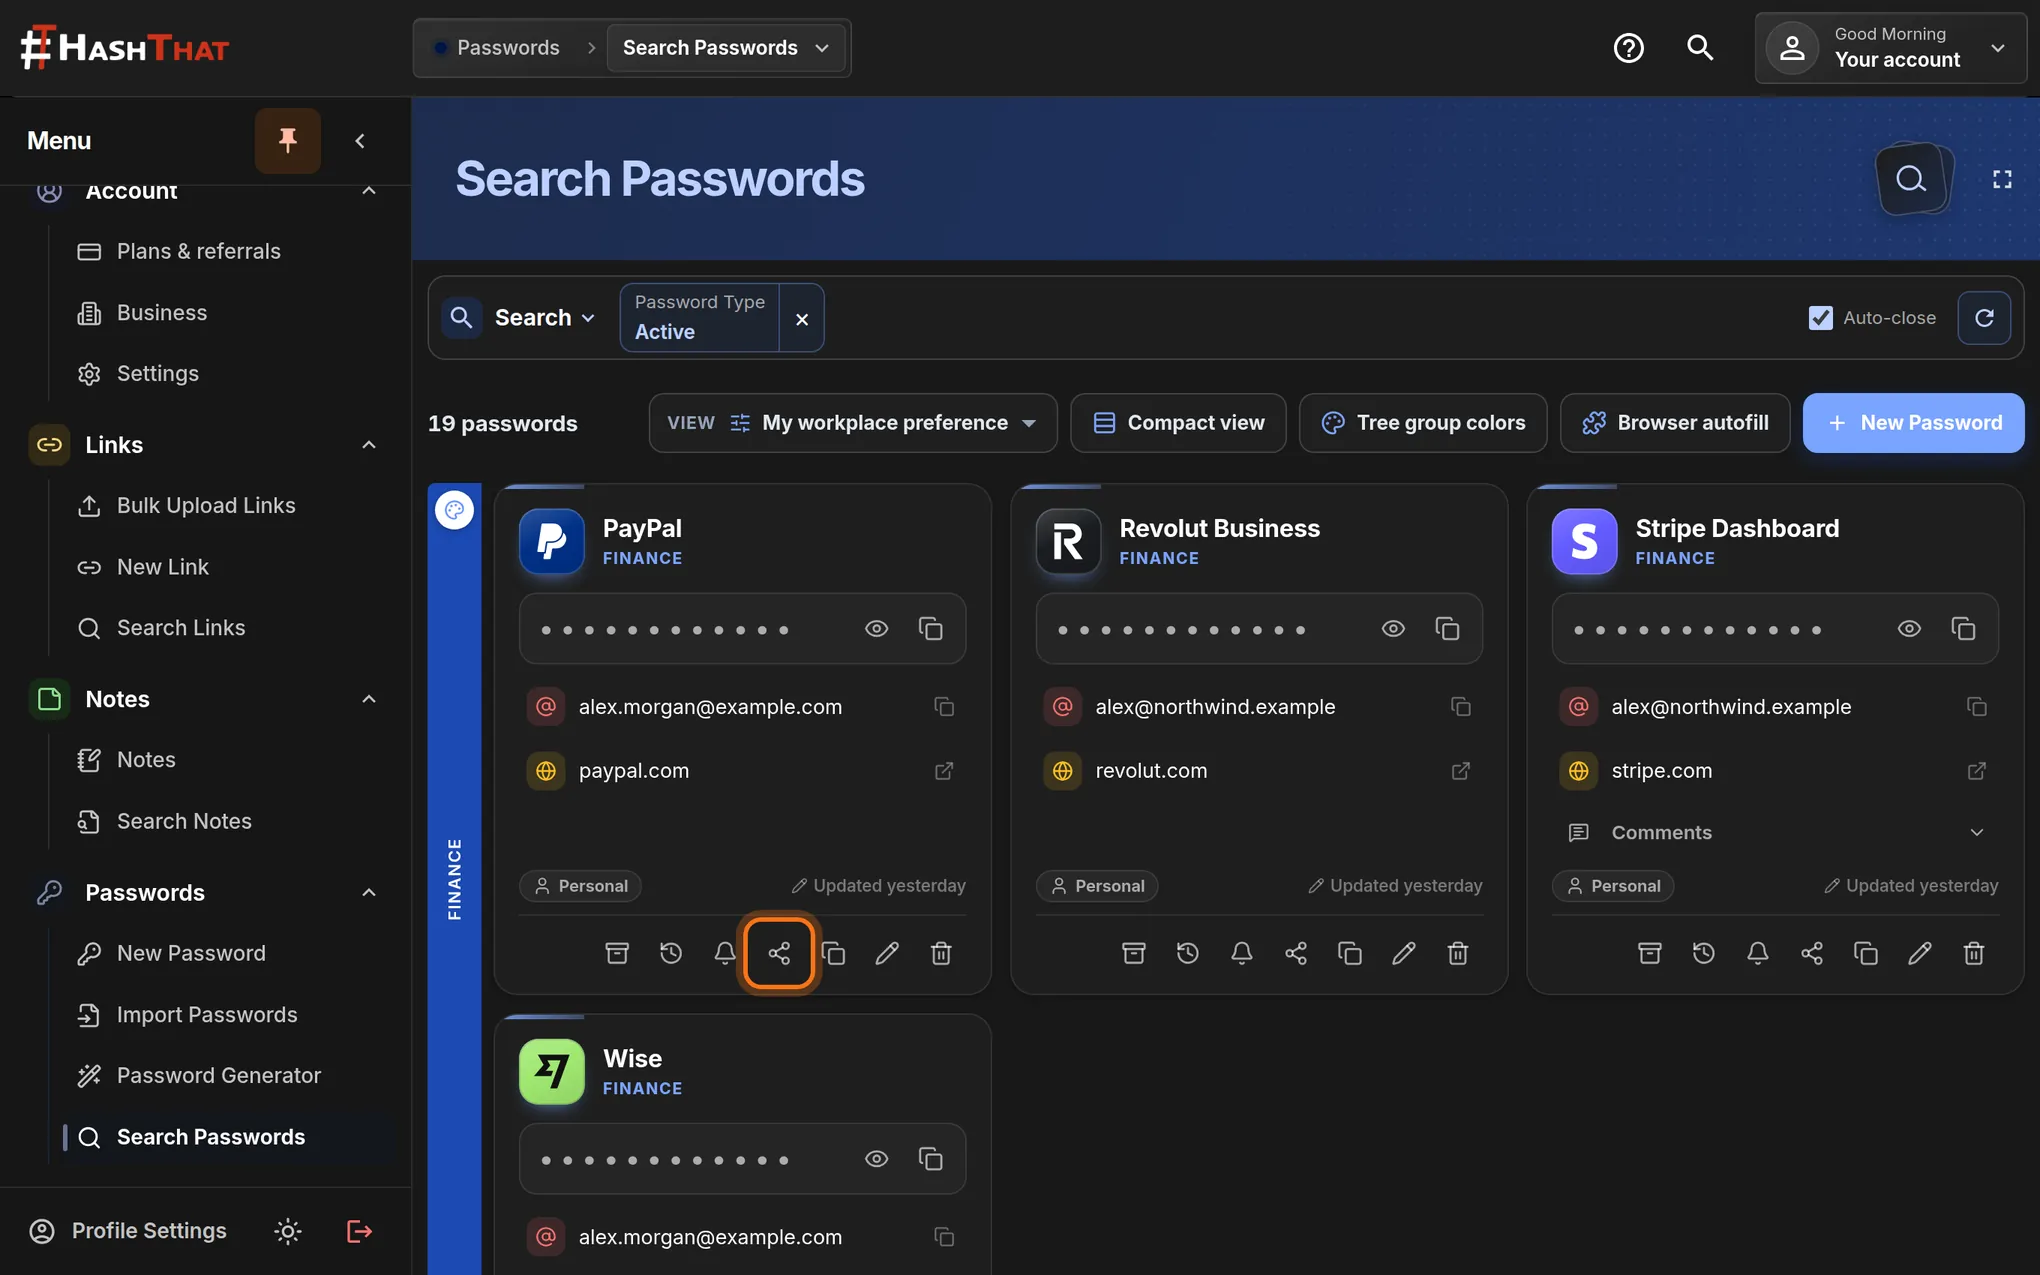
- At the bottom of the login’s card, click the share icon. It looks like three connected dots.
You should see: A page titled Share Password, with the login’s name under the title.
 Full size
 Full size
The share icon sits in the row of icons at the bottom of every card. Step 2: Add a person
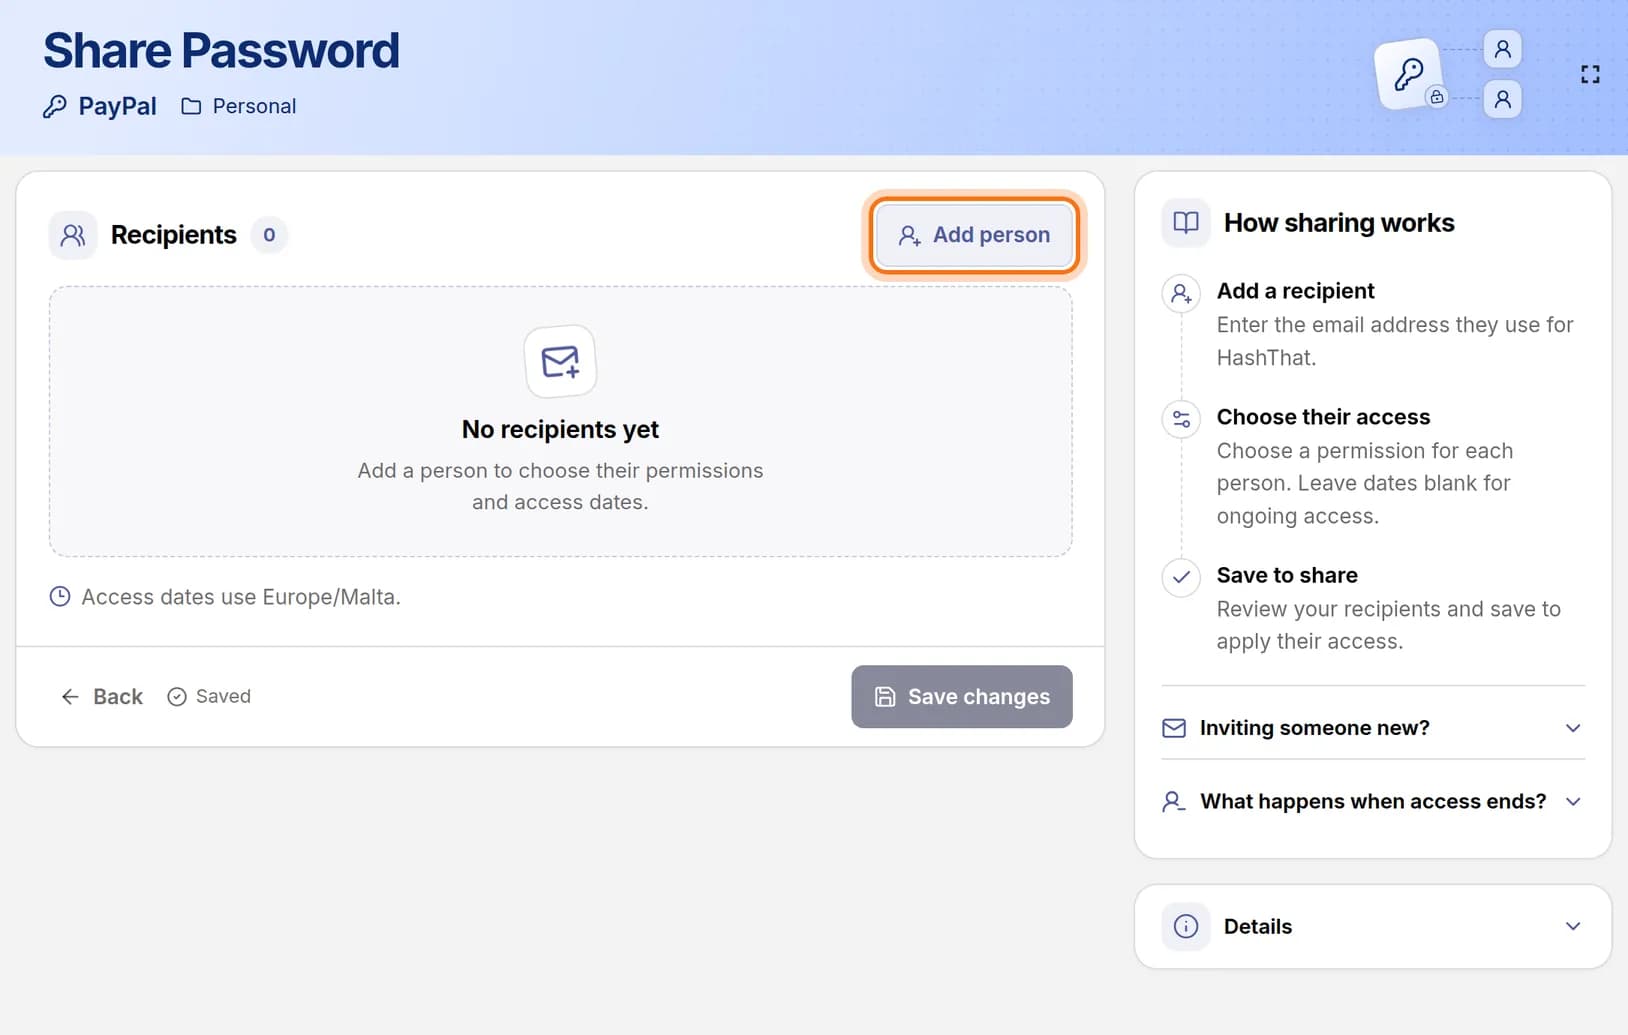
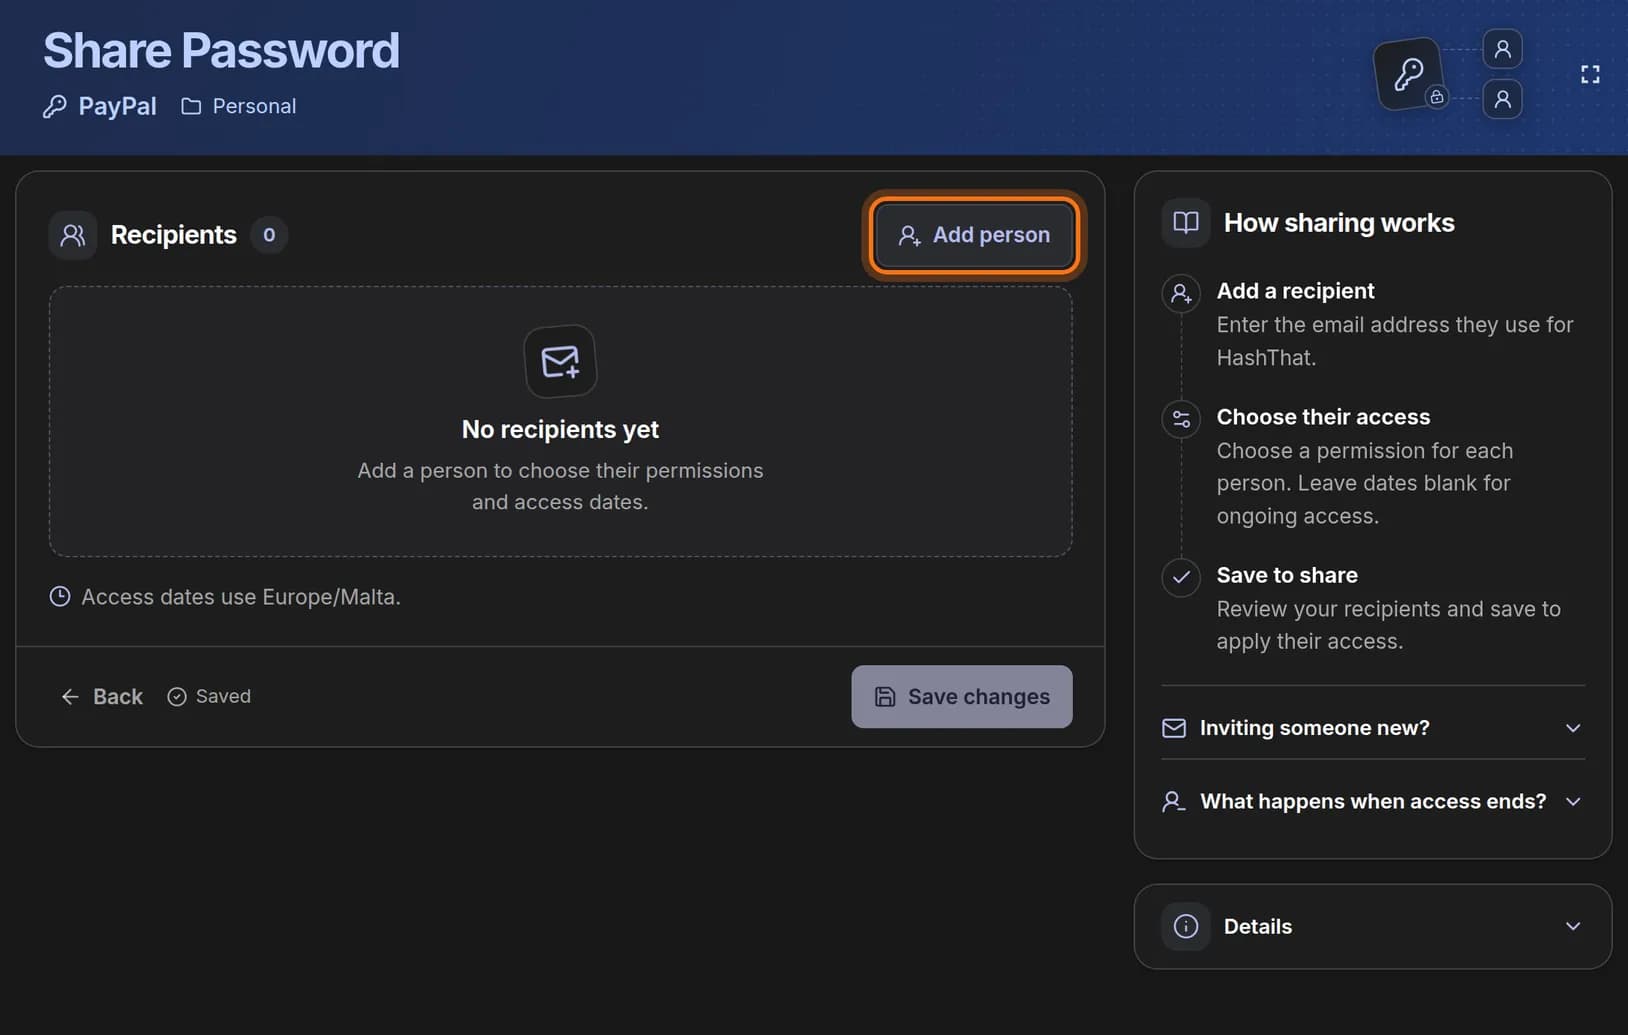
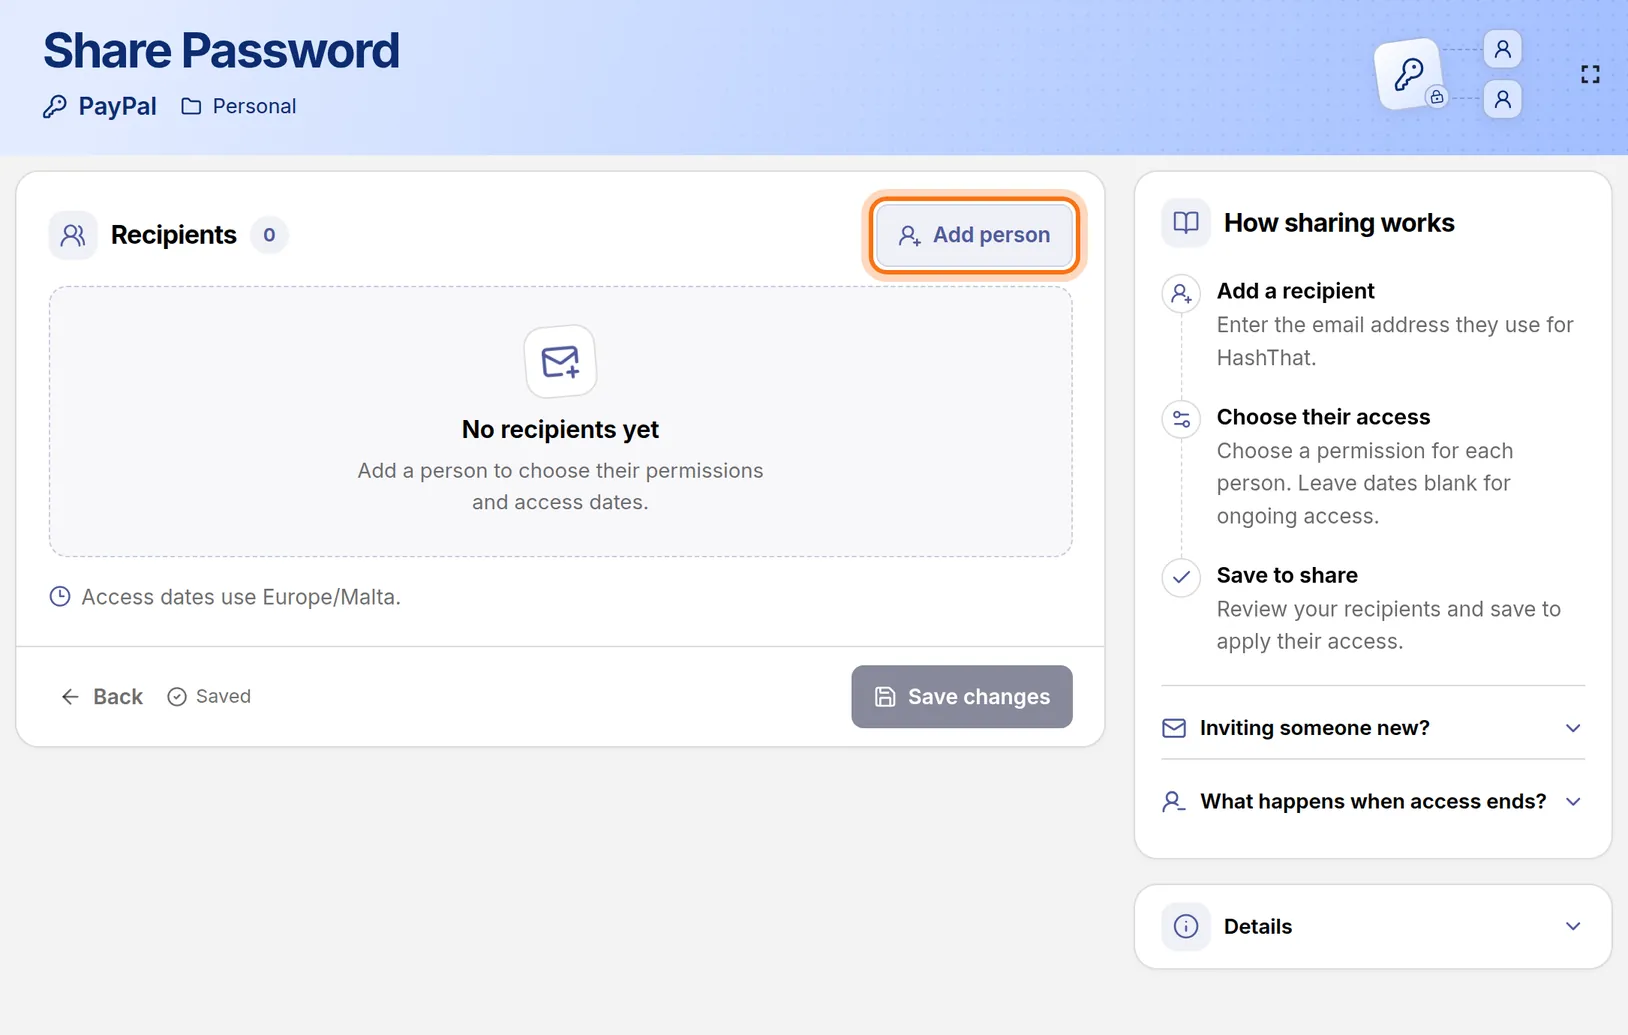
- Check the name under the Share Password title. It must be the login you mean to share.
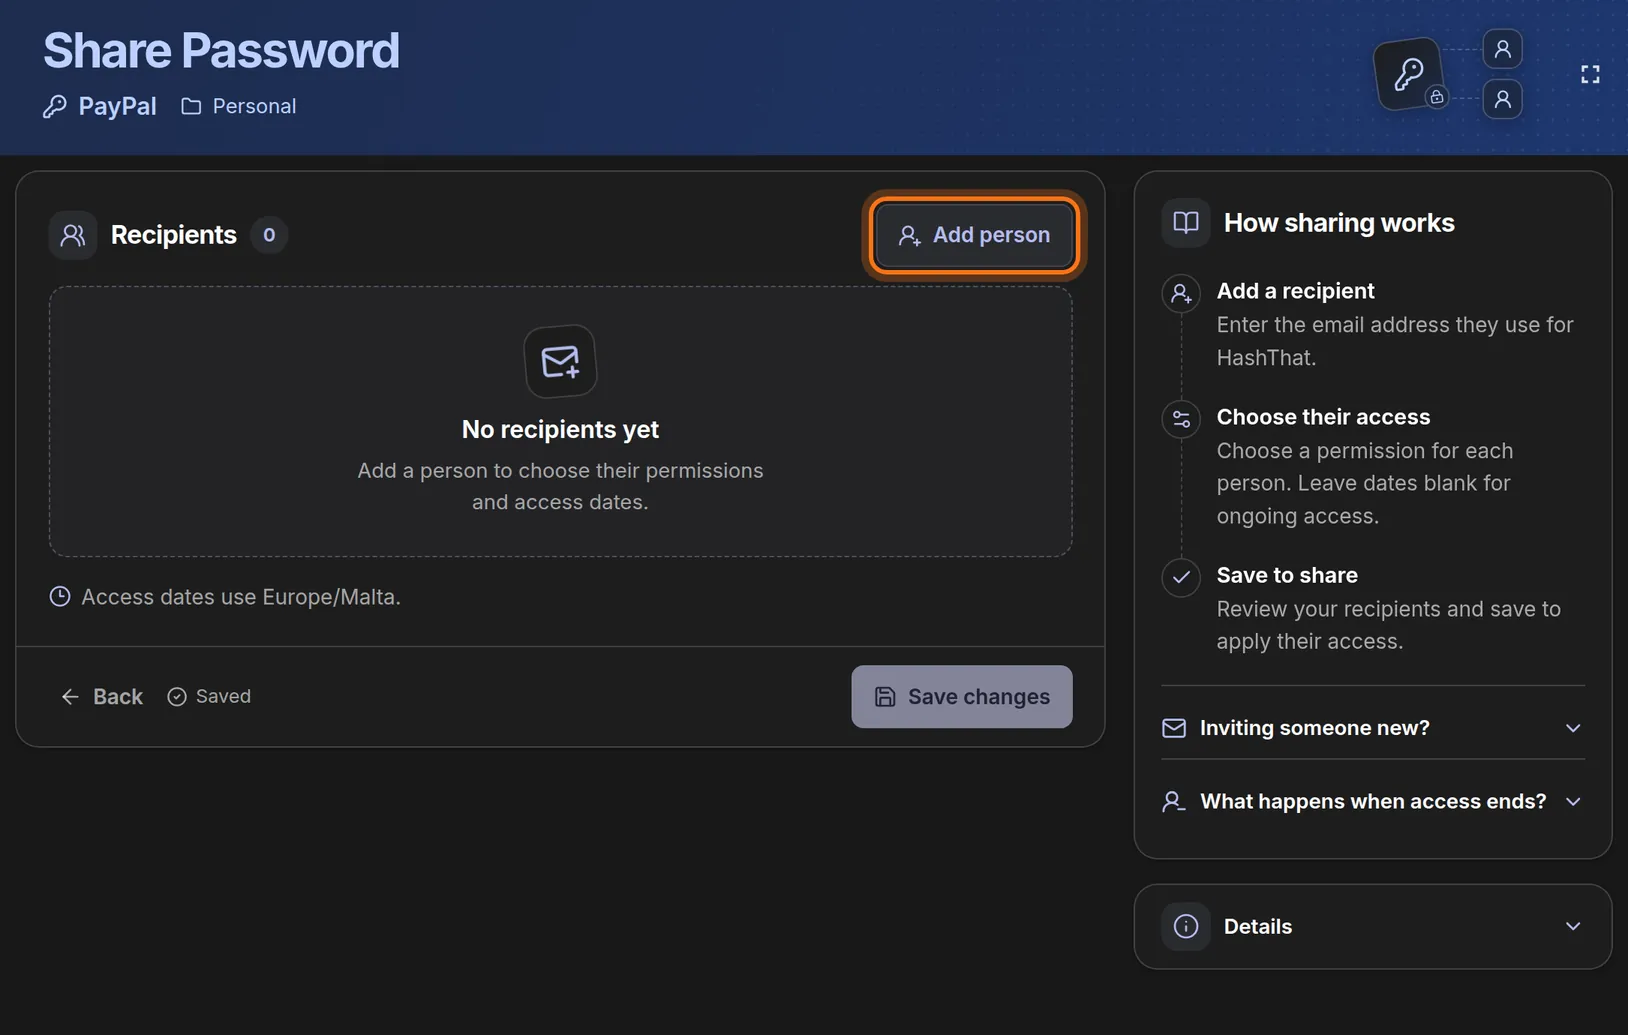
- Click Add person.
You should see: A new row with empty boxes under Recipients.
 Full size
 Full size
The login’s name and vault are shown under the page title. Step 3: Type their email address
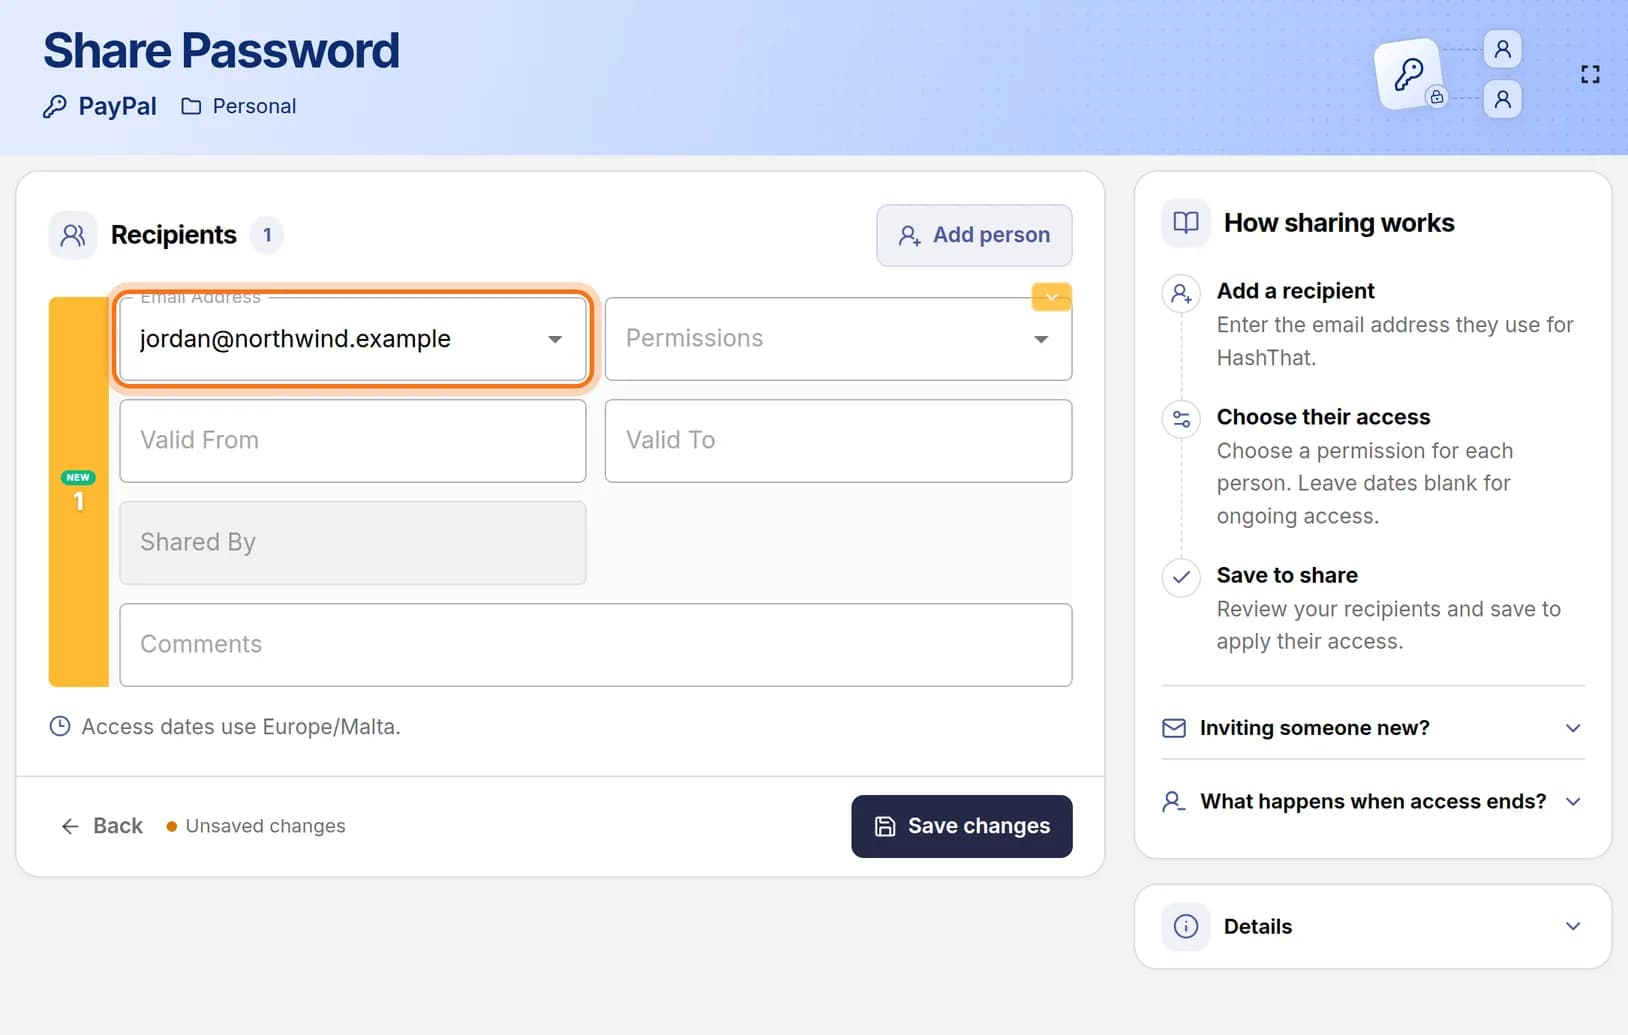
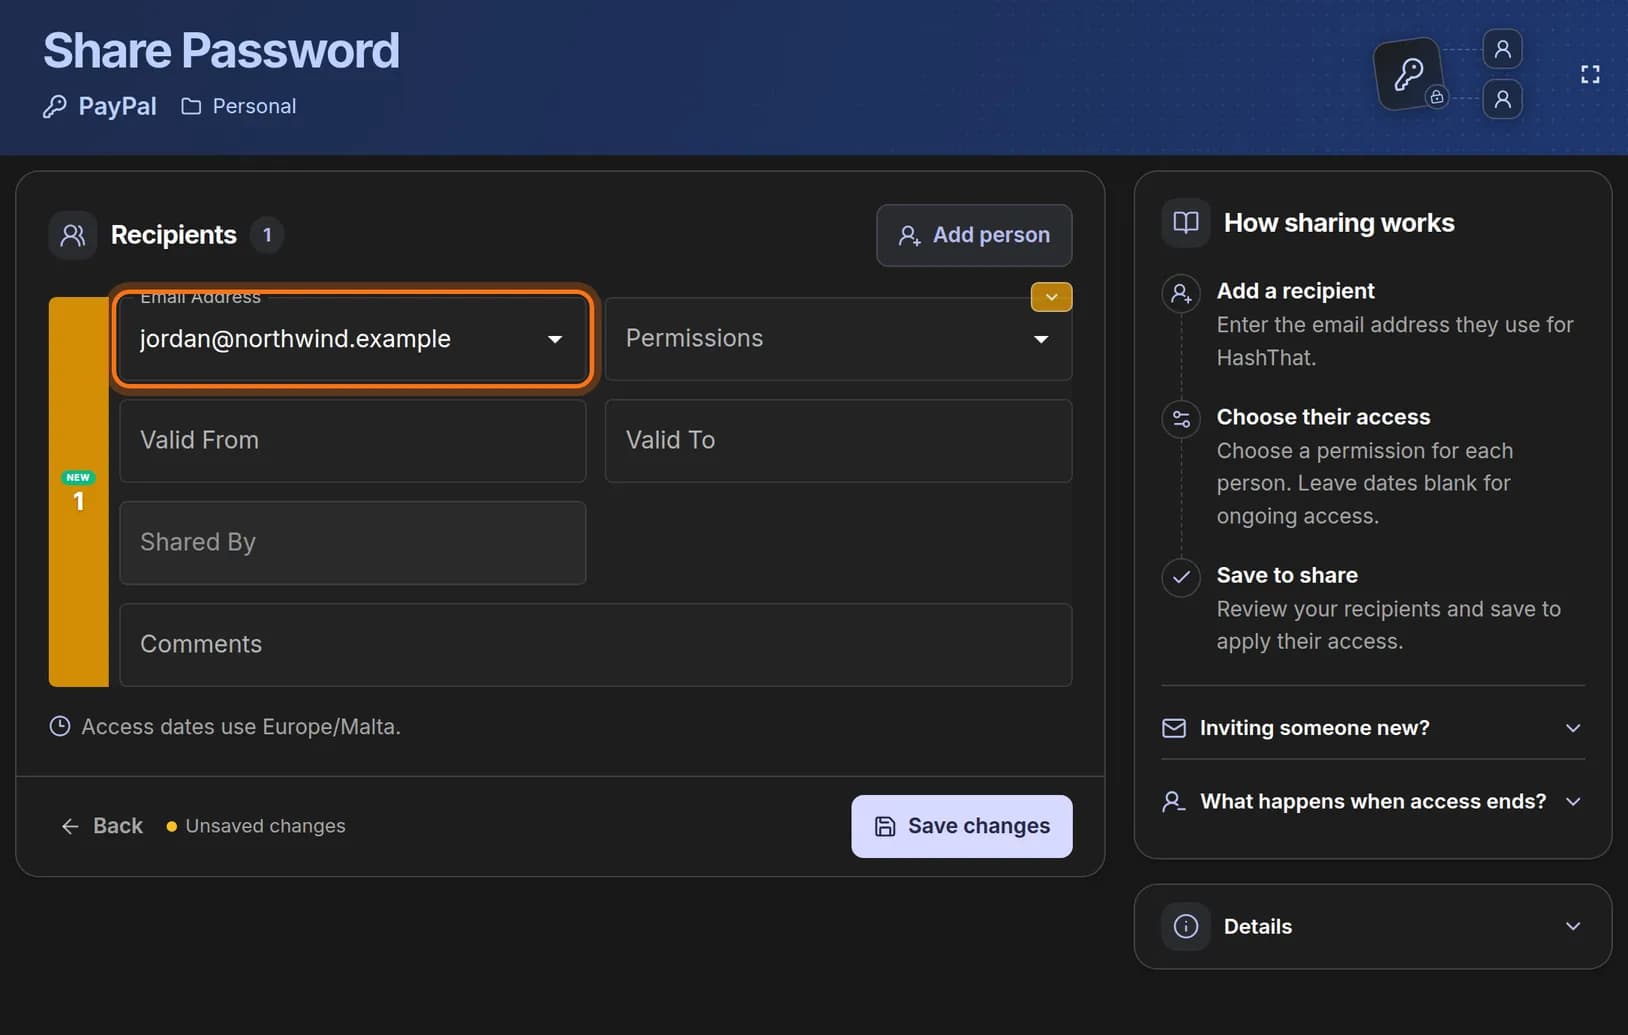
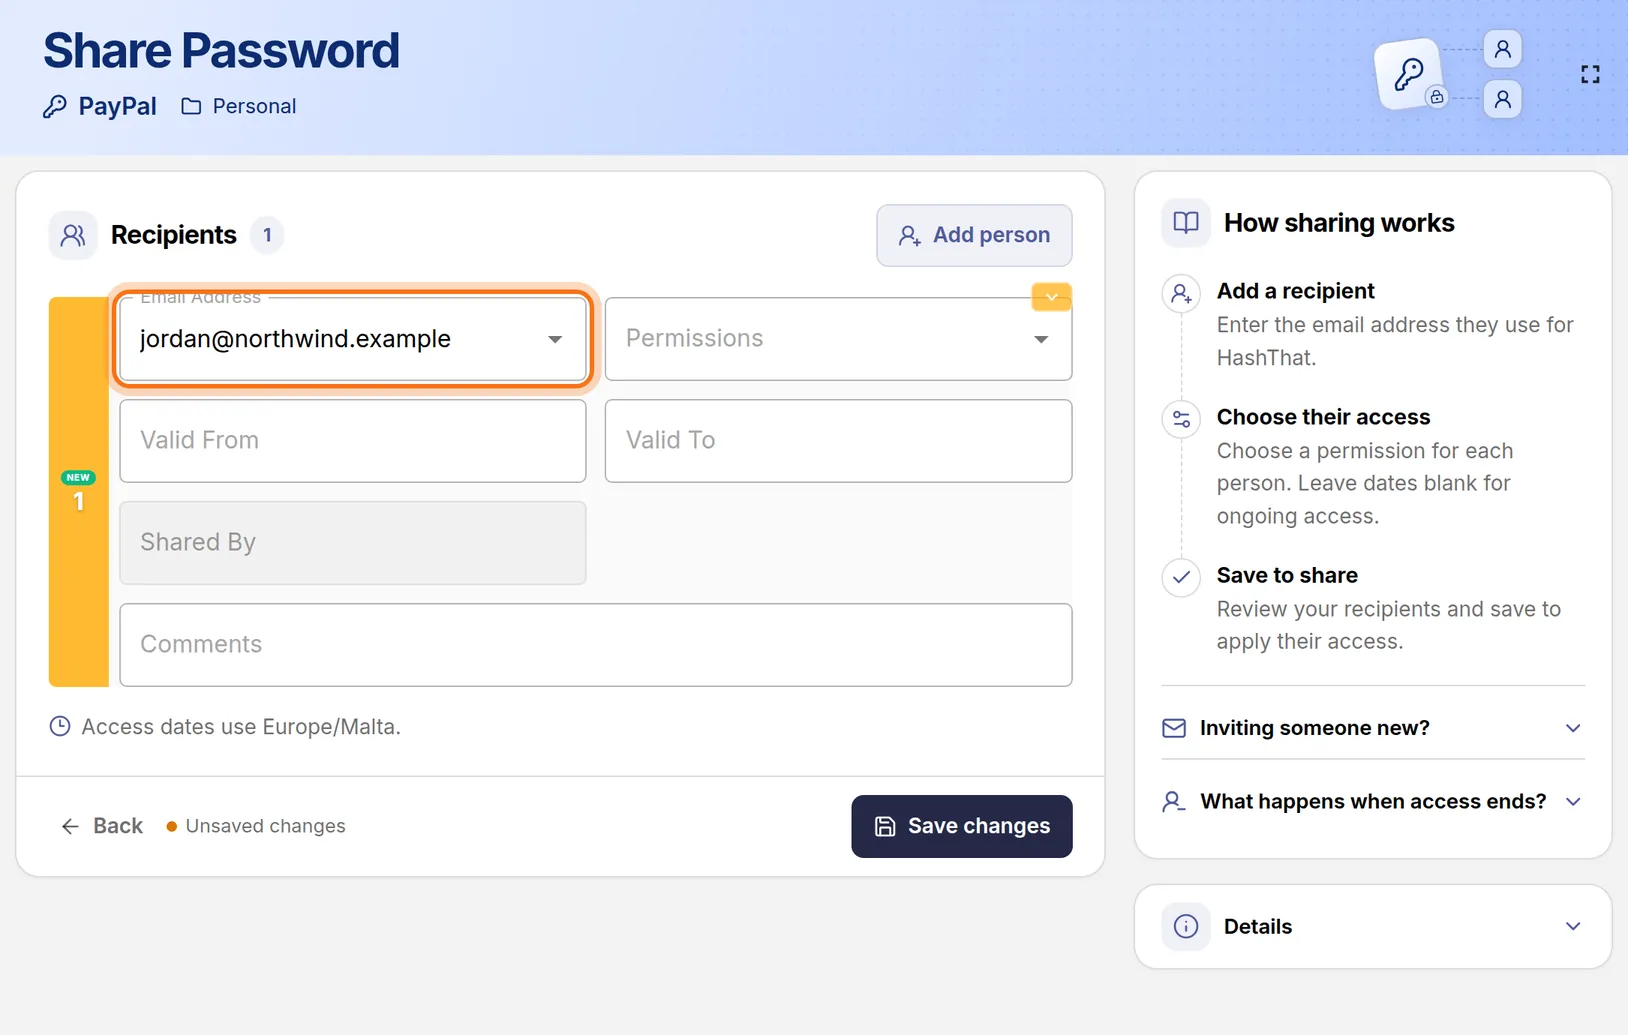
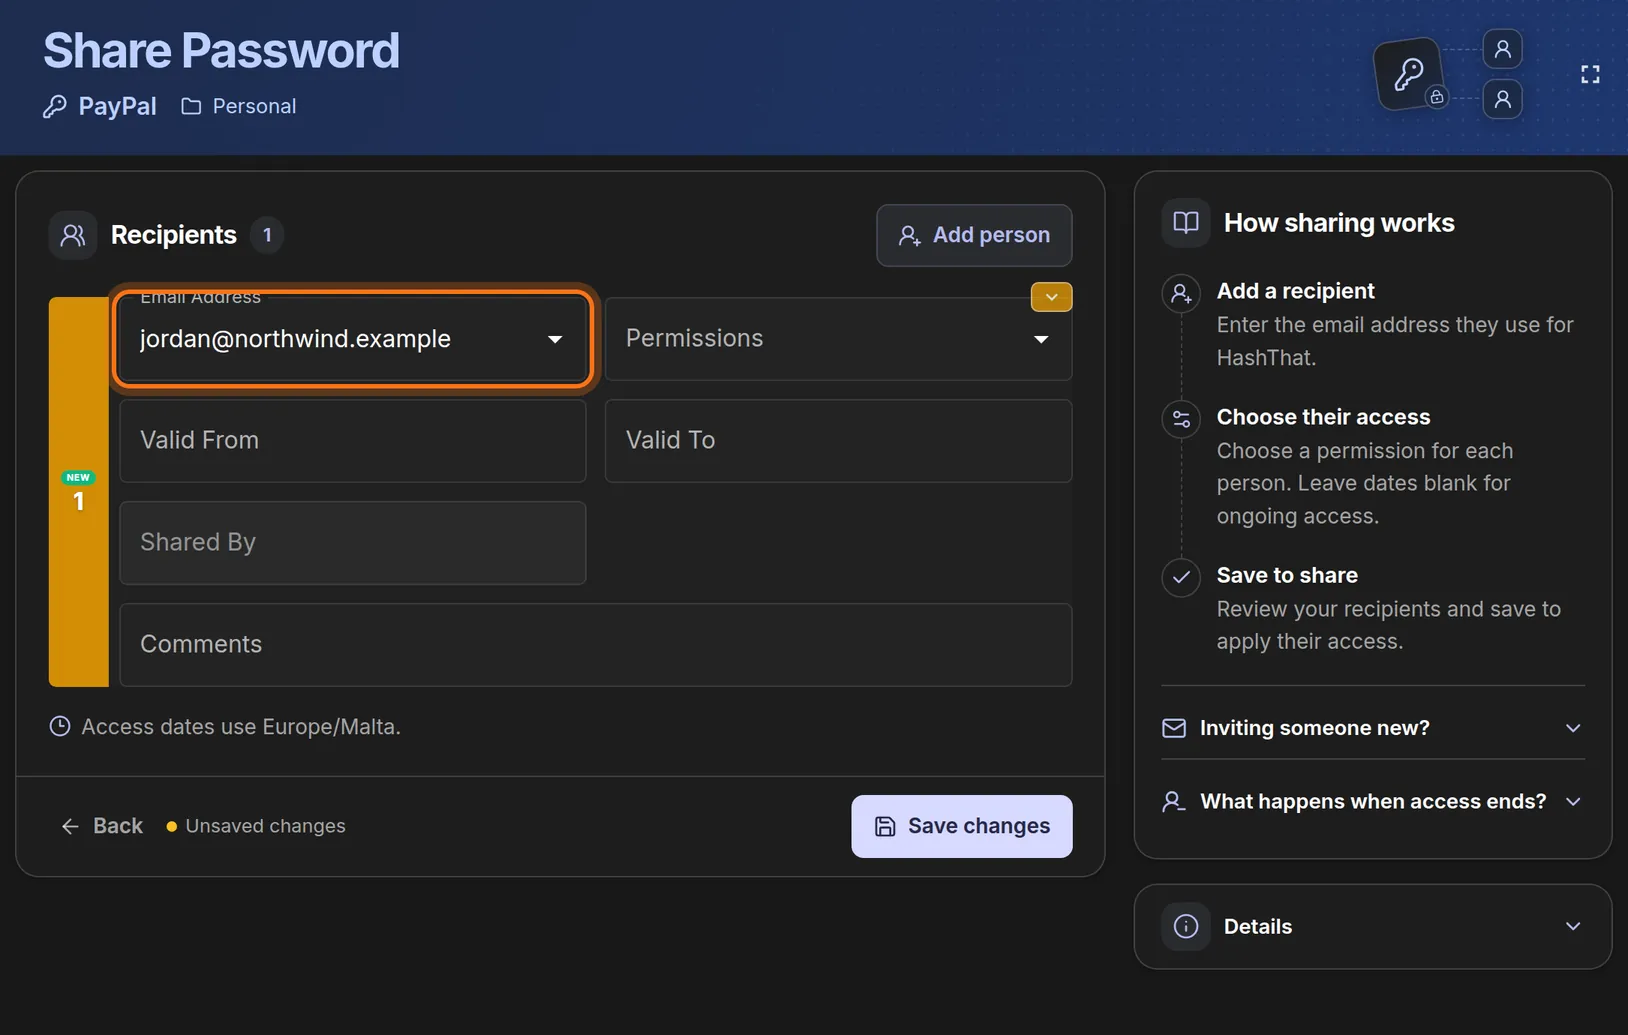
- Click Email Address.
- Type the full email address the person uses for HashThat, for example jordan@northwind.example.
 Full size
 Full size
Use the address of their HashThat account, not just any address they own. People you shared with before are offered in a list as you type.
Step 4: Choose what they may do
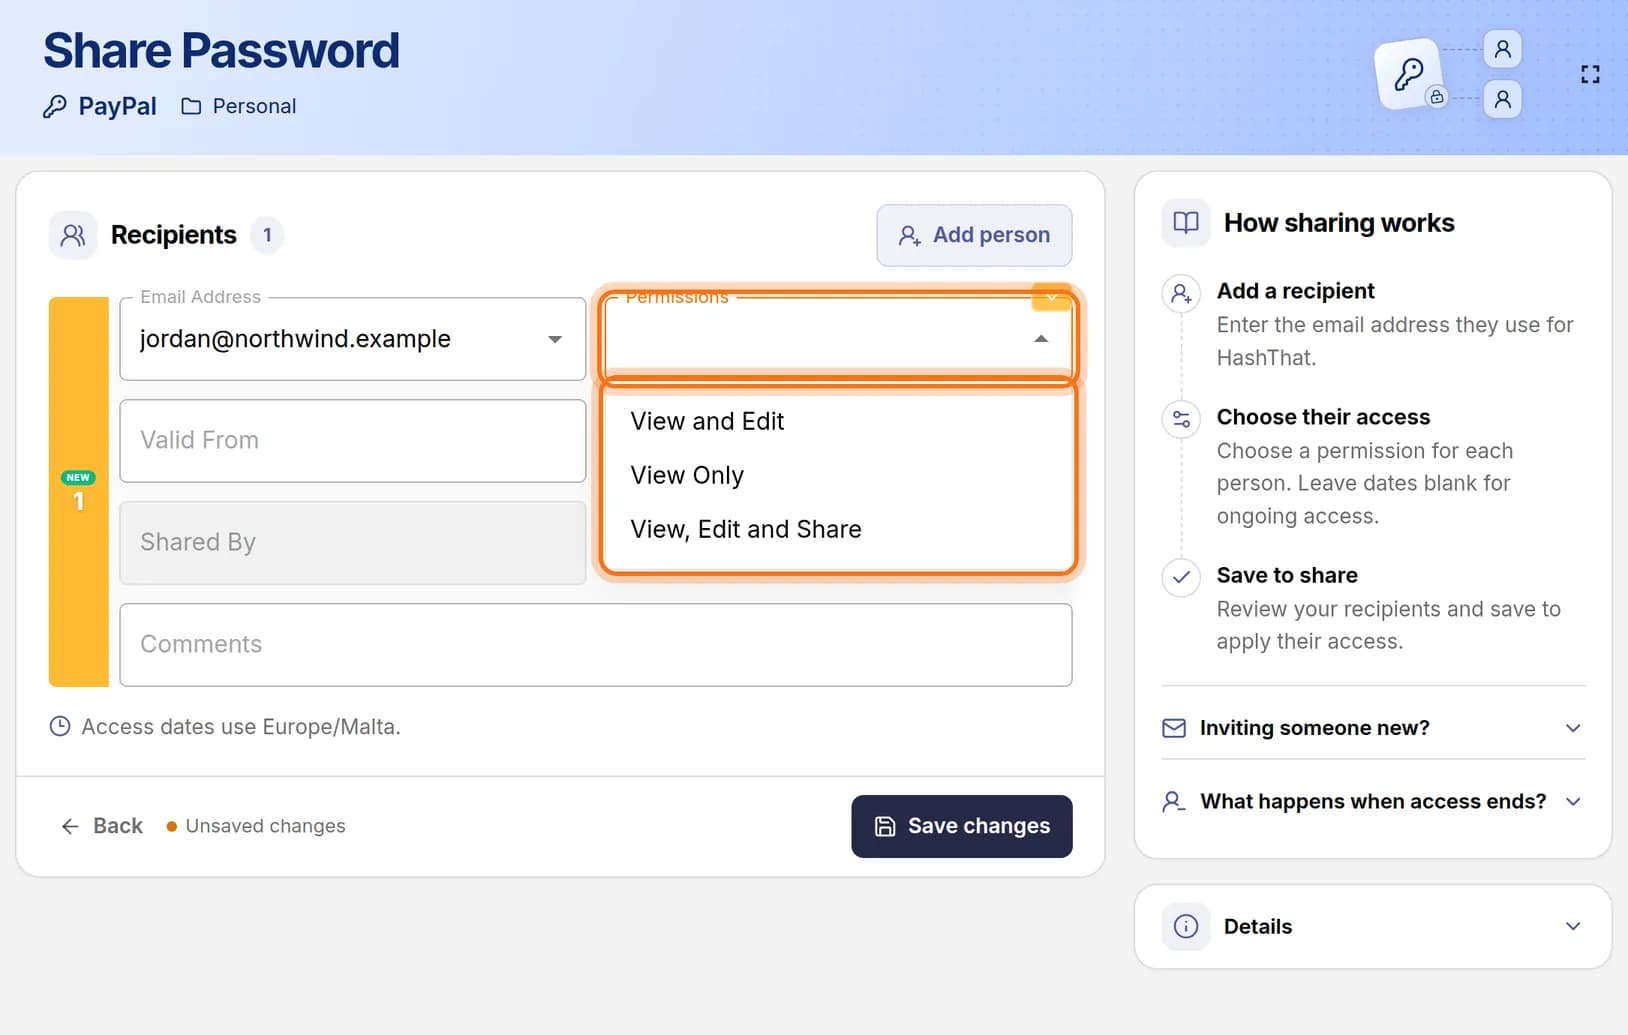
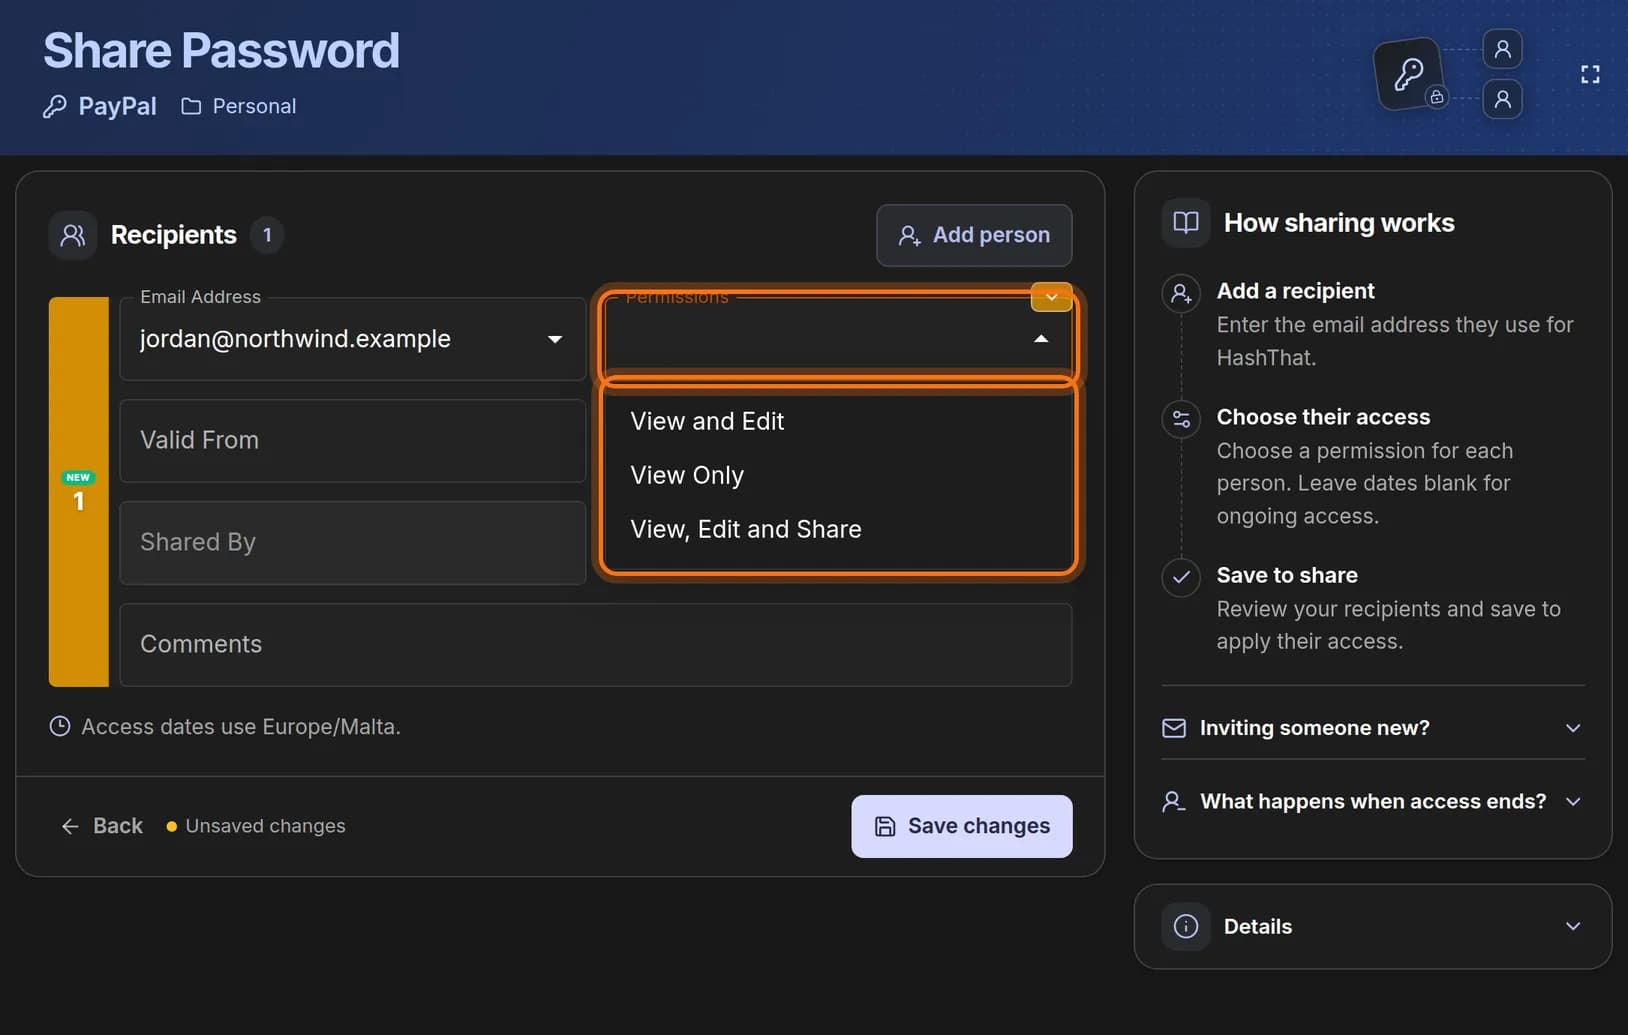
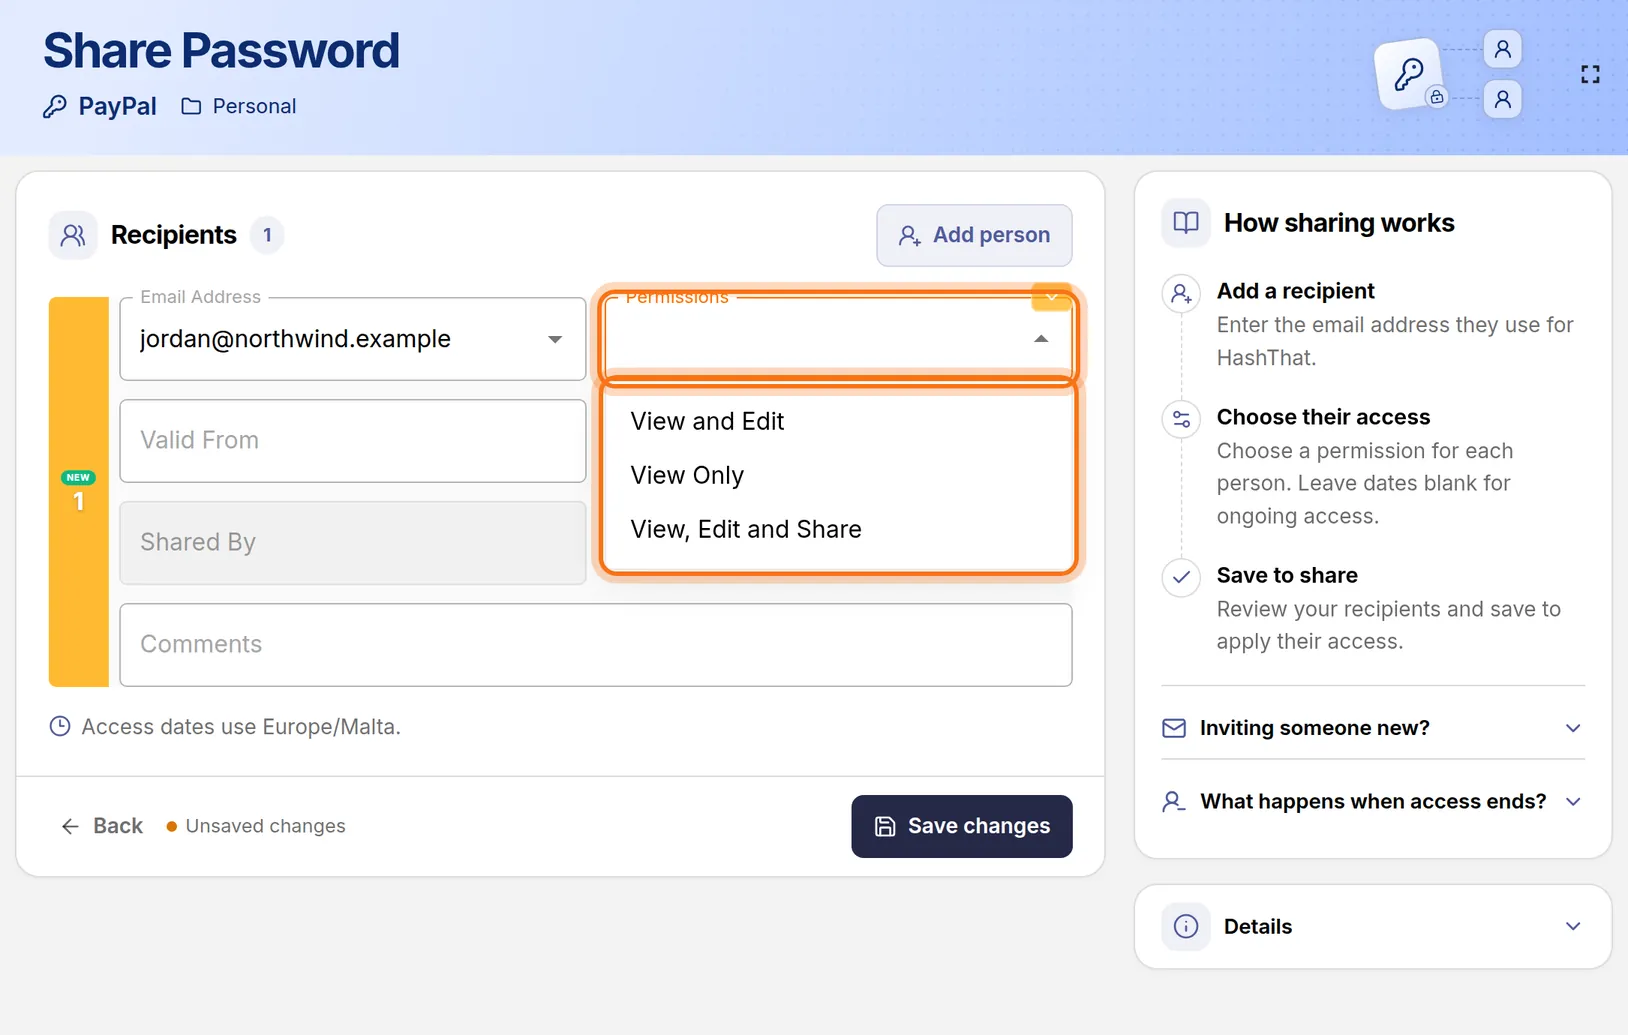
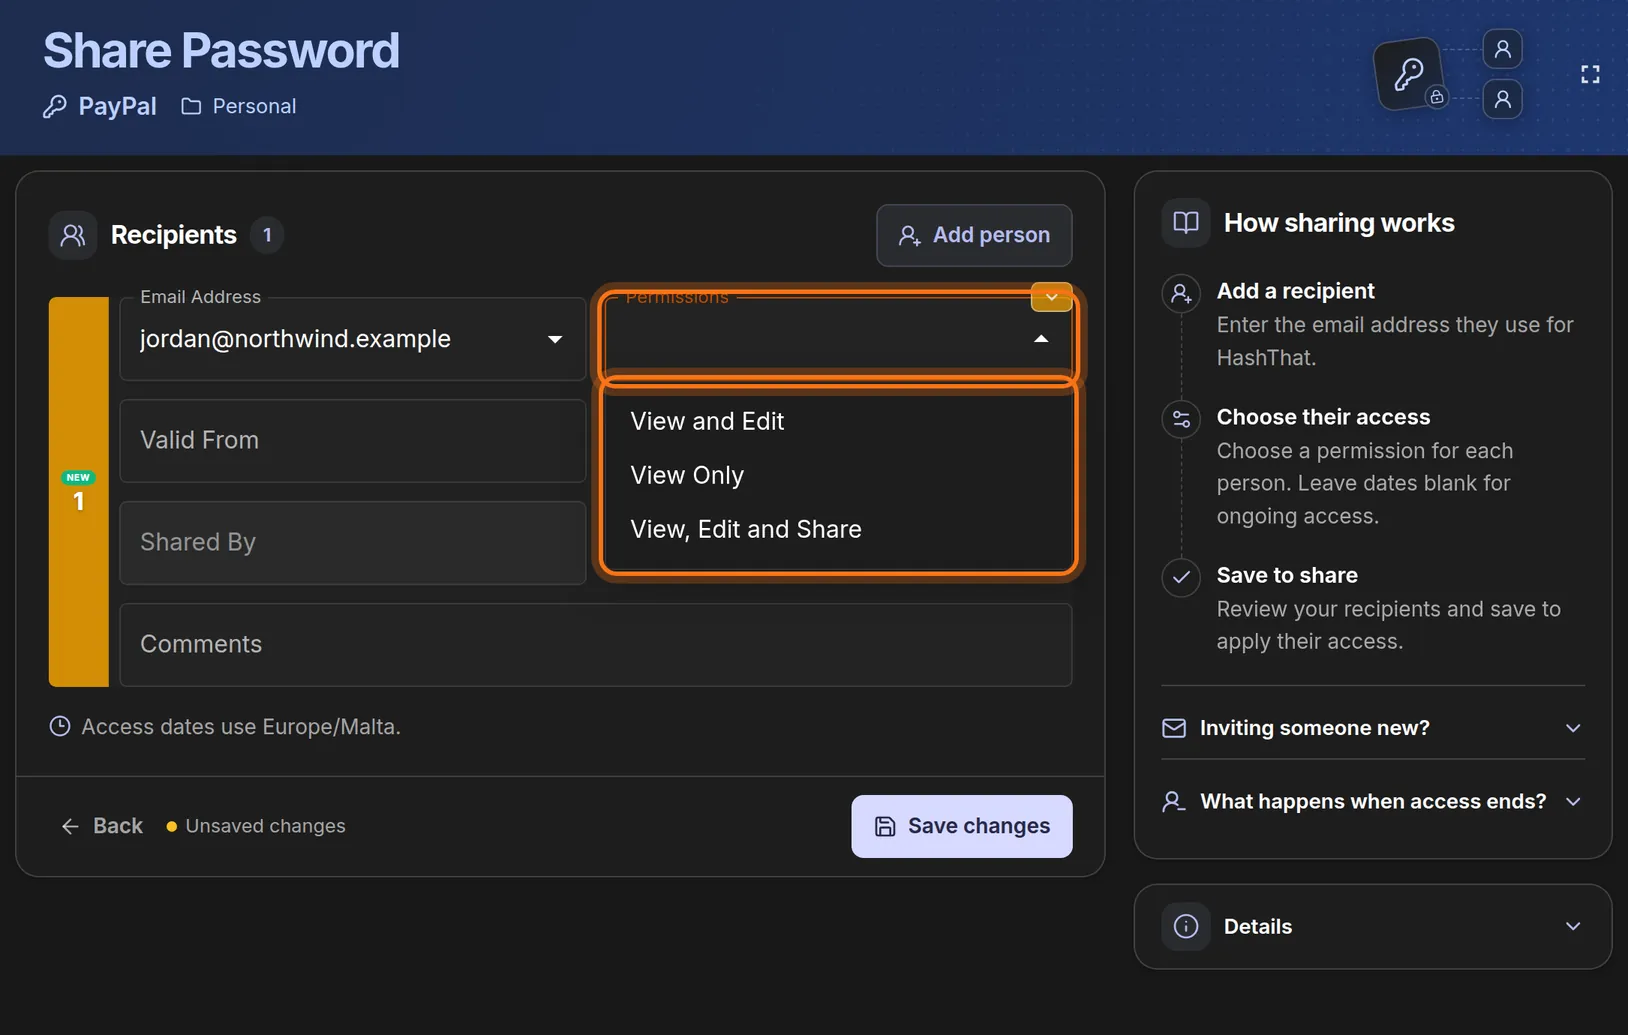
- Click Permissions.
- Pick View Only for someone who just needs to use the login.
- Pick View and Edit if they may also change it, or View, Edit and Share if they may pass it on.
 Full size
 Full size
View Only is the safest choice when you are unsure. Step 5: Set when access ends
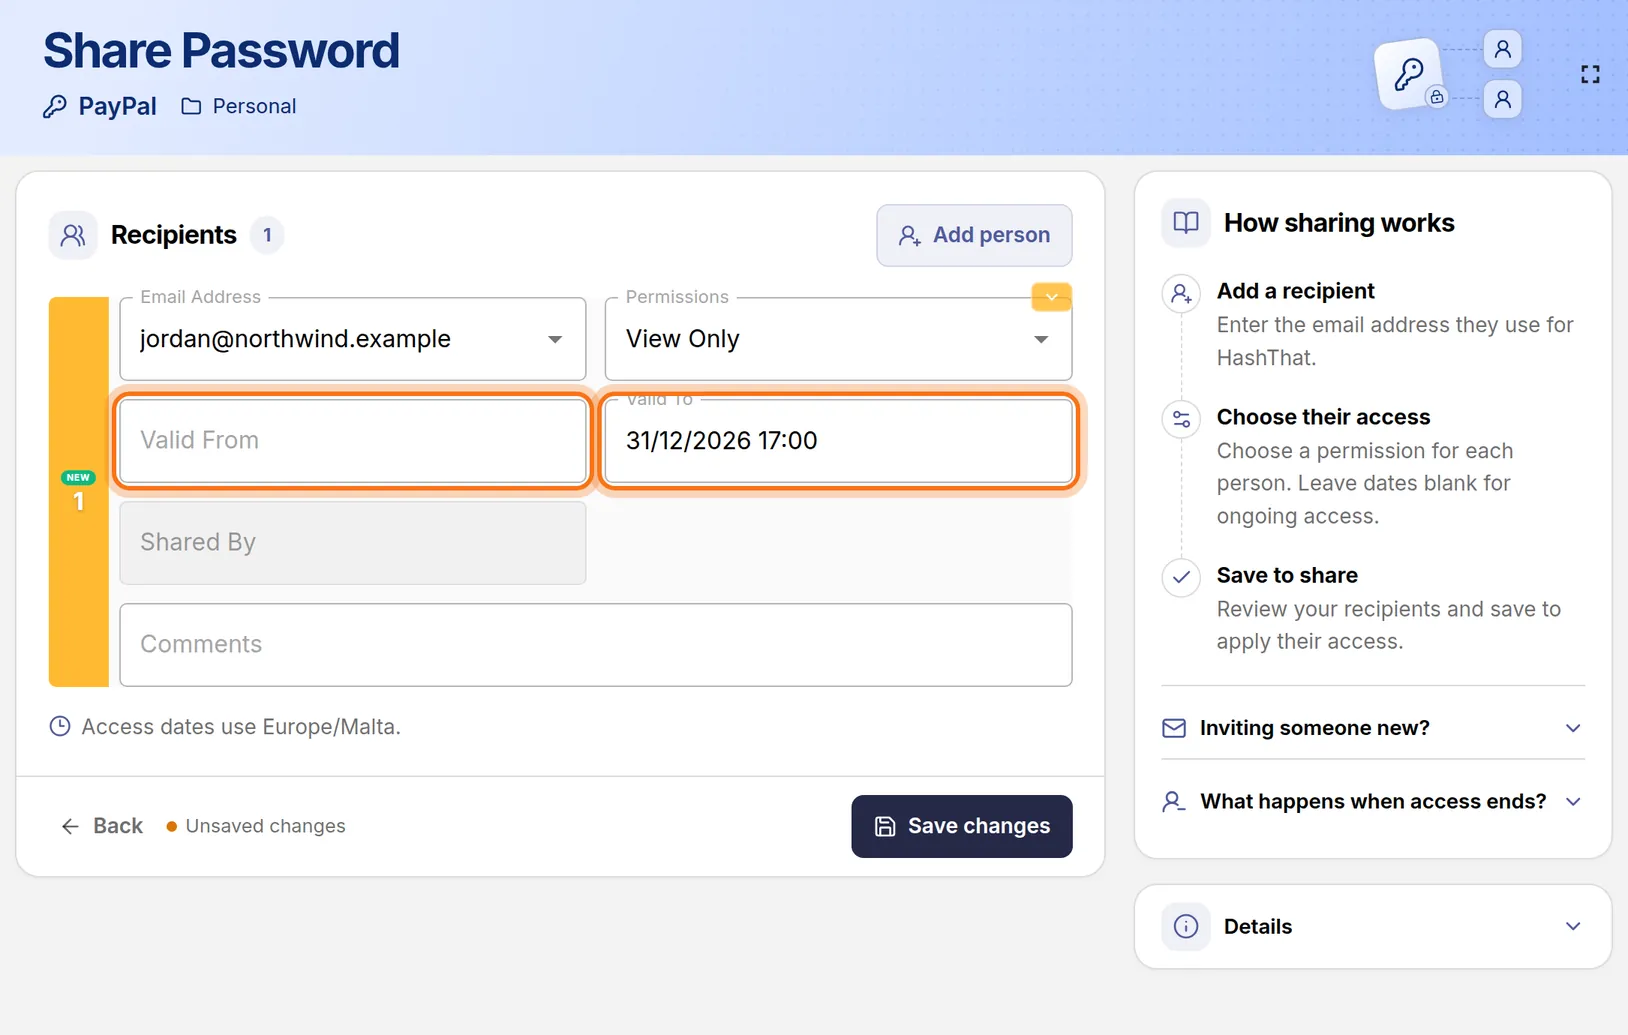
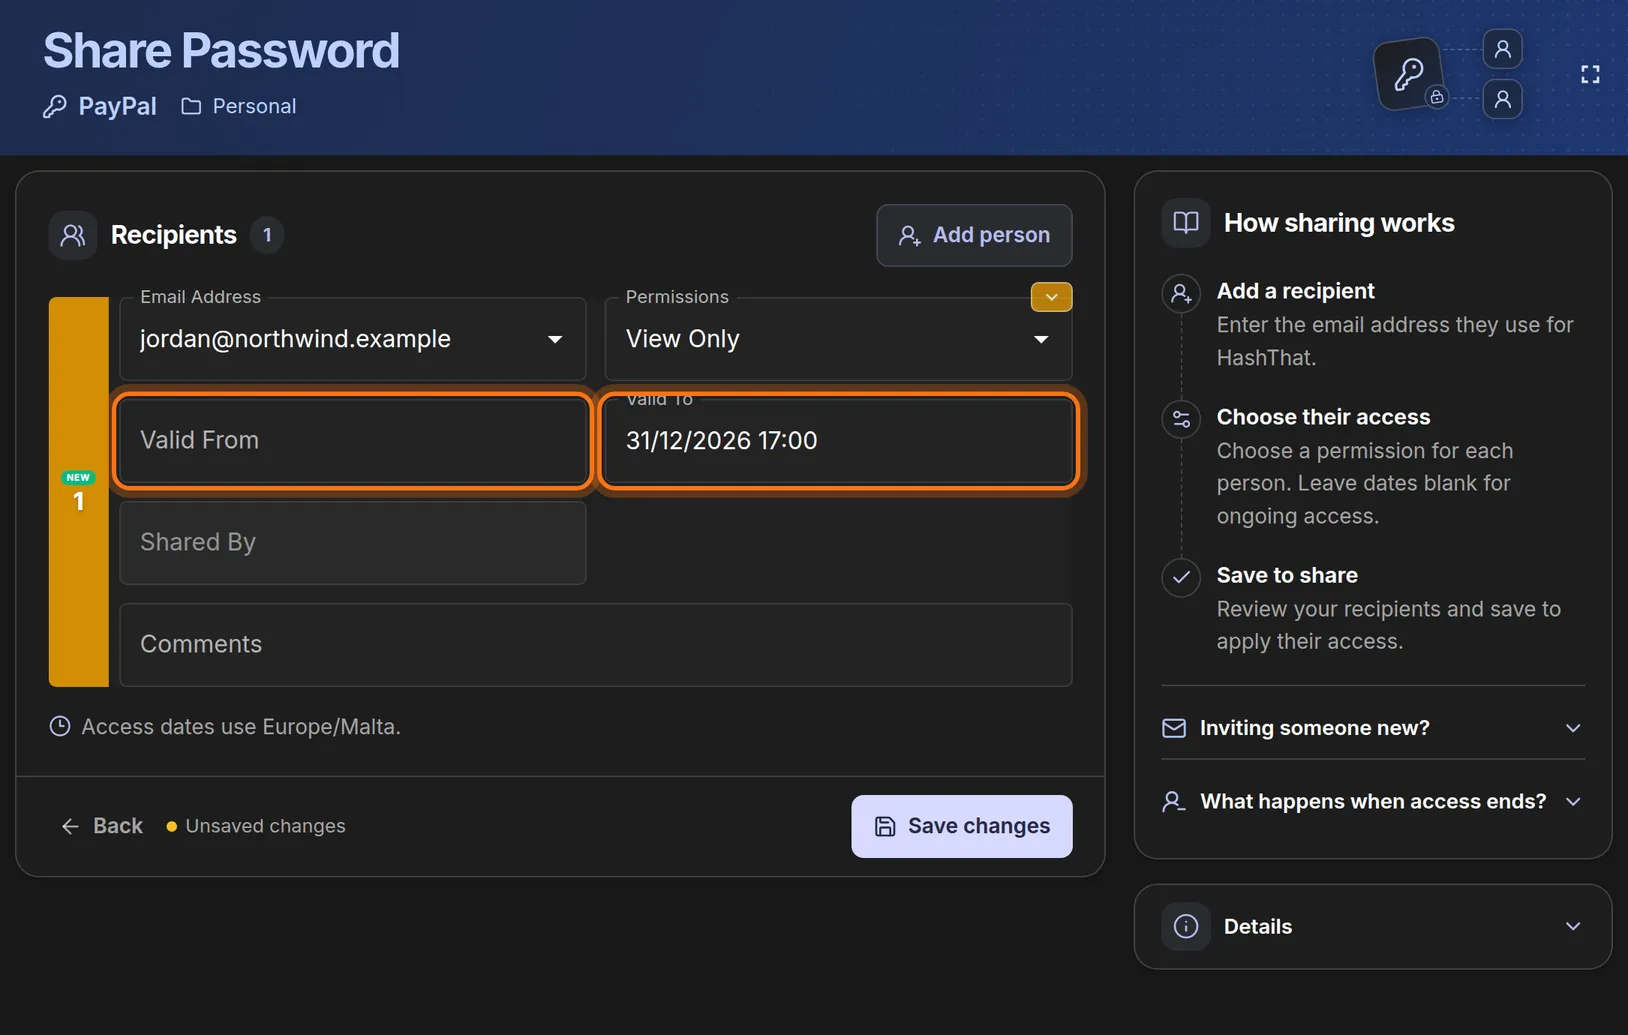
- For access with no end, leave both date boxes empty and go to the next step.
- To end access on a certain day, click Valid To and enter the date and time.
- To start access later, fill in Valid From as well.
- Read the line under the row. It tells you which time zone the dates use.
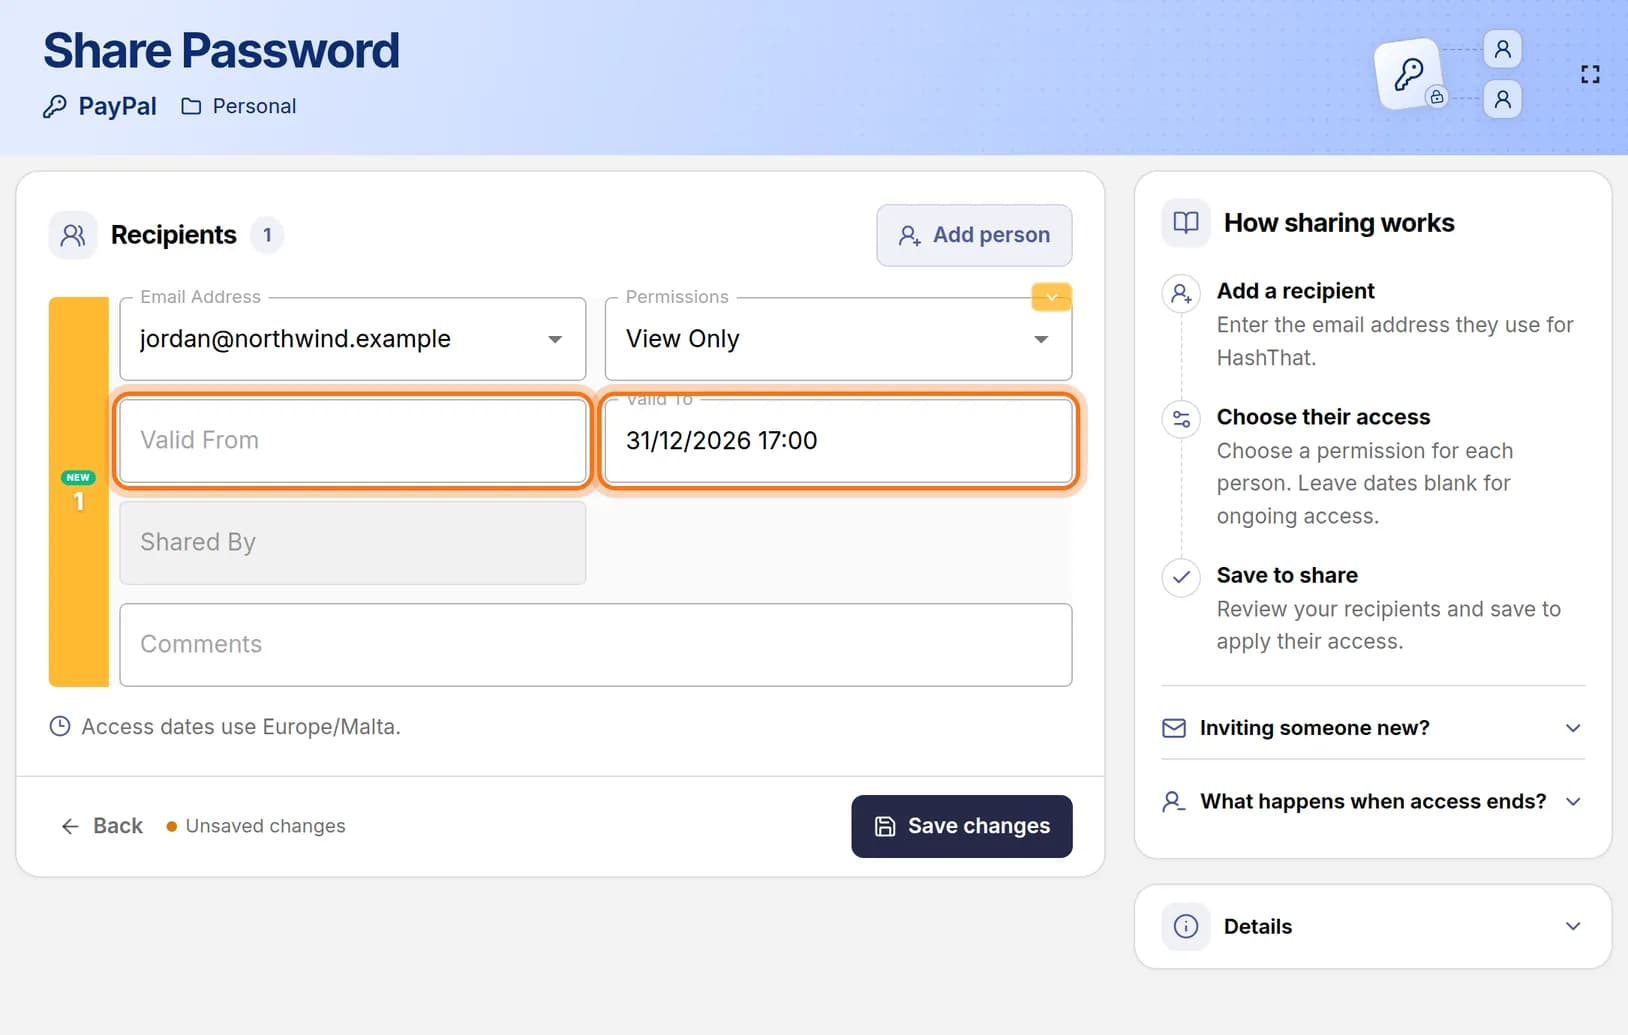 Full size
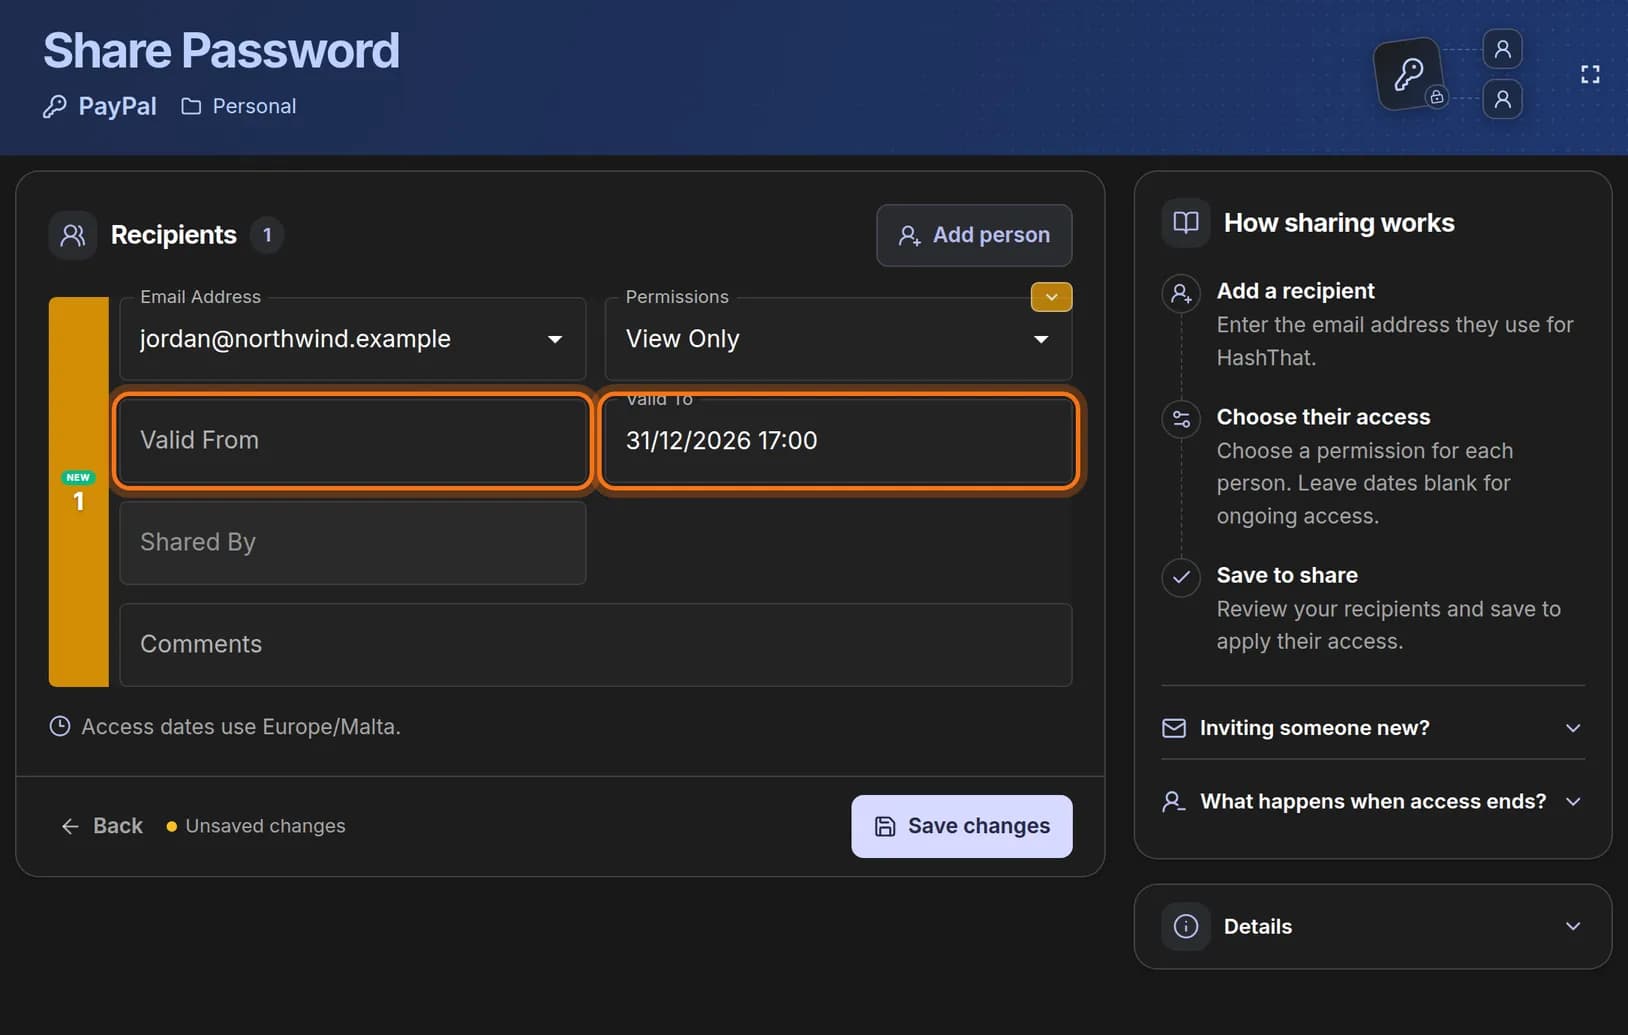 Full size
With only Valid To filled in, access starts now and ends on that date. Step 6: Save the share
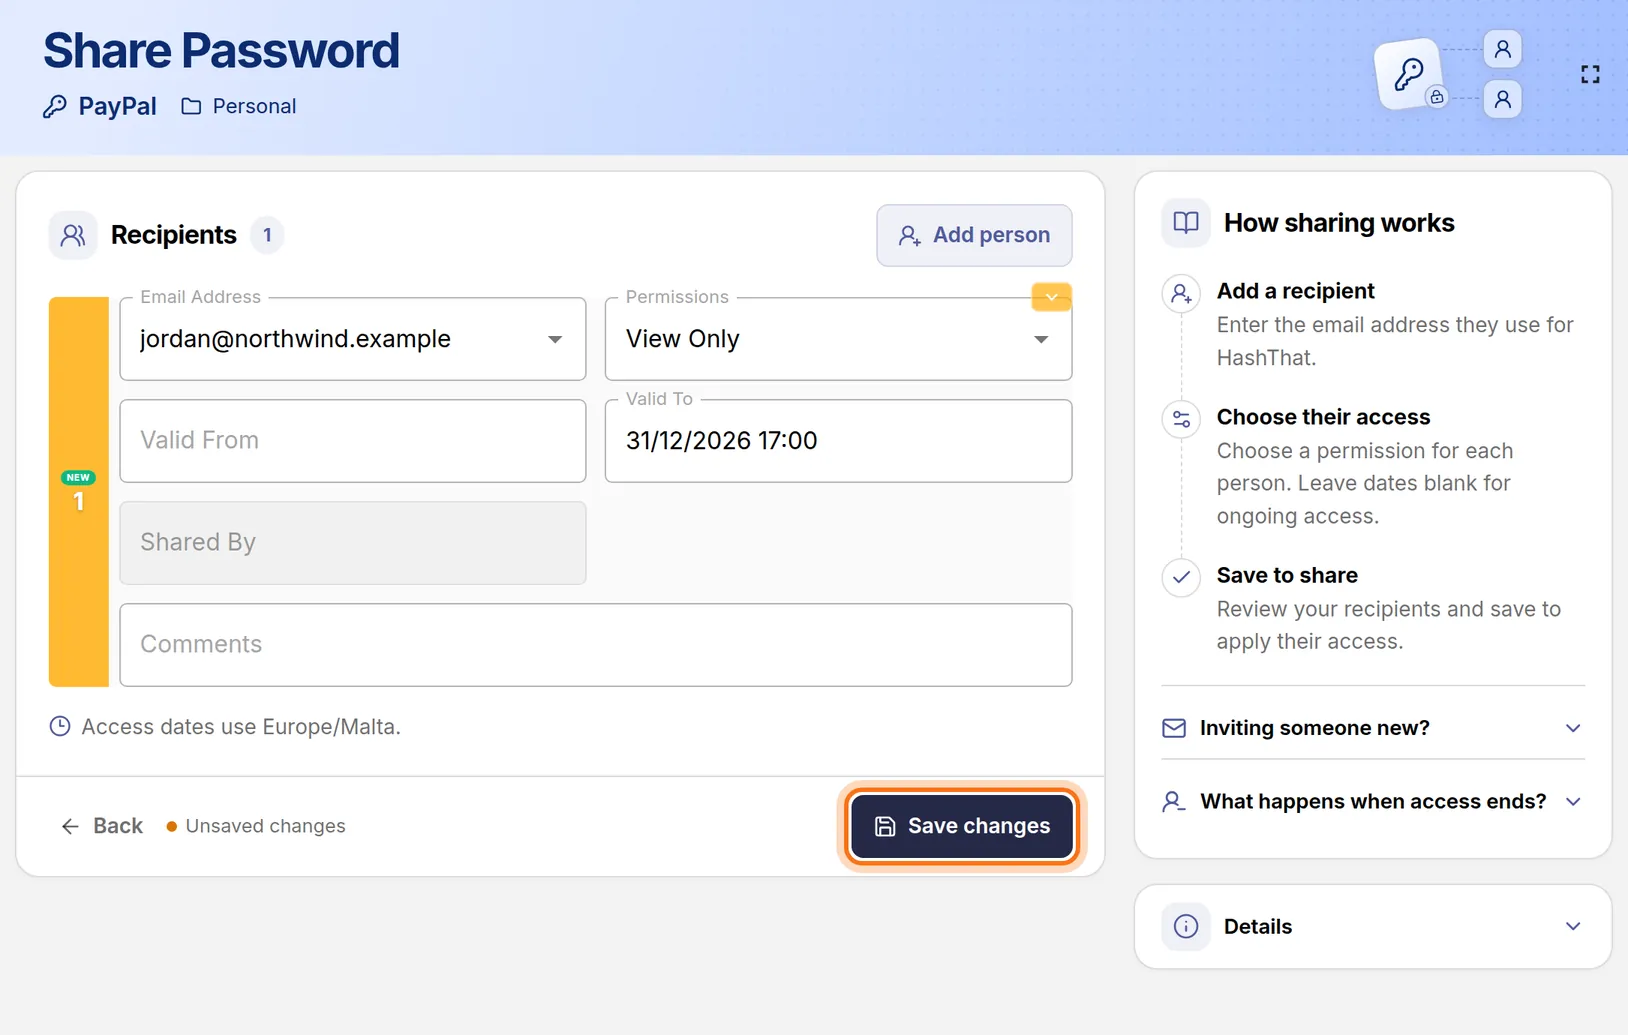
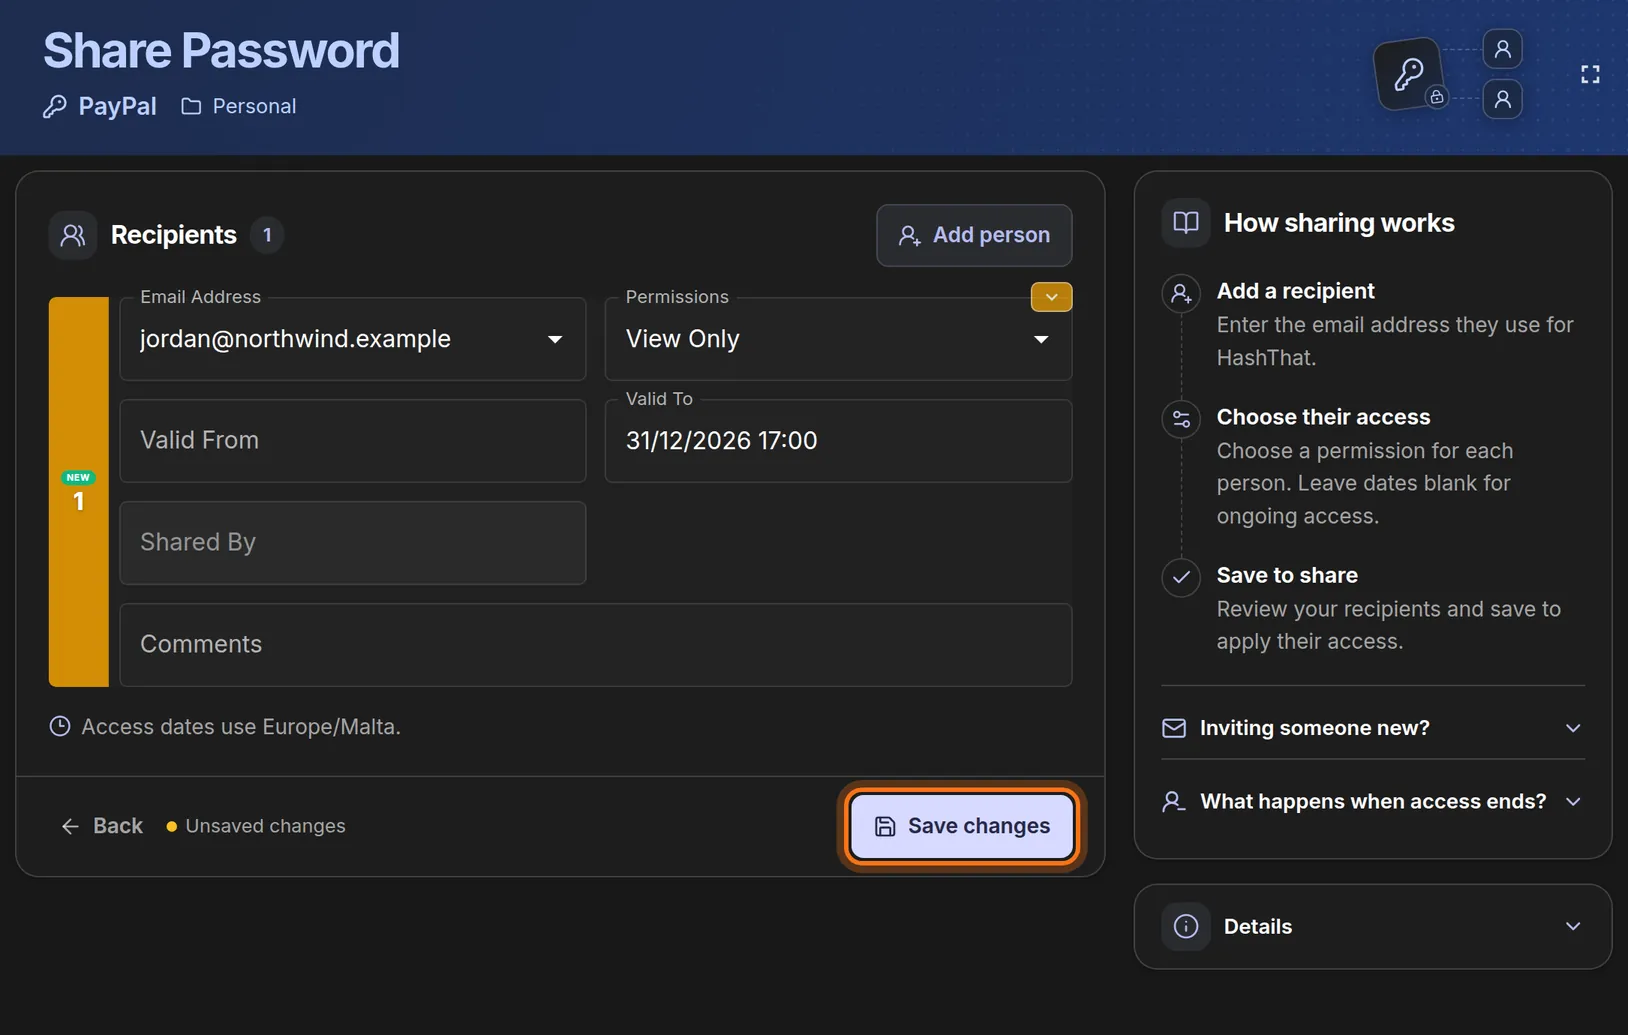
- Check the email address once more.
- Click Save changes at the bottom of the panel.
You should see: The status beside Back changes from Unsaved changes to Saved.
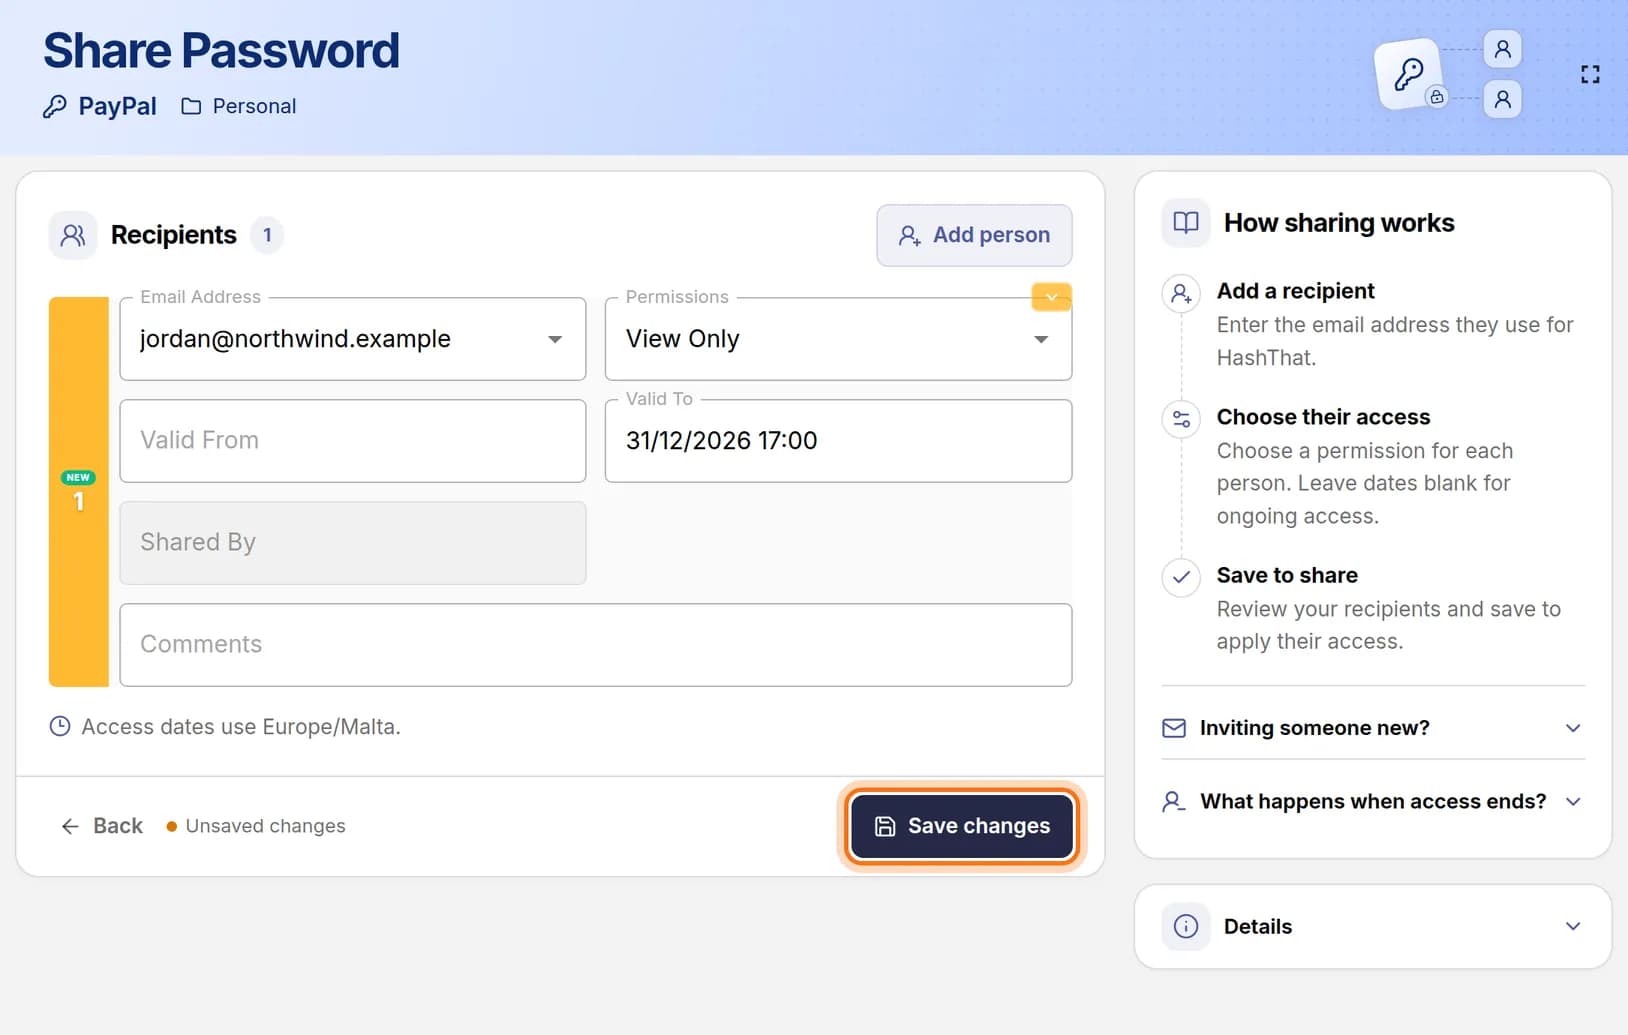 Full size
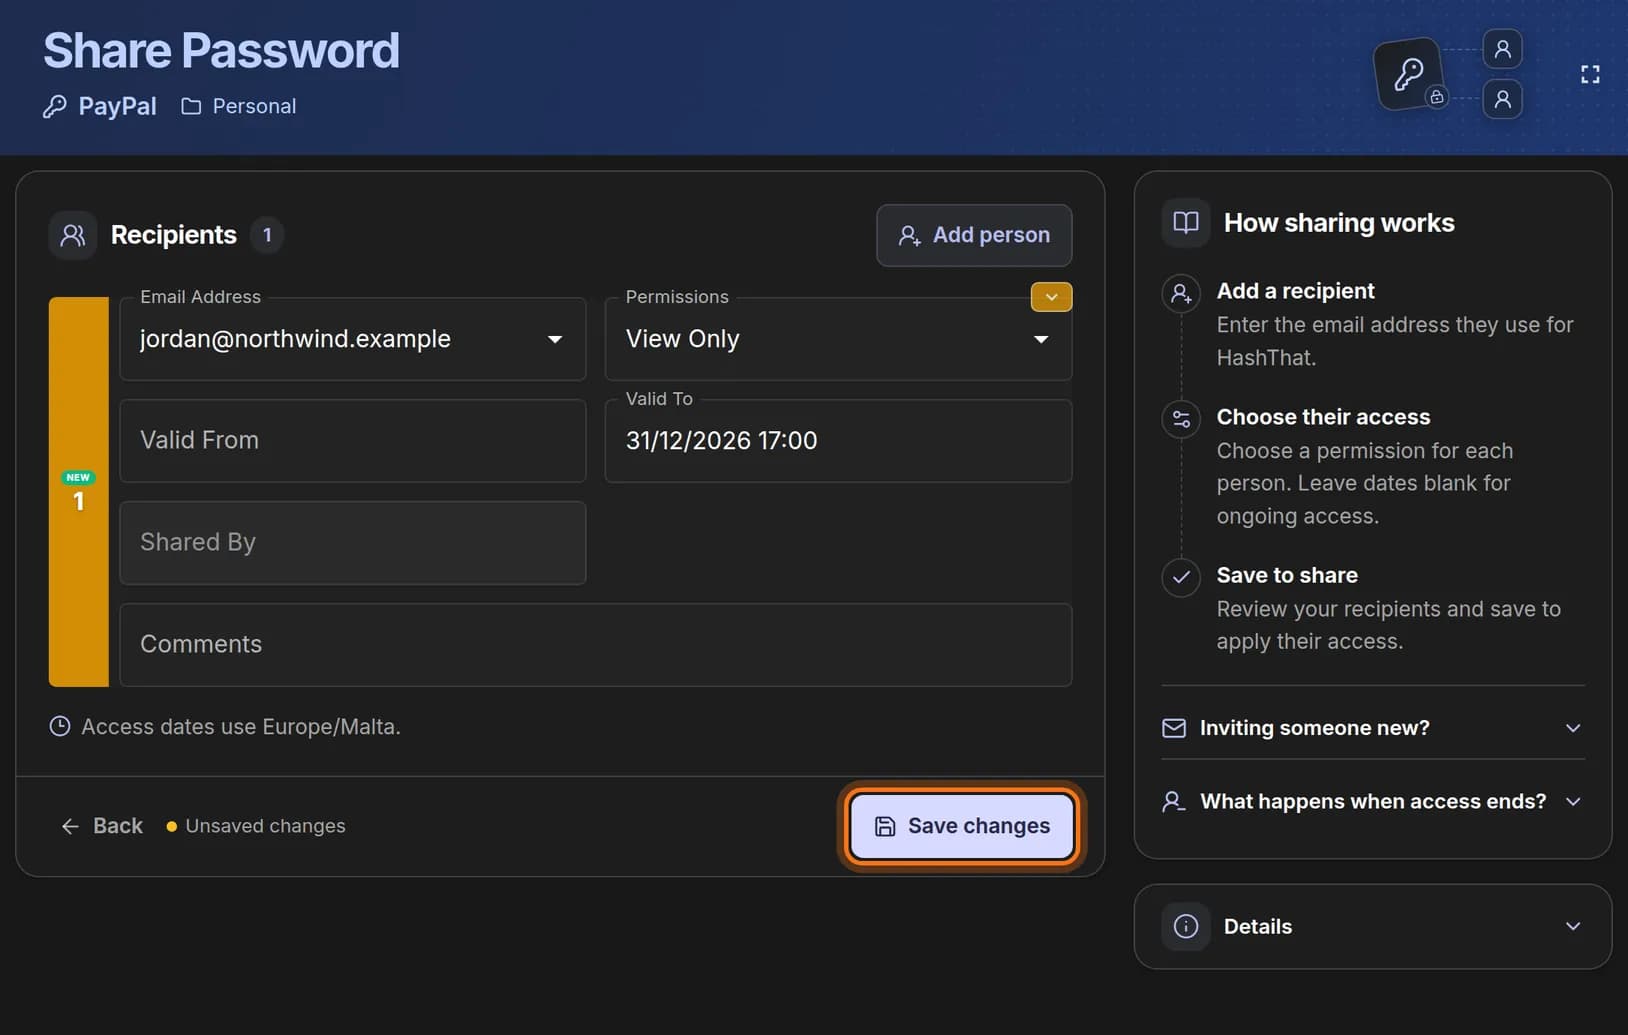 Full size
Nothing is shared until you click Save changes.
Check it worked
- Open the share page again from the card. The person’s email, permission and dates are listed.
- The other person signs in to HashThat and finds the login in their own vault.
If something looks different
The person has no HashThat account yet
Save their email anyway. HashThat sends them an invitation to sign up. When they have finished setting up with that address, come back to this page, add them again and save.
I see only one permission
The free plan shares as view only. The other permissions and the date boxes are part of Passwords Pro.
HashThat asks about unsaved changes when I leave
You added or changed a person without saving. Choose Save and continue to keep the change or Discard changes to drop it.
Tip: To stop sharing, open the share page, delete the person’s row and click Save changes. If they may have copied the password, also change it on the website itself.