Save your first login
Add one username and password to your vault, step by step, then find it again.
- 9 steps
- About 3 minutes
Before you start
- You are signed in to HashThat in your web browser.
- You have one login you already use, such as your email account: its email or username, and its password.
- The free plan is enough. It holds up to 20 passwords.
Step 1: Open the New Password form
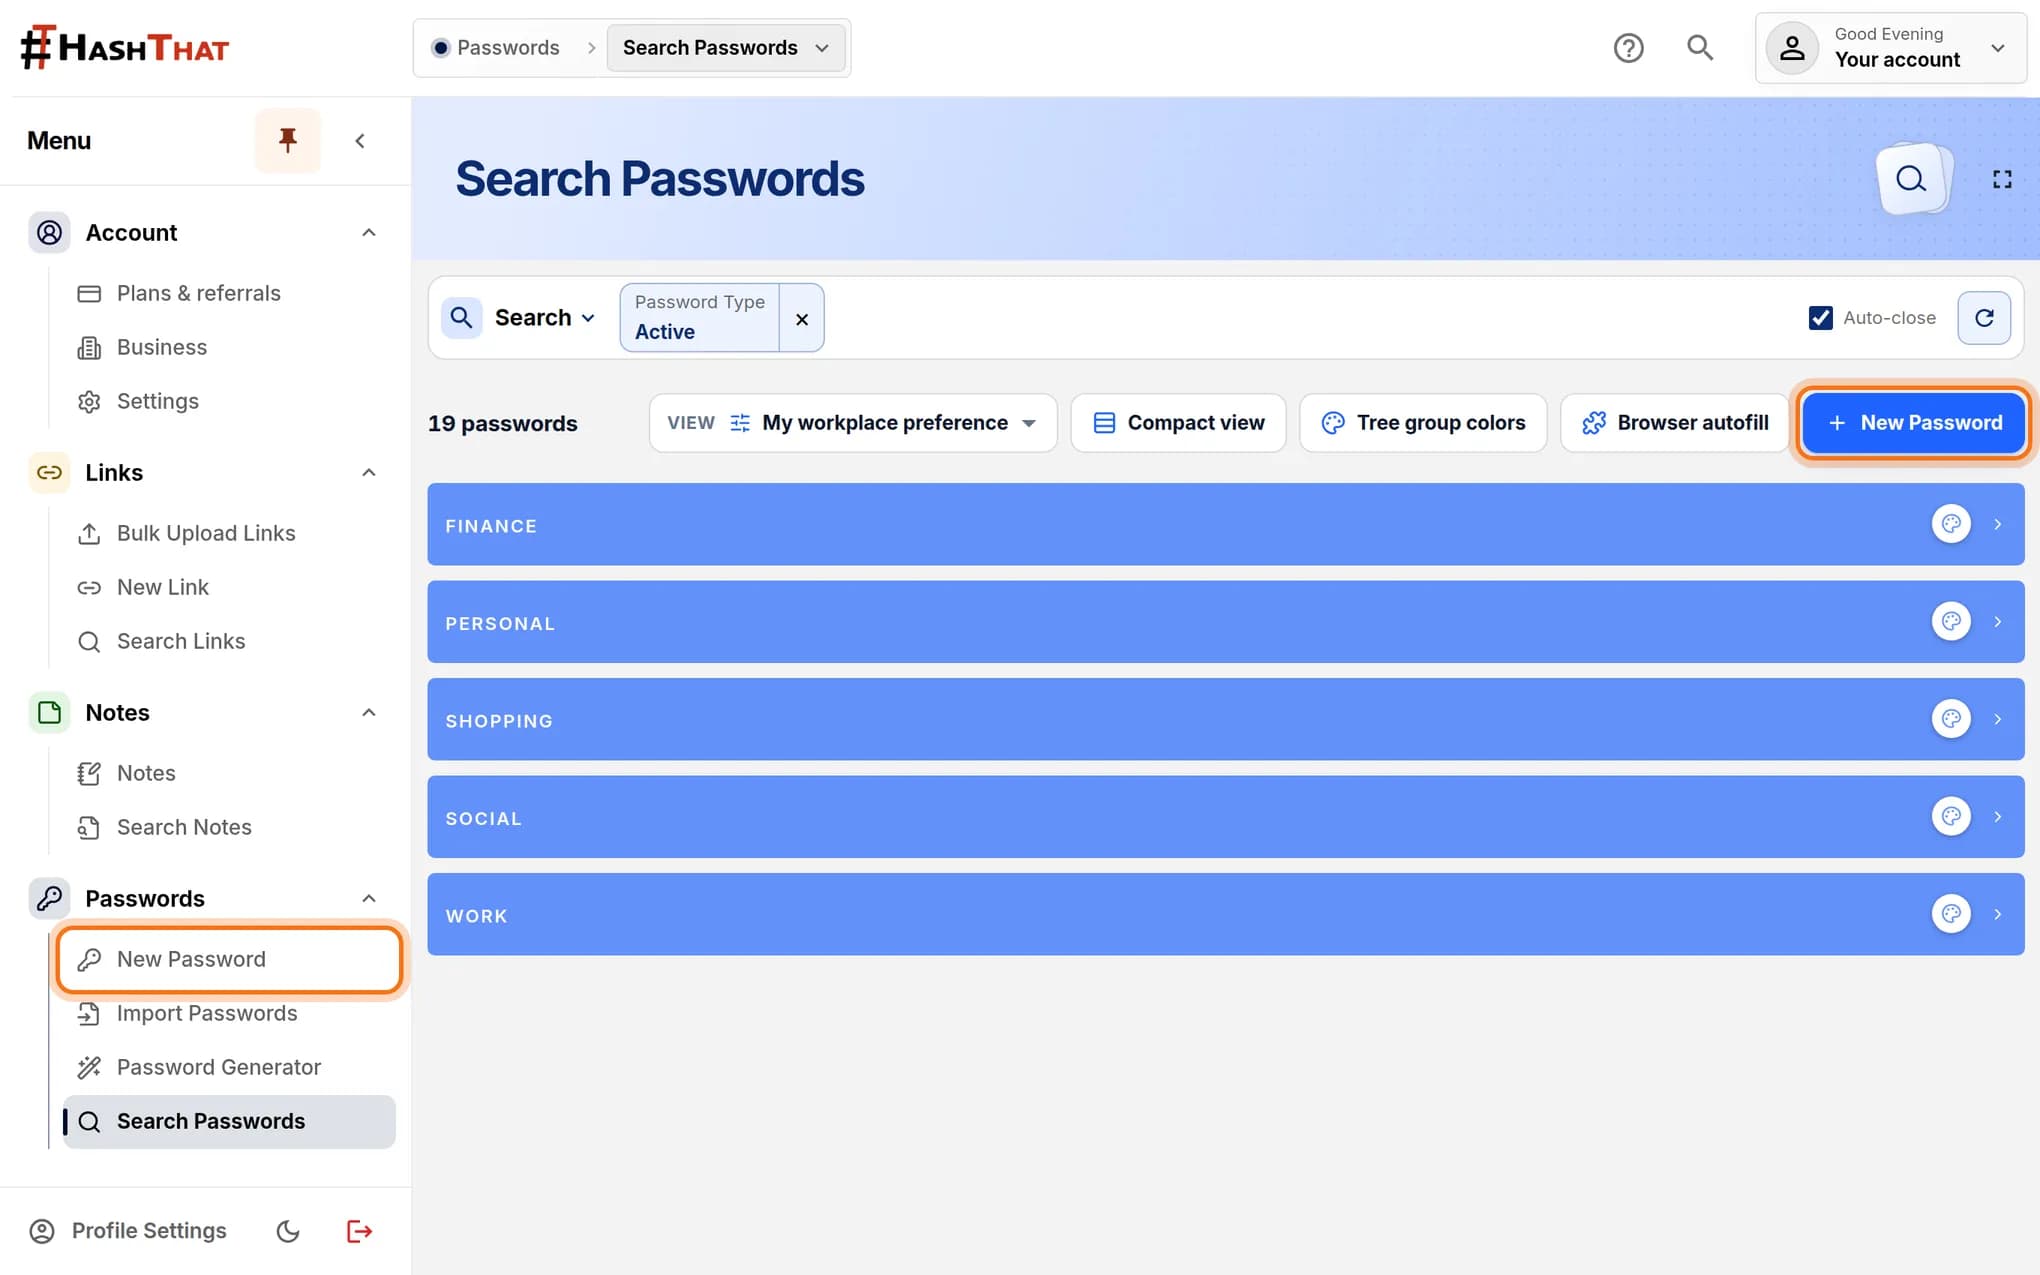
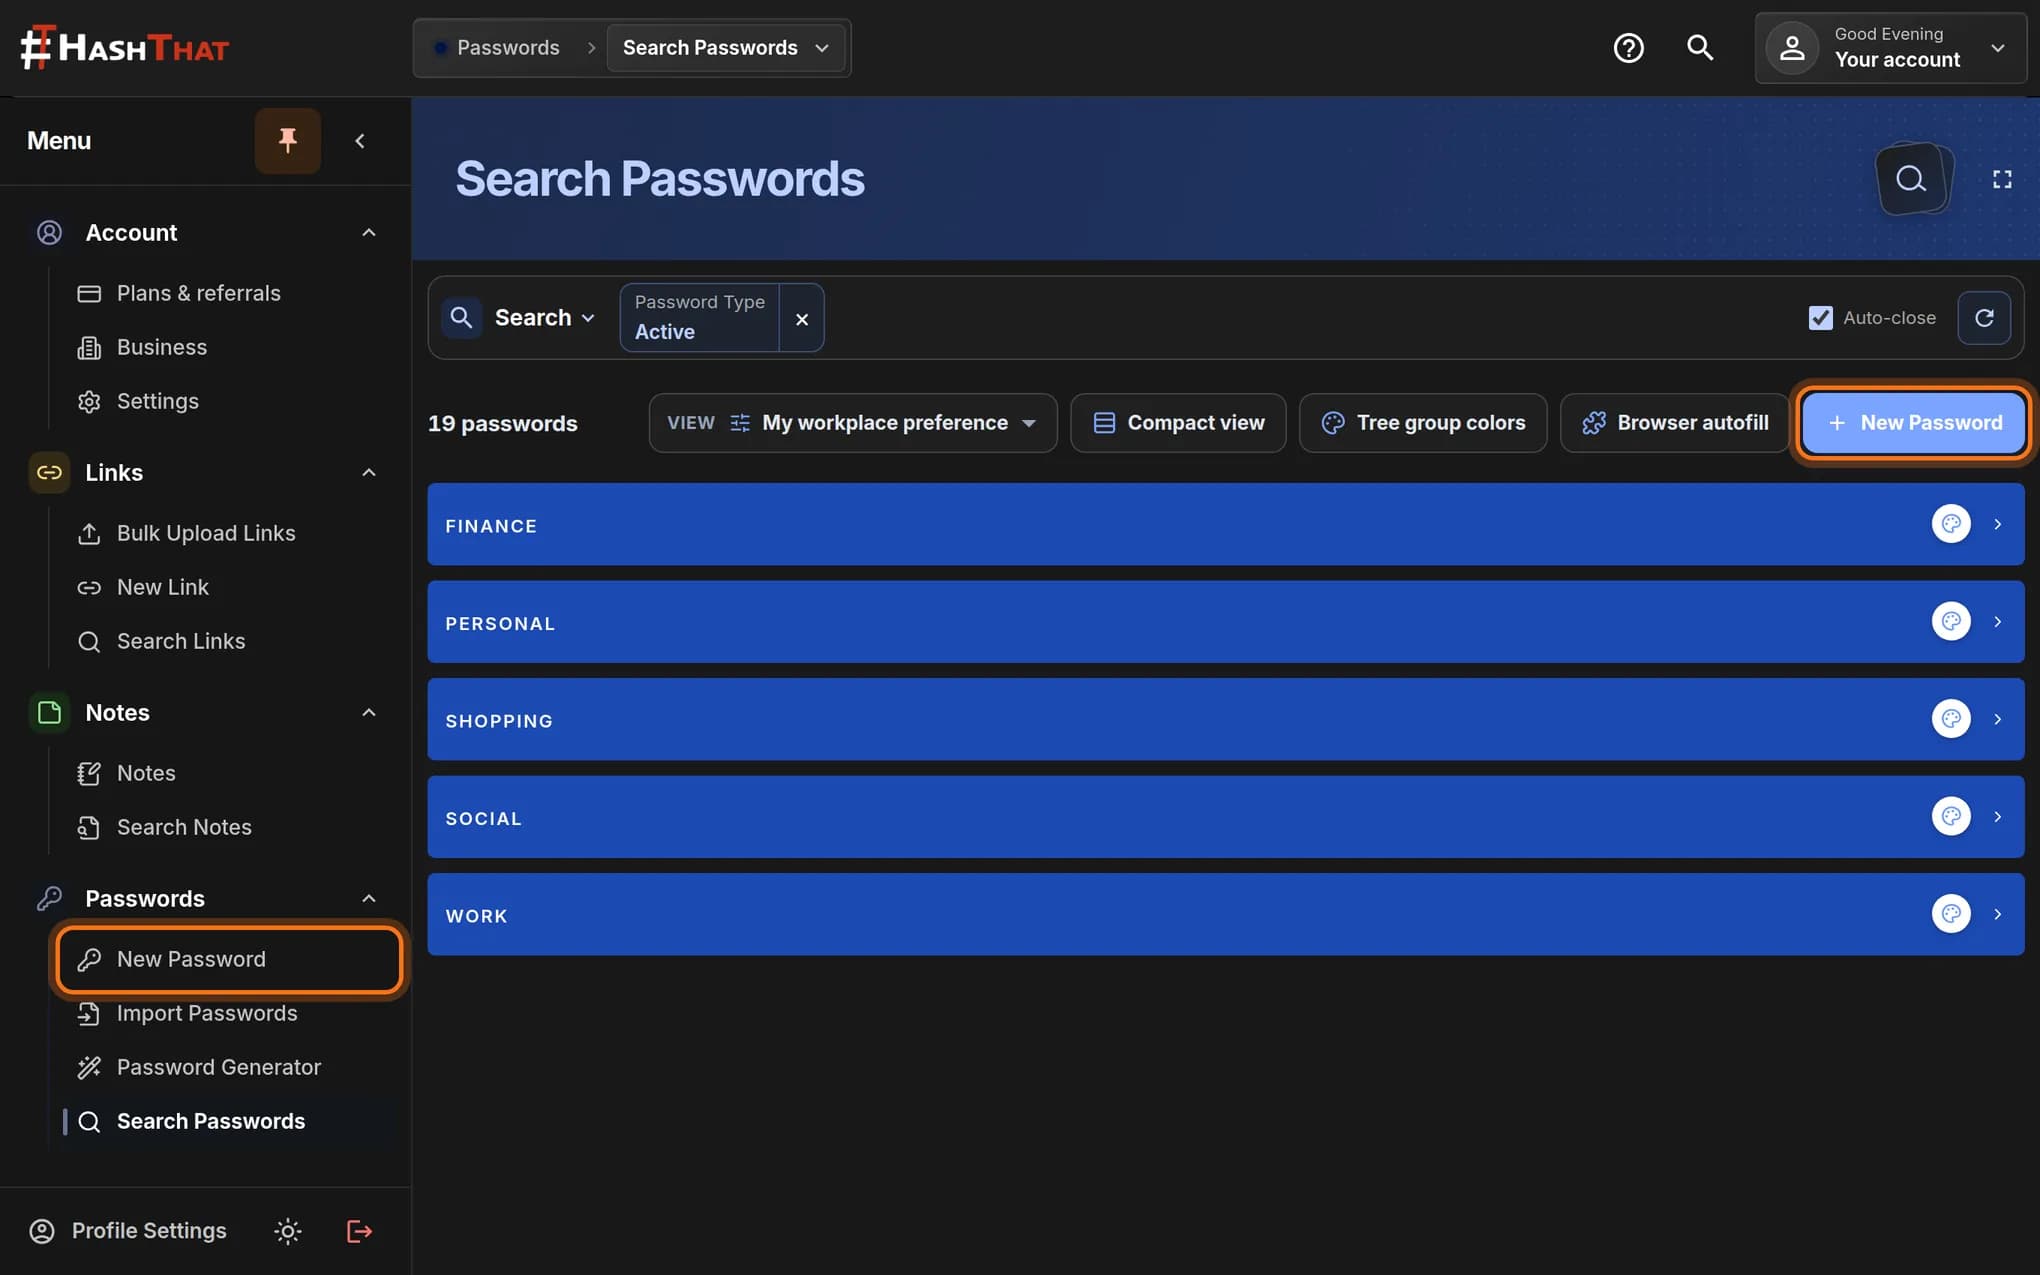
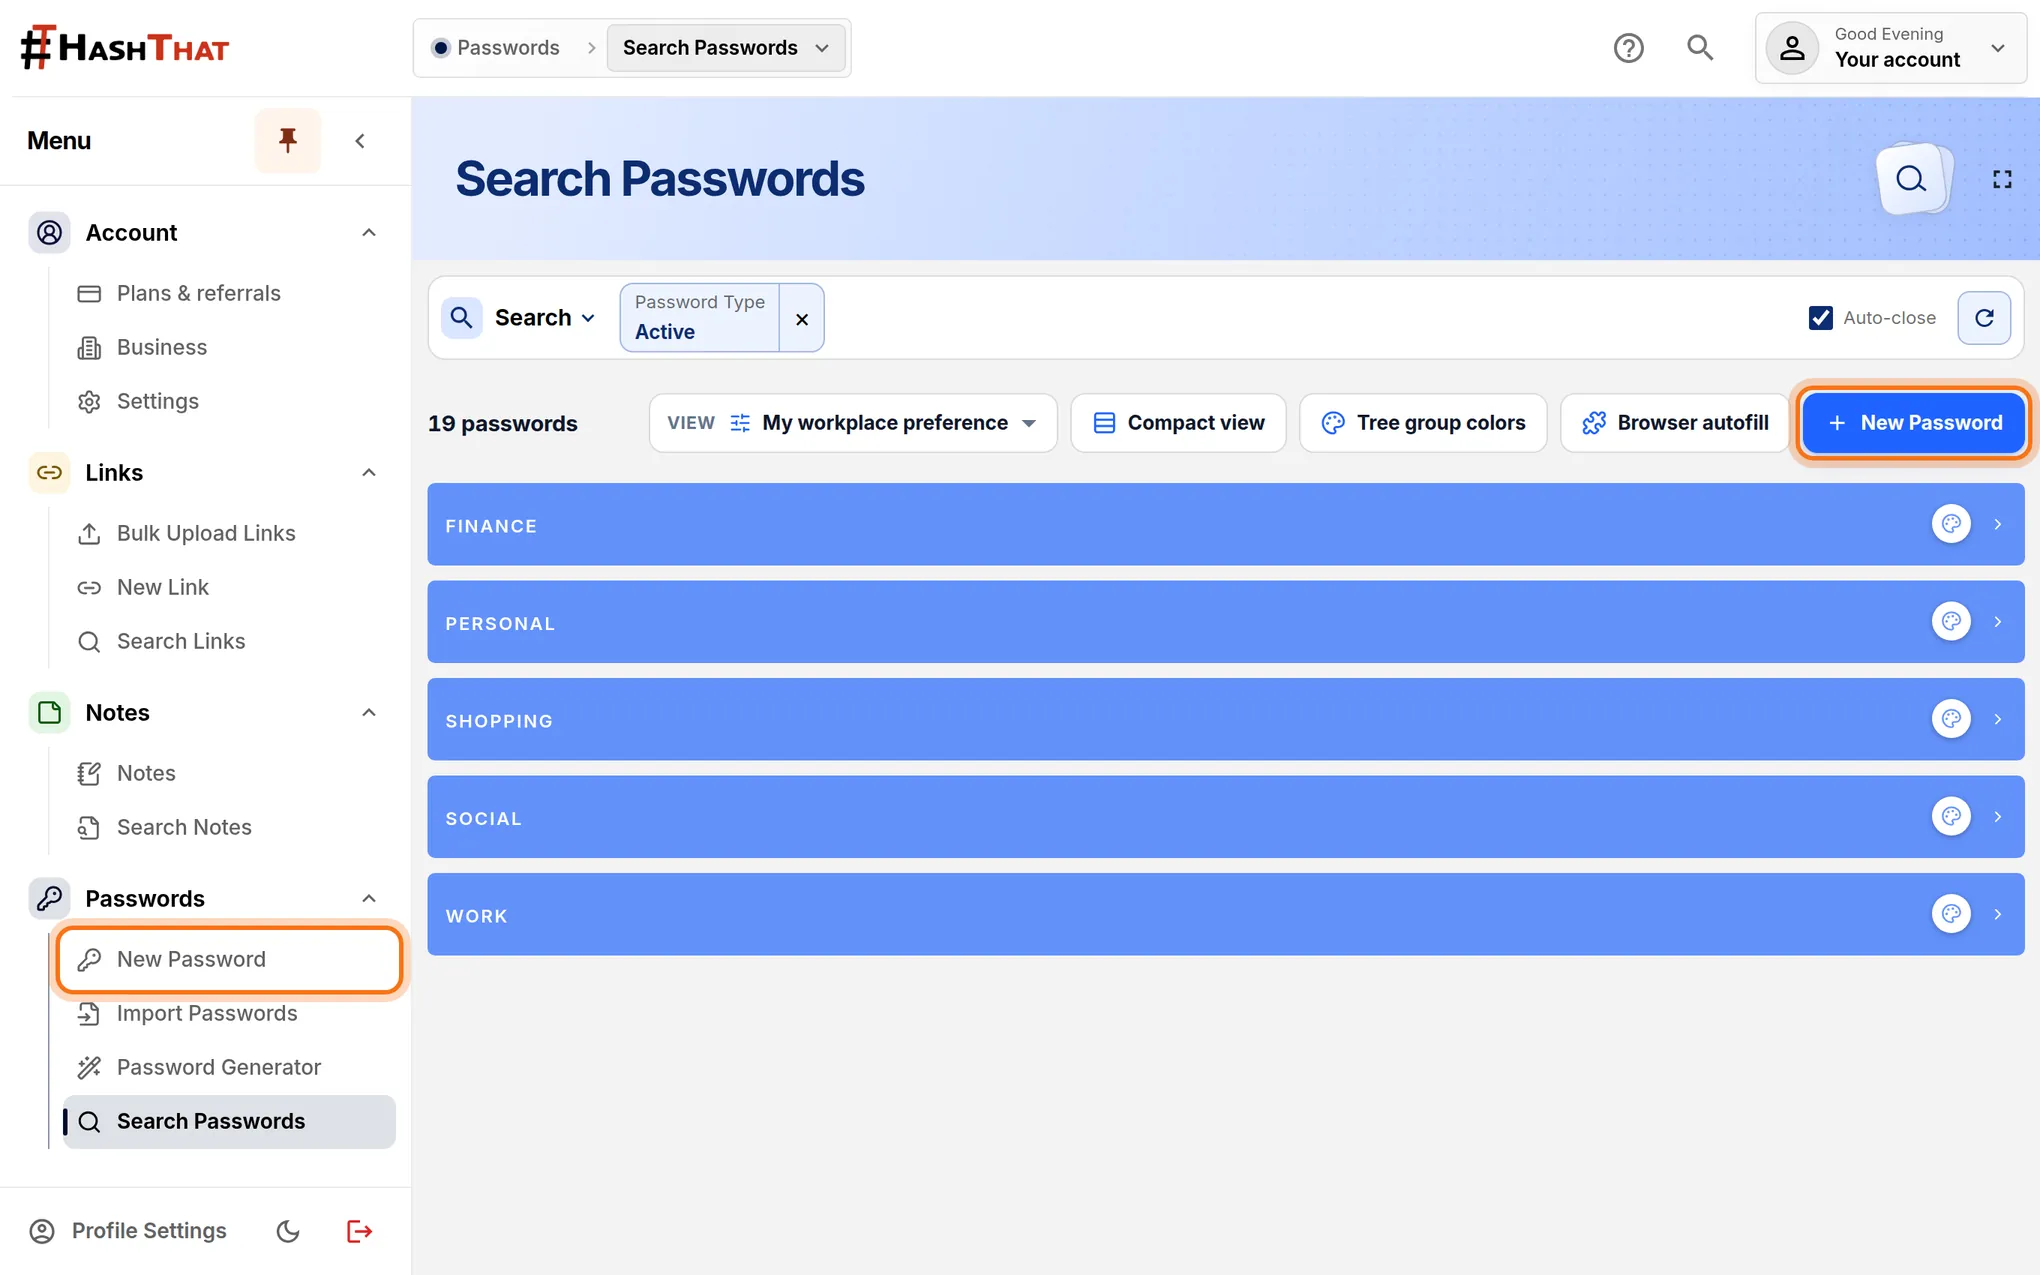
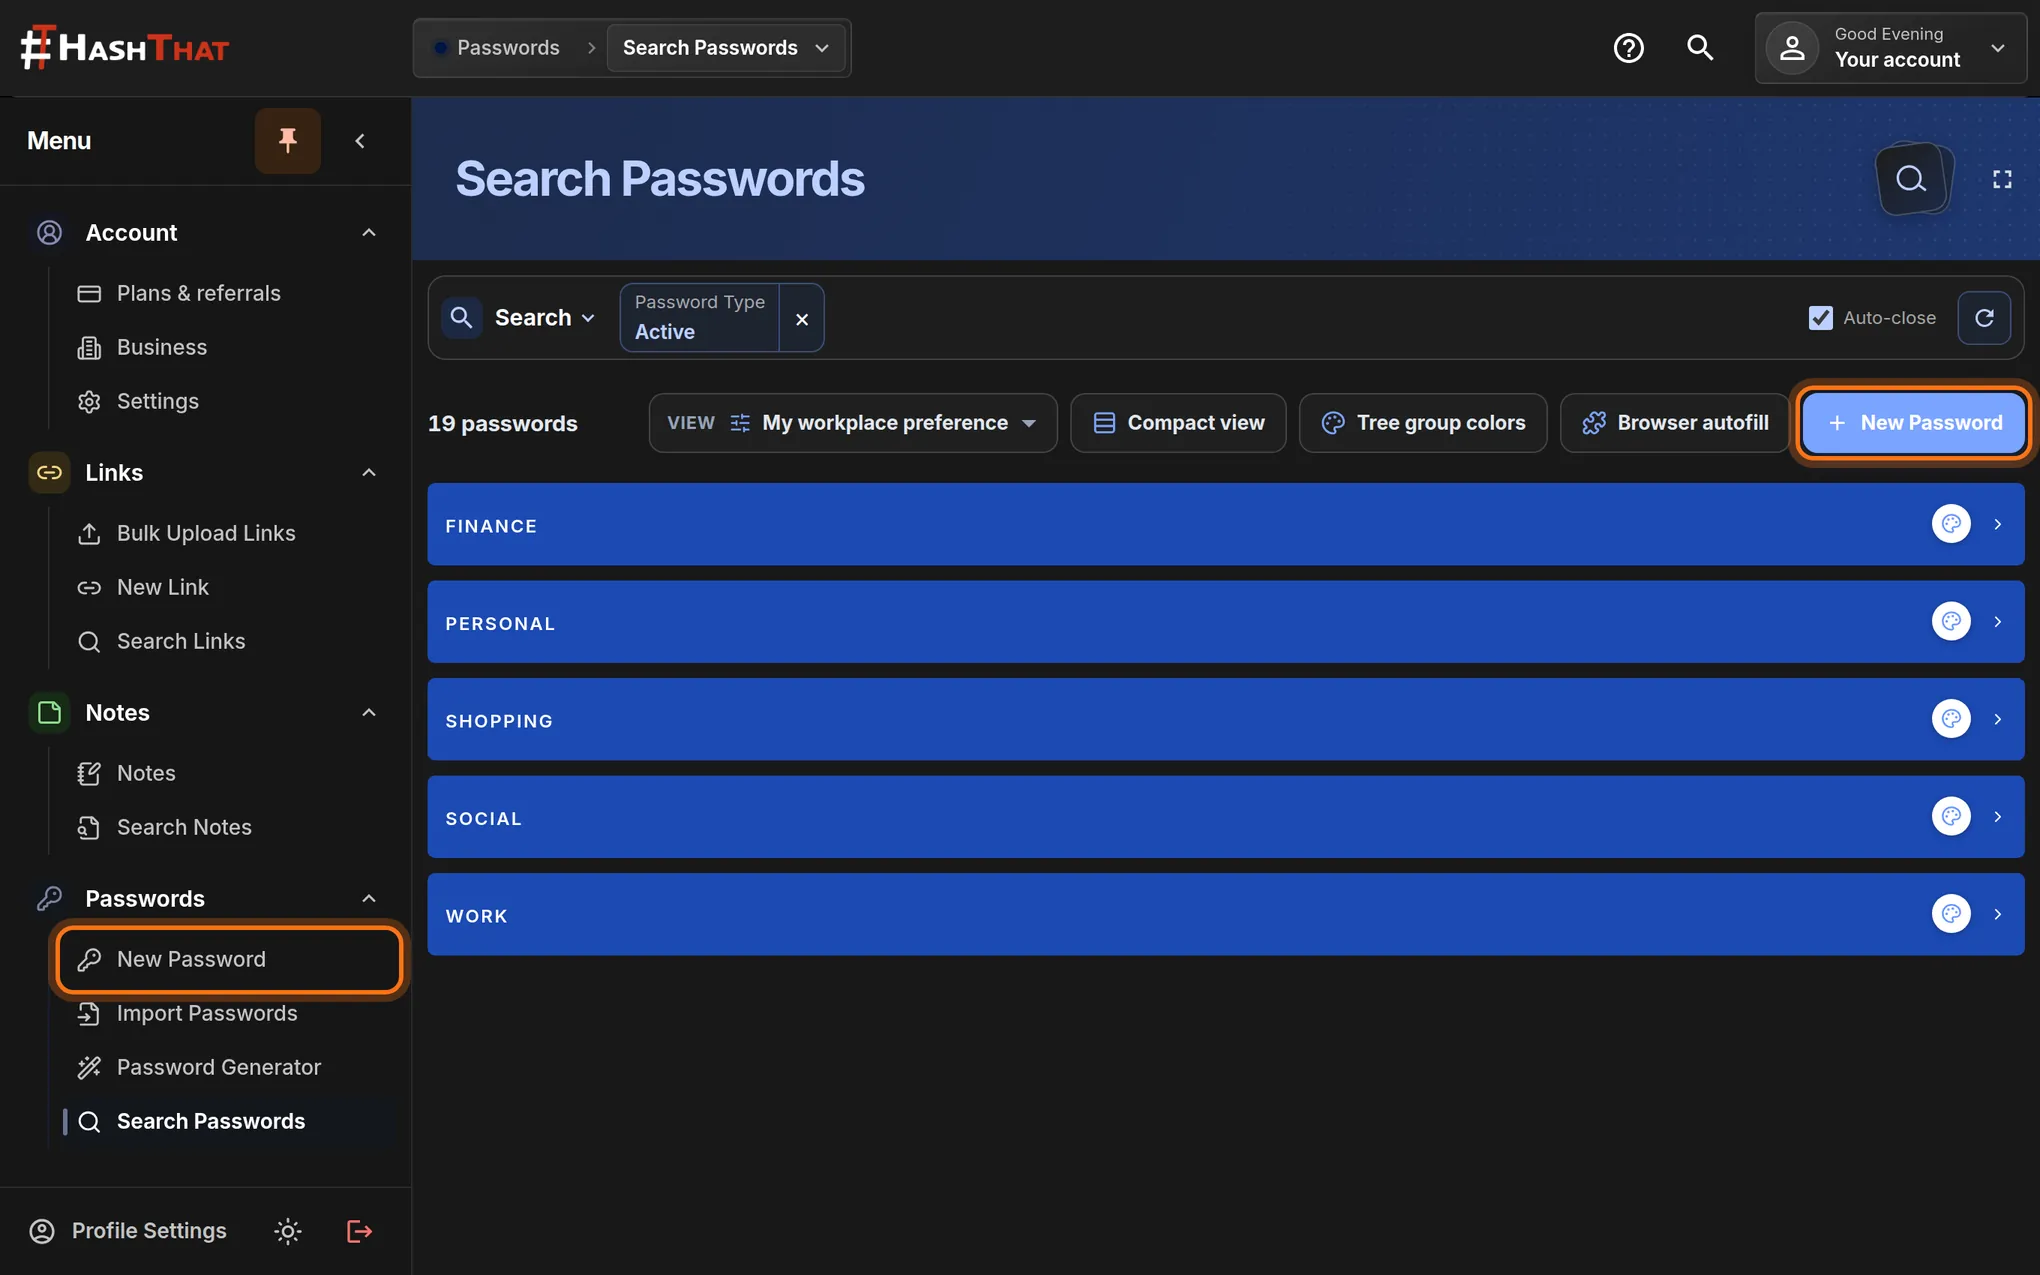
- Look at the menu on the left side of the screen.
- Under Passwords, click New Password.
- If you are already on Search Passwords, the blue New Password button at the top right does the same thing.
You should see: A page titled New Password with empty boxes.
 Full size
 Full size
Either highlighted control opens the same form. Step 2: Give the login a name
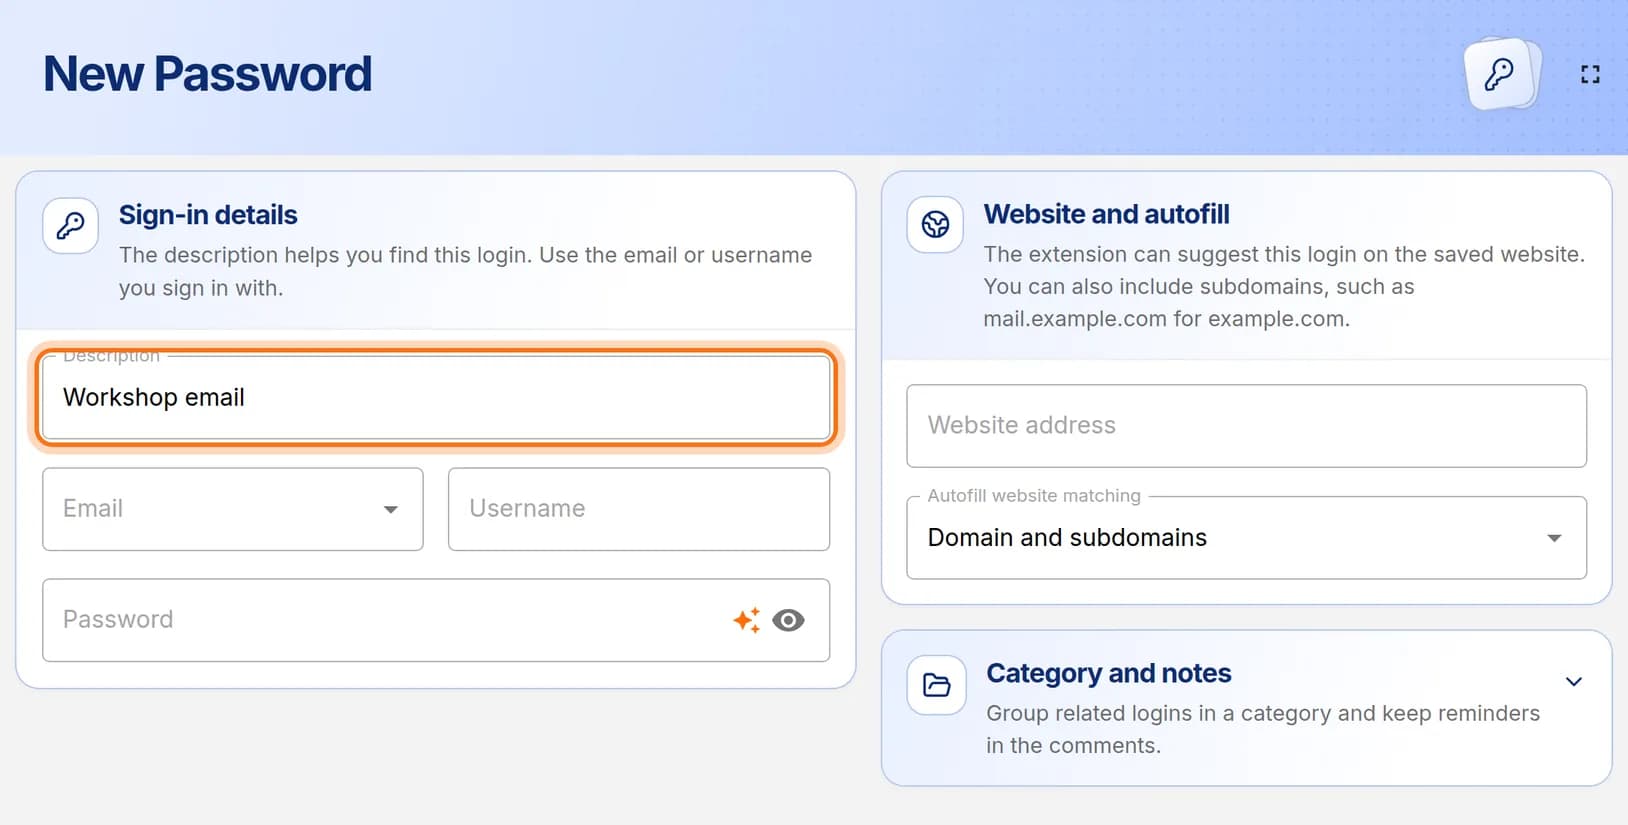
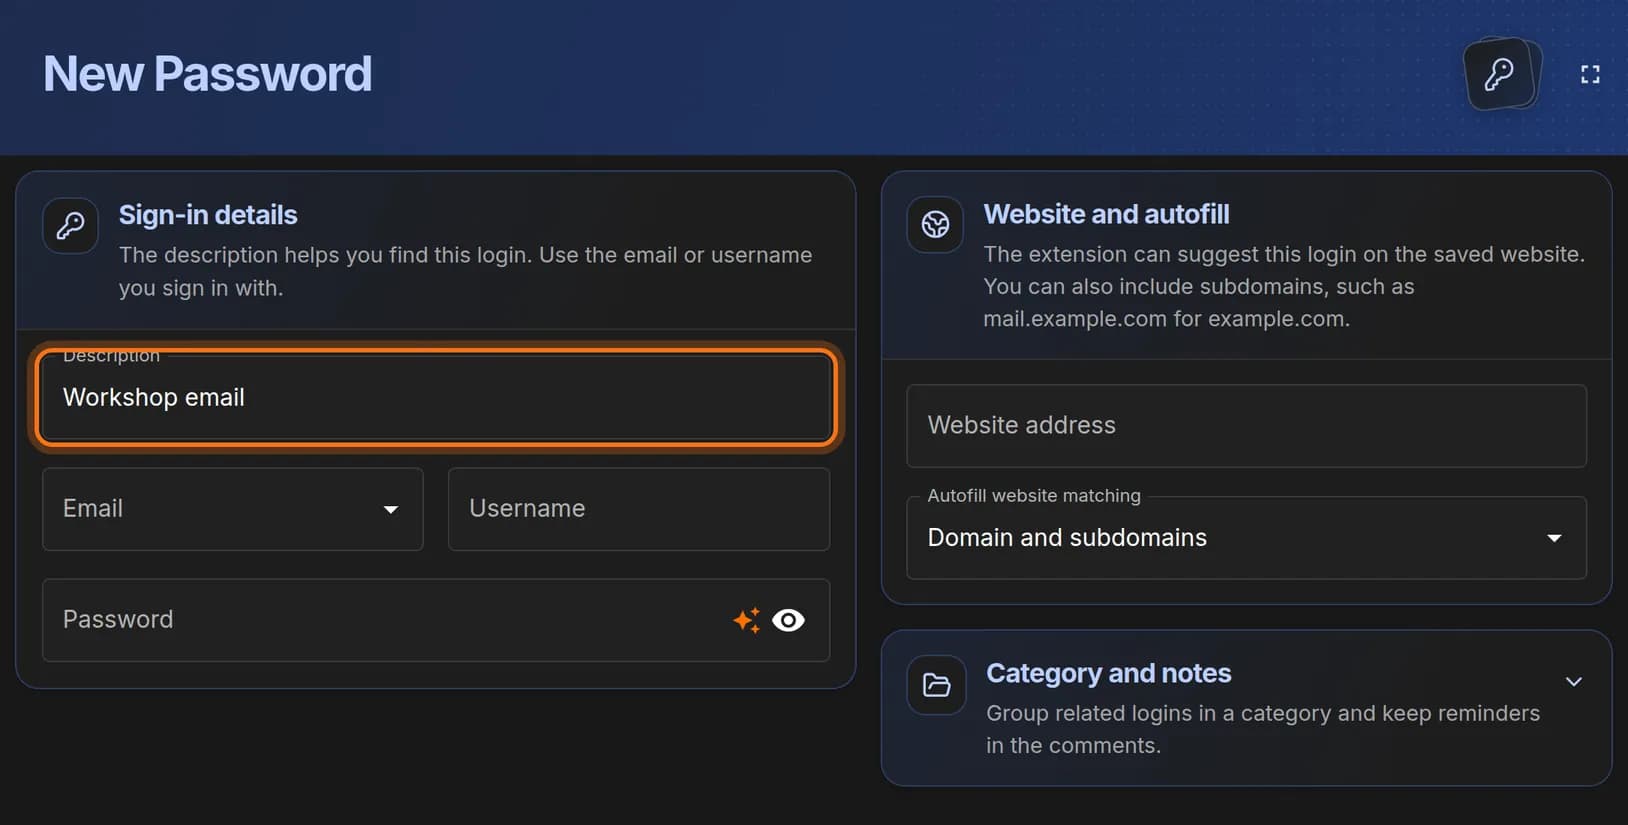
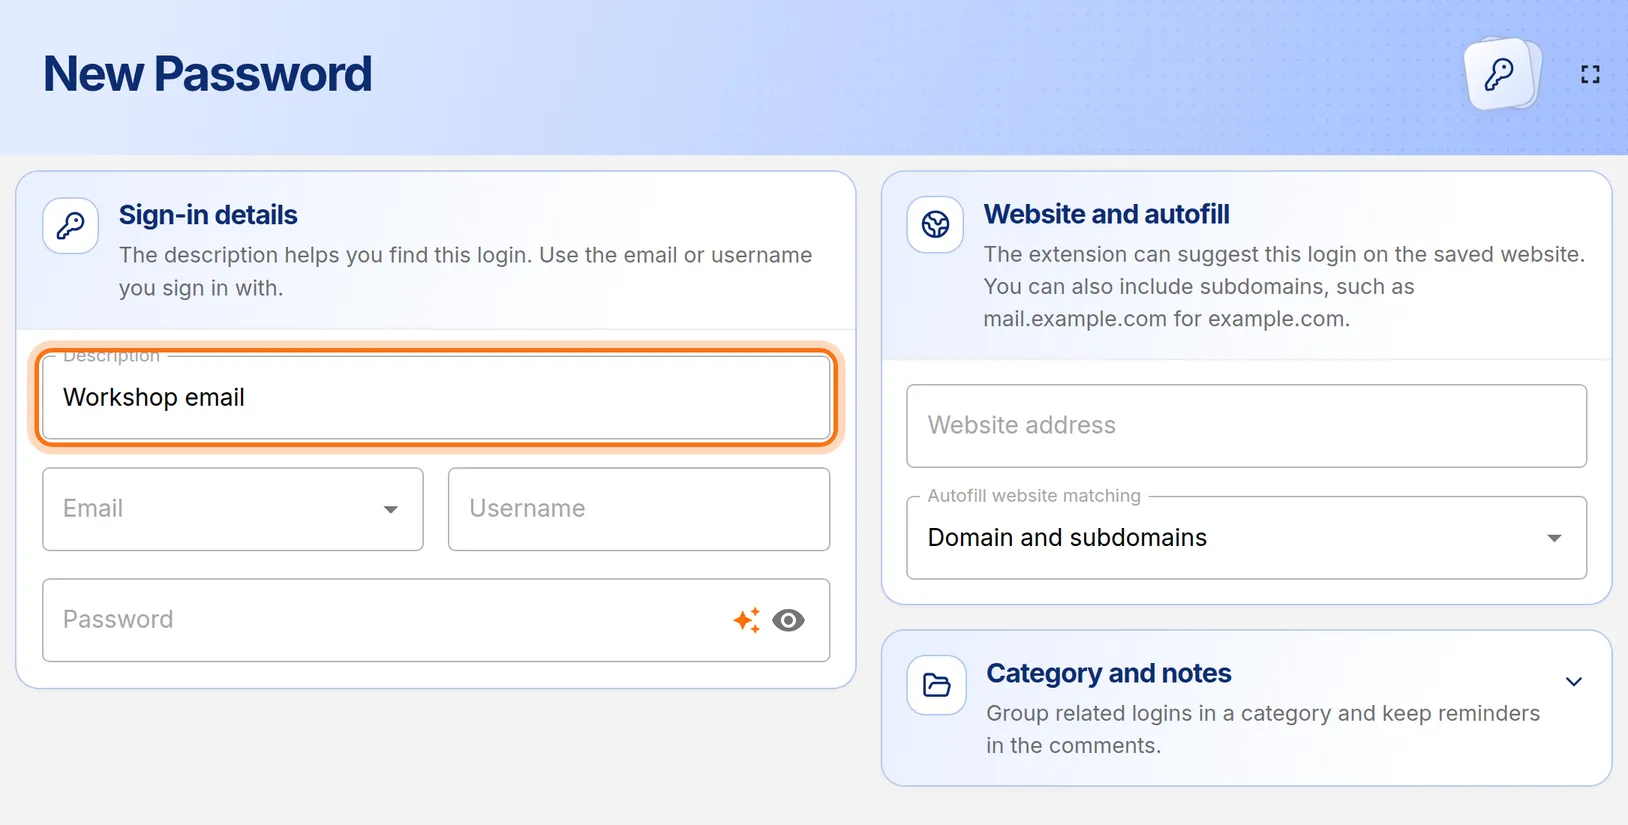
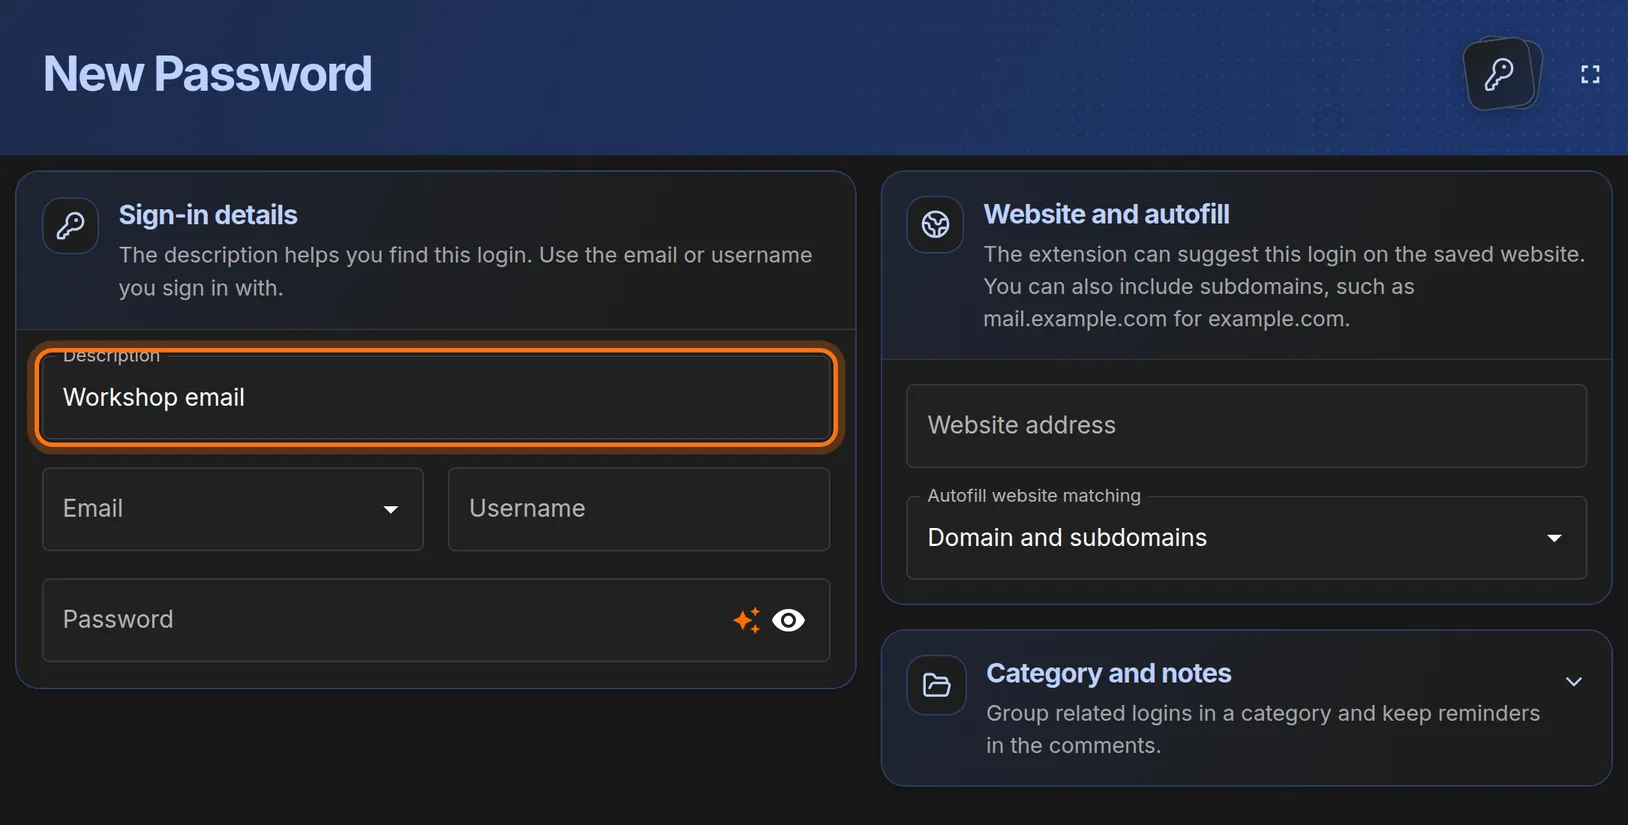
- Click the first box, Description.
- Type a name you will recognise later. This example uses Workshop email.
You should see: Your name in the Description box.
 Full size
 Full size
The description is the title you will search for later. If you have two accounts on the same website, give each its own name, such as “Workshop email” and “Personal email”.
Step 3: Enter how you sign in
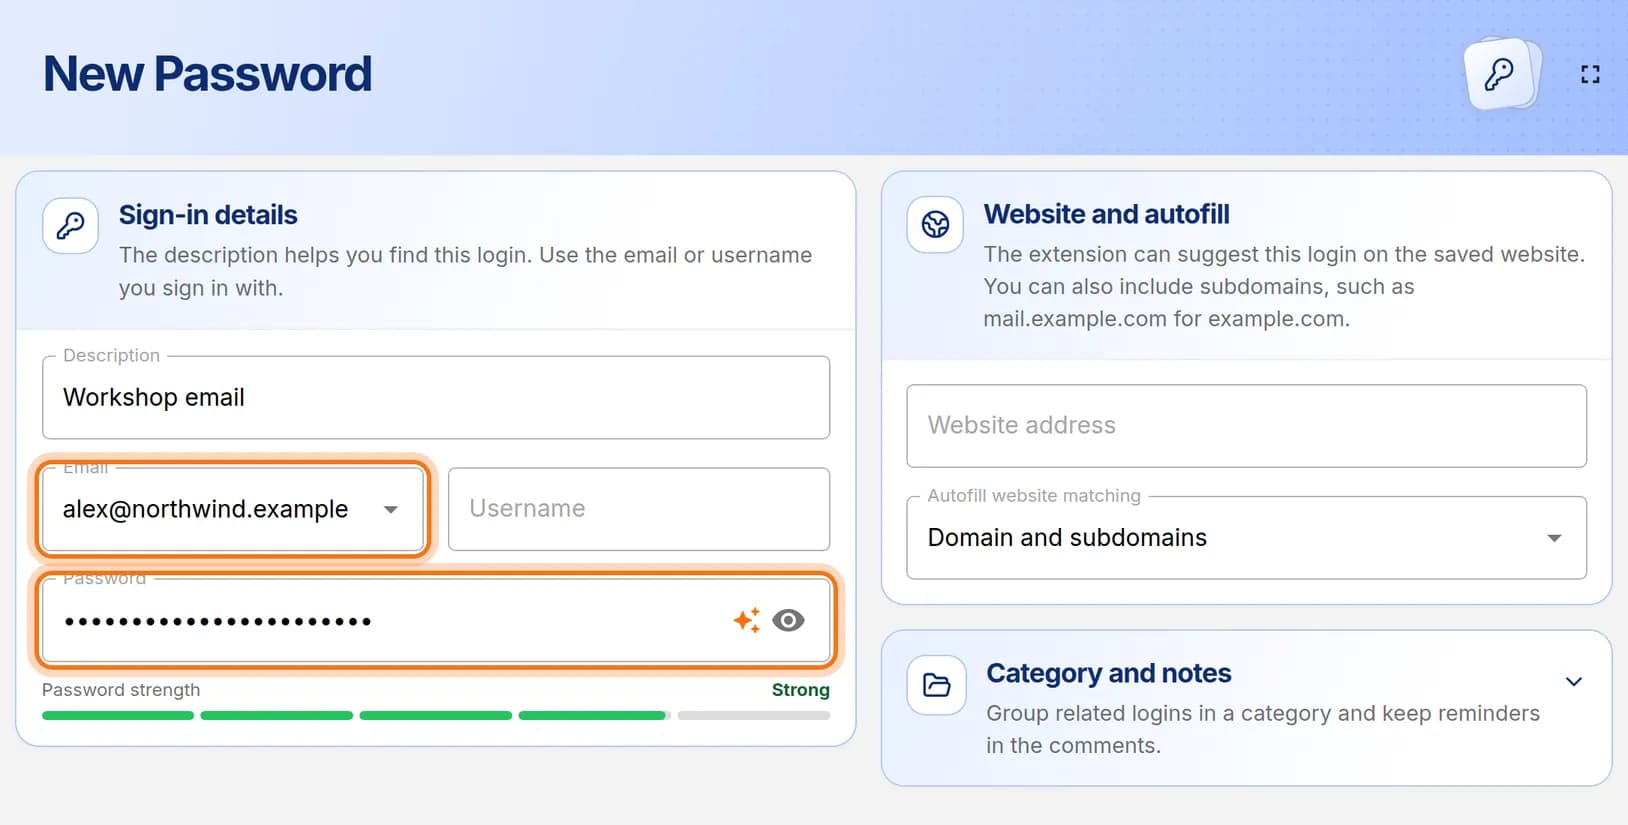
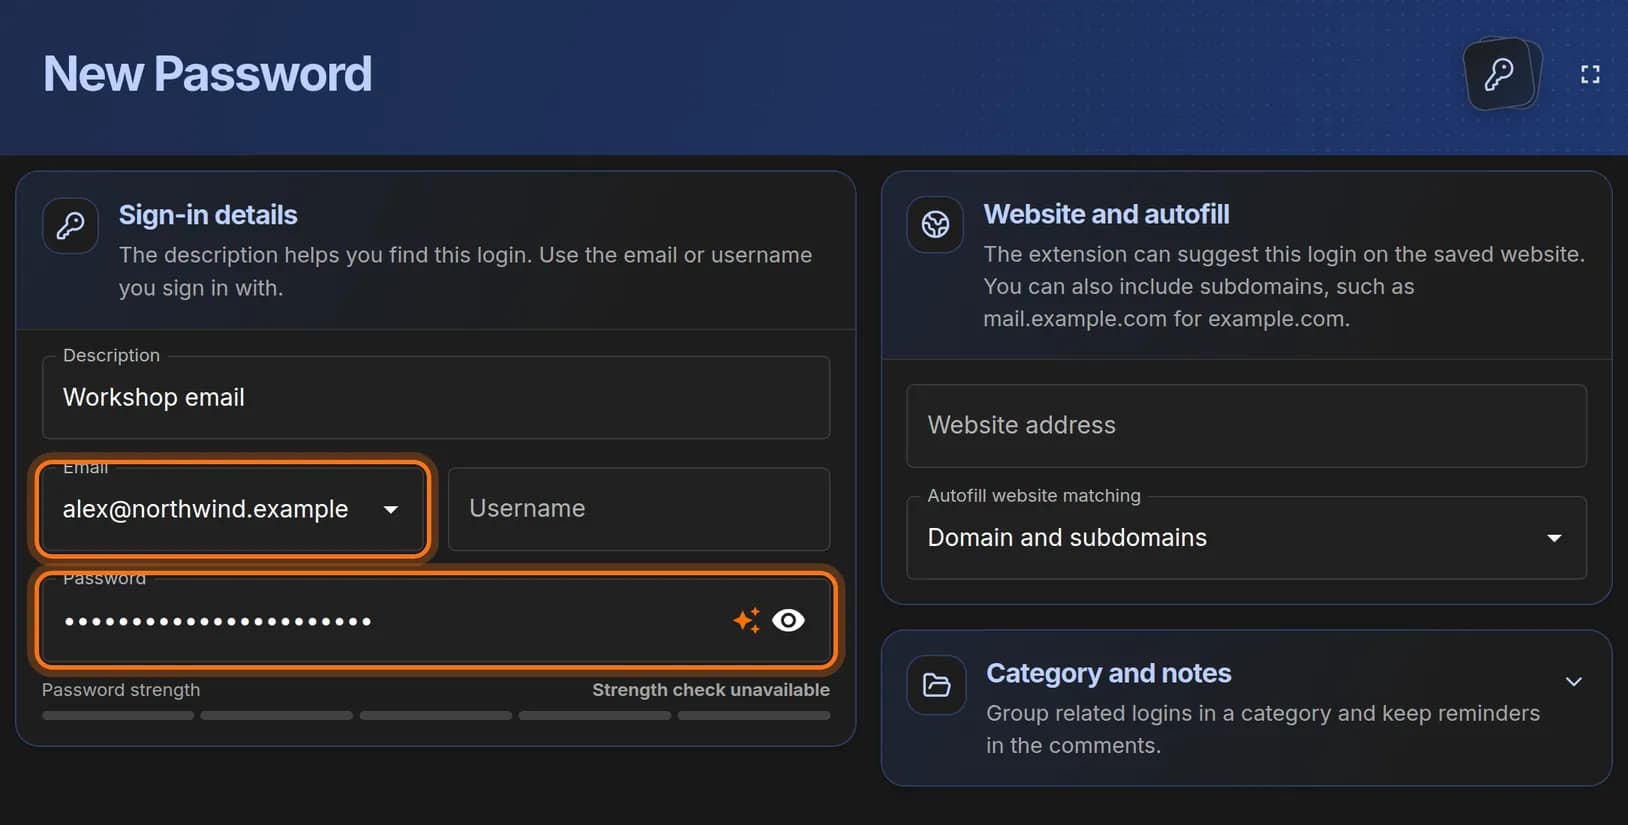
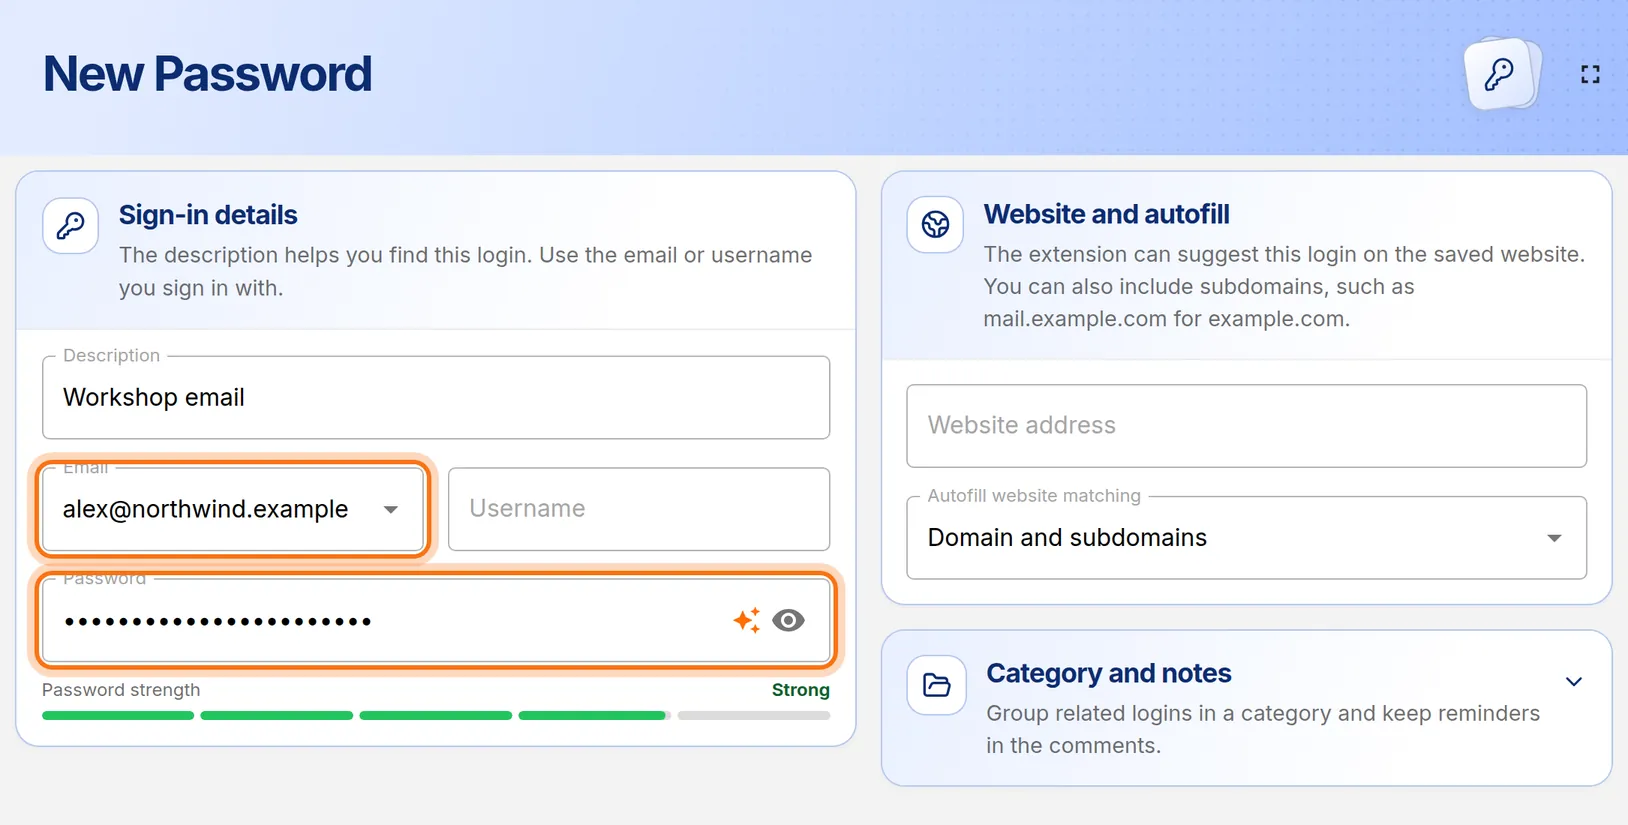
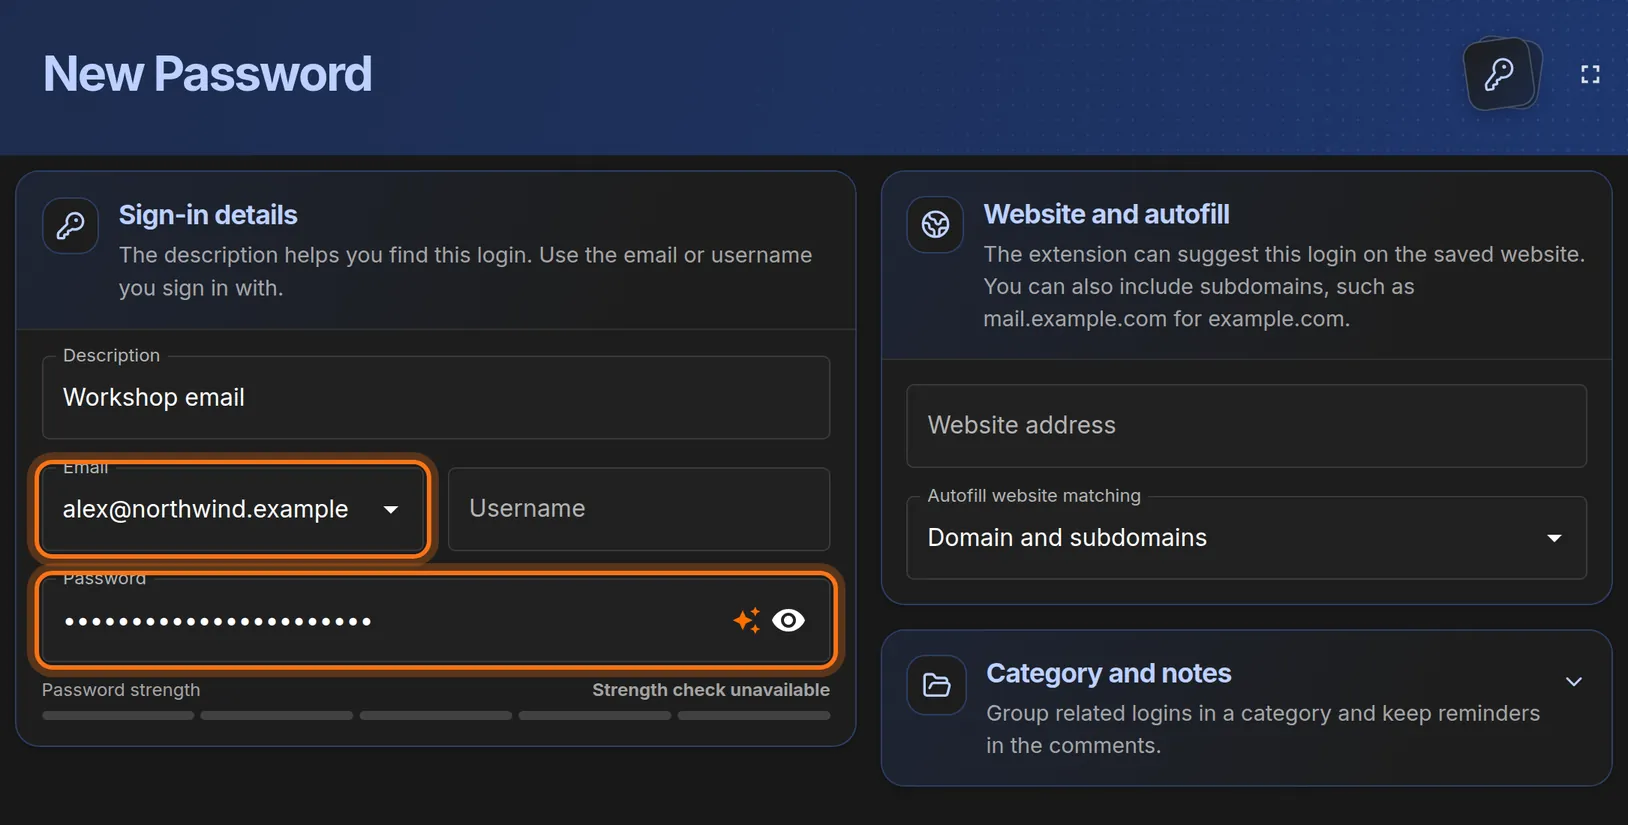
- Click Email and type the email address you use for this account.
- If the website asks for a username instead, type it in Username. You can fill in both.
- Click Password and type the password you use for this account today.
You should see: Dots in place of the password, and a Password strength bar underneath.
 Full size
 Full size
The password is hidden as dots. The eye icon in the box shows it if you want to check your typing. Step 4: Add the website address
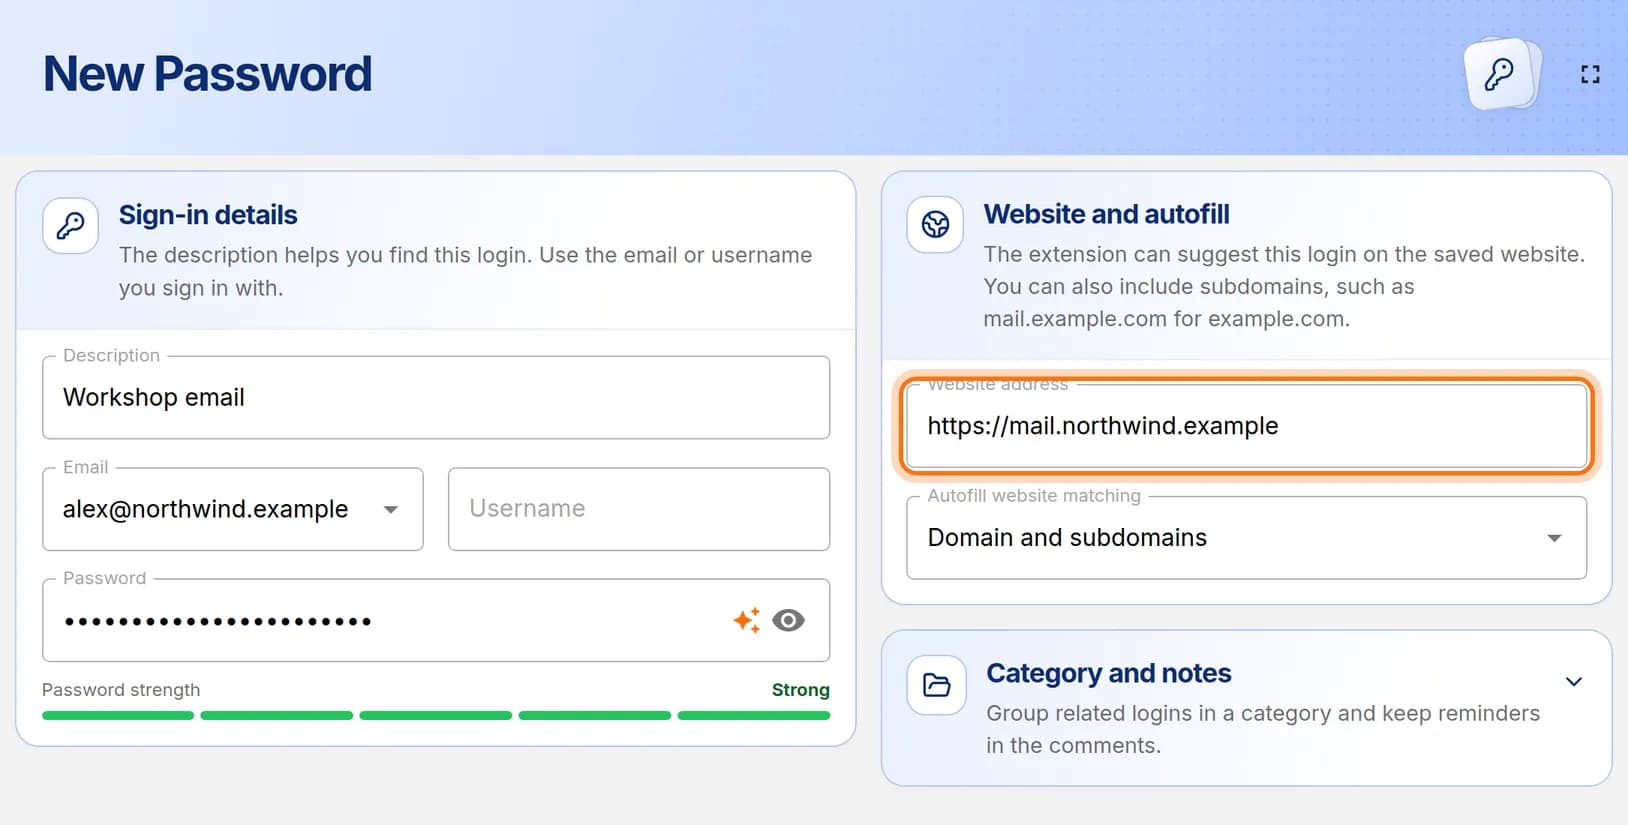
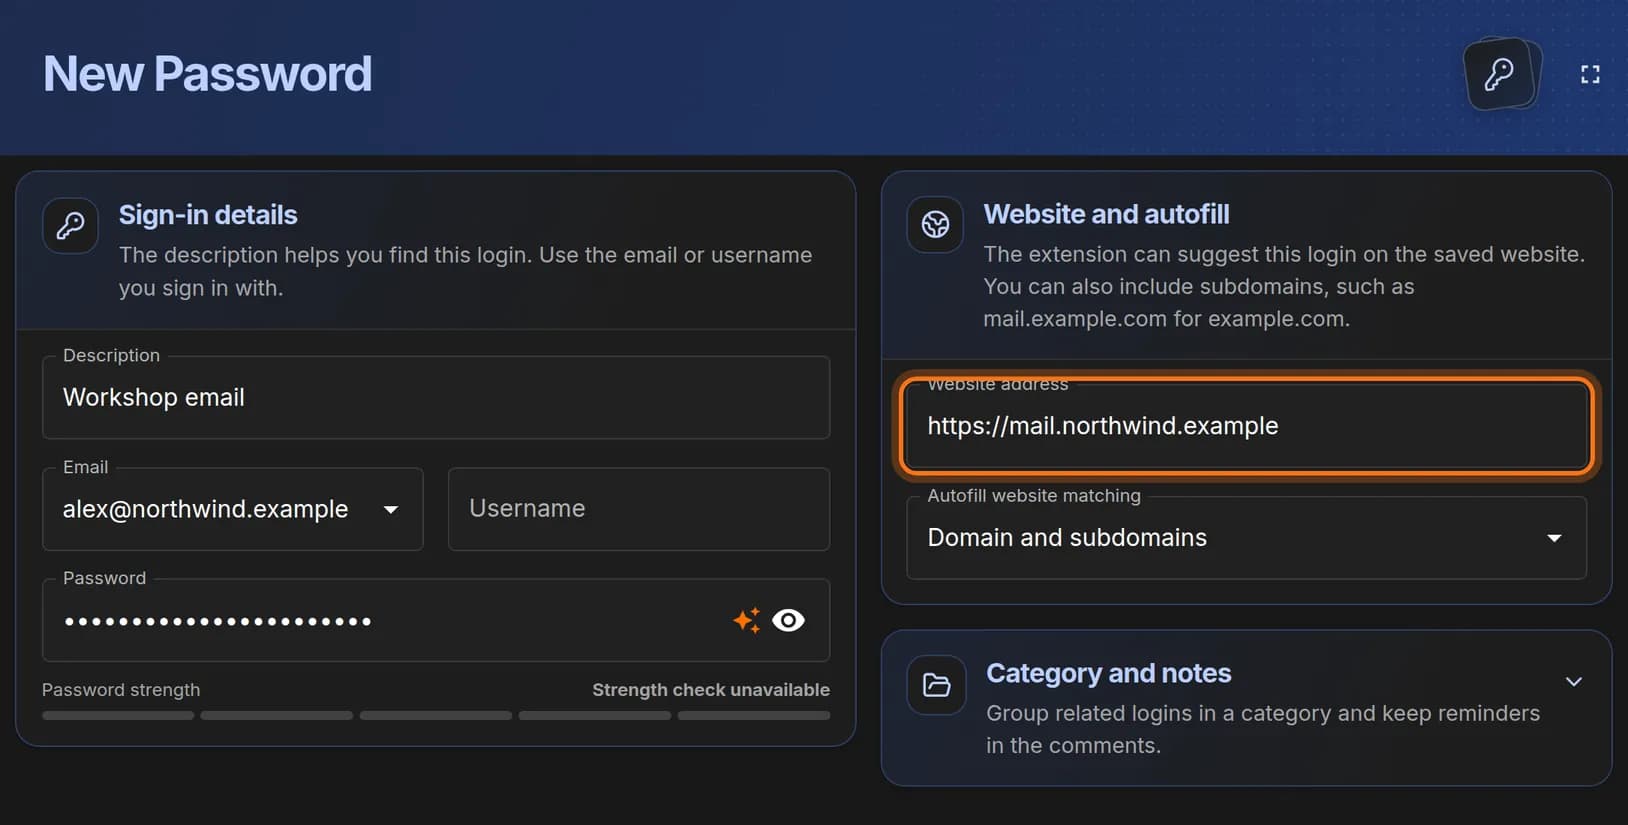
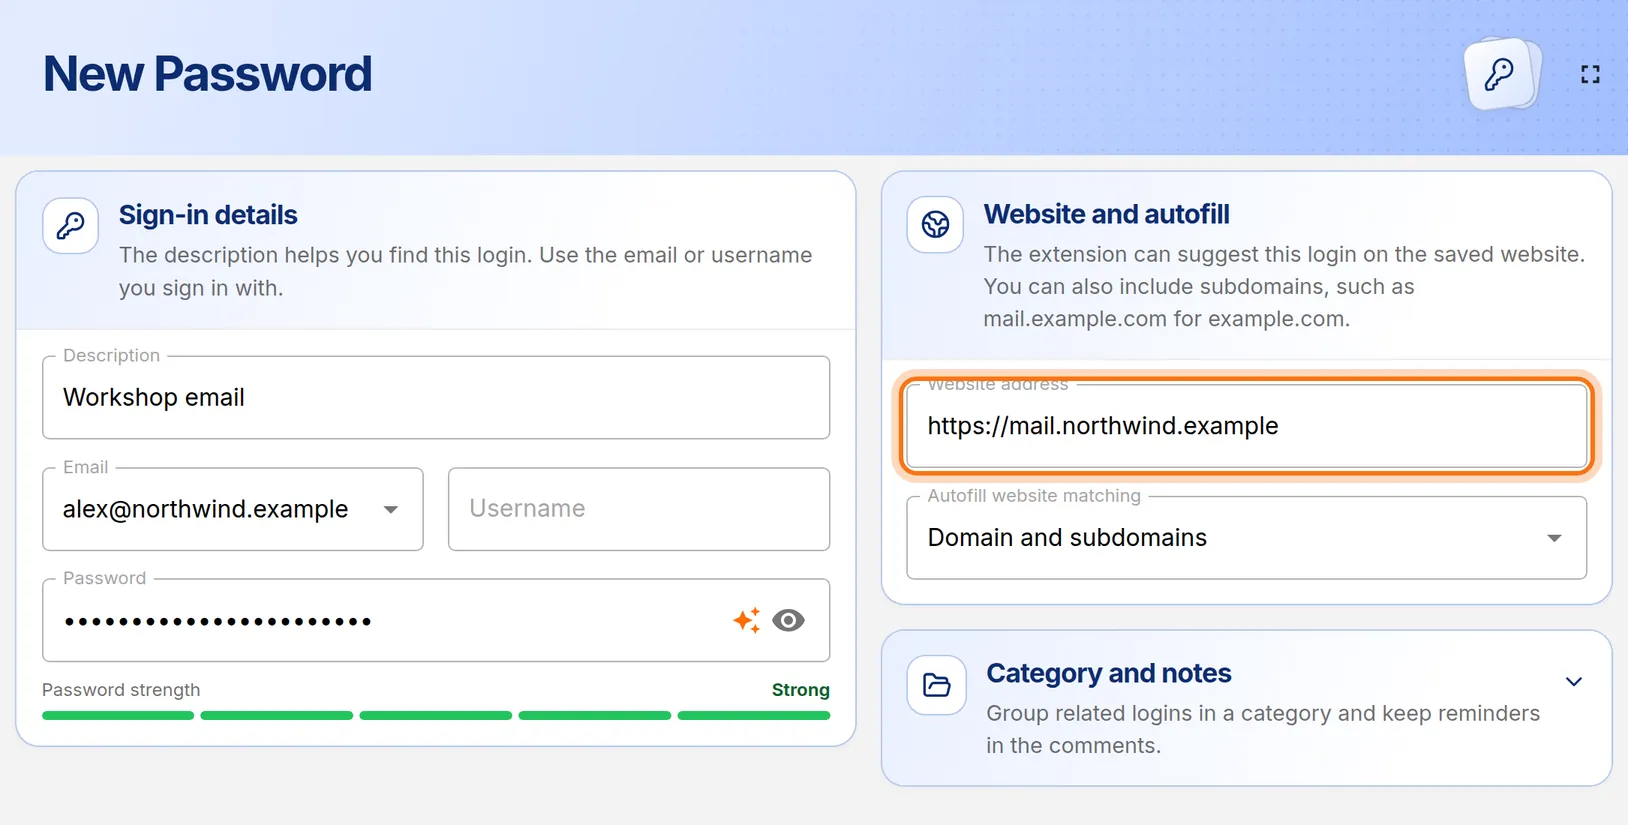
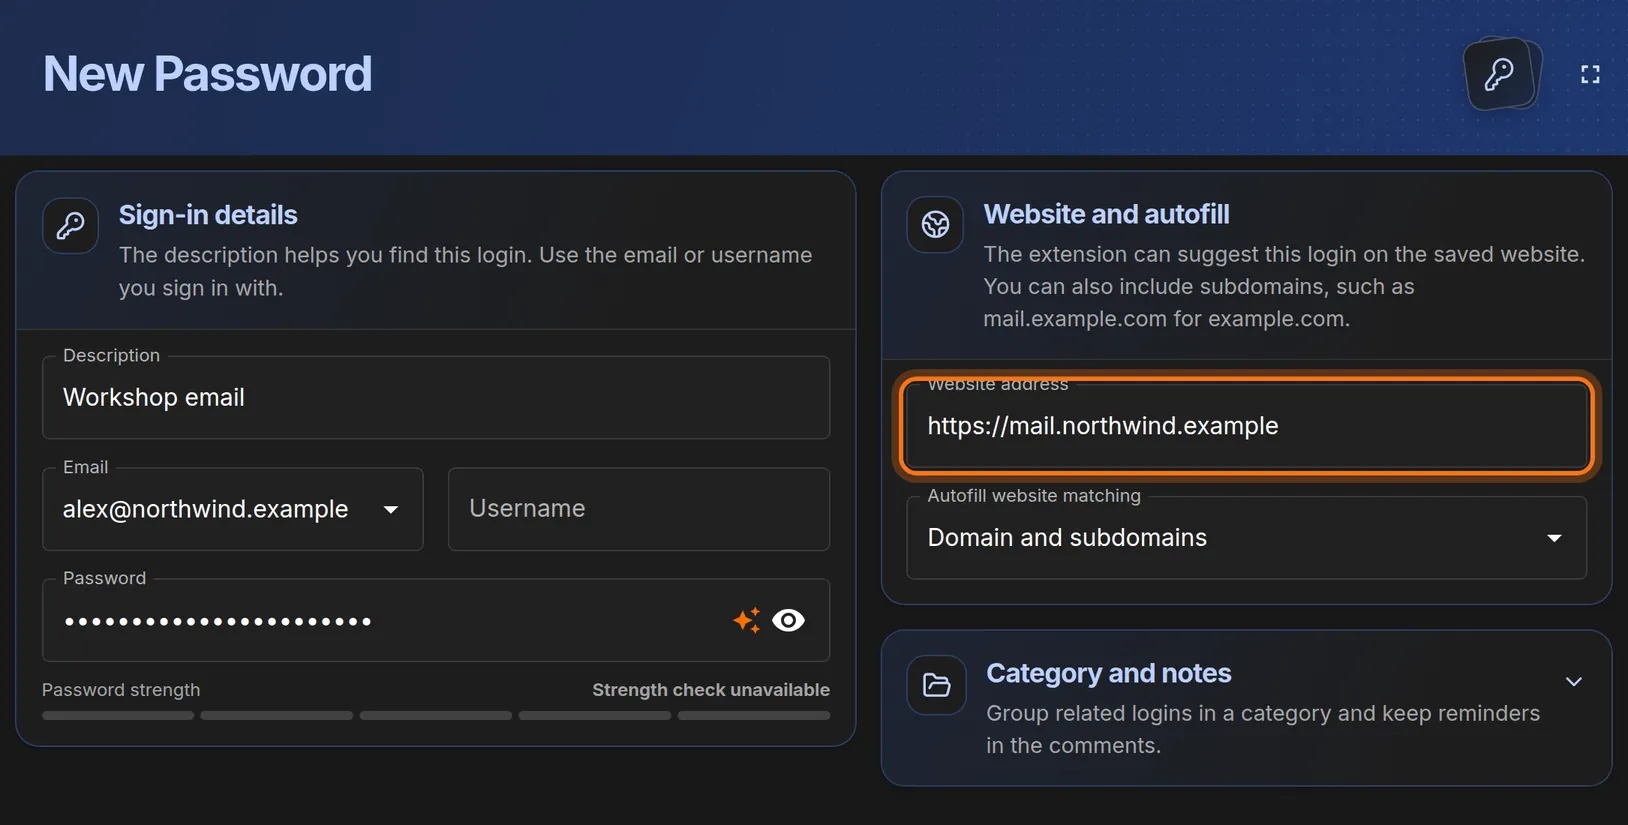
- On the right, click Website address.
- Type or paste the address of the page where you sign in, for example https://mail.northwind.example.
You should see: The address in the Website address box.
 Full size
 Full size
The address lets HashThat suggest this login on the right website. This step is optional. You can save a login without an address and add it later.
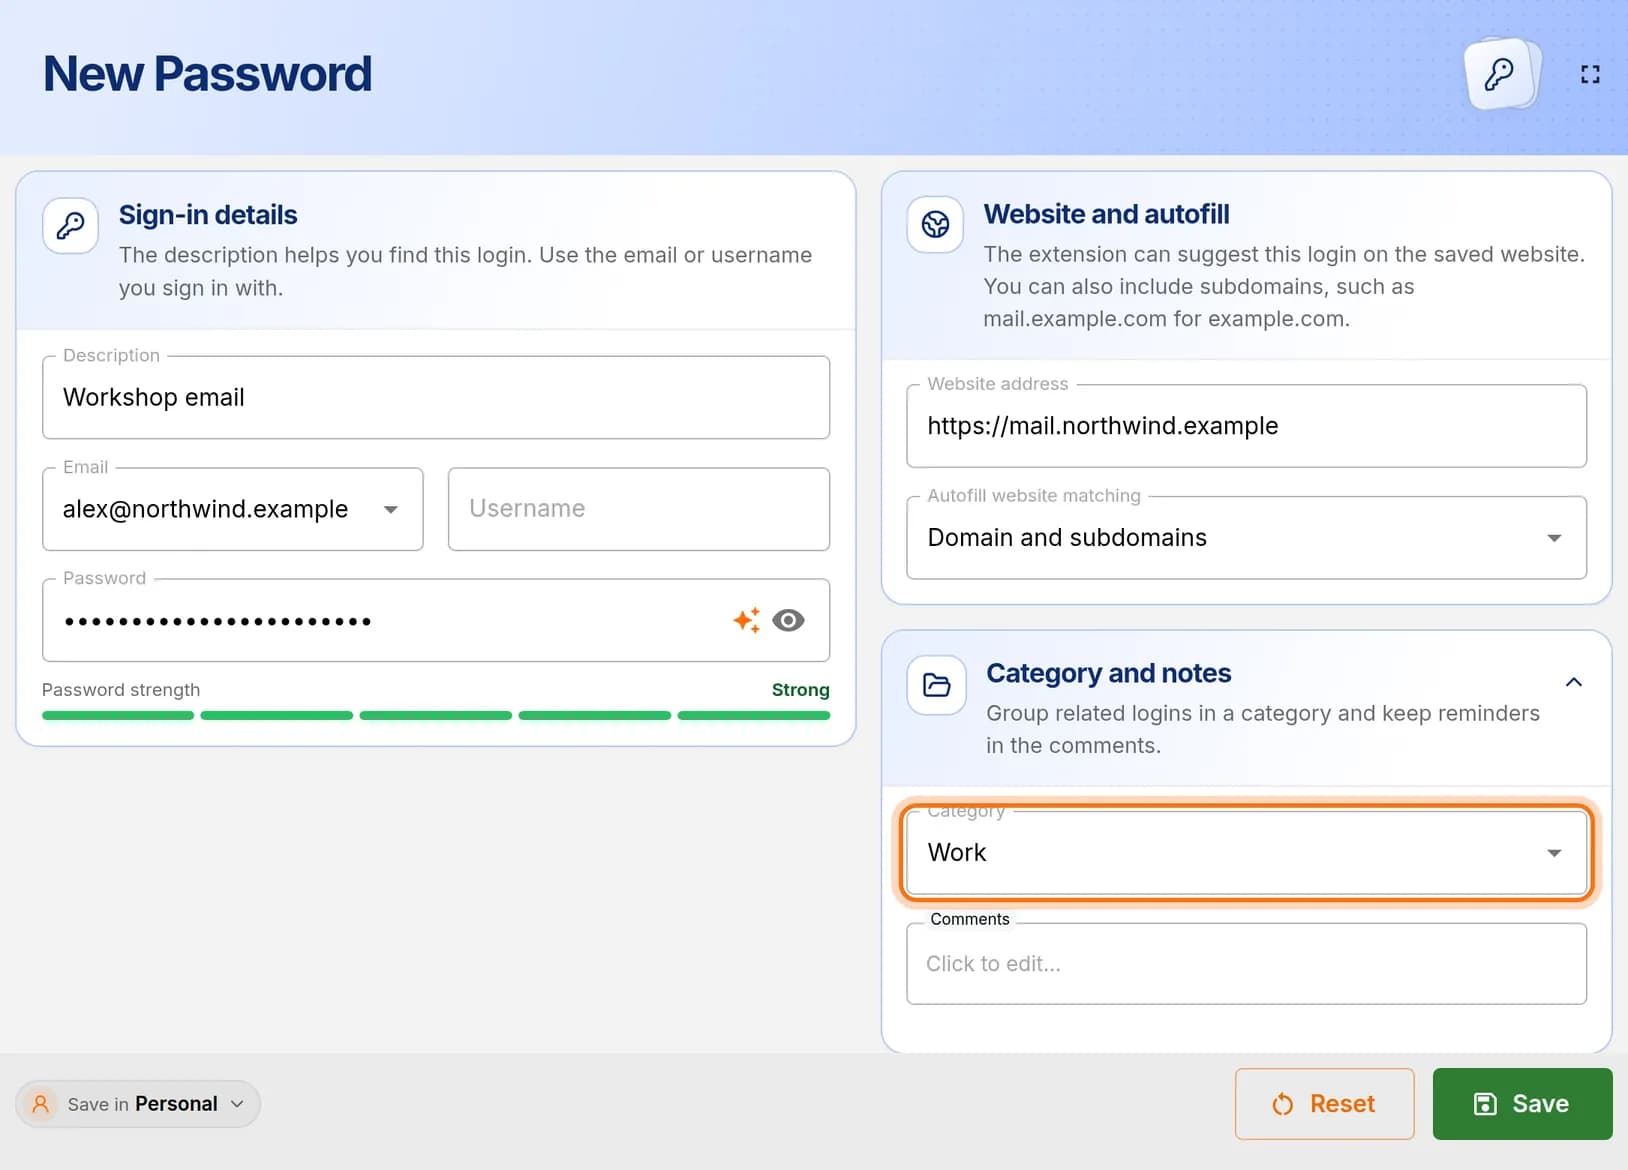
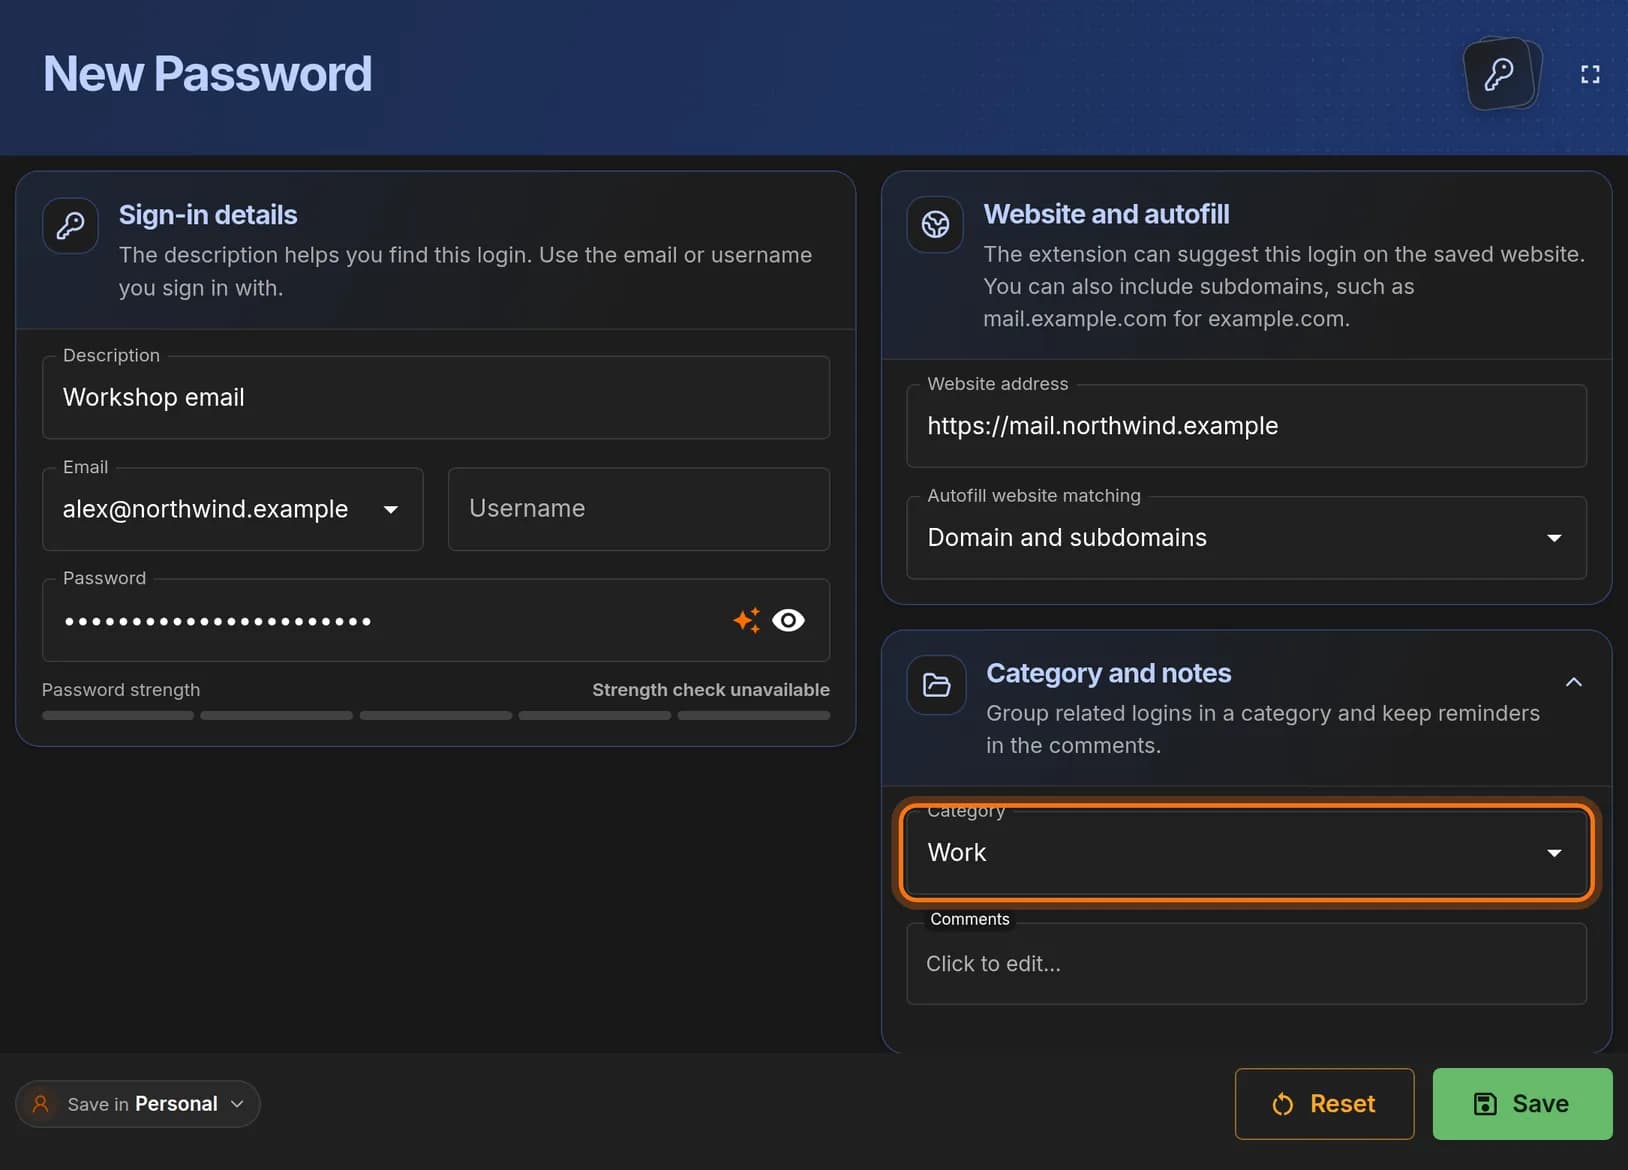
Step 5: Put it in a category
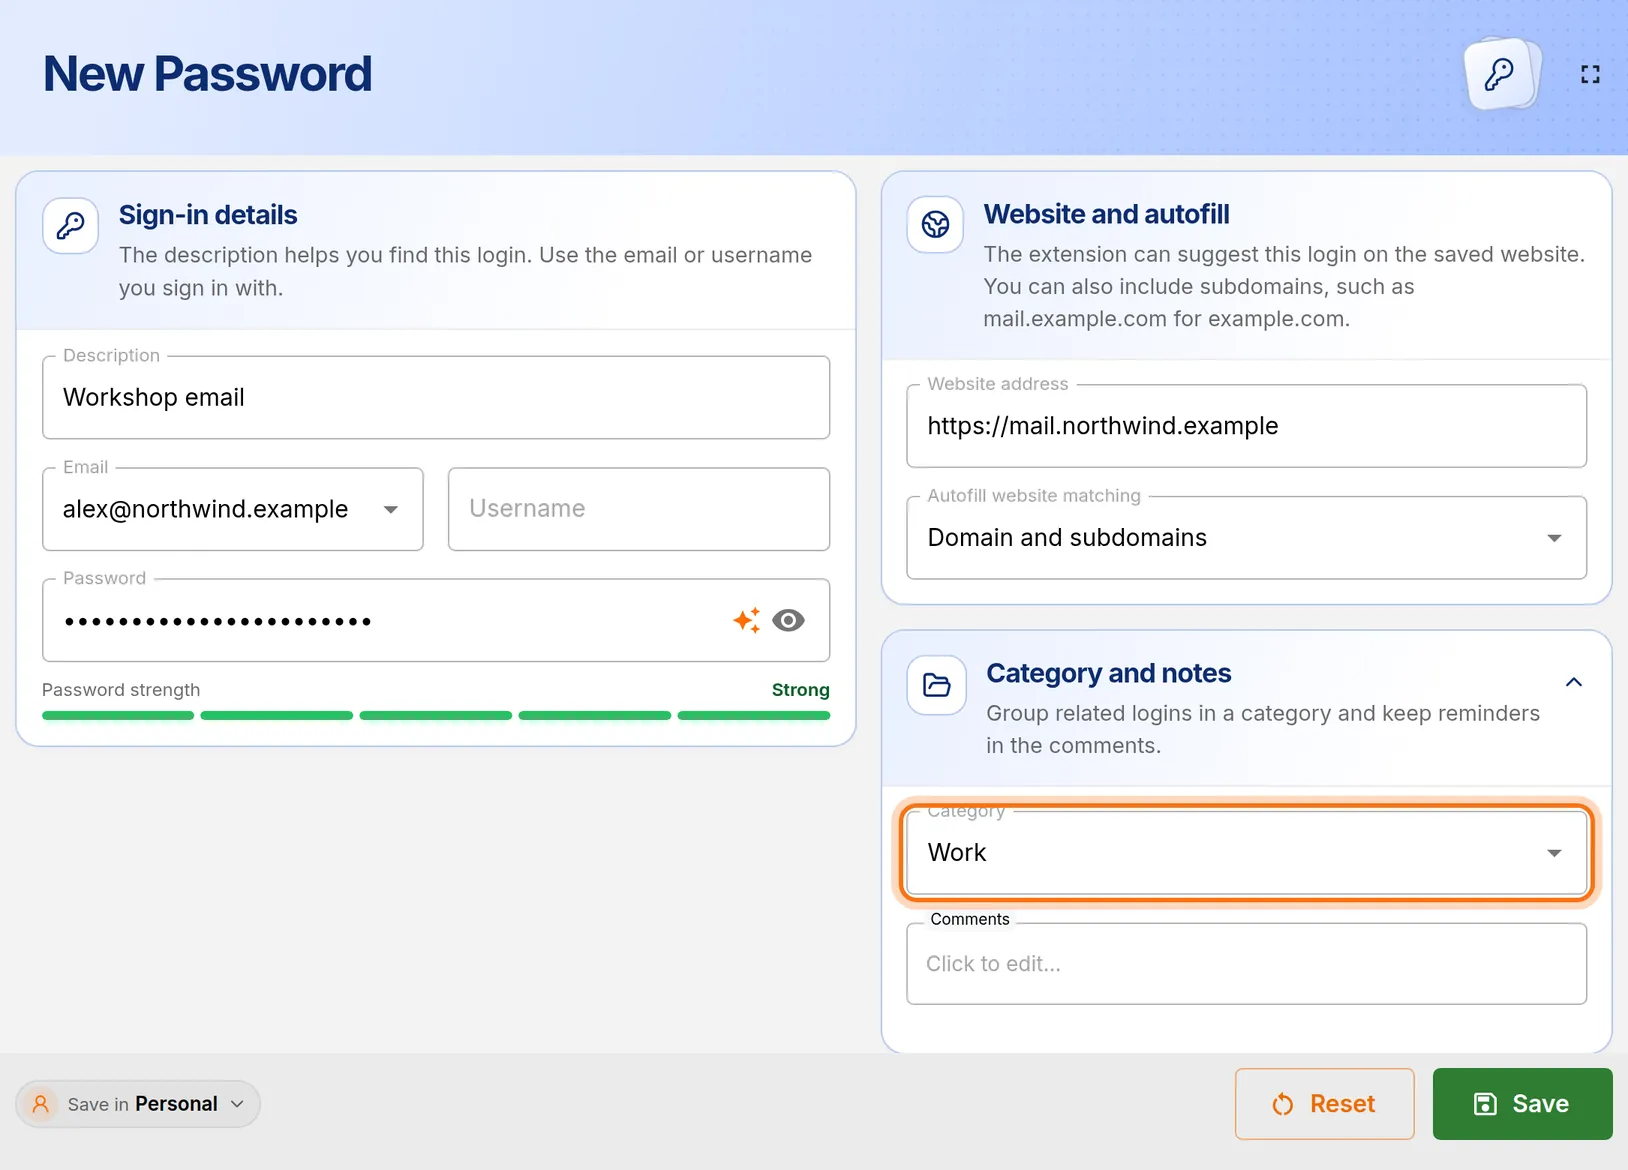
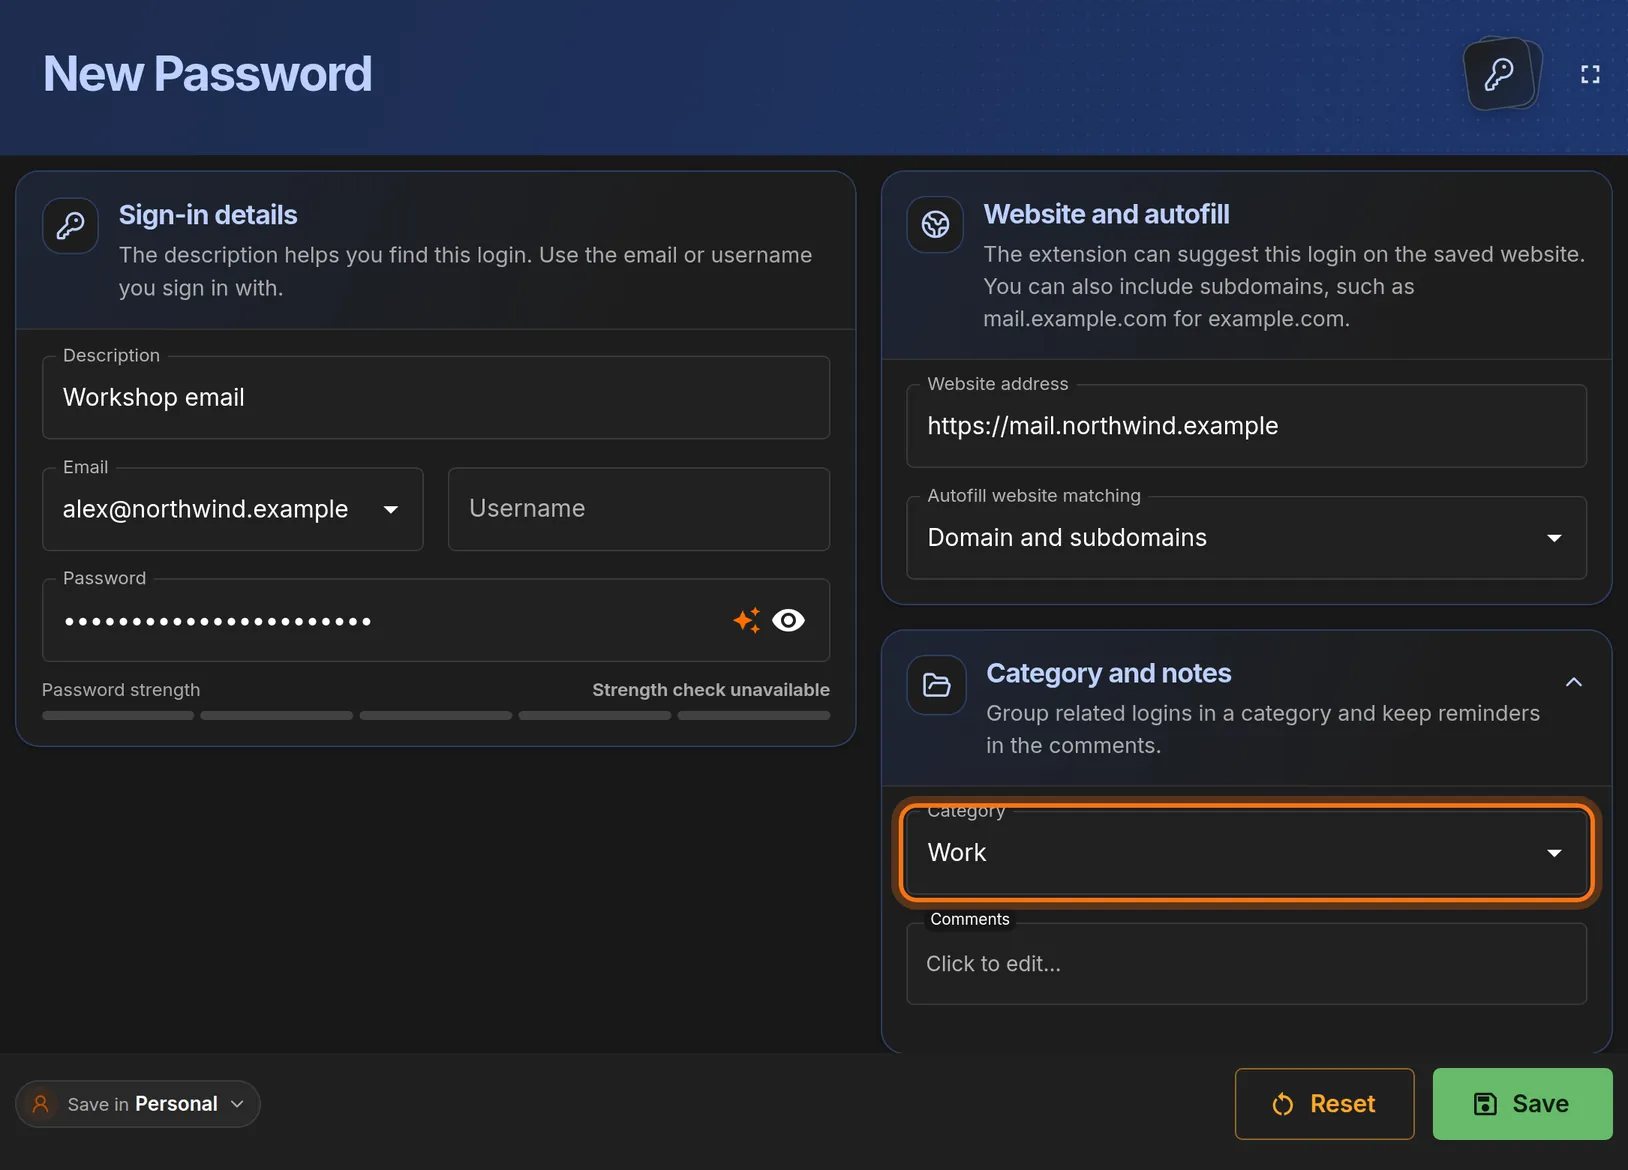
- Click the Category and notes panel to open it.
- Click Category.
- Pick a category from the list, or type a name such as Work.
You should see: The category name in the Category box.
 Full size
 Full size
Categories group your logins on the Search Passwords page. This step is optional too. A login without a category is still saved.
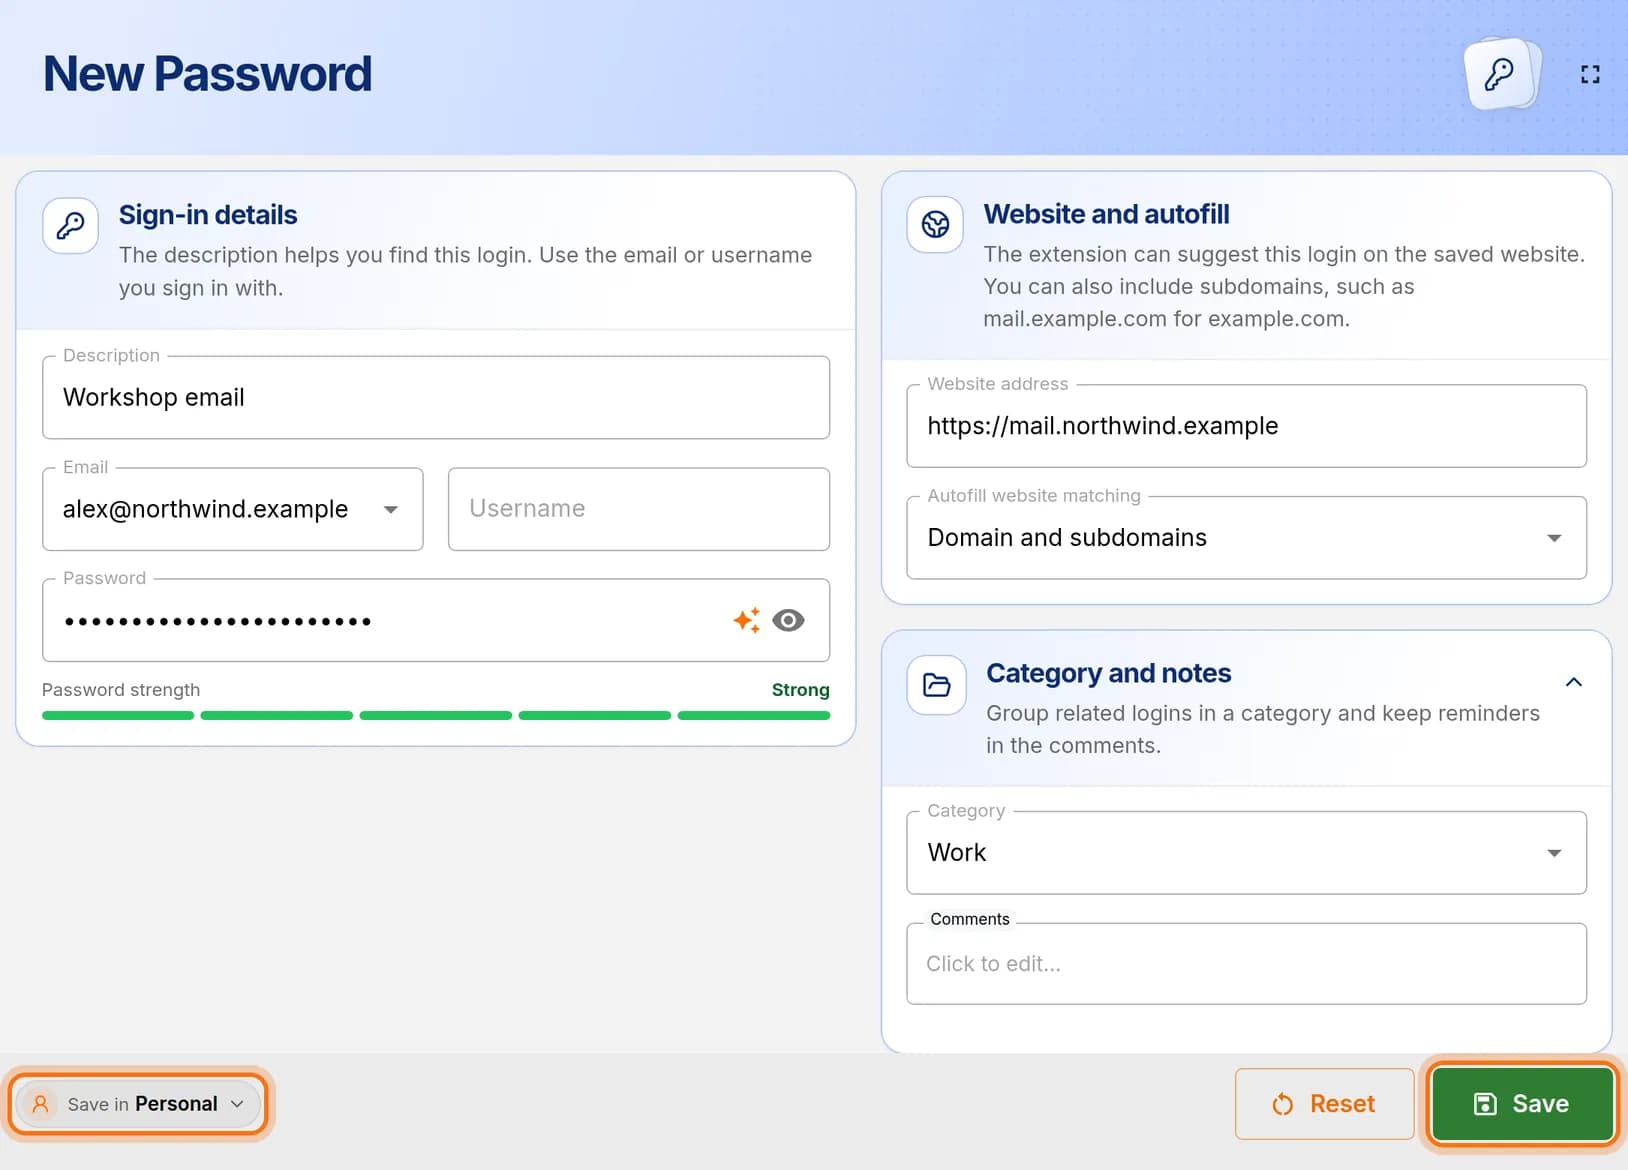
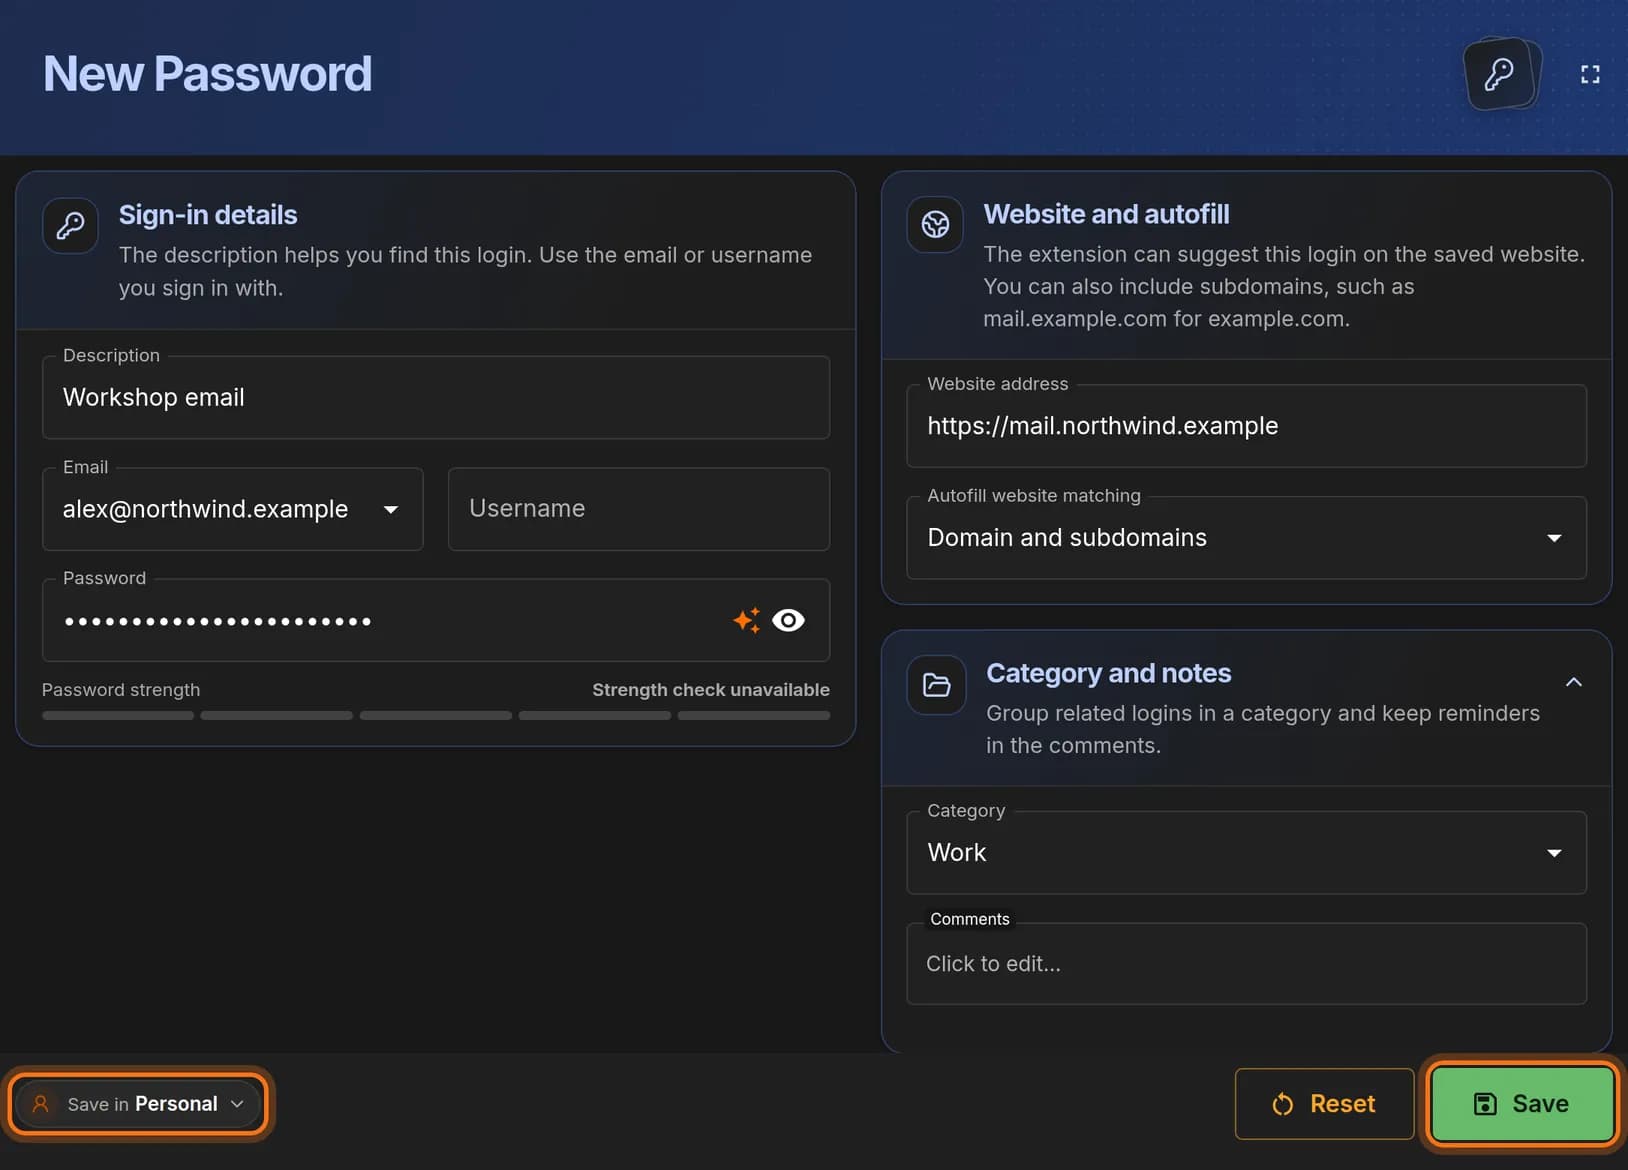
Step 6: Save the login
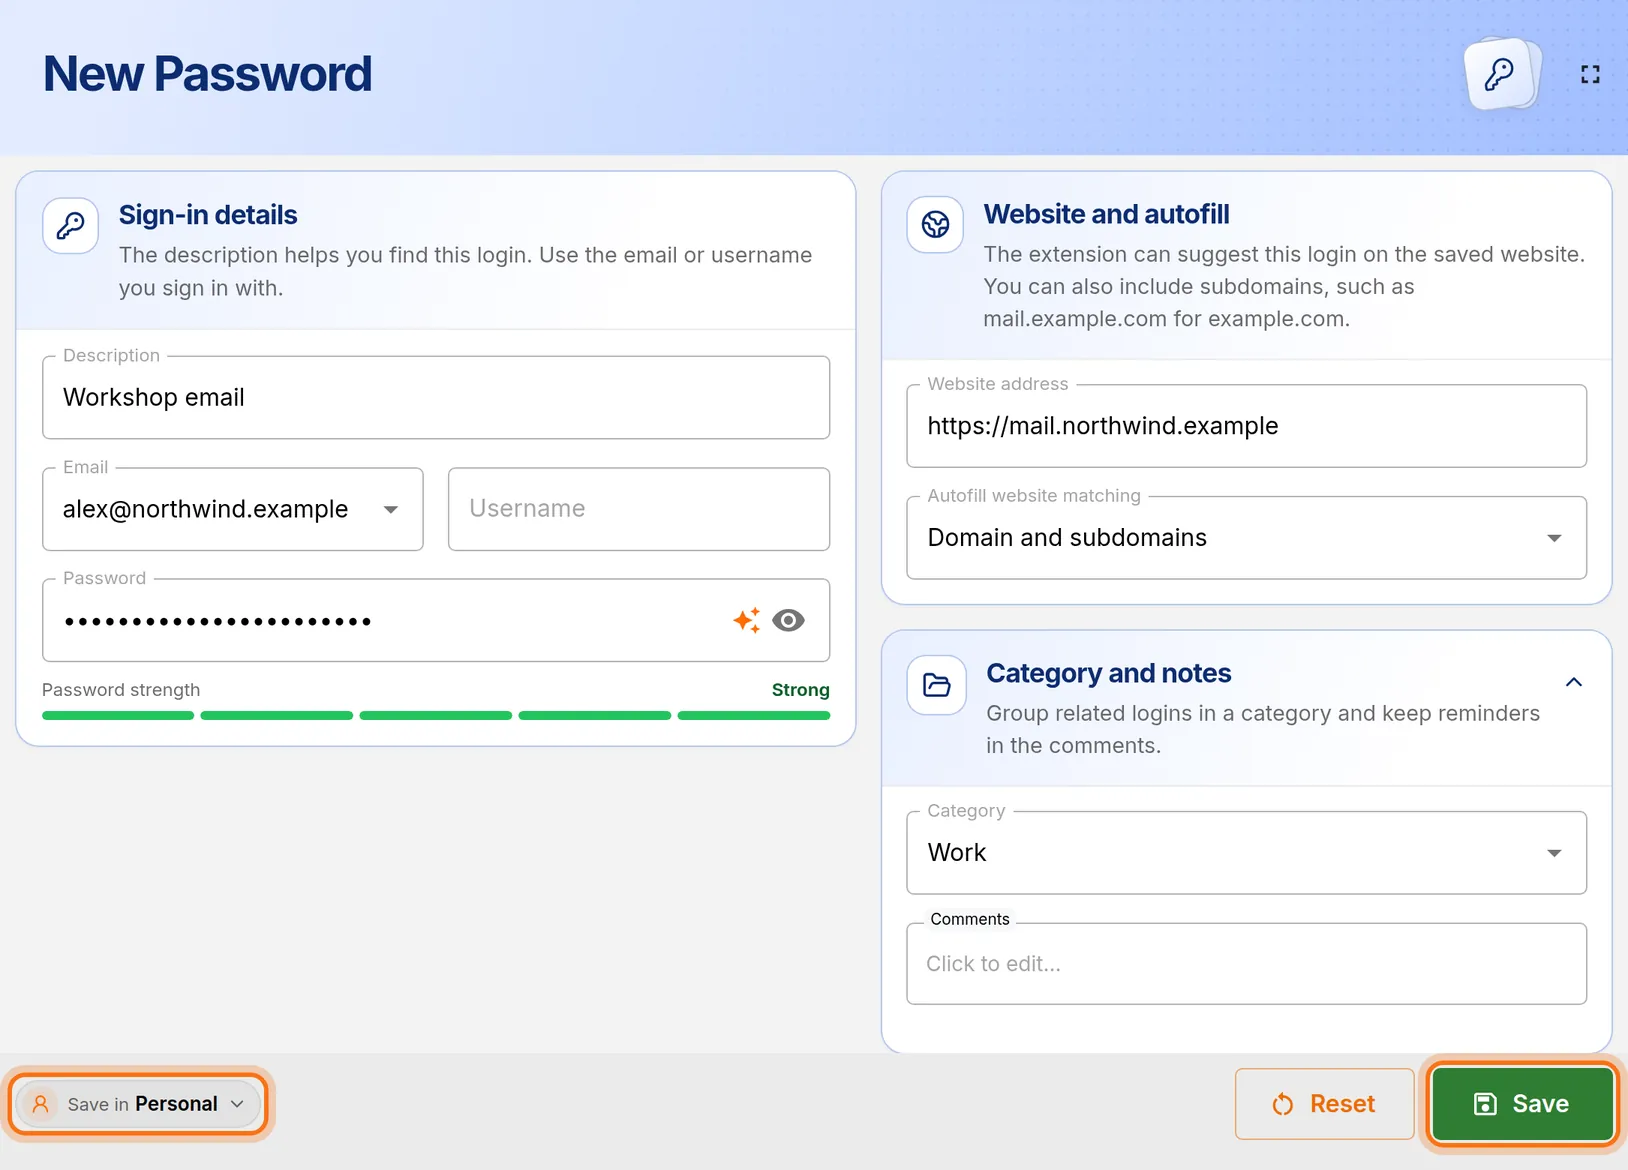
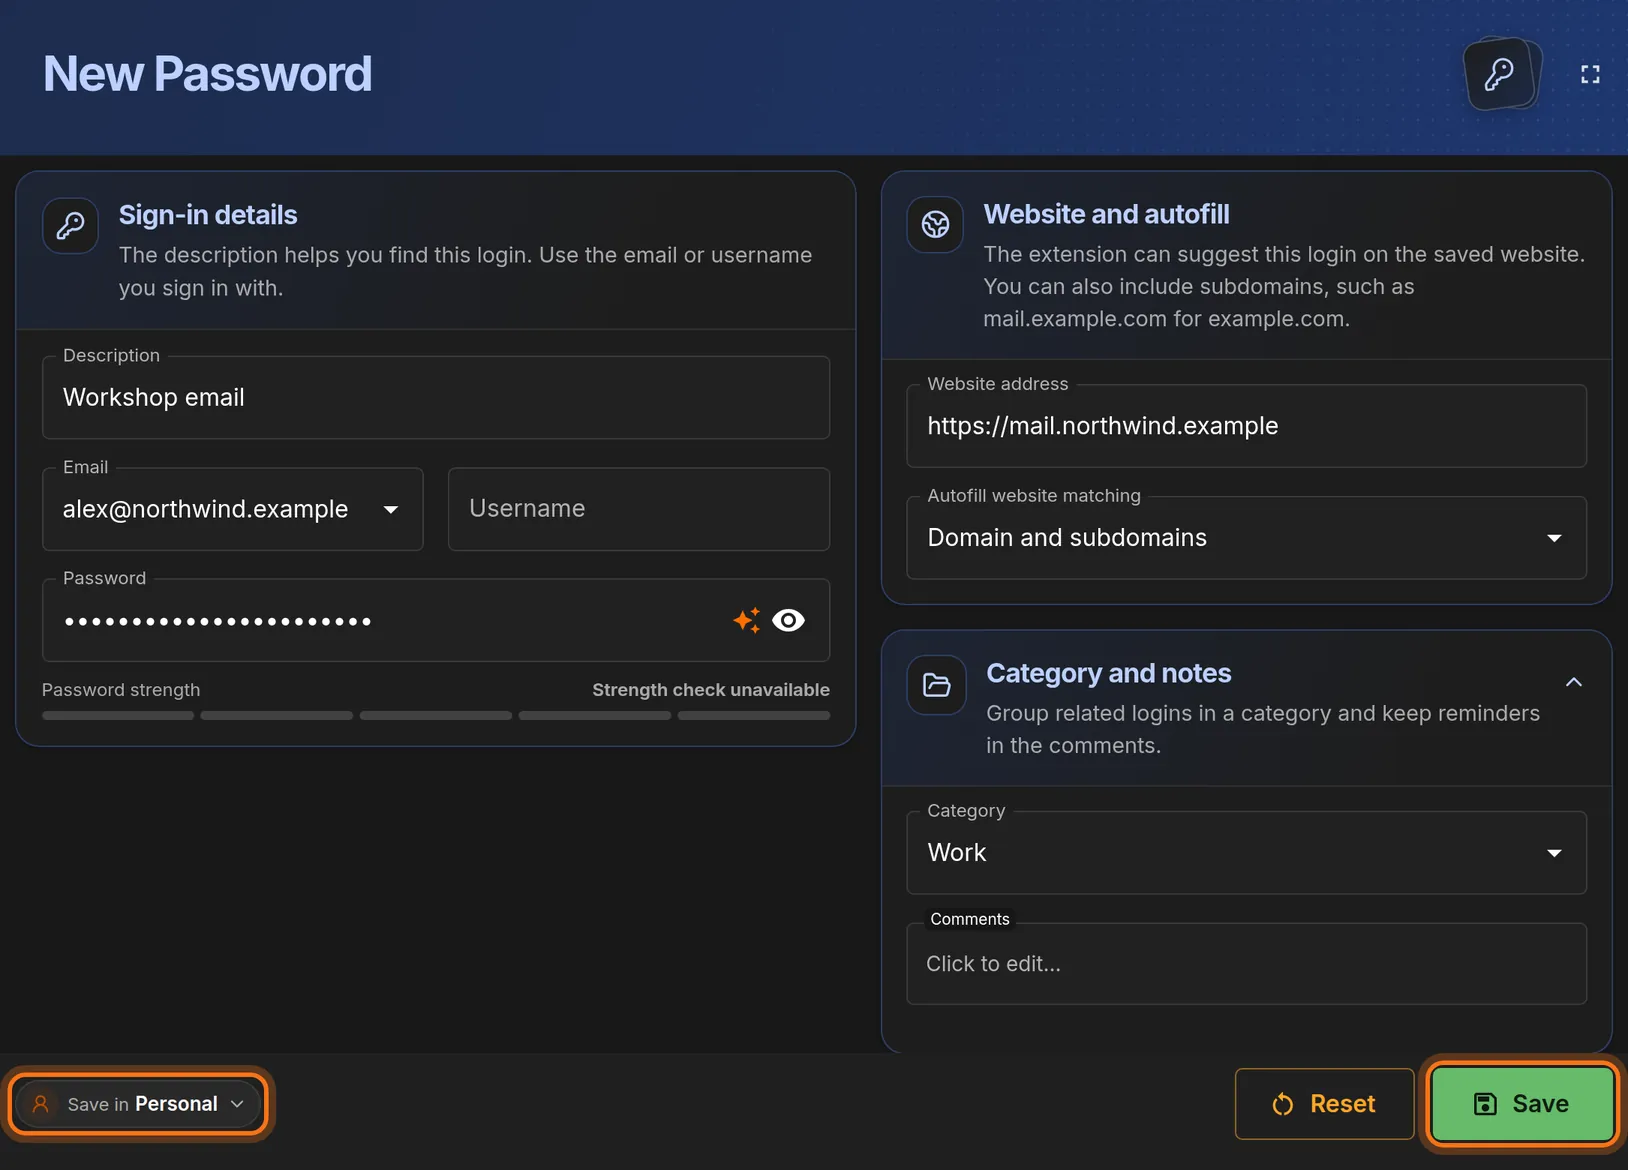
- Look at the bottom left. Save in should say Personal for a login that is only yours.
- Click the green Save button at the bottom right.
 Full size
 Full size
Check where it will be saved, then click Save. Step 7: Wait for the confirmation
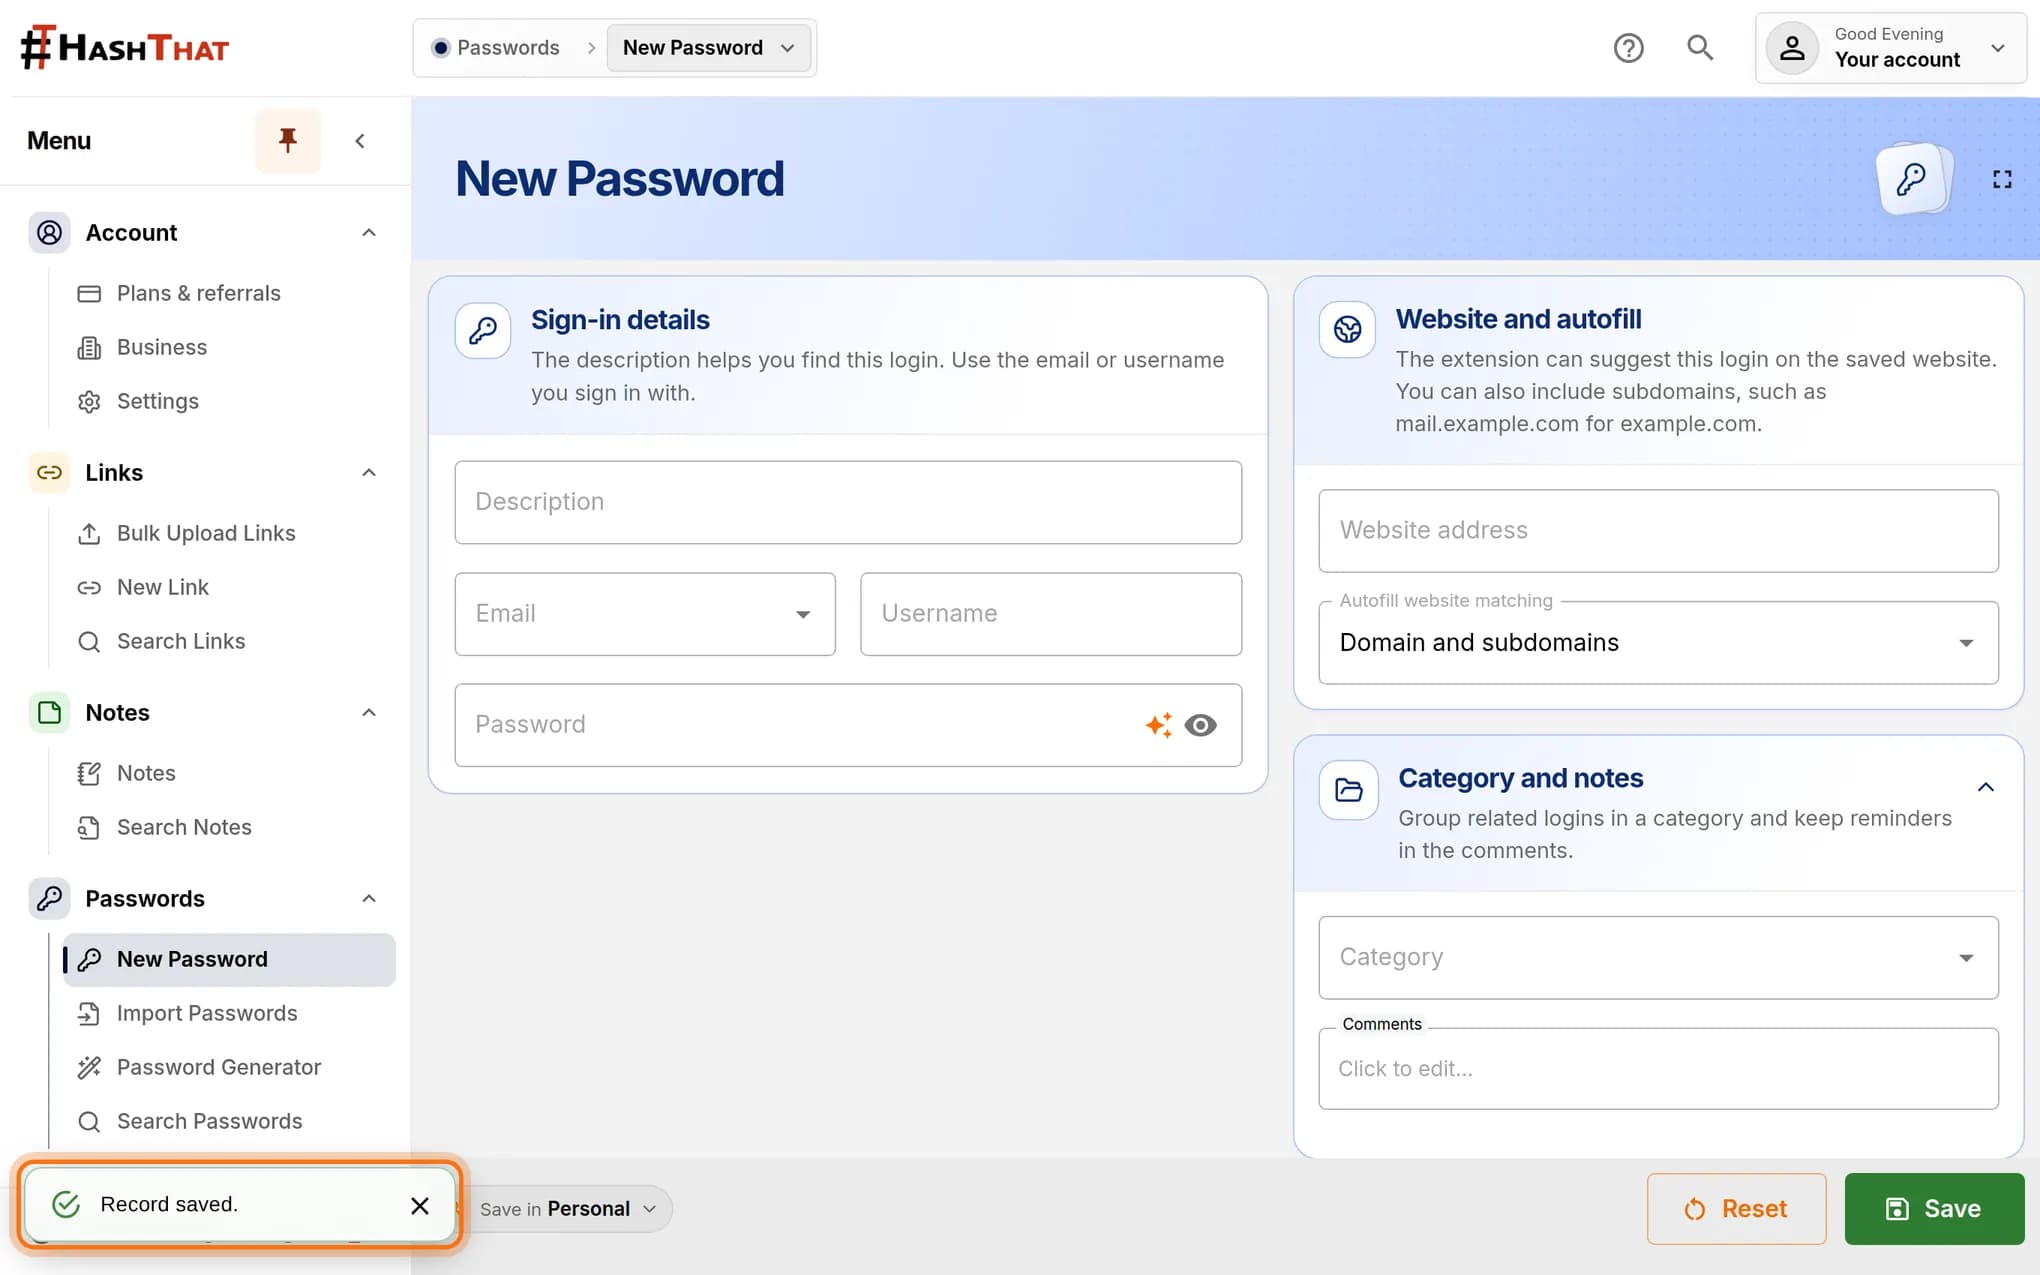
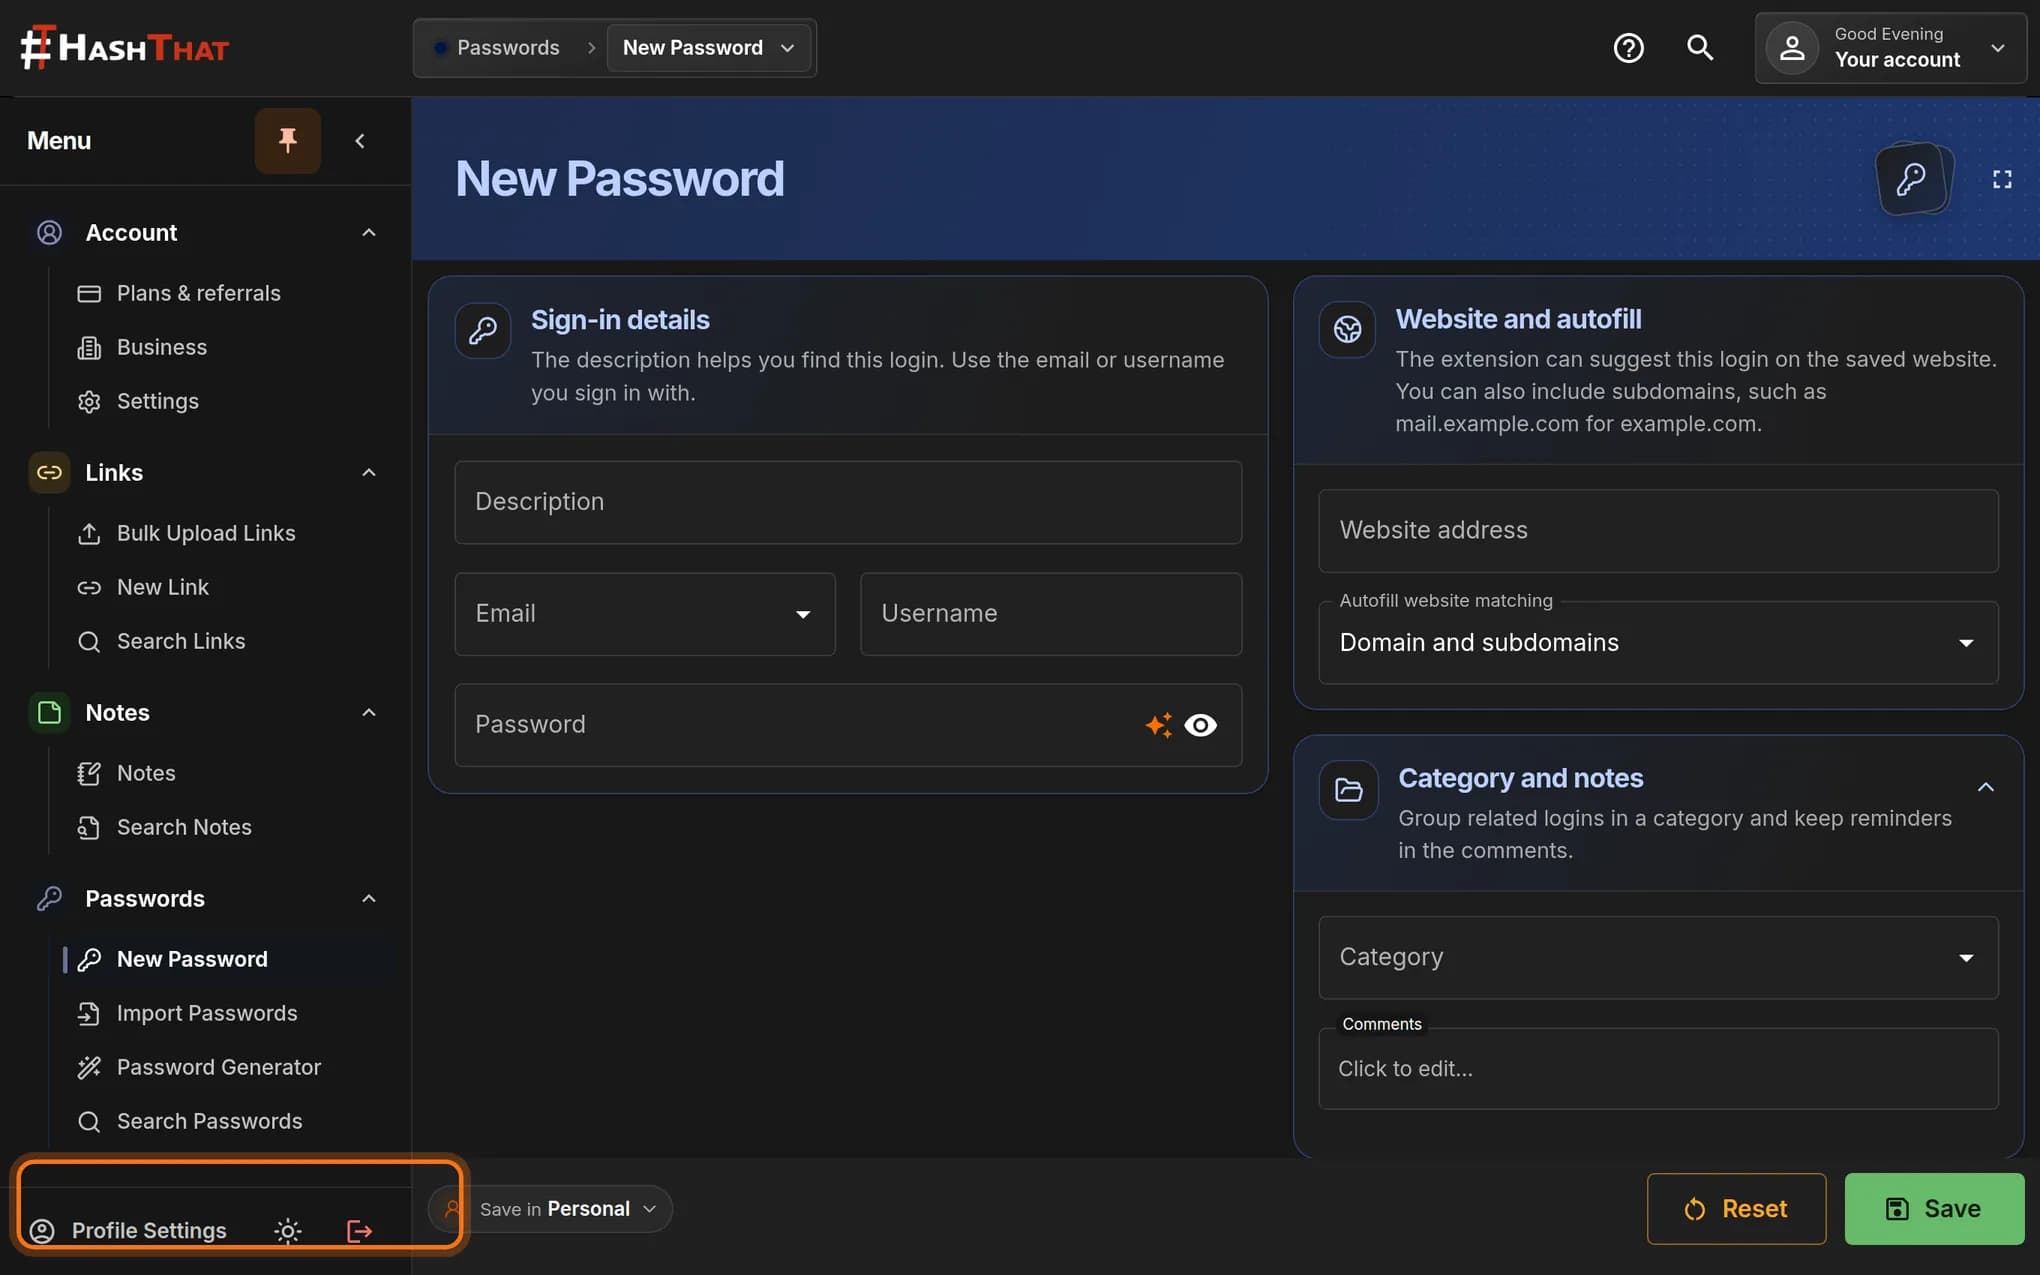
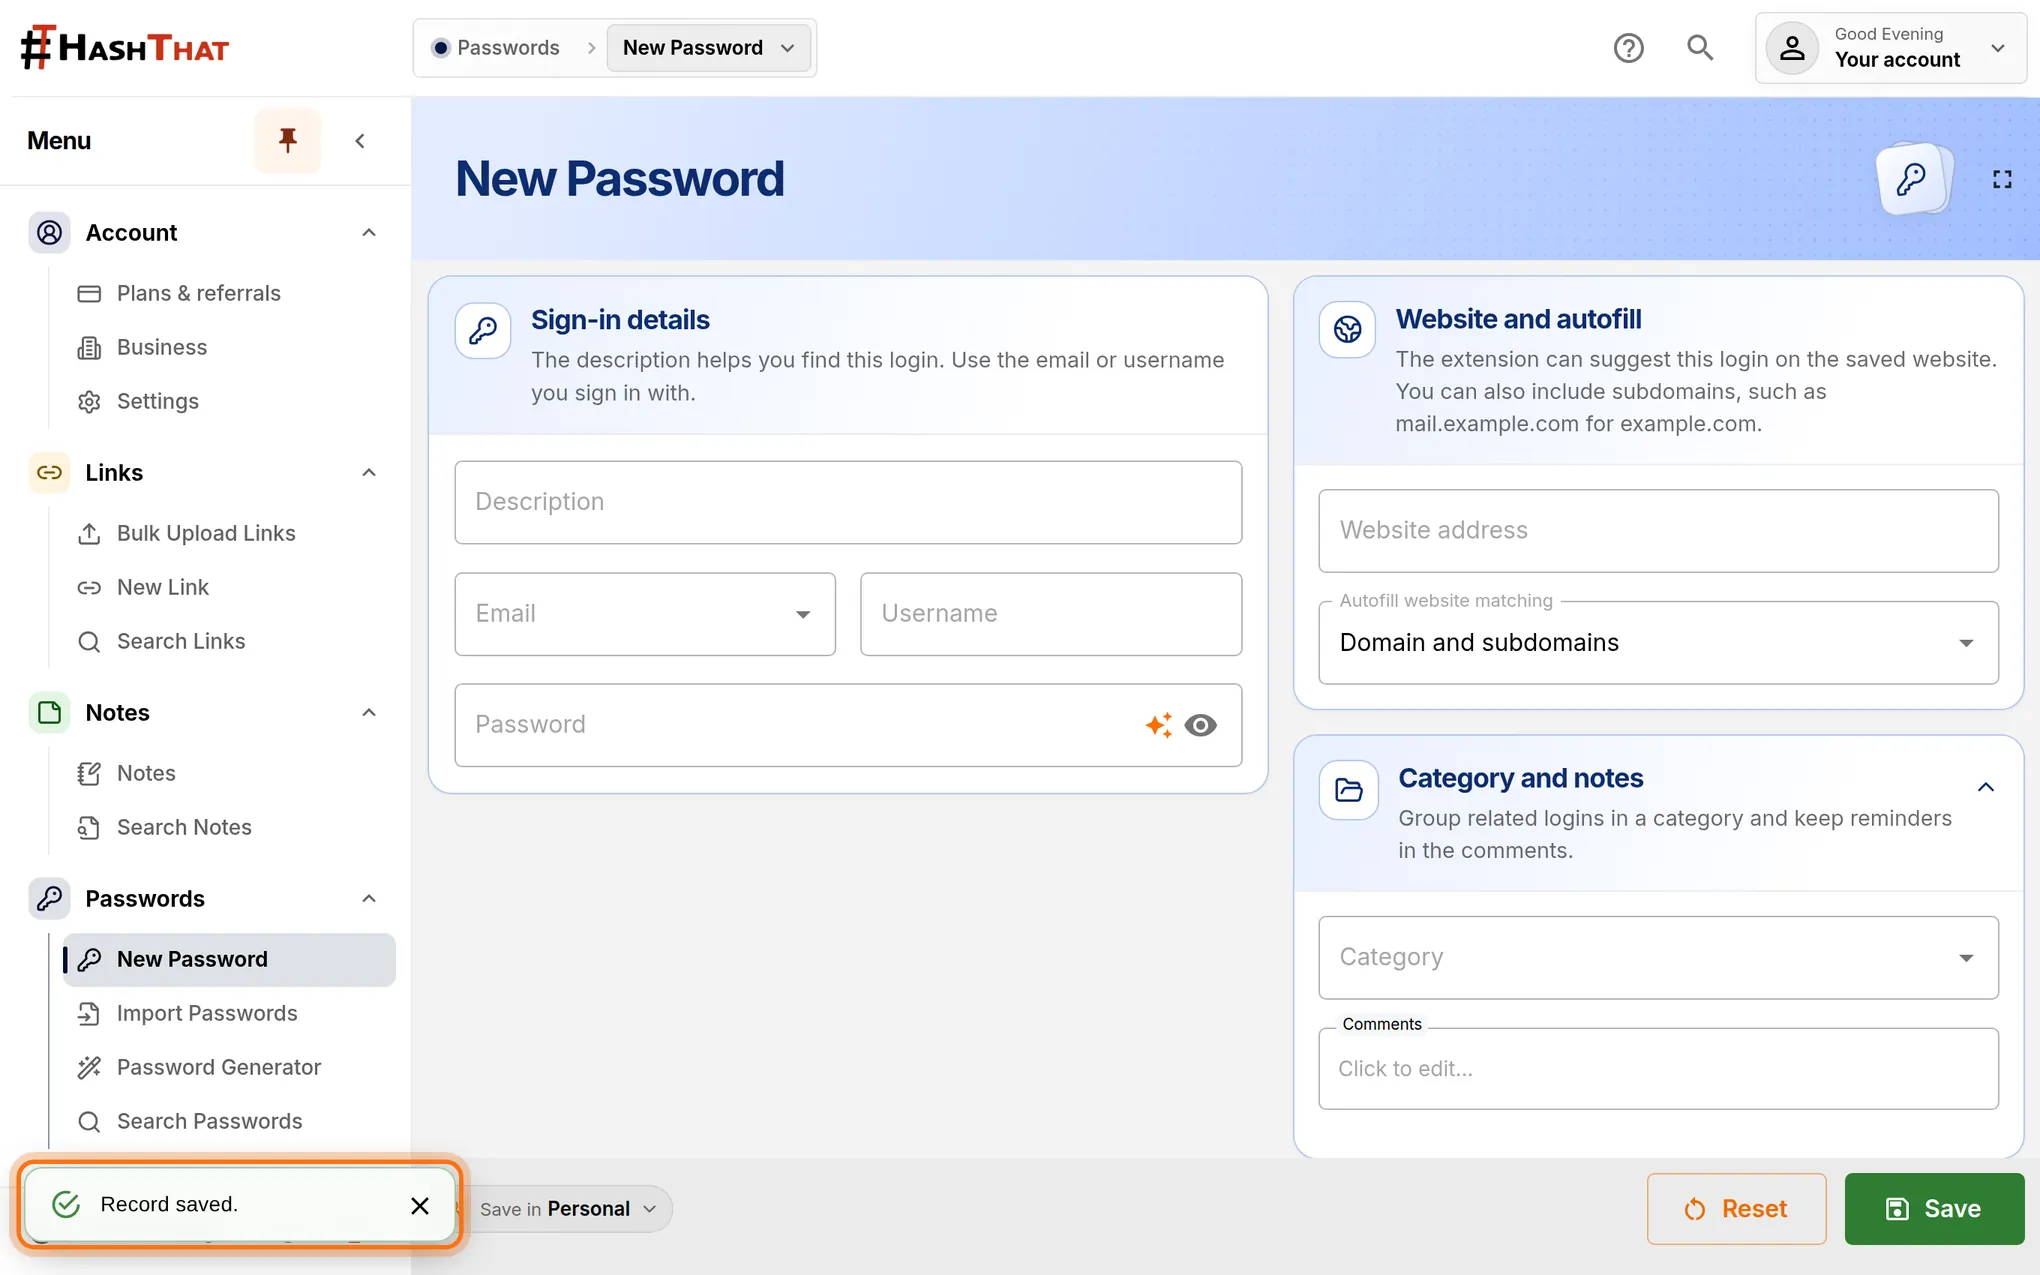
- Watch the bottom left corner of the screen.
- A small message appears: Record saved.
You should see: The form is empty again, ready for another login. Your login is now in your vault.
 Full size
 Full size
The confirmation appears for a few seconds. Step 8: Search for your login
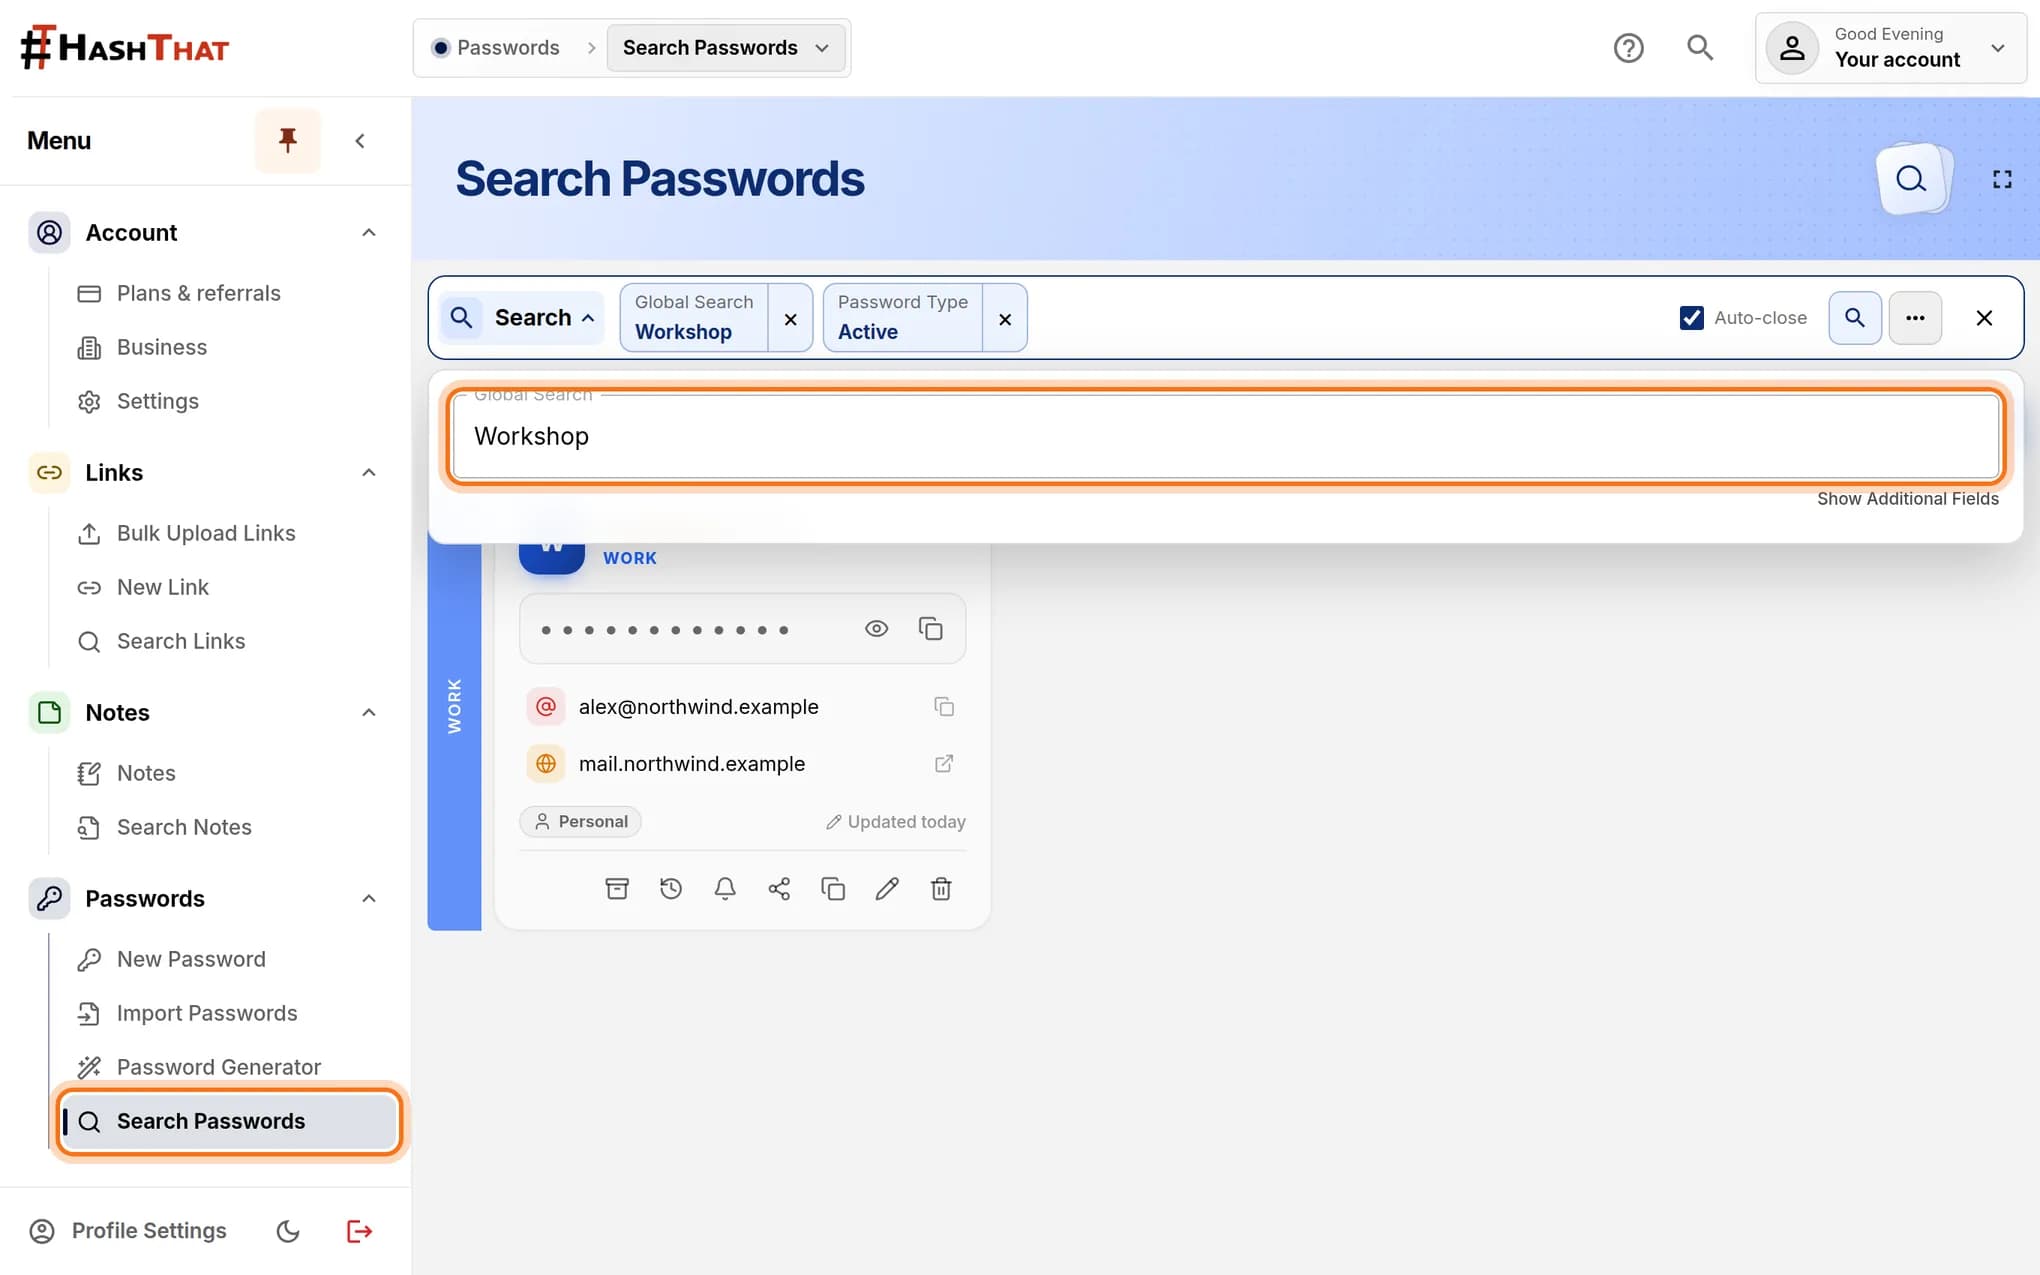
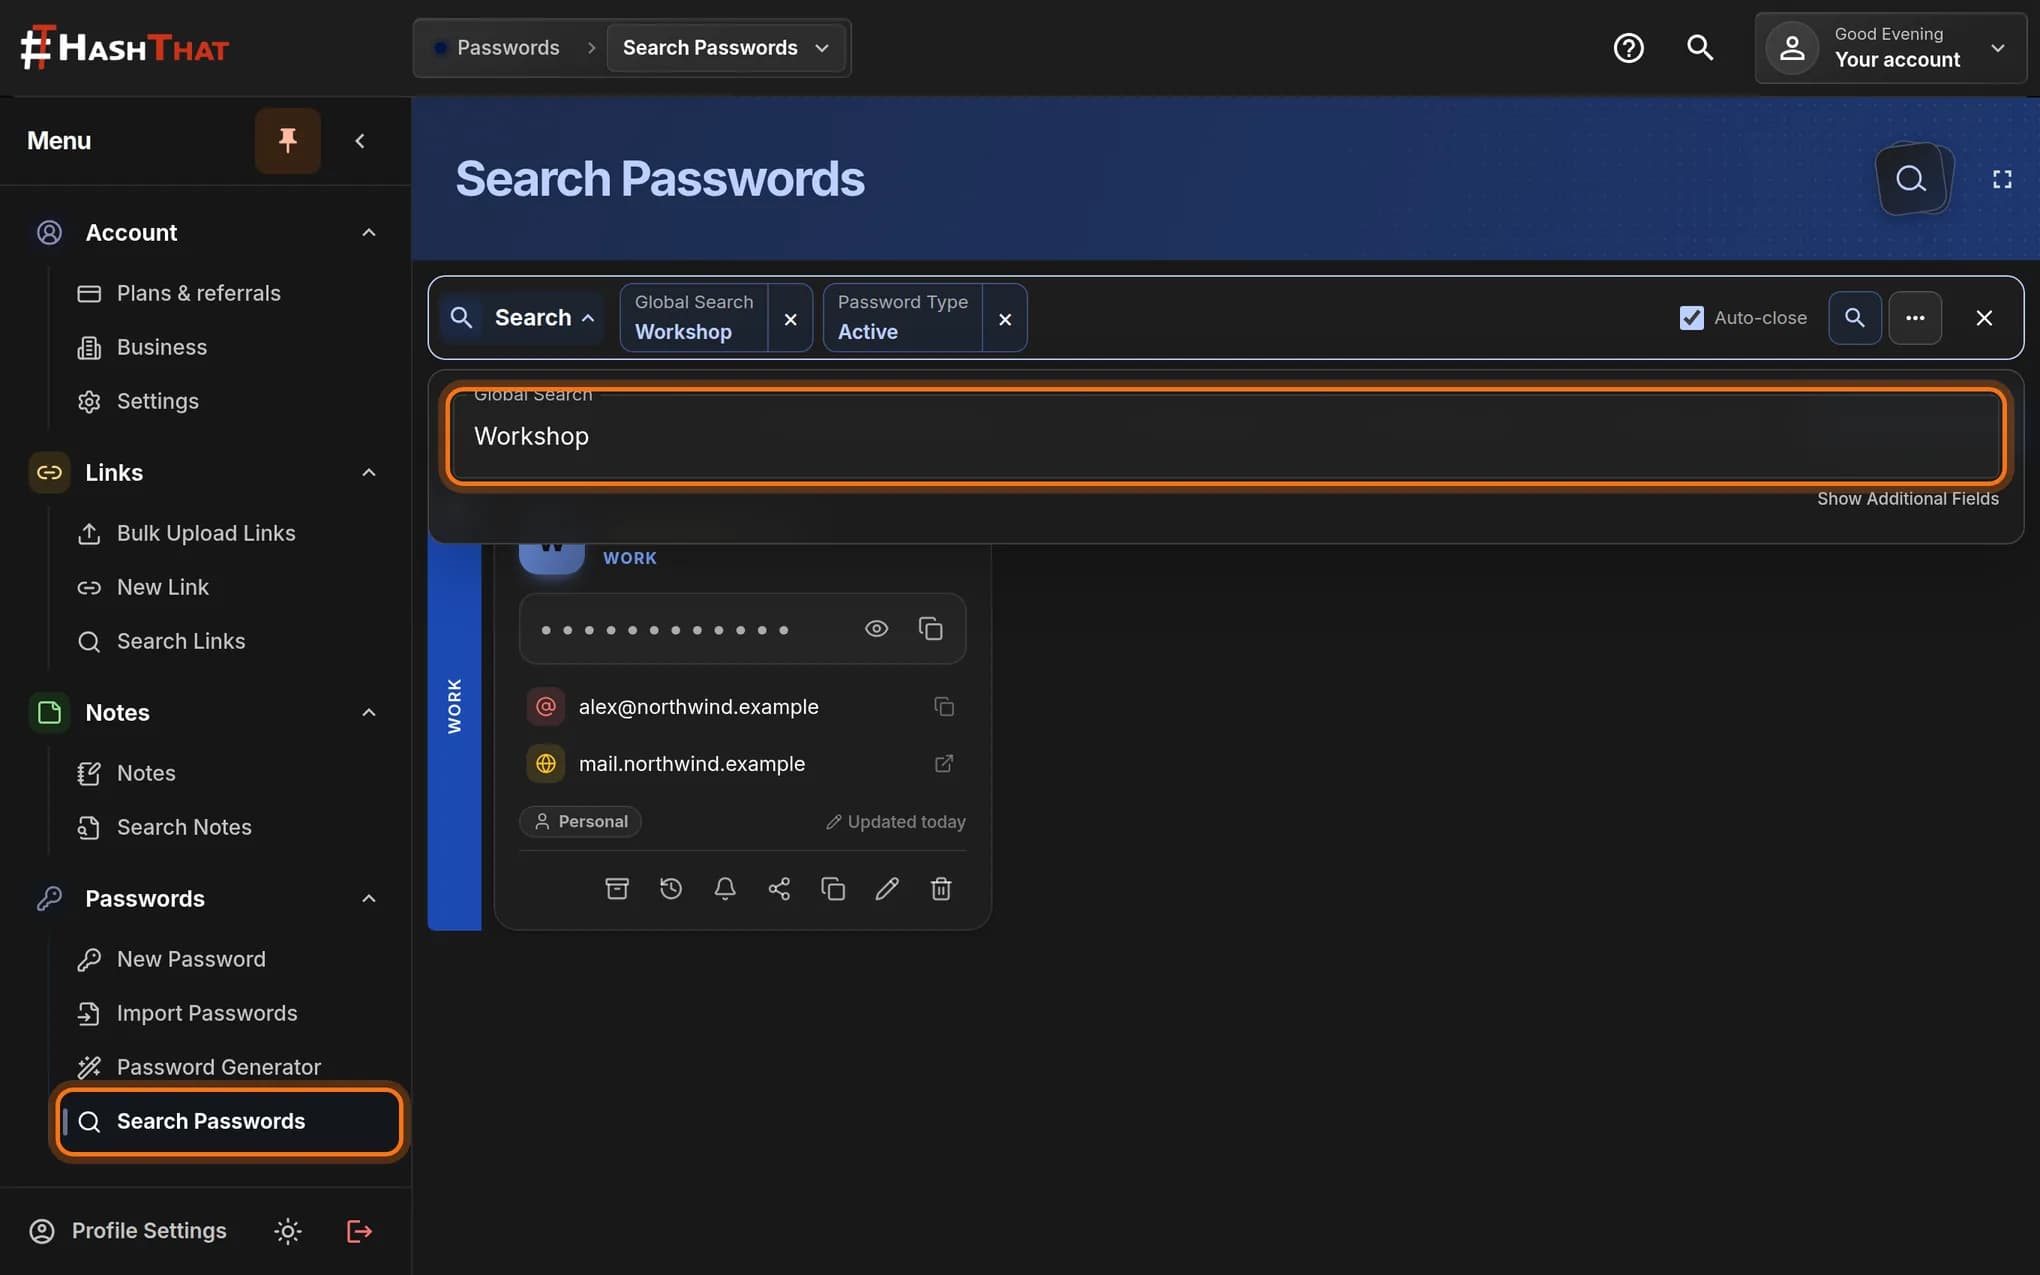
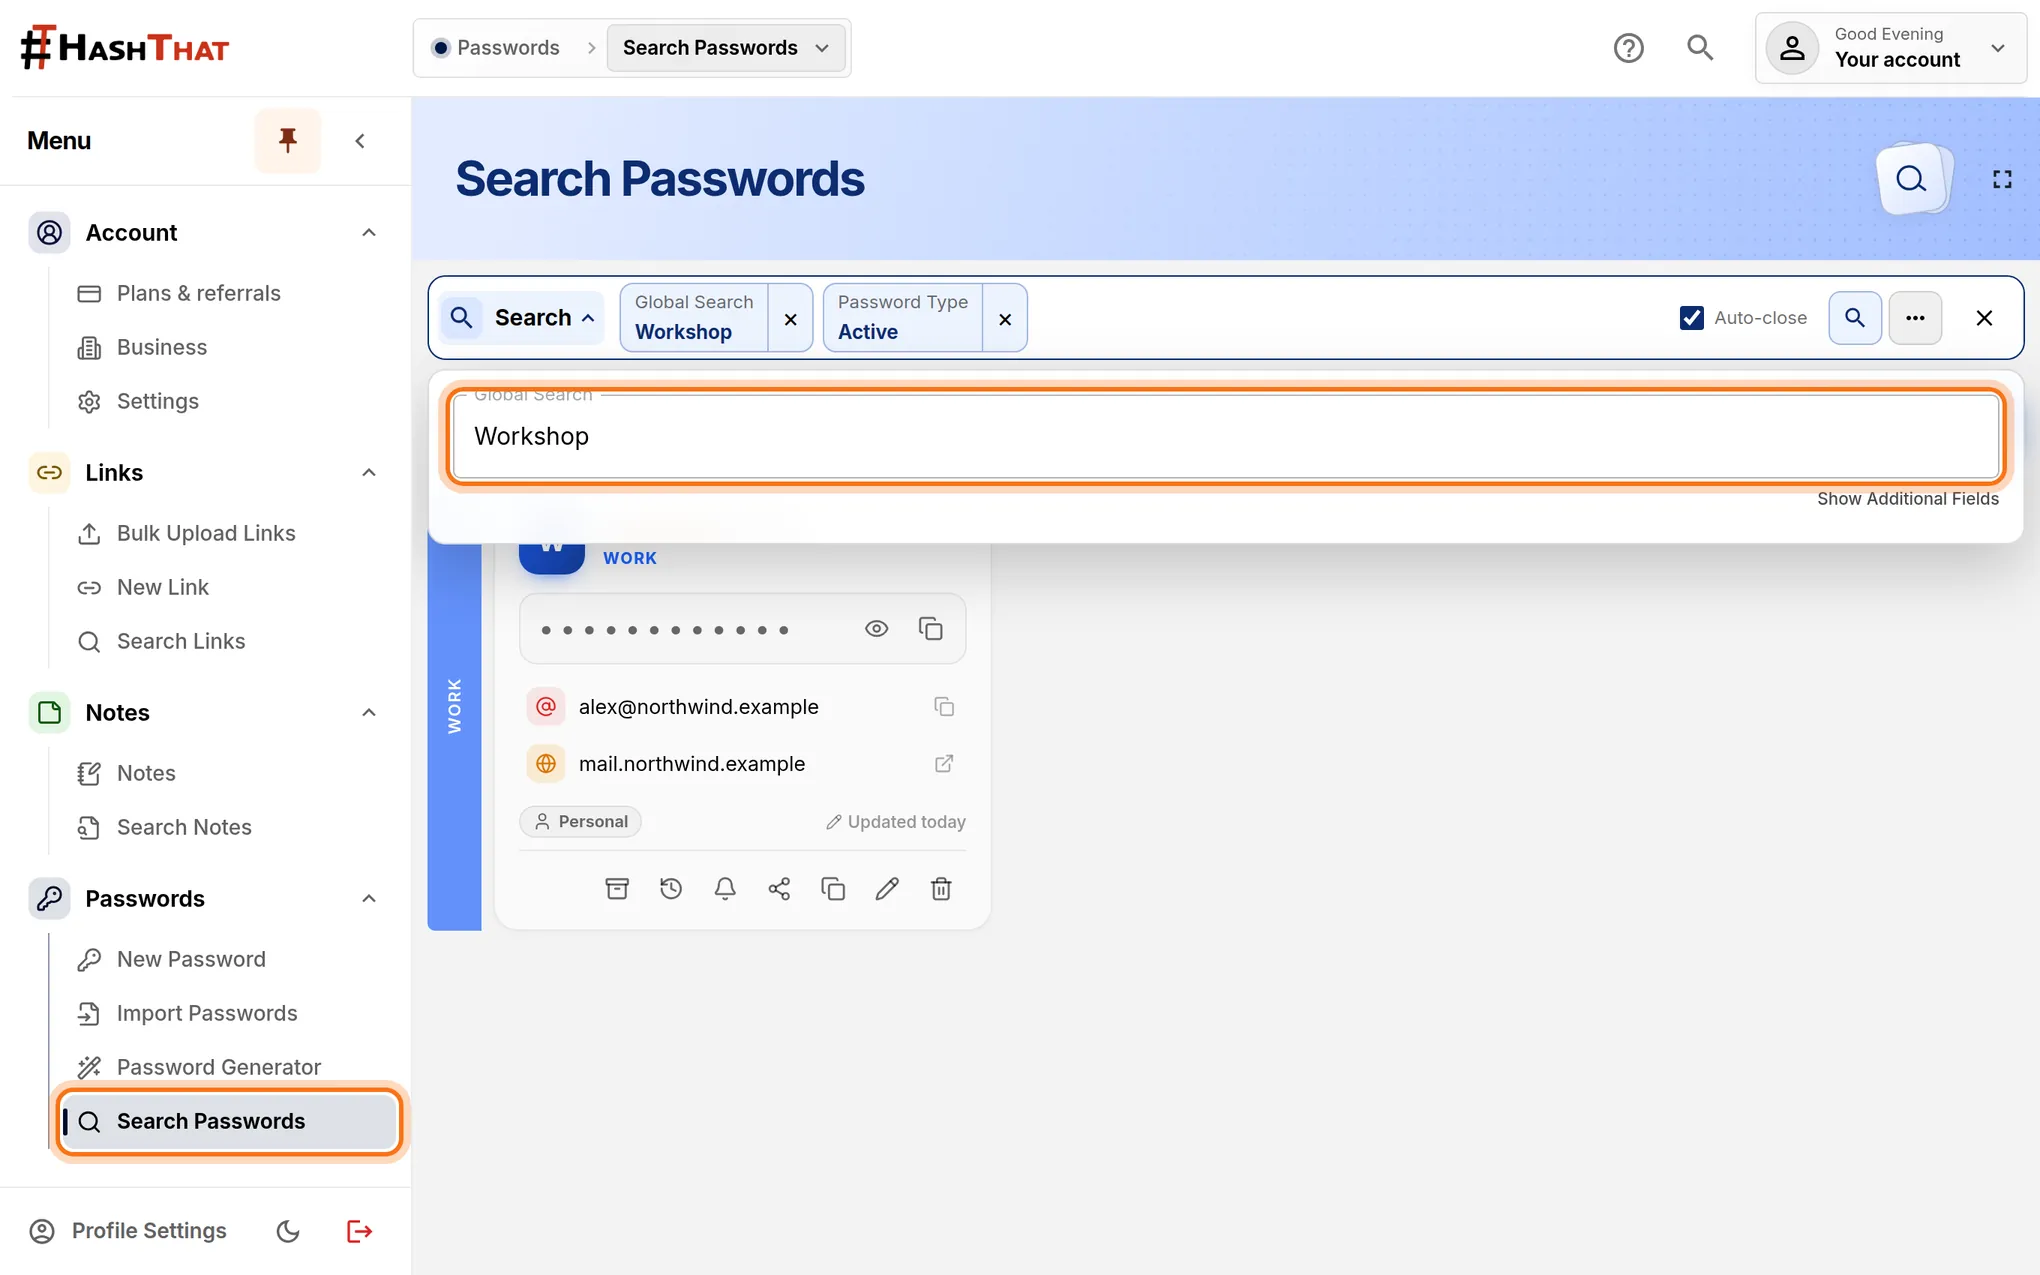
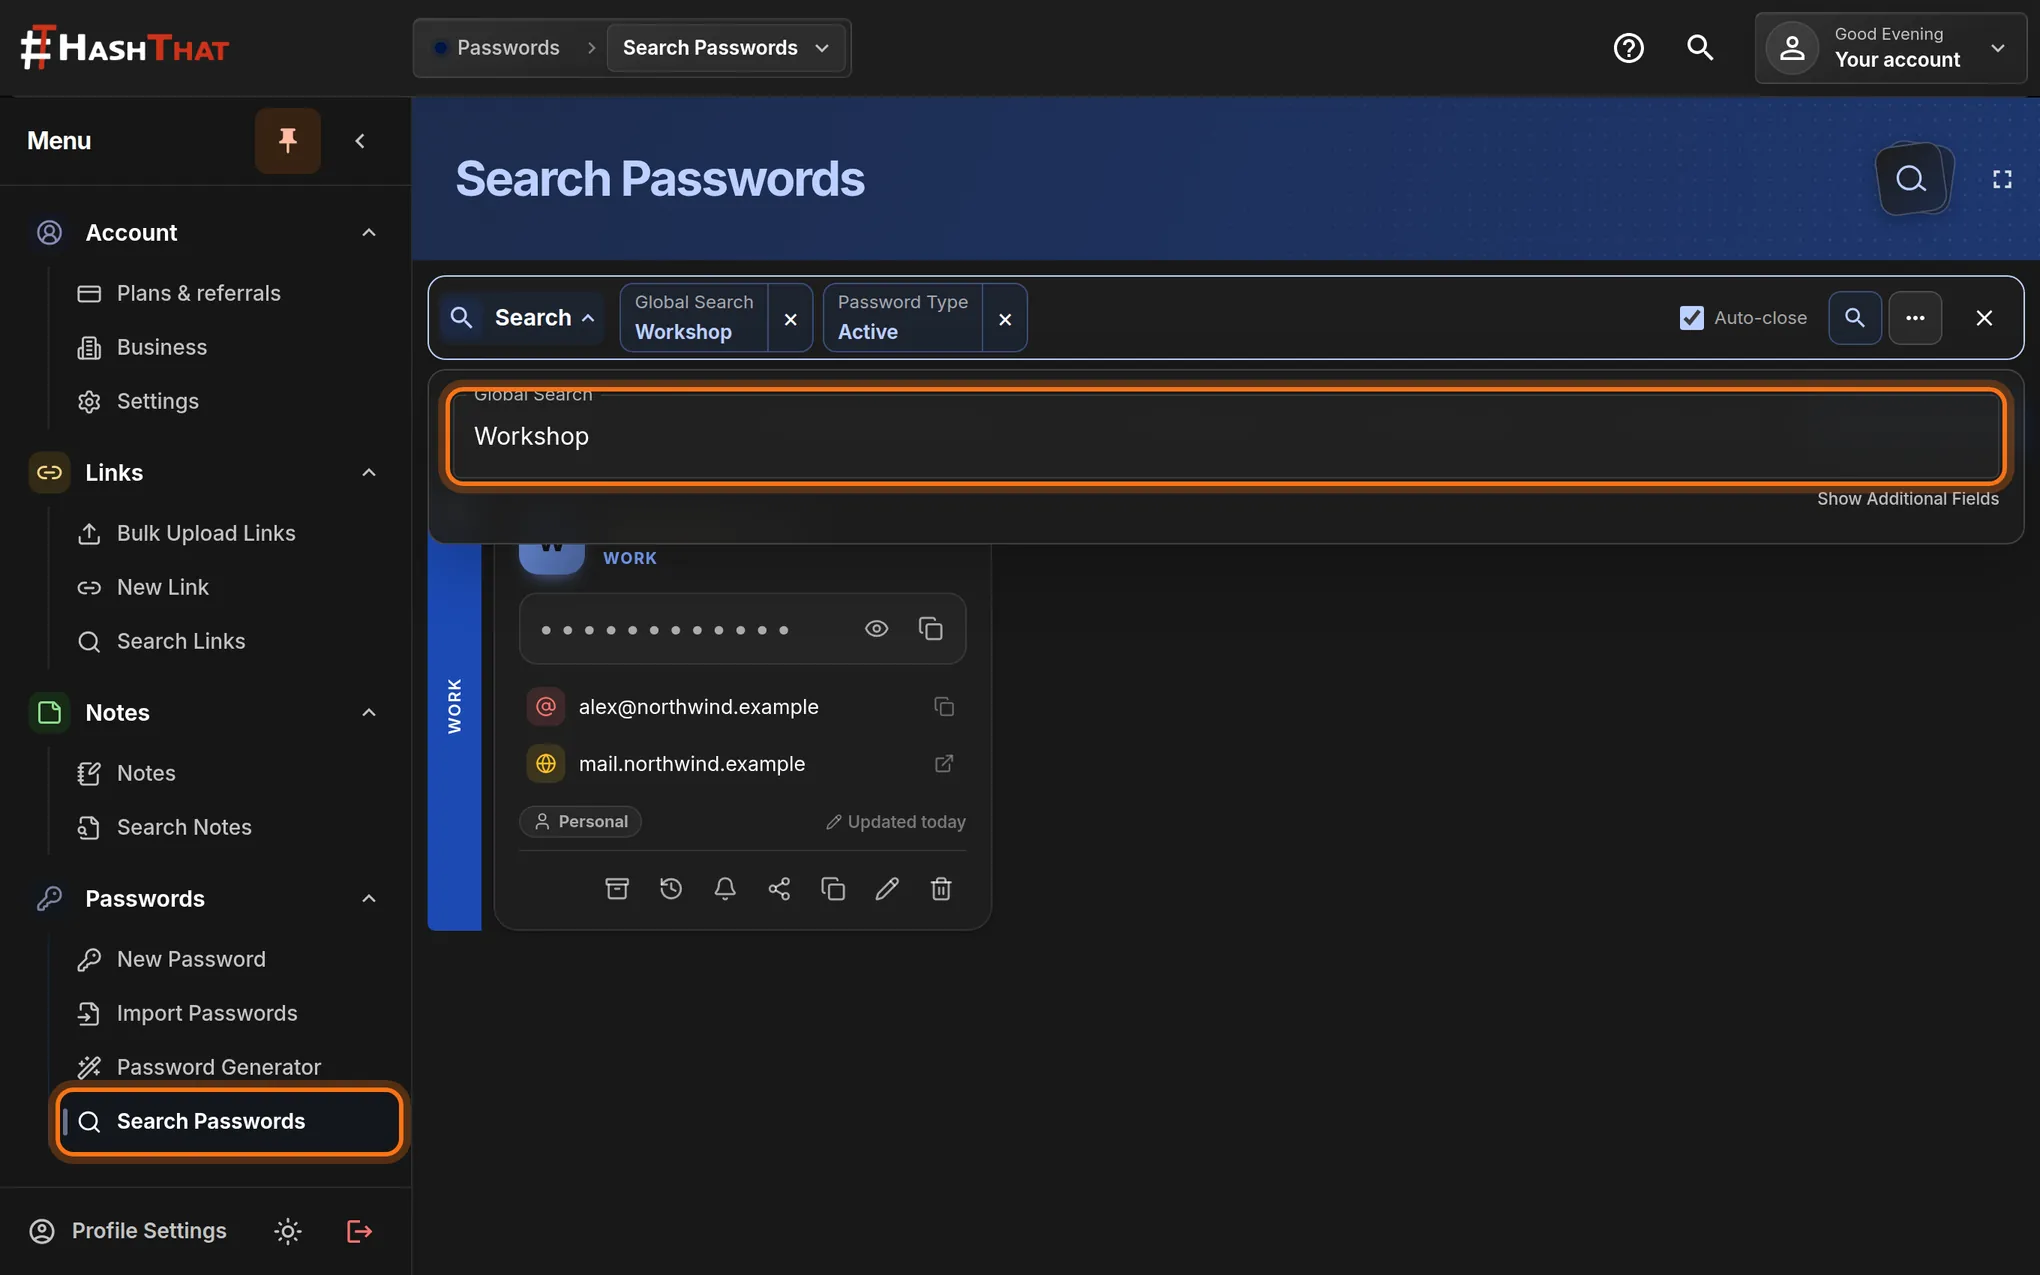
- In the left menu, click Search Passwords.
- Click Search near the top of the page.
- Type the first word of your description in Global Search. This example uses Workshop.
- Press Enter on your keyboard.
 Full size
 Full size
Global Search looks through the names and details of your saved logins. Step 9: Check the saved card
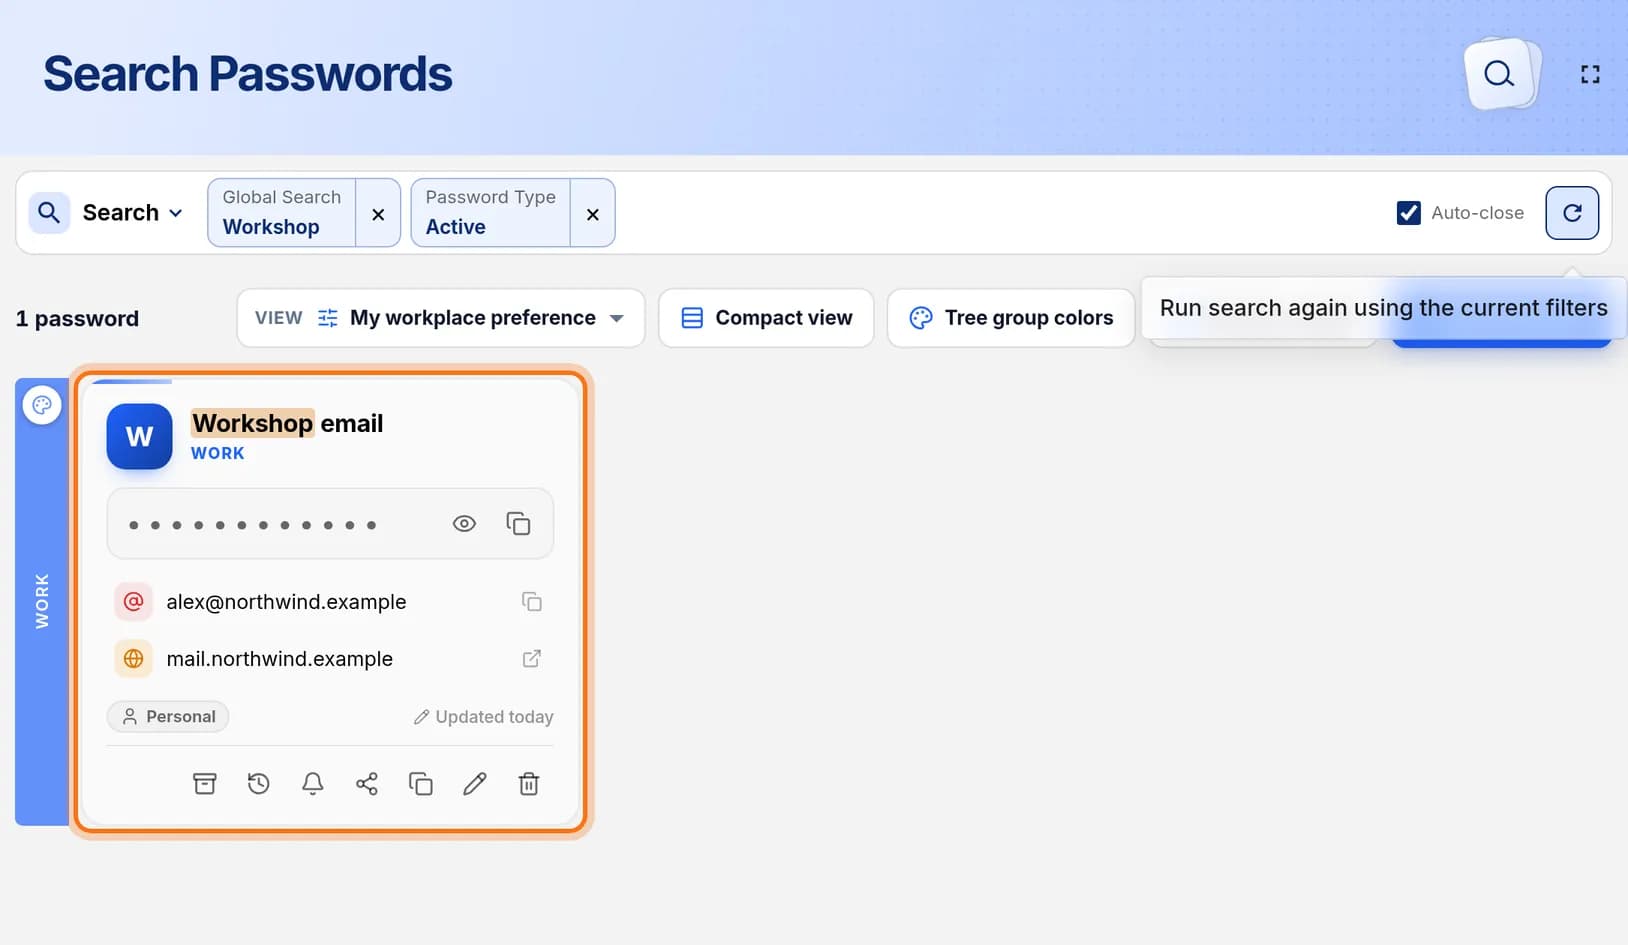
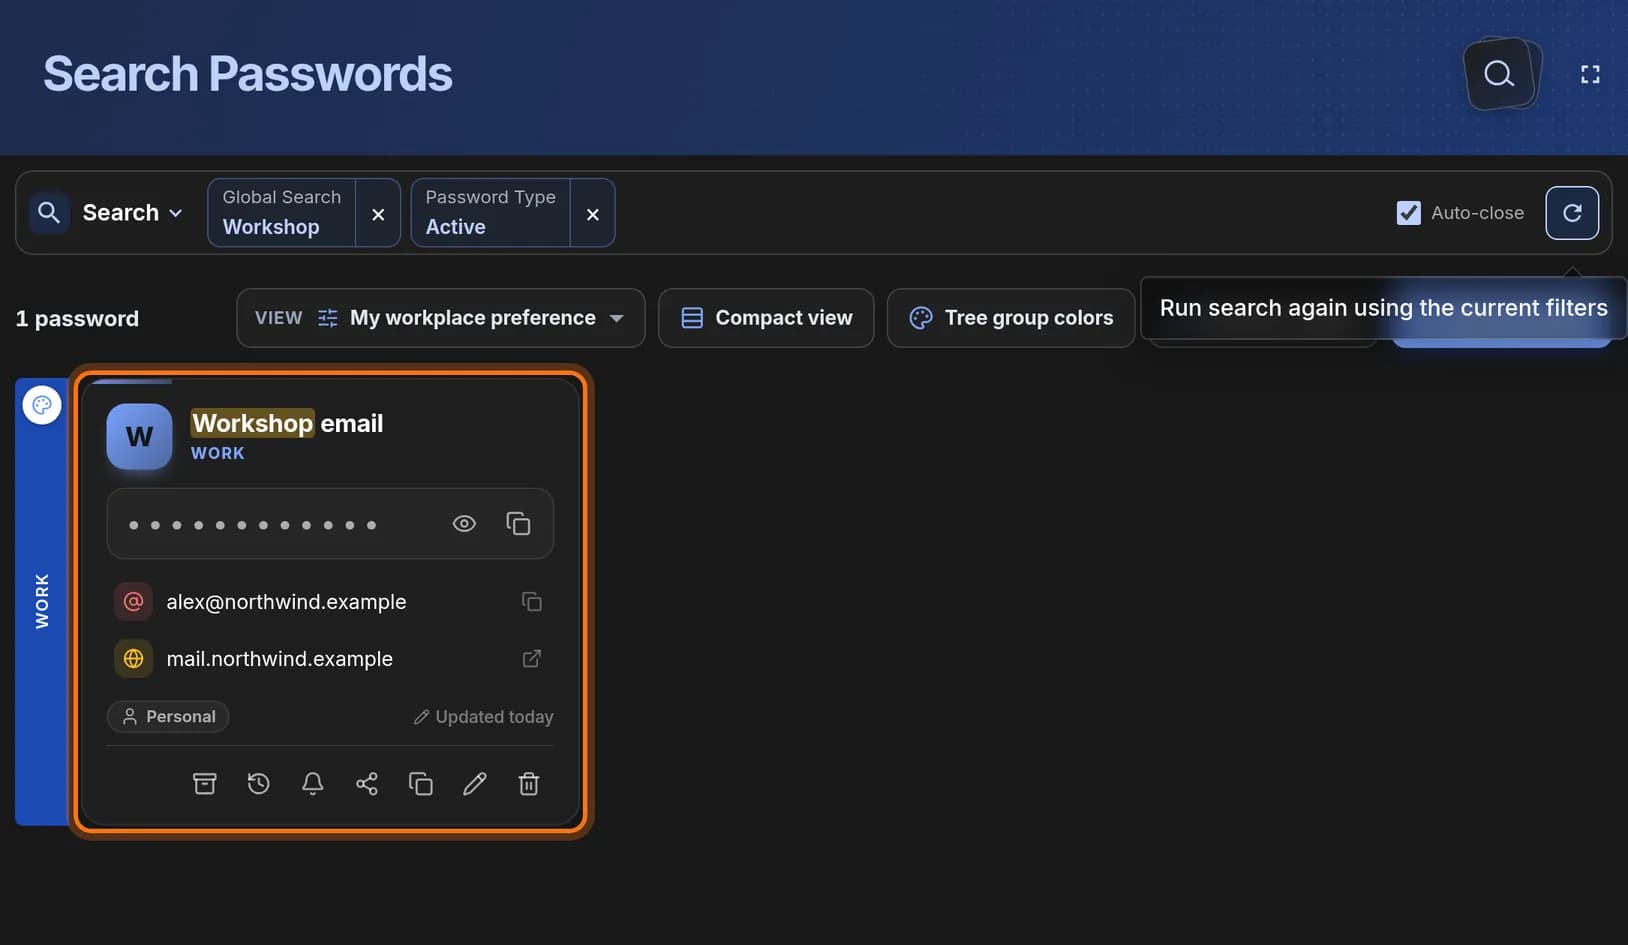
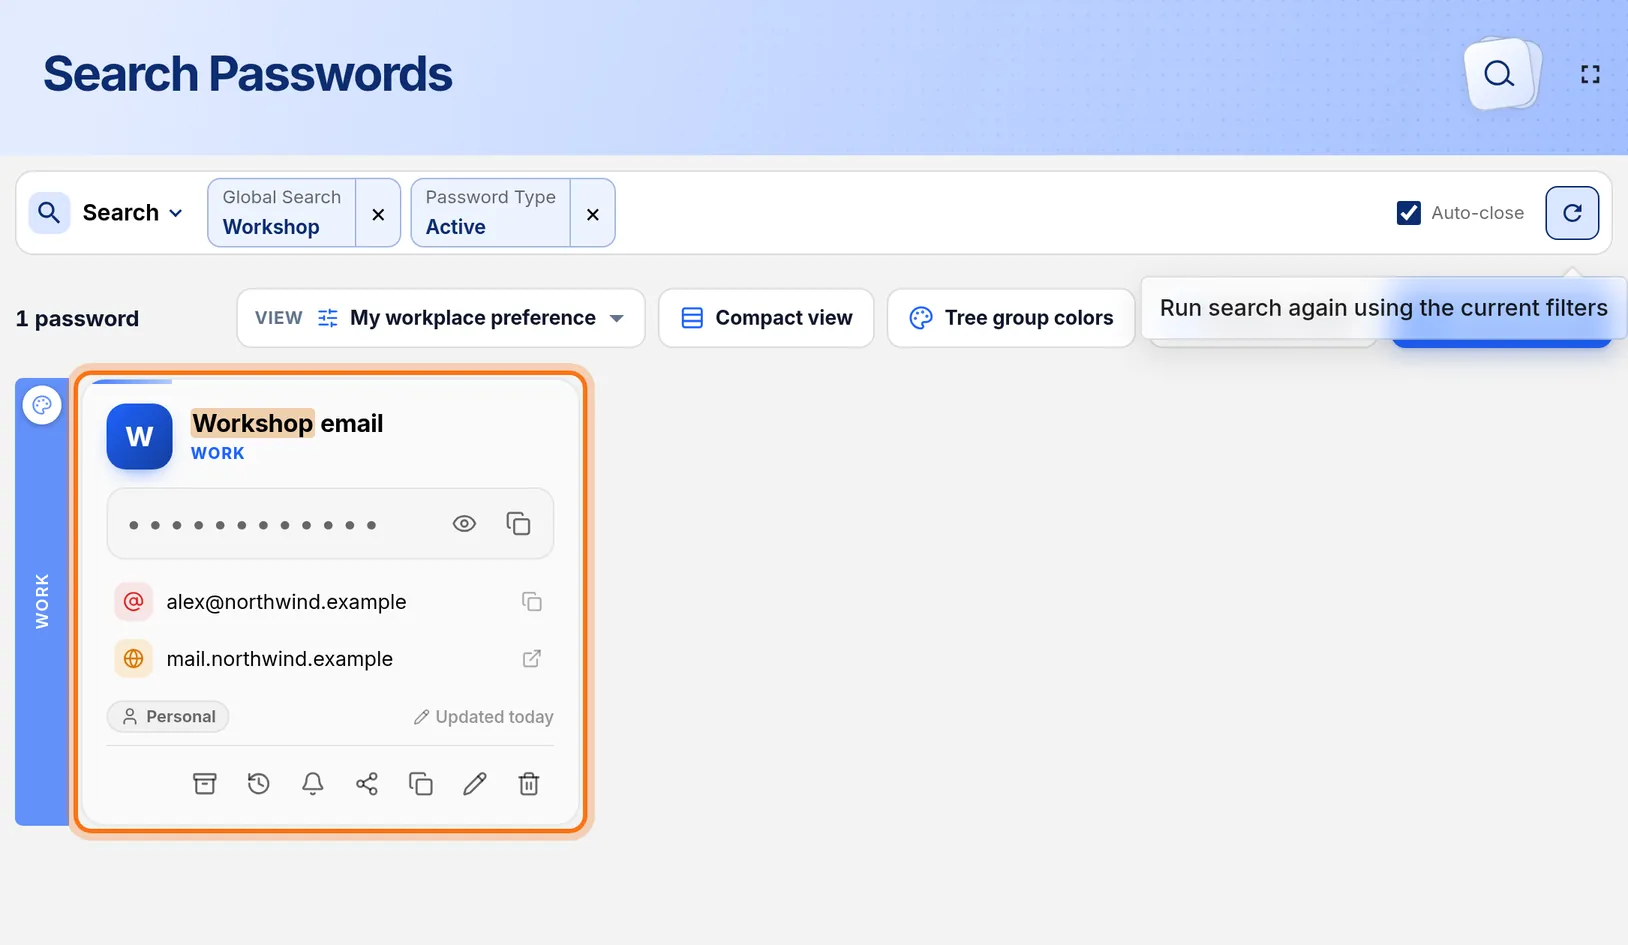
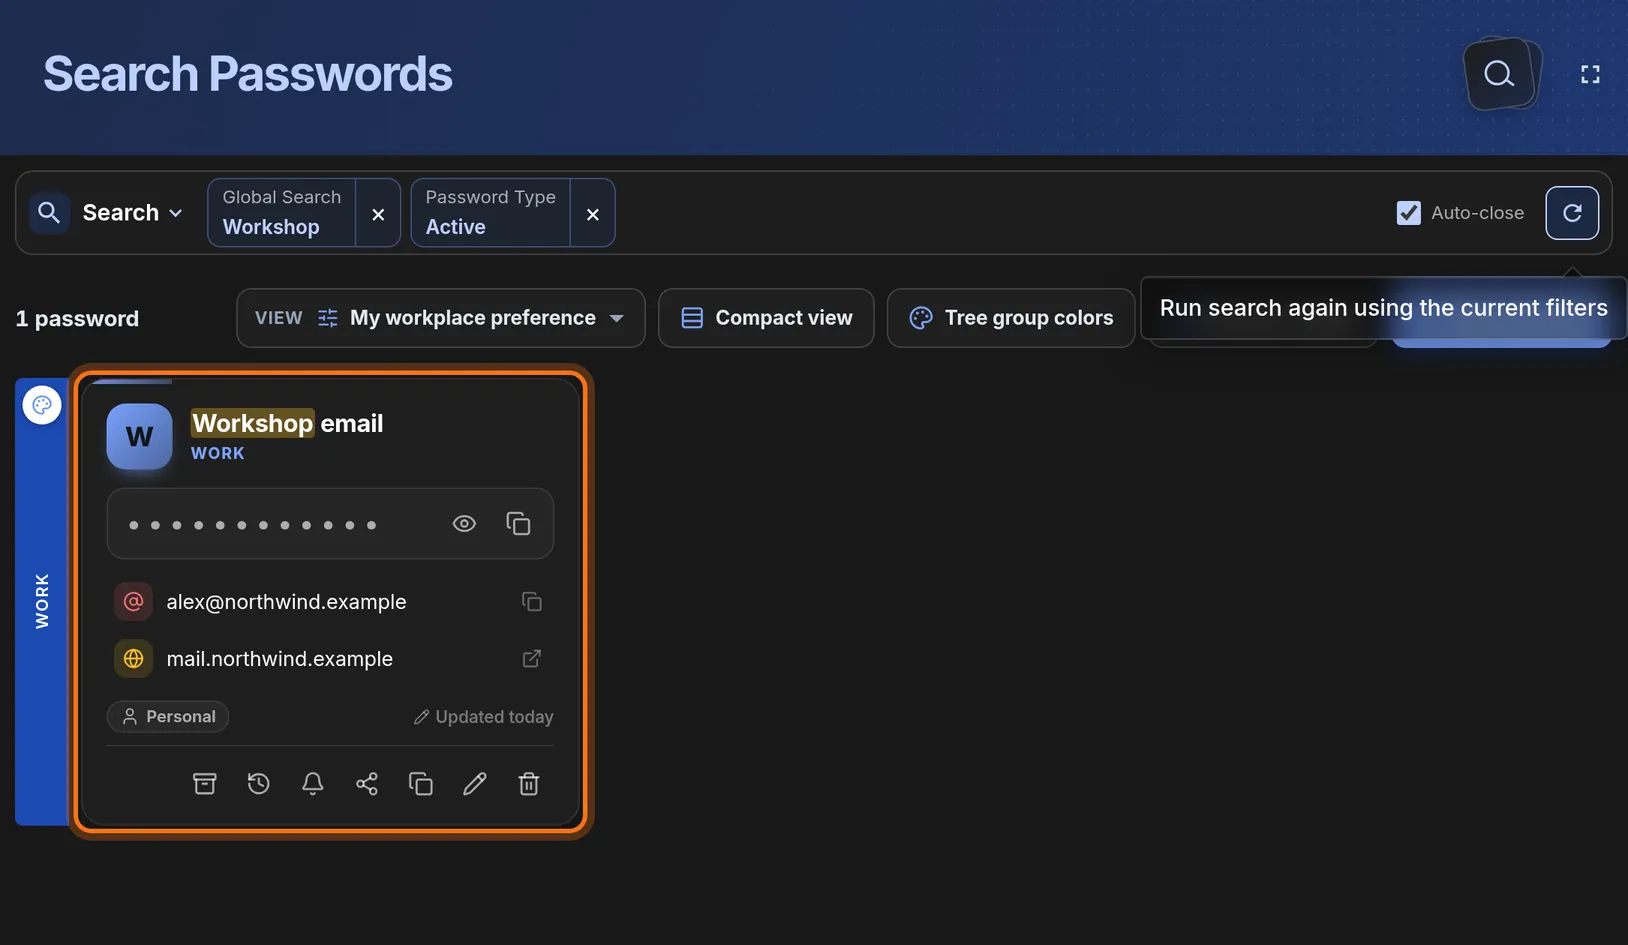
- Find the card with your description.
- Check the email address and website shown on the card.
- To correct anything, click the pencil icon at the bottom of the card.
You should see: One card with your description, the password shown as dots, and your email and website below it.
 Full size
 Full size
The eye icon shows the password. The icon next to it copies the password.
Check it worked
- Searching for your description shows exactly one card.
- The password on the card is hidden as dots until you click the eye icon.
- The email address and website on the card match the account.
If something looks different
I cannot see New Password in the menu
The menu may be collapsed. Click Passwords in the left menu to open its list. On a small screen, open the menu with the button at the top first.
My search shows no cards
Check the spelling, then clear the search with the × next to Global Search and look inside the category you chose. Each coloured bar is a category: click it to open it.
I saved the wrong password
Open the card, click the pencil icon, type the right password and click Save changes.
Tip: Saving a login in HashThat does not change the password on the website. To change it there, use the website’s own change-password page, then update the card with the new value.