Write and save your first private note
Create a note, give it a title, put it in a folder, and save it so that only you can read it.
- 7 steps
- About 4 minutes
Before you start
- You are signed in to HashThat.
- You have something to write down, such as a packing list, a Wi-Fi code or a reminder.
Step 1: Open your notes
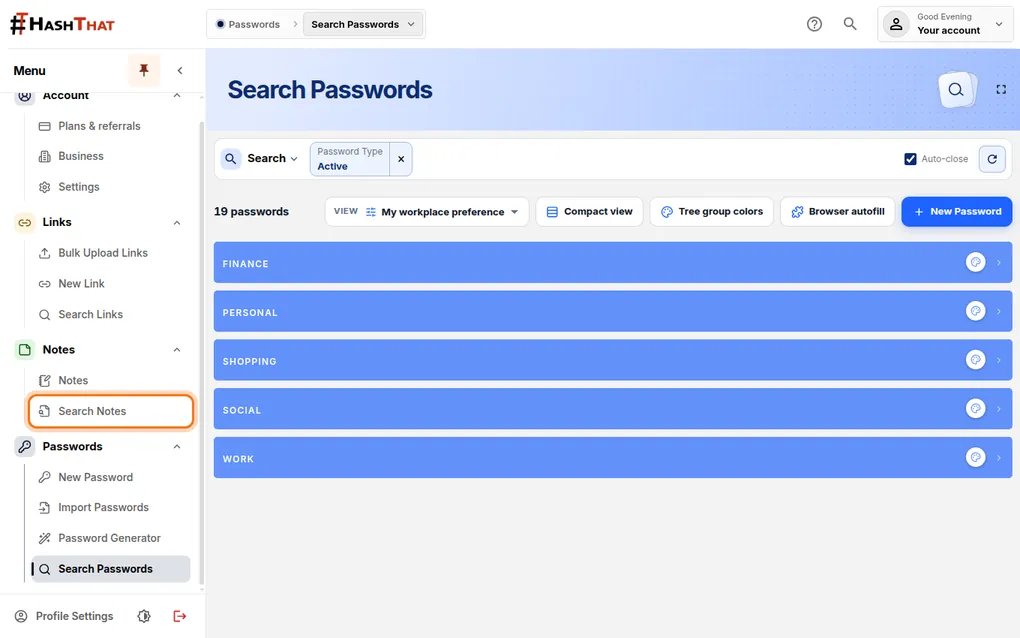
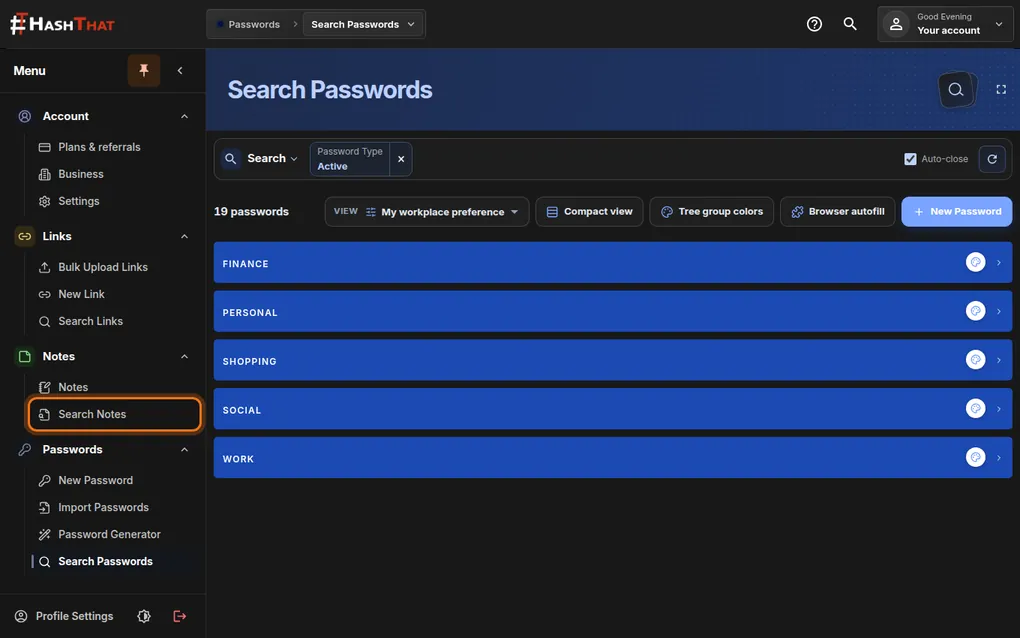
- Look at the menu on the left side of the screen.
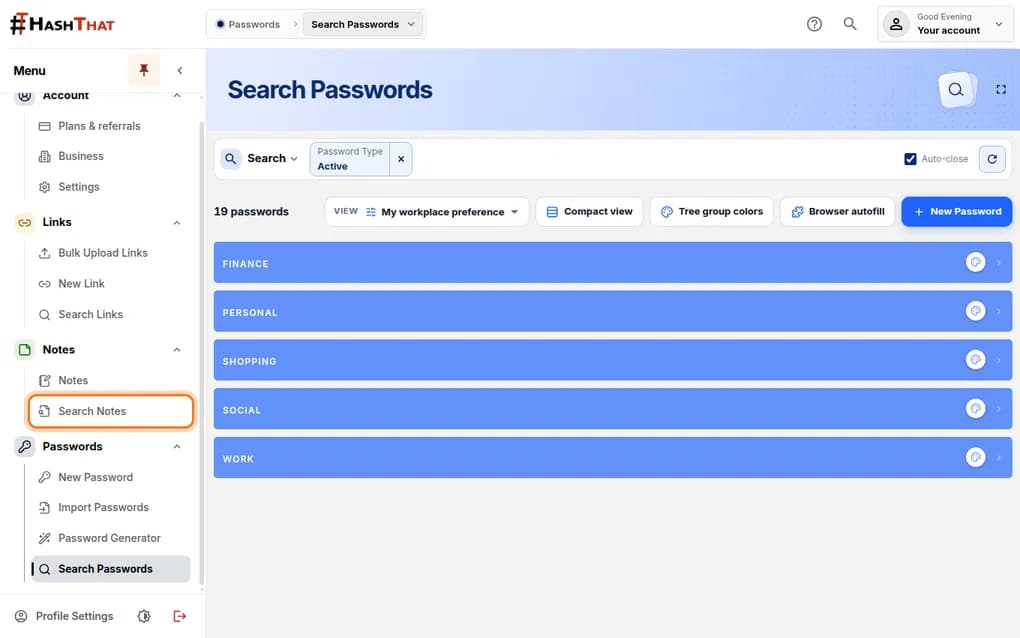
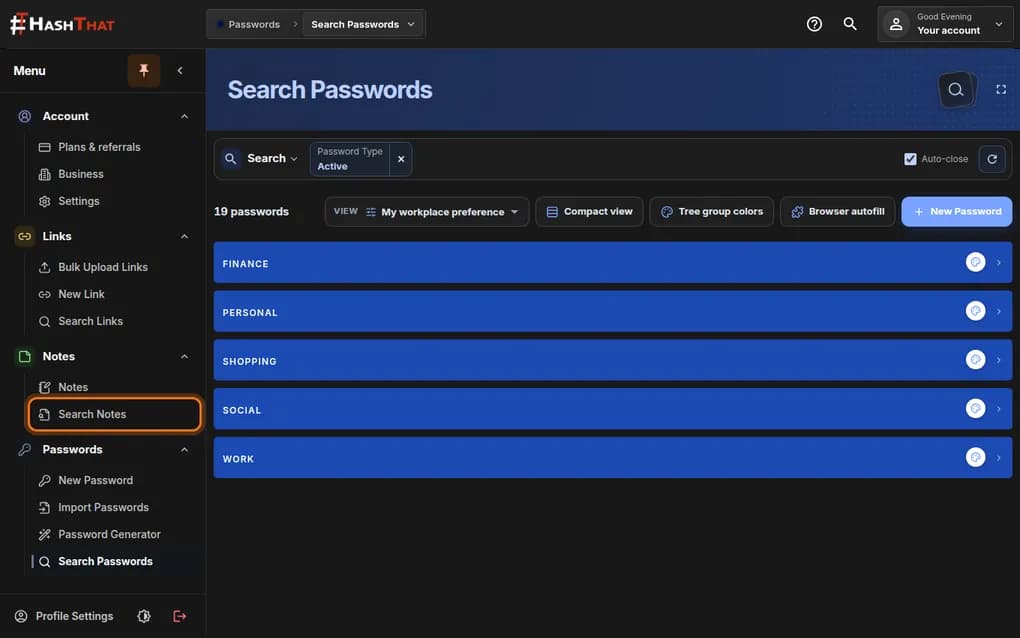
- Under Notes, click Search Notes.
You should see: A page titled Search Notes.
 Full size
 Full size
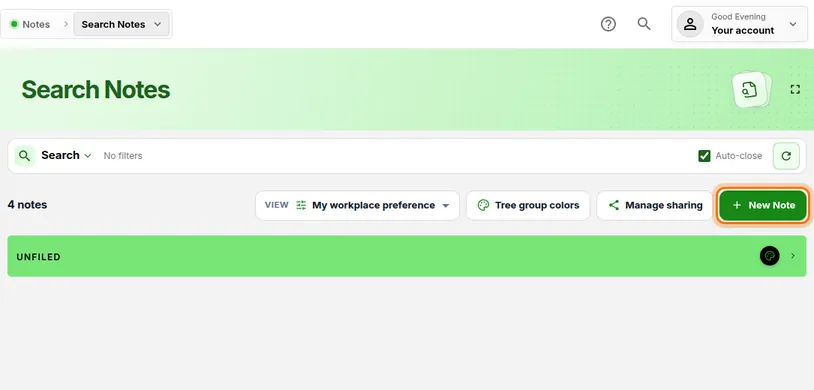
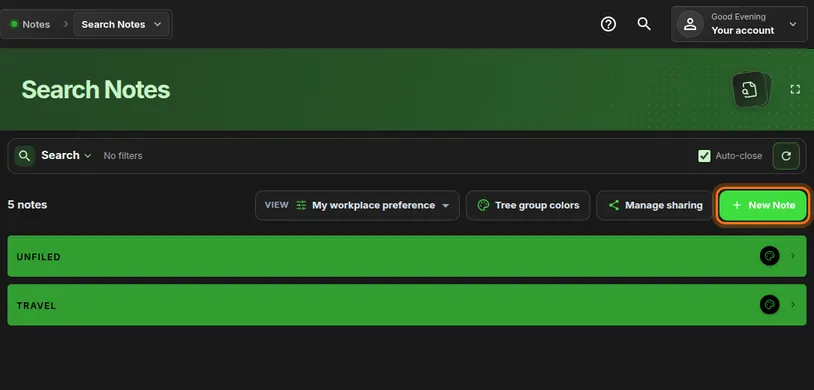
Search Notes lists every note you have saved. Step 2: Start a new note
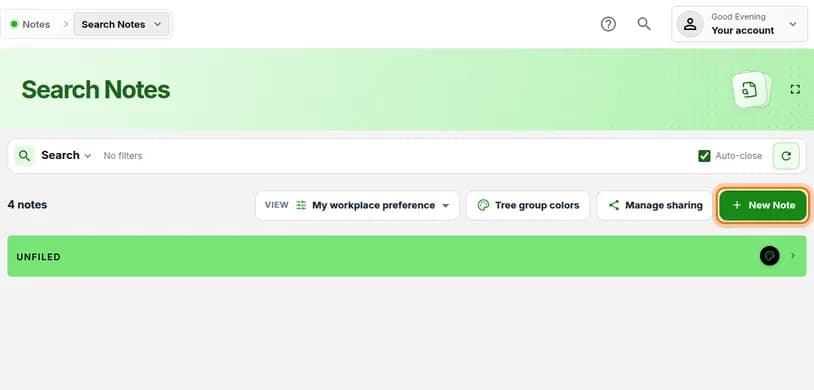
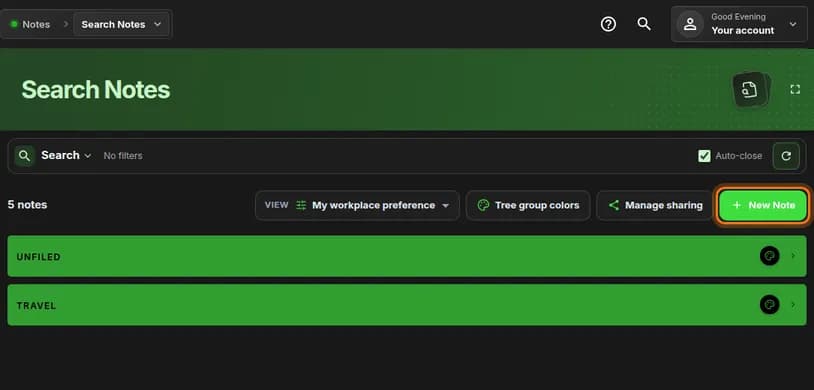
- At the top right of the list, click the green New Note button.
You should see: An empty note opens, with a Title box at the top and a large writing area below it.
 Full size
 Full size
New Note opens the editor on the same page. Step 3: Give the note a title
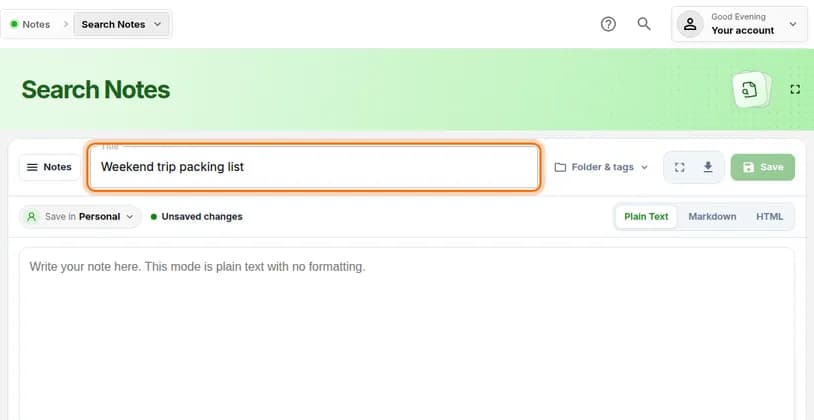
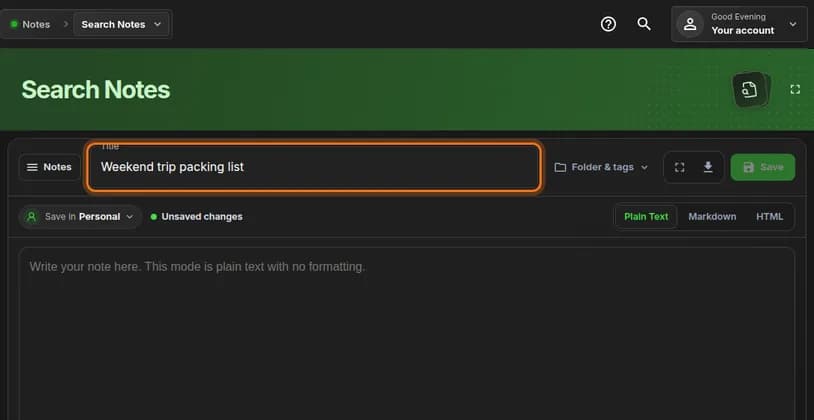
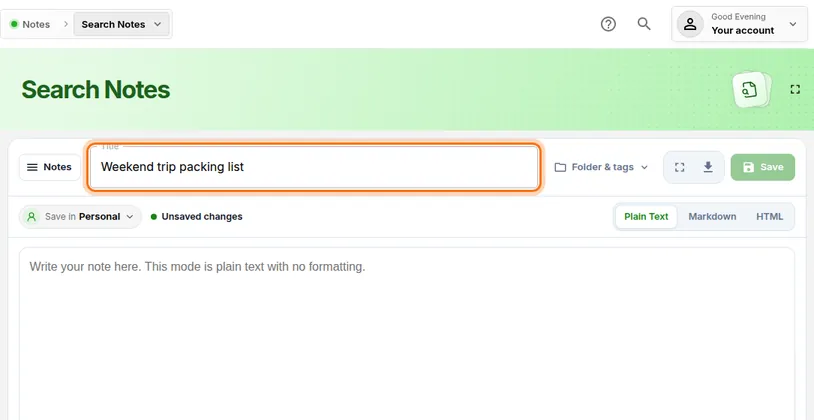
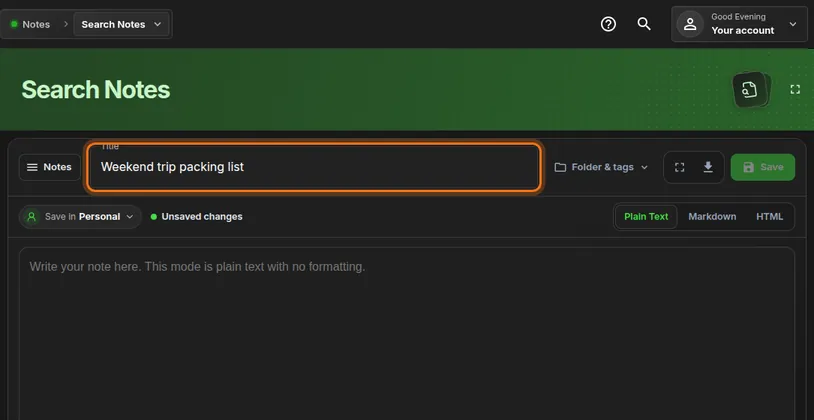
- Click the Title box.
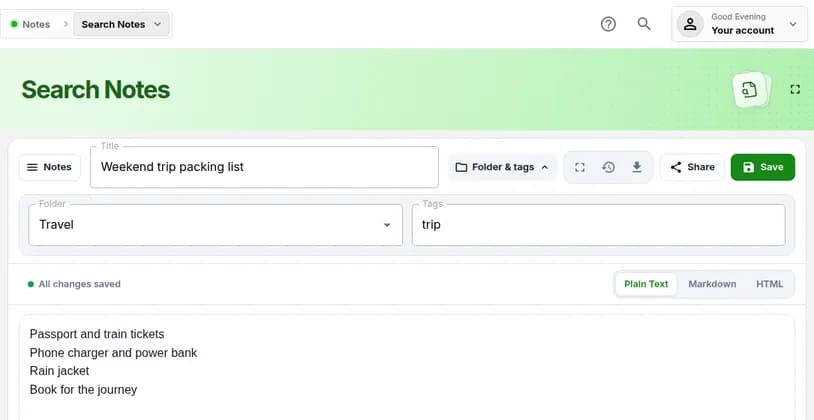
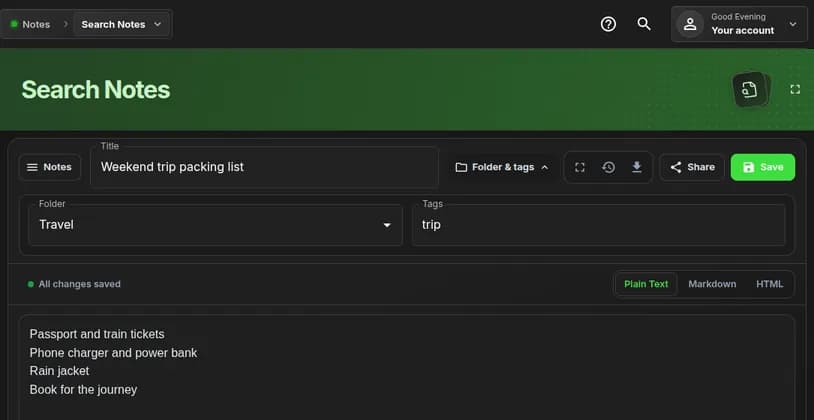
- Type a short name that says what the note is, for example Weekend trip packing list.
 Full size
 Full size
The title is what you see in the list later, so make it easy to recognise. Step 4: Write the note
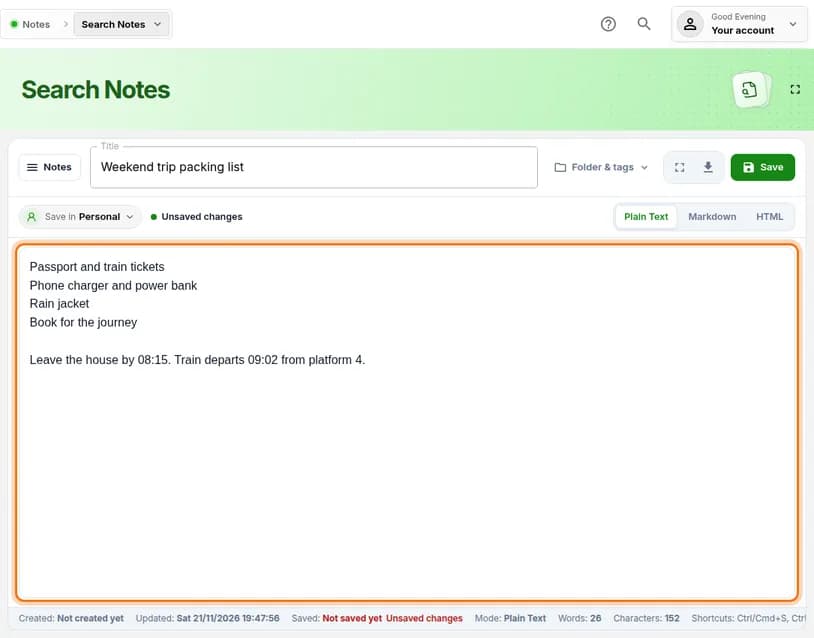
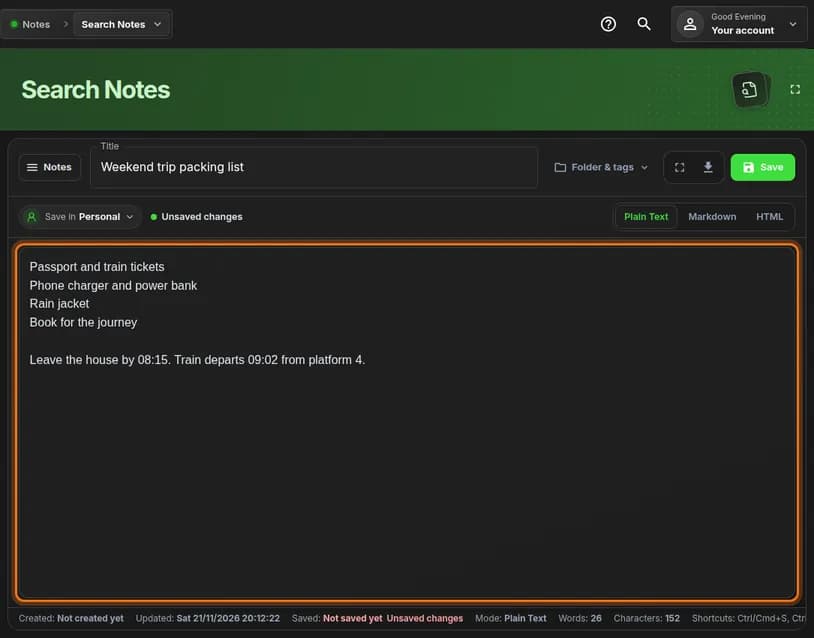
- Click the large area below the title.
- Type your note. Press Enter to start a new line.
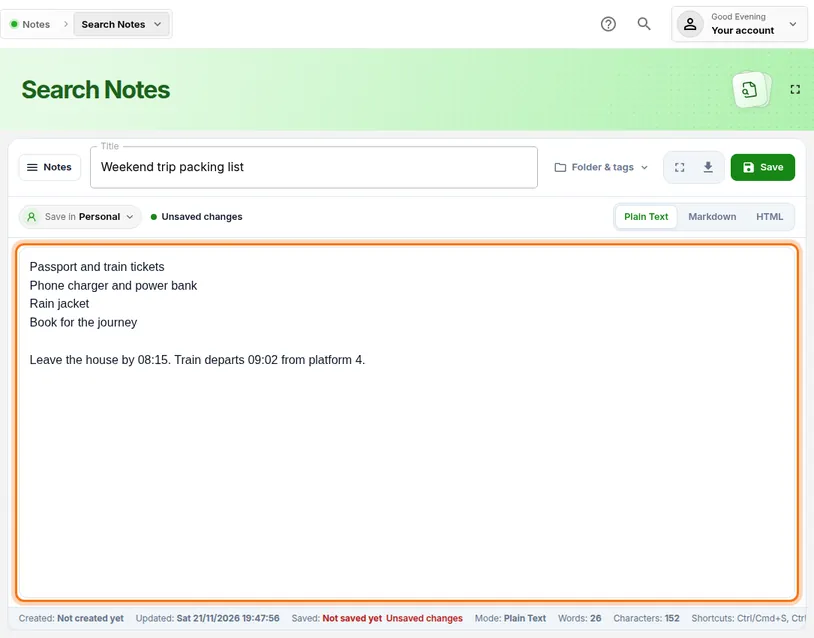
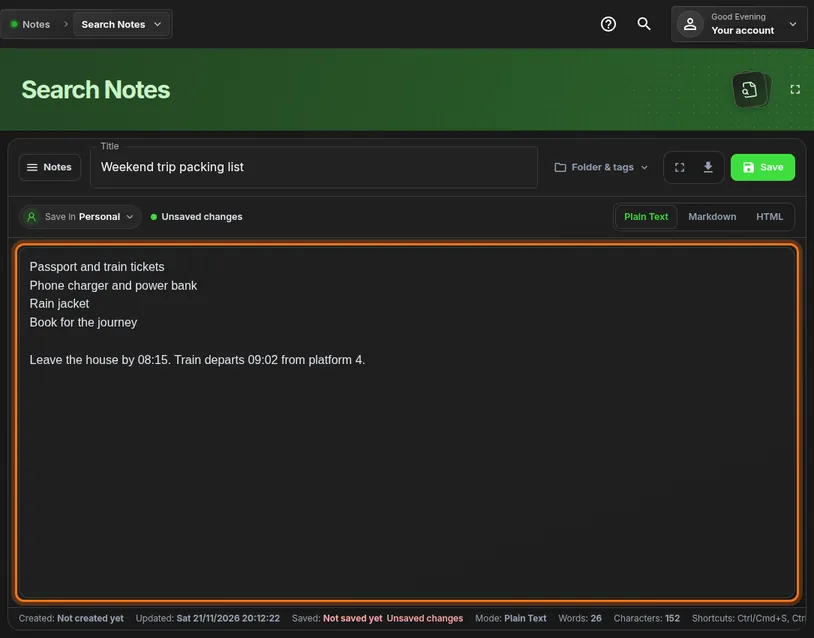
You should see: The words Unsaved changes above the writing area, and a word count at the bottom.
 Full size
 Full size
Plain Text is selected at the top right. It is the simplest mode: what you type is what you get. Leave Plain Text selected for now. Markdown and HTML add headings, lists and bold text, and have their own tutorials.
Step 5: Put the note in a folder
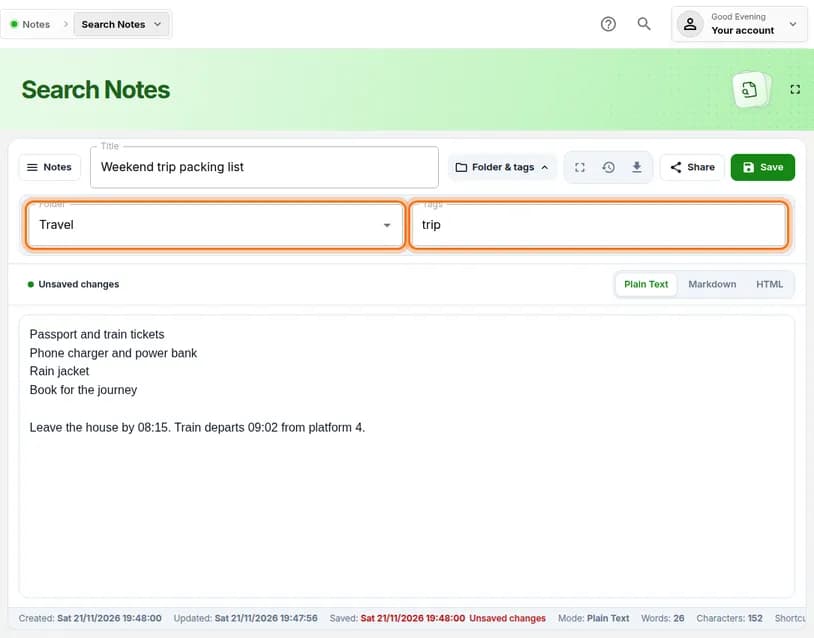
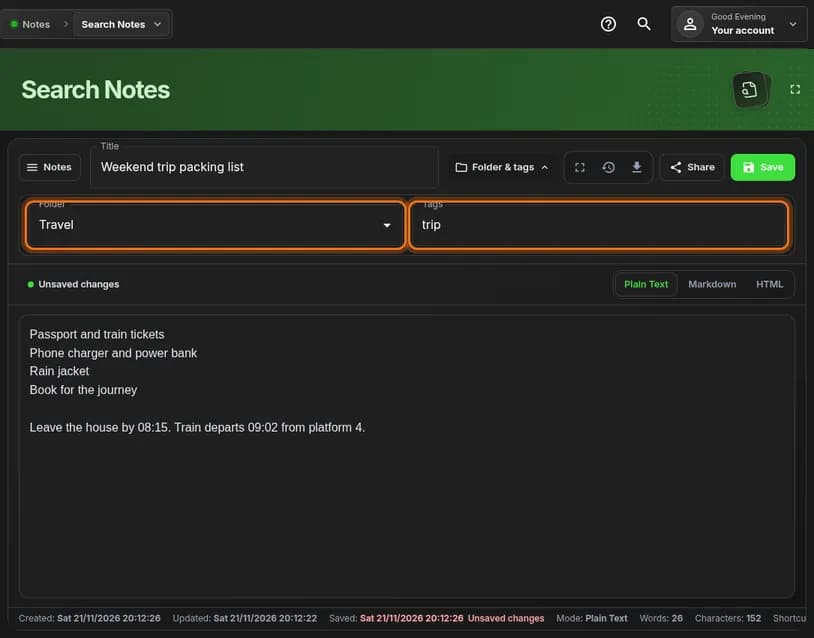
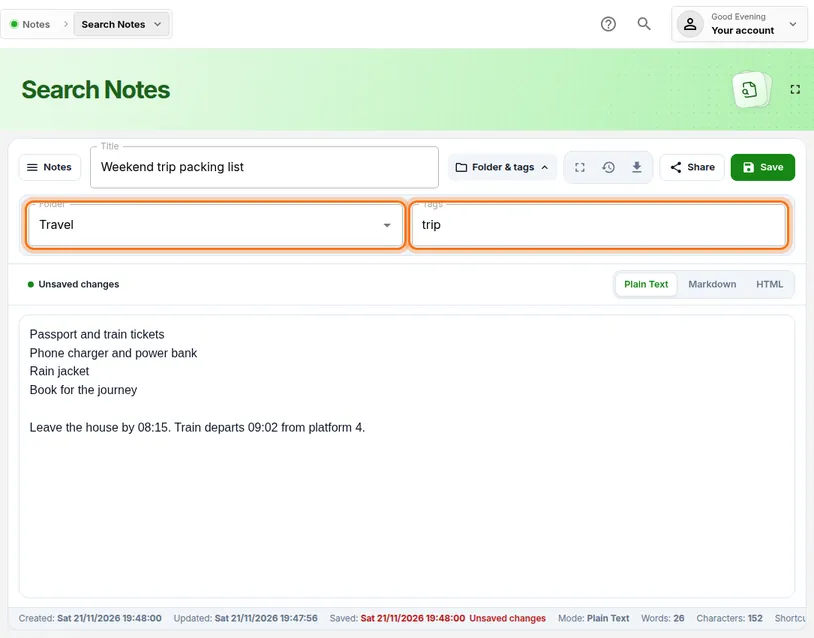
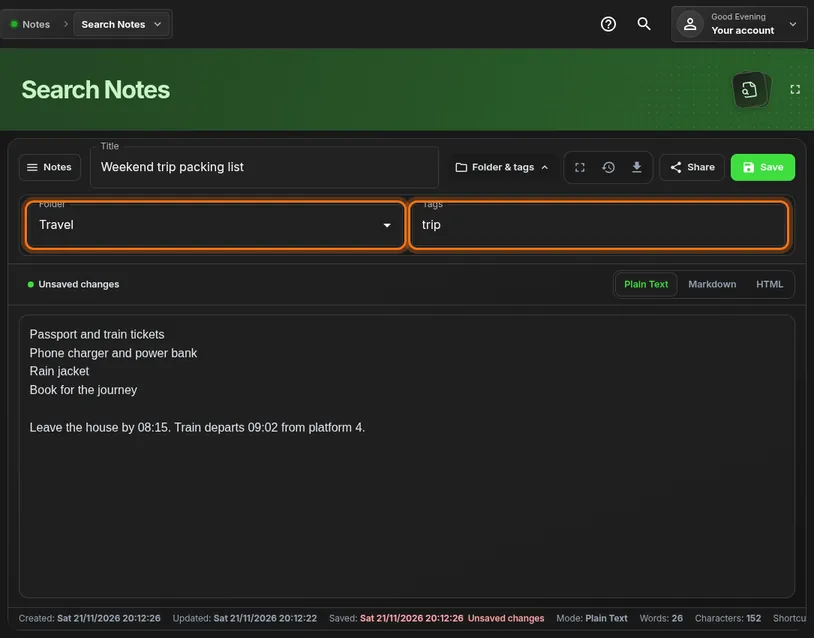
- Next to the title, click Folder & tags.
- Click the Folder box and type a folder name, such as Travel.
- Optional: click Tags, type a word such as trip, and press Enter.
 Full size
 Full size
Notes with the same folder are listed together. You can skip this step. A note without a folder goes into a group called Unfiled.
Step 6: Save the note
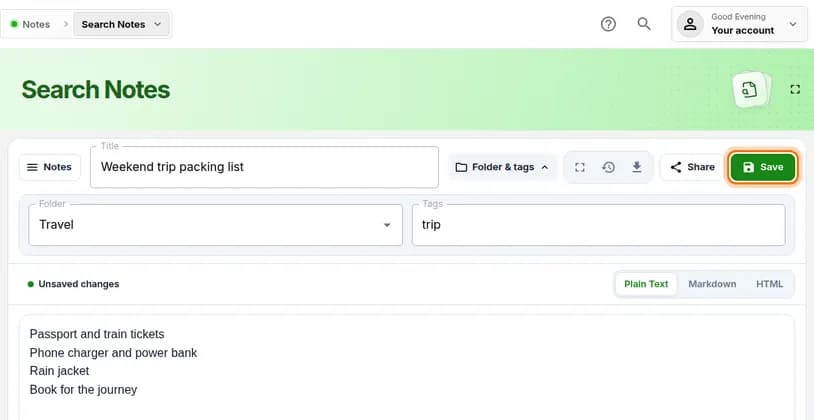
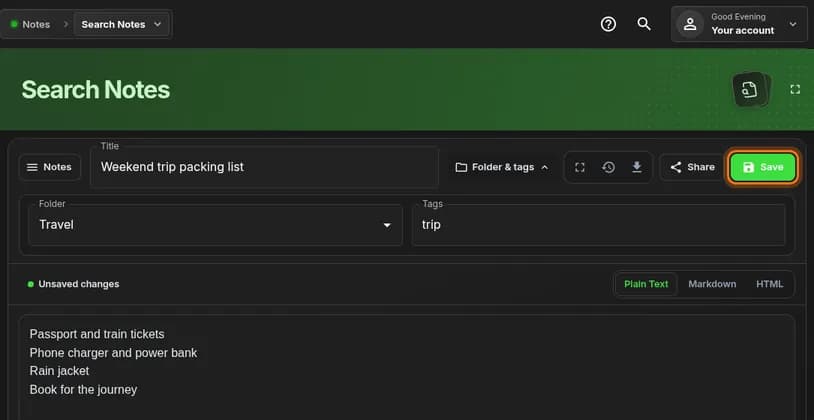
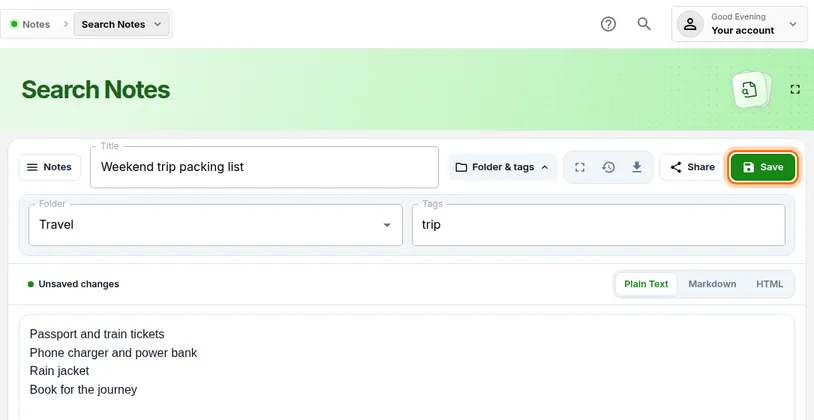
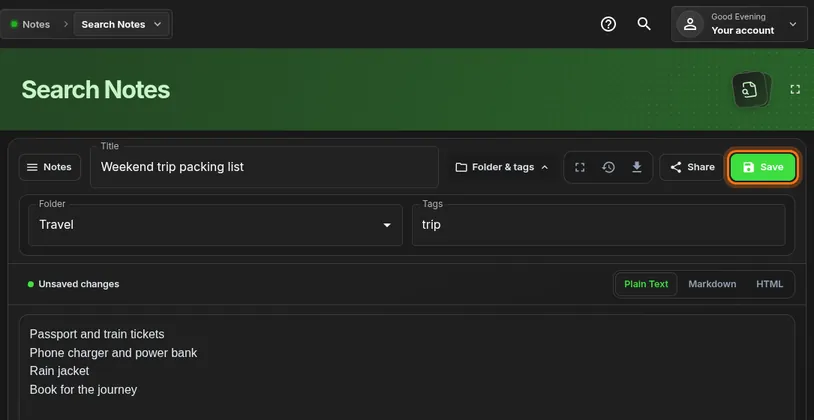
- At the top right of the editor, click the green Save button.
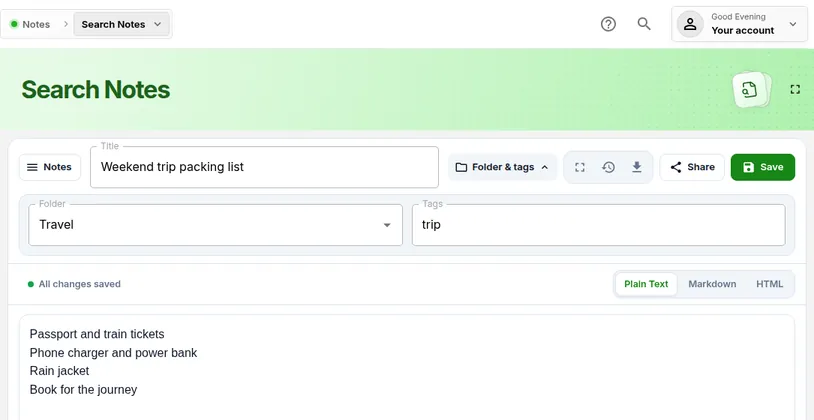
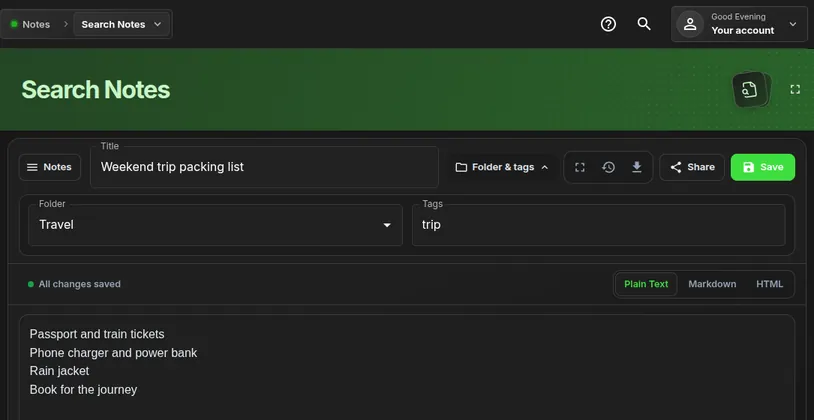
You should see: Unsaved changes turns into All changes saved.
 Full size
 Full size
You can also press Ctrl + S on Windows or Cmd + S on a Mac. Step 7: Check that it is saved
- Look just above the writing area for All changes saved.
- In the left menu, click Search Notes to go back to your list.
You should see: A coloured bar with your folder name. Click it to see the card for your new note.
 Full size
 Full size
After the first save, the Share button and the version history icon appear.
Check it worked
- The note’s card is listed on Search Notes under the folder you chose.
- Opening the card with the pencil icon shows the text you typed.
If something looks different
I closed the page before saving
Text that was never saved is not kept. Open Search Notes, click New Note and write it again, then click Save before you leave.
I cannot find my note in the list
Notes are grouped by folder. Click the coloured bar with your folder name, or the bar called Unfiled if you did not choose one. You can also click Search and type a word from the title.
Who can read my note?
Only you. Notes are encrypted on your device before they are stored, so HashThat cannot read them. Other people see a note only if you share it with them.
Tip: Save early. Click Save as soon as the note has a title, then keep writing. HashThat keeps earlier versions of a saved note, so you can go back if you overwrite something.