Share a note until a set date
Let one person read a note of yours, and choose the day their access ends on its own.
- 6 steps
- About 4 minutes
Before you start
- A saved personal note that you own.
- The email address the other person uses for their HashThat account.
- Sharing a personal note works on the free plan and on Notes Pro.
Step 1: Find the note and click Share
- In the left menu, click Search Notes.
- If your notes are hidden, click the green bar to open the group.
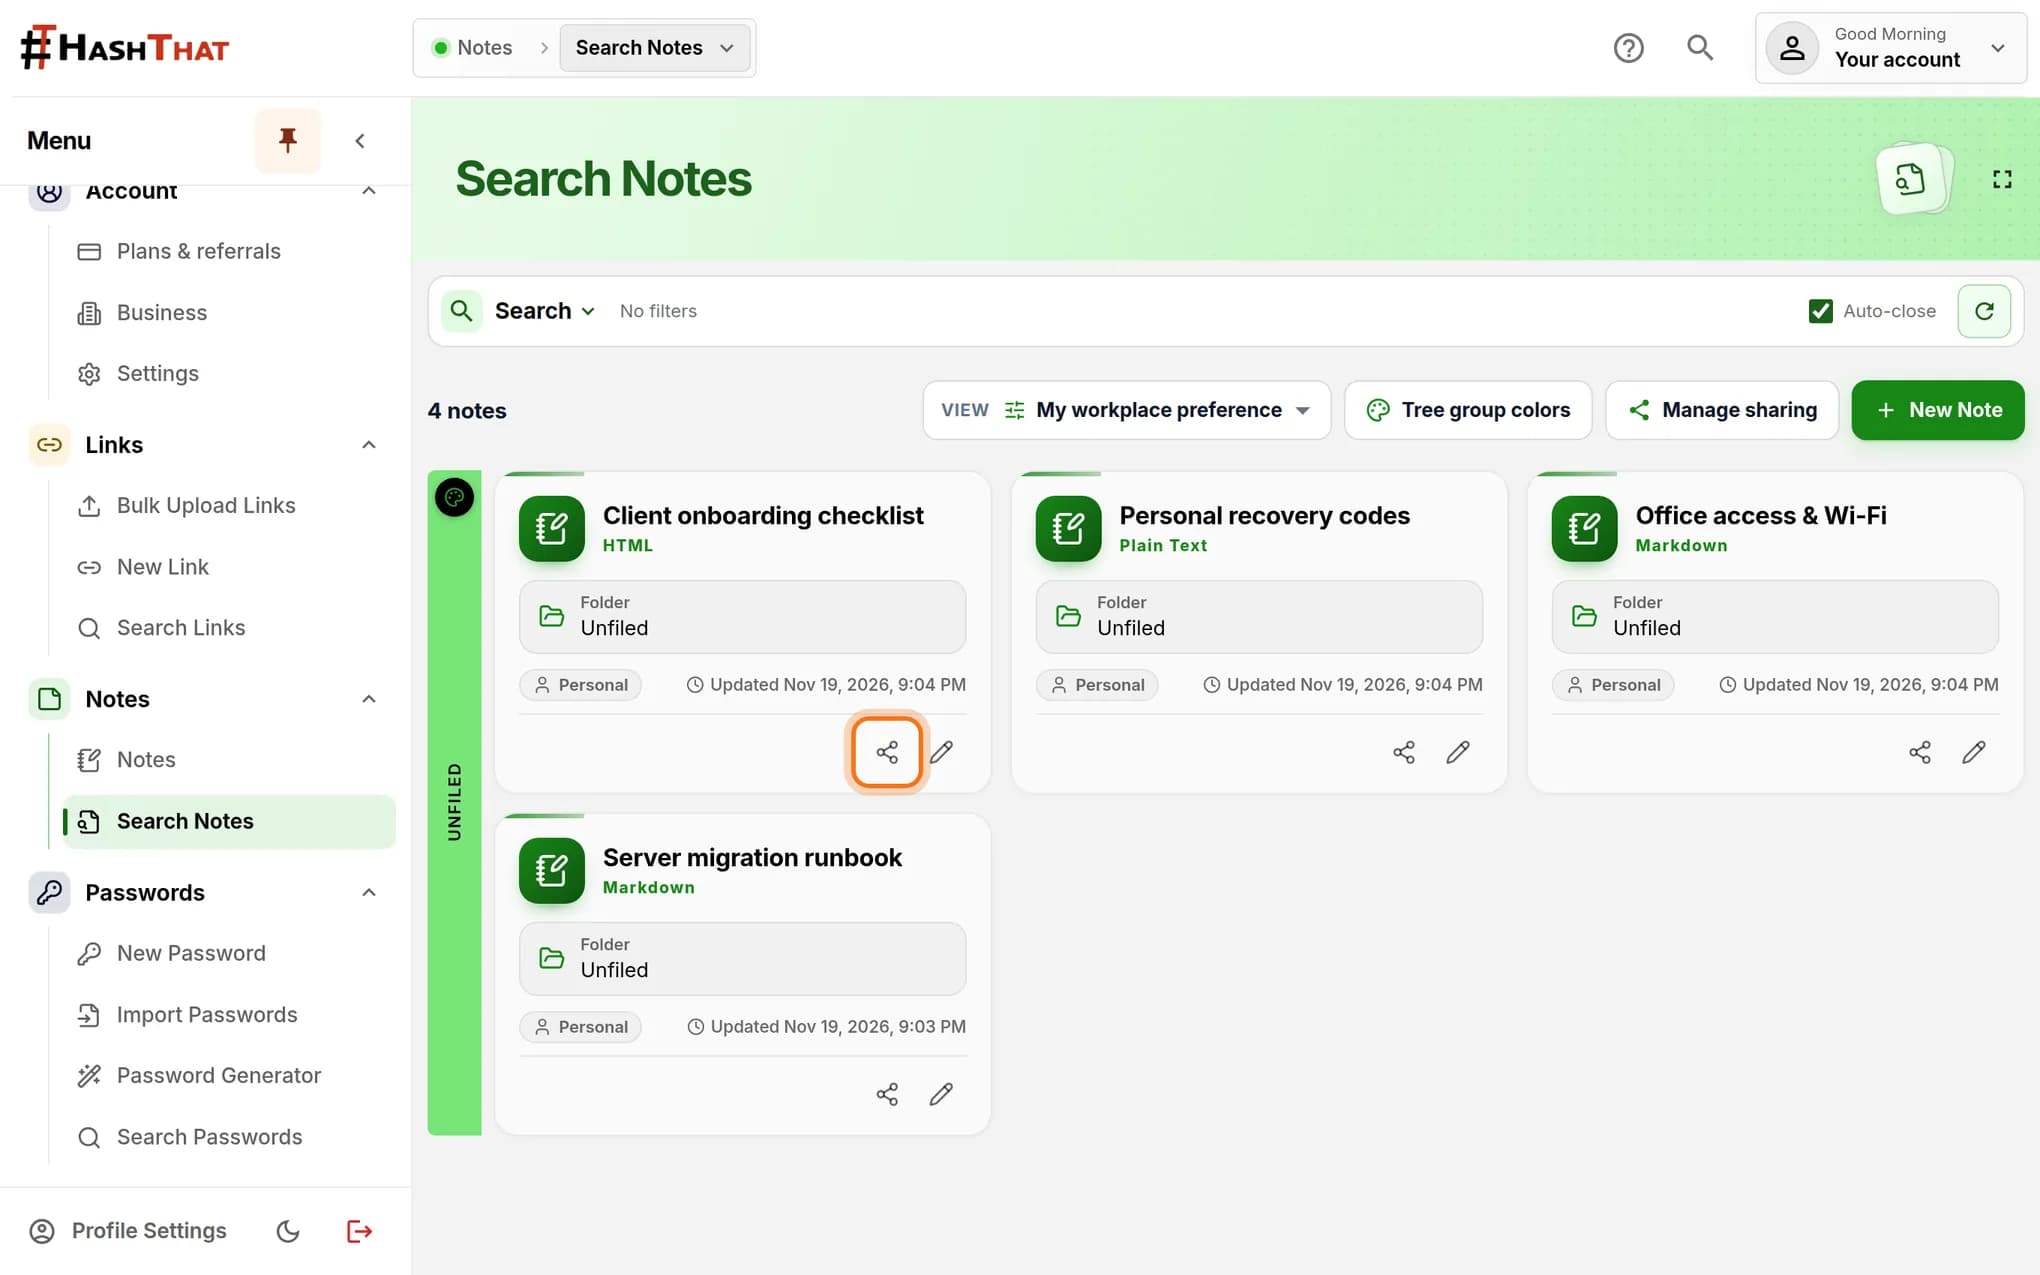
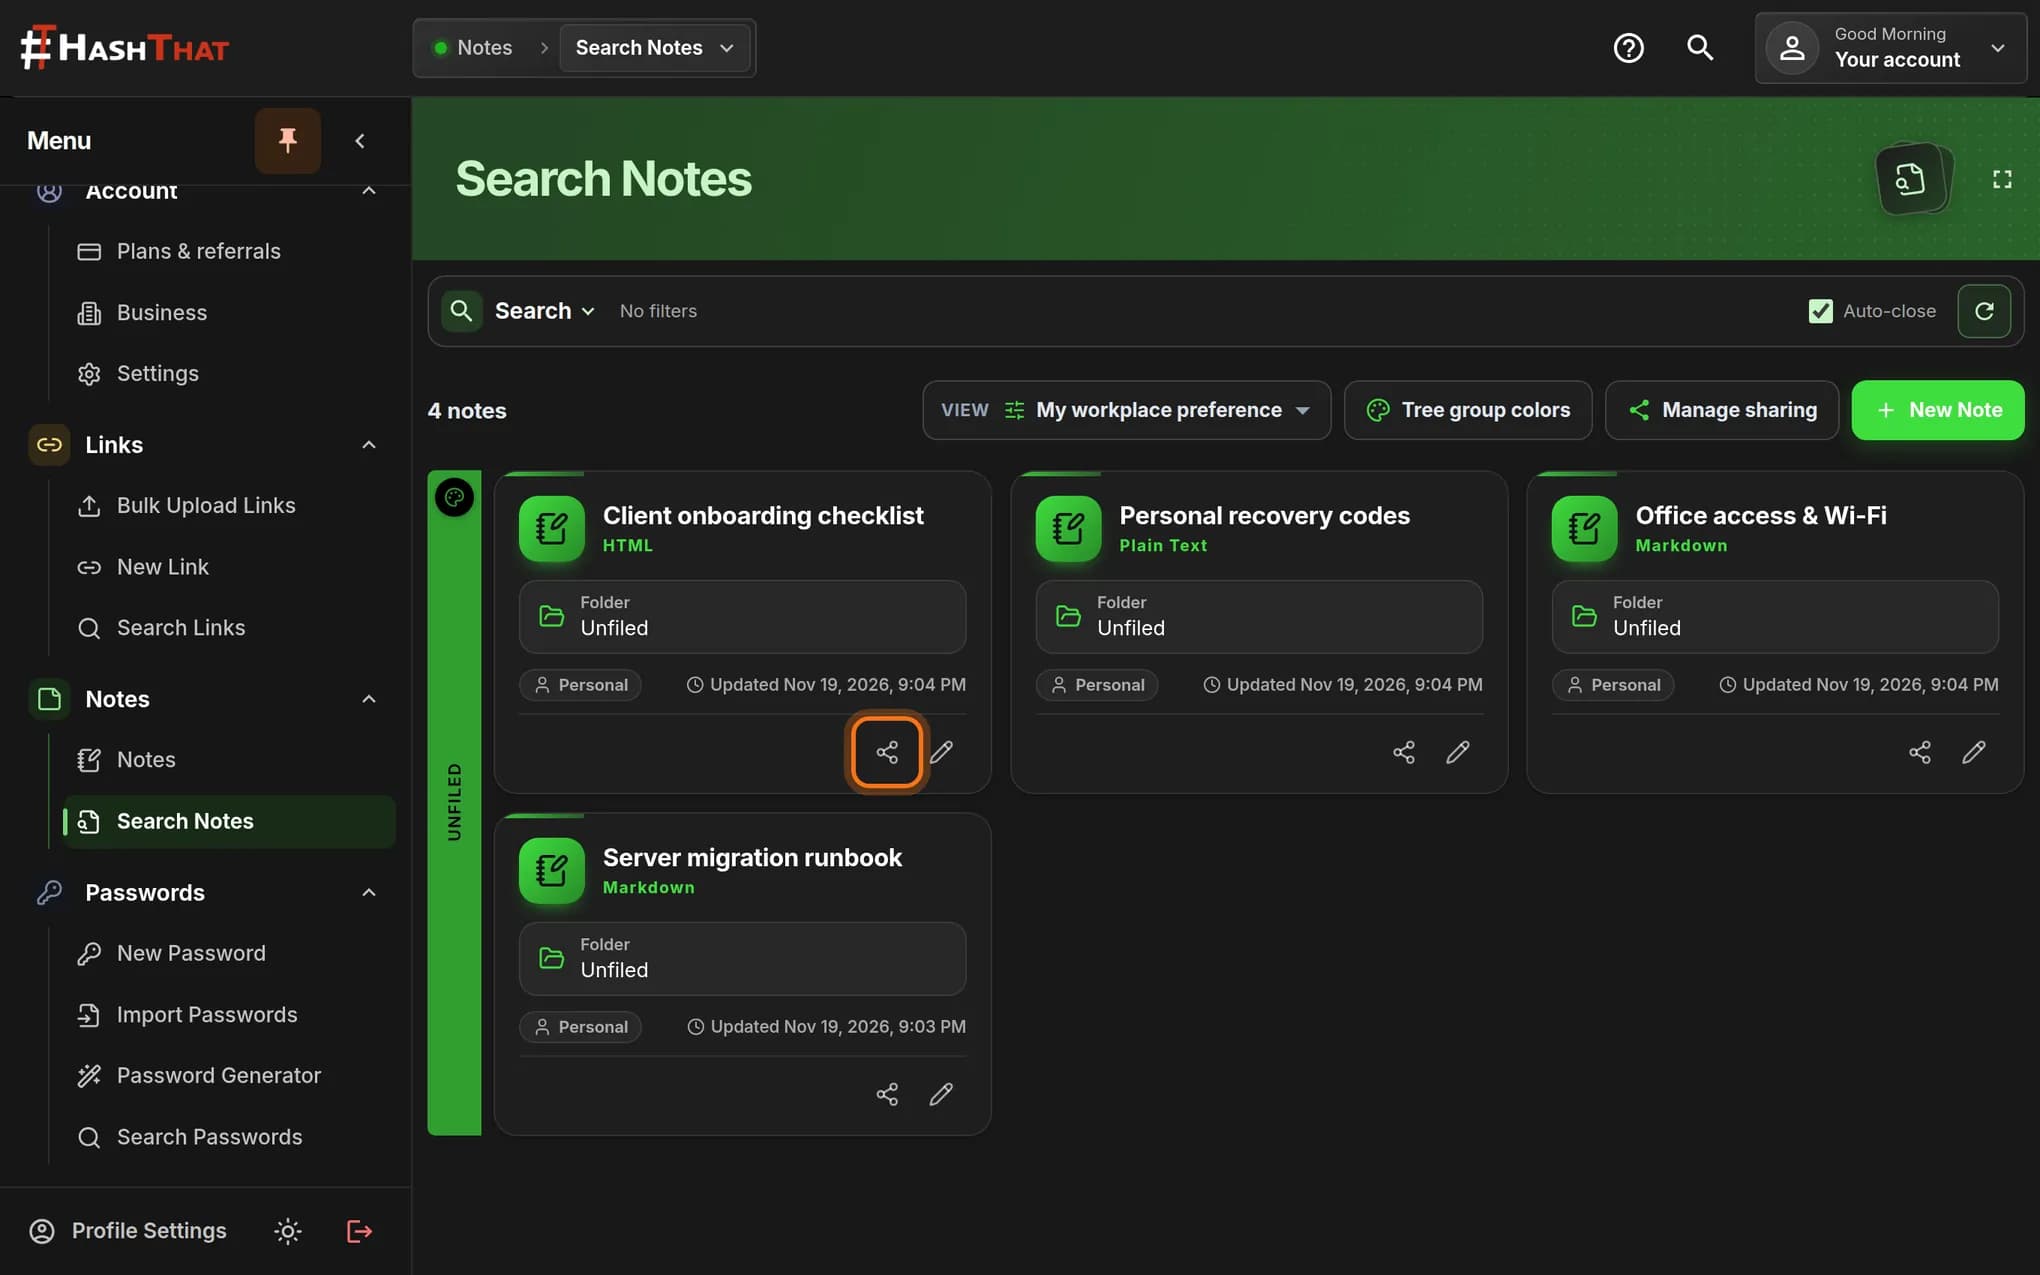
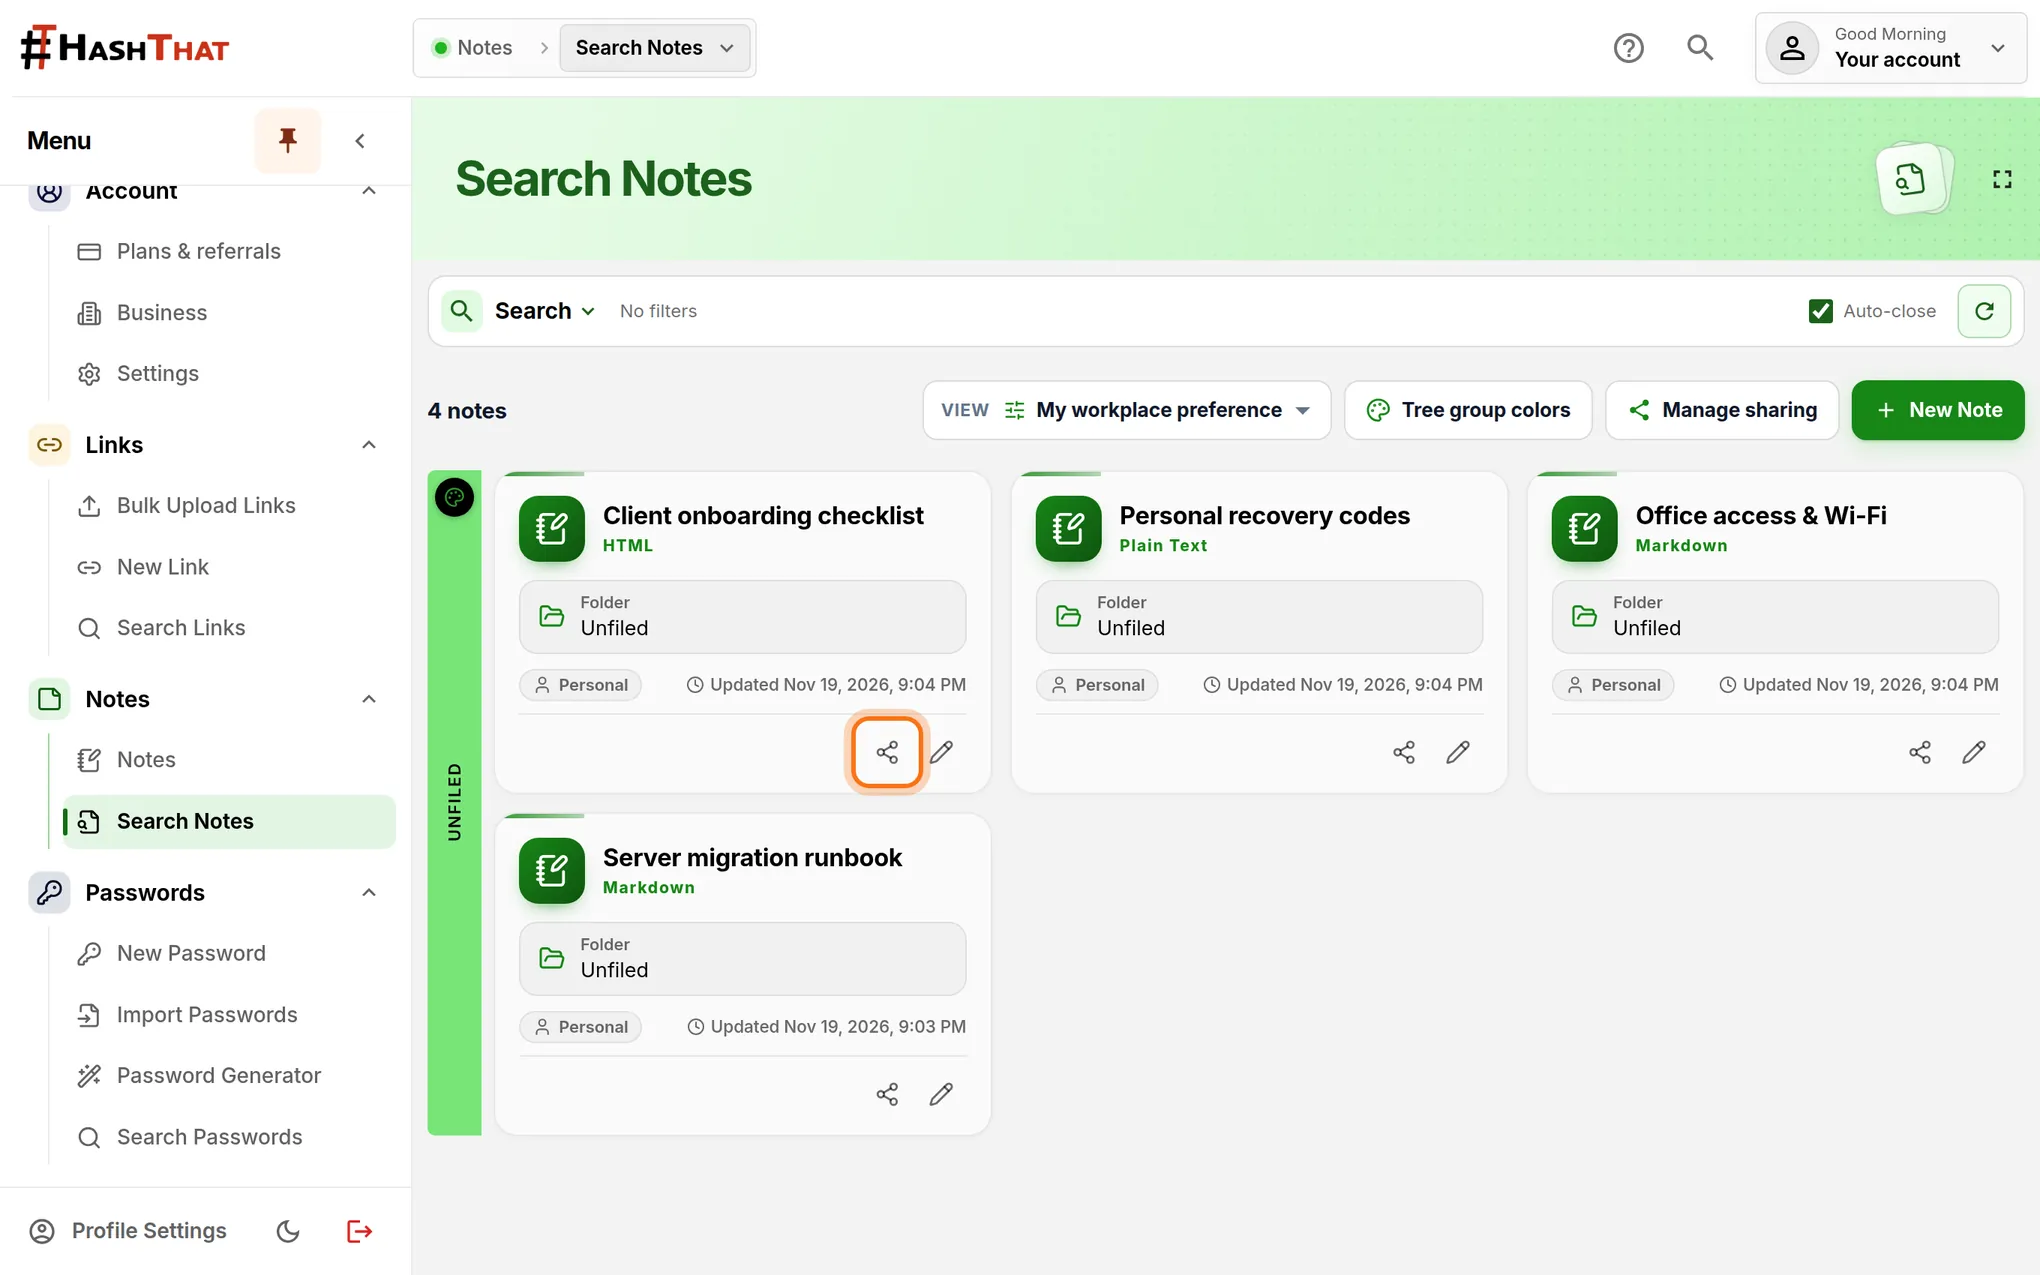
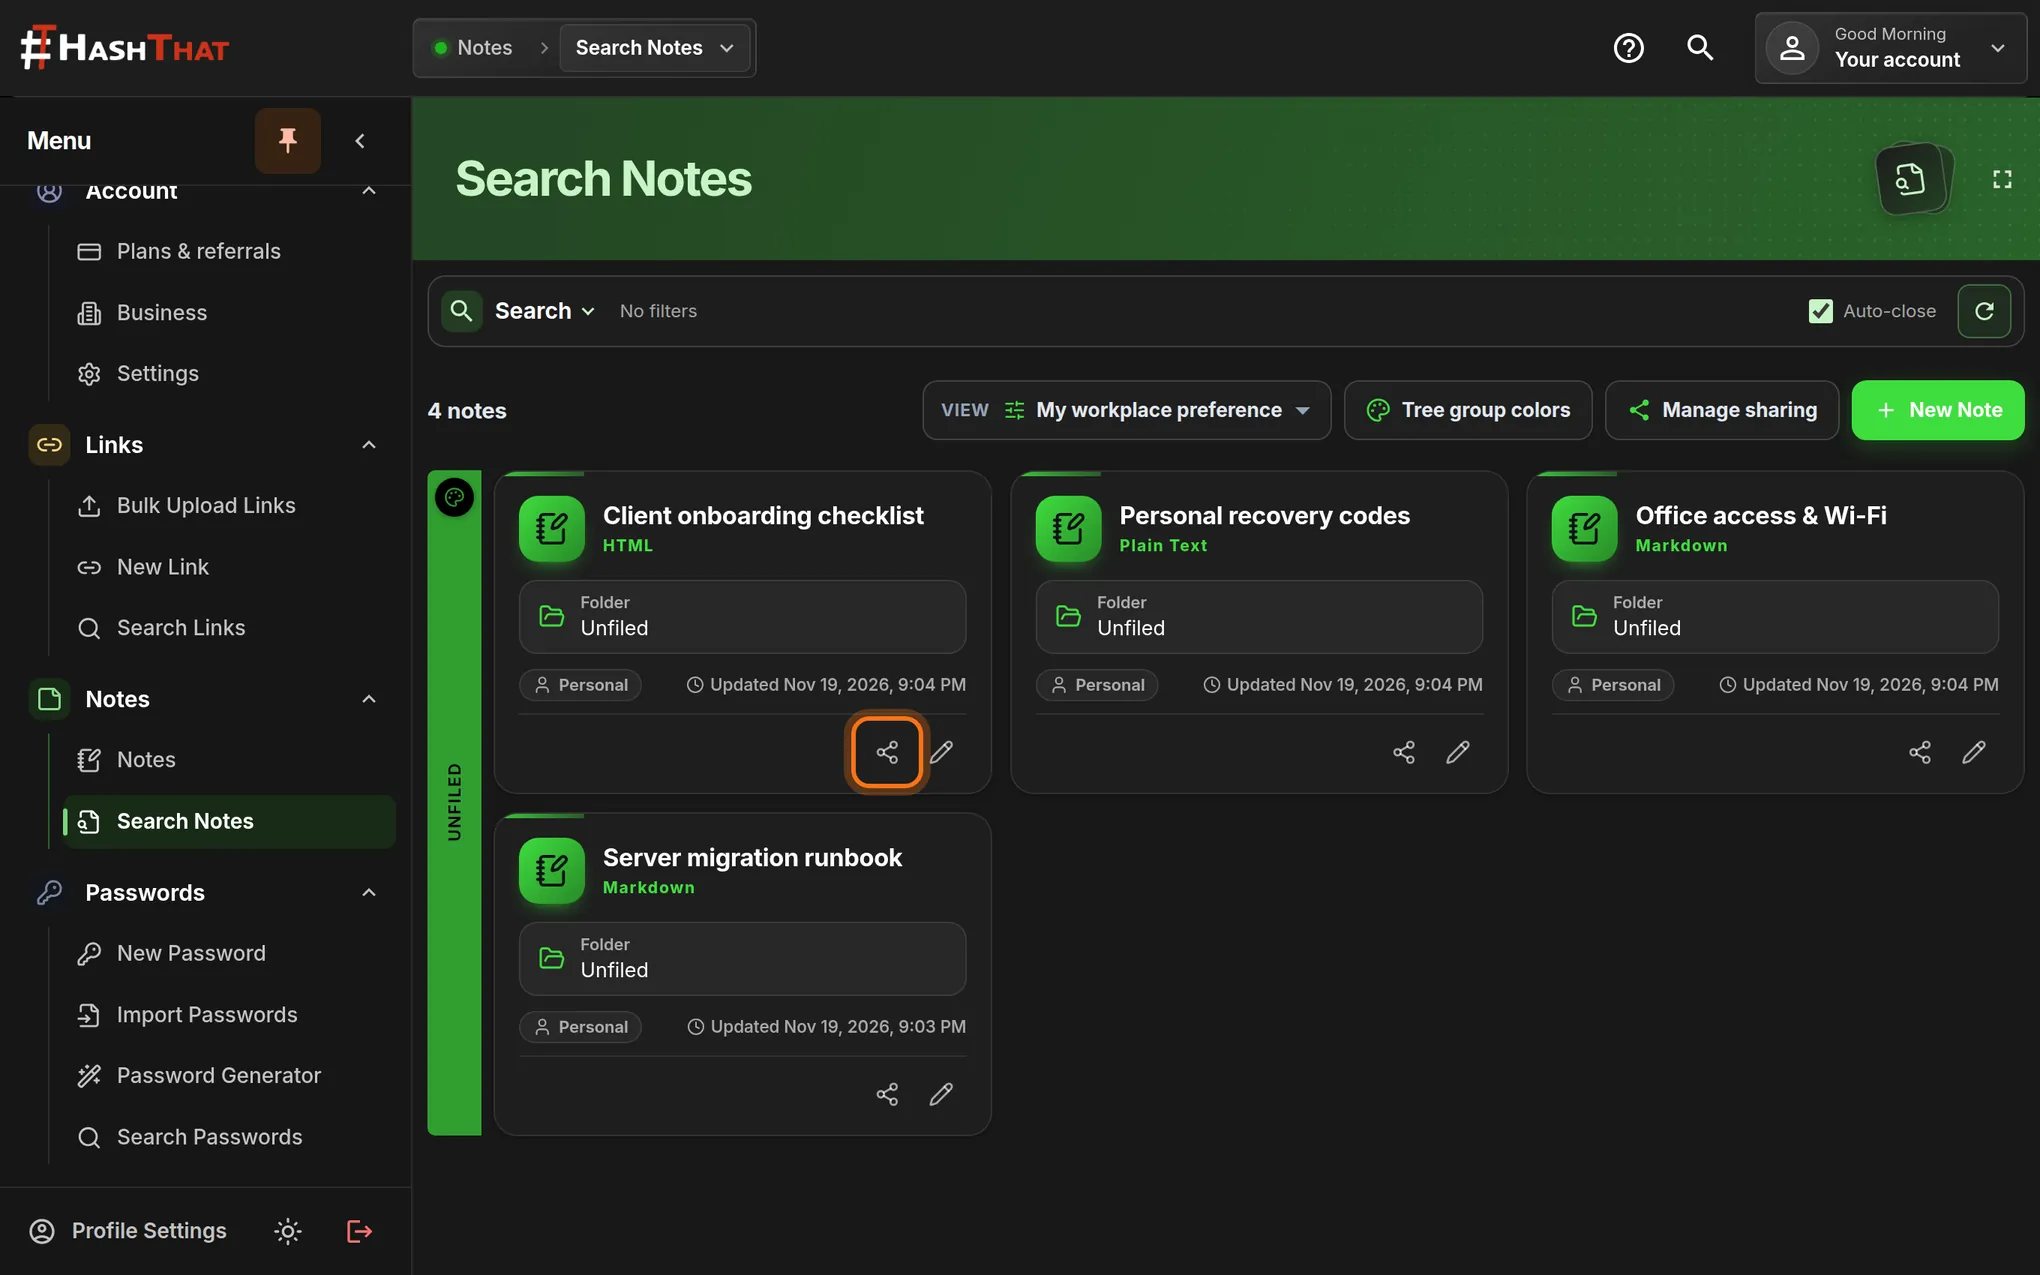
- On the note’s card, click the share icon at the bottom right. It looks like three connected dots.
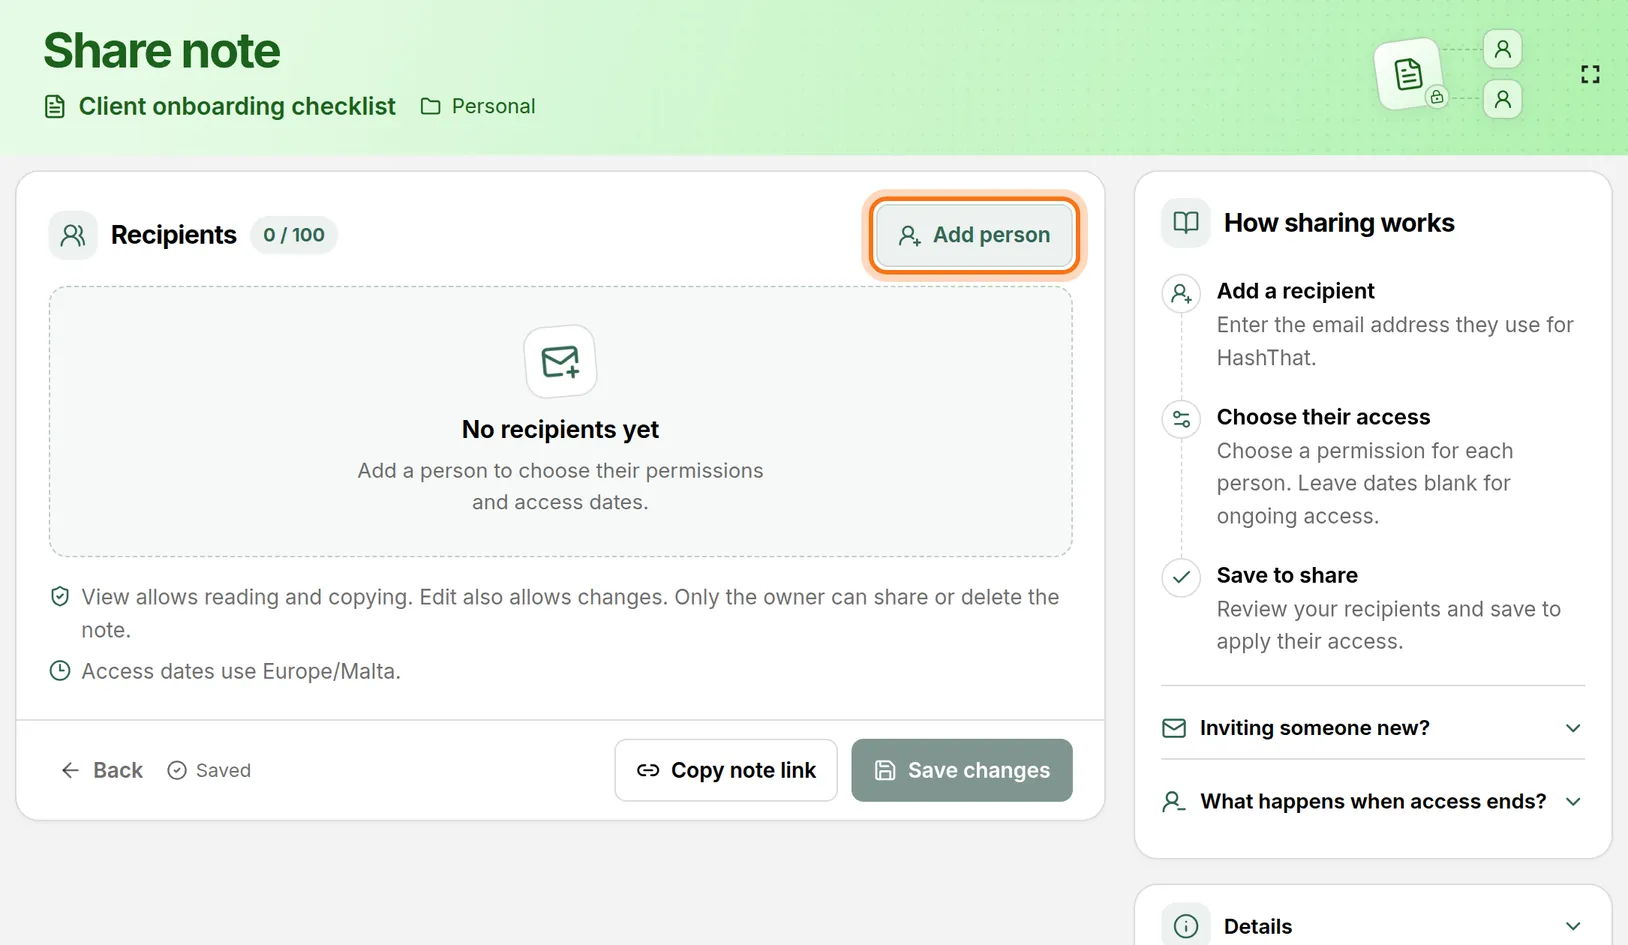
You should see: A page titled Share note, with the note’s title under it.
 Full size
 Full size
Each card has a share icon and a pencil icon at the bottom right. Step 2: Add a person
- Check the title under Share note. It must be the note you mean to share.
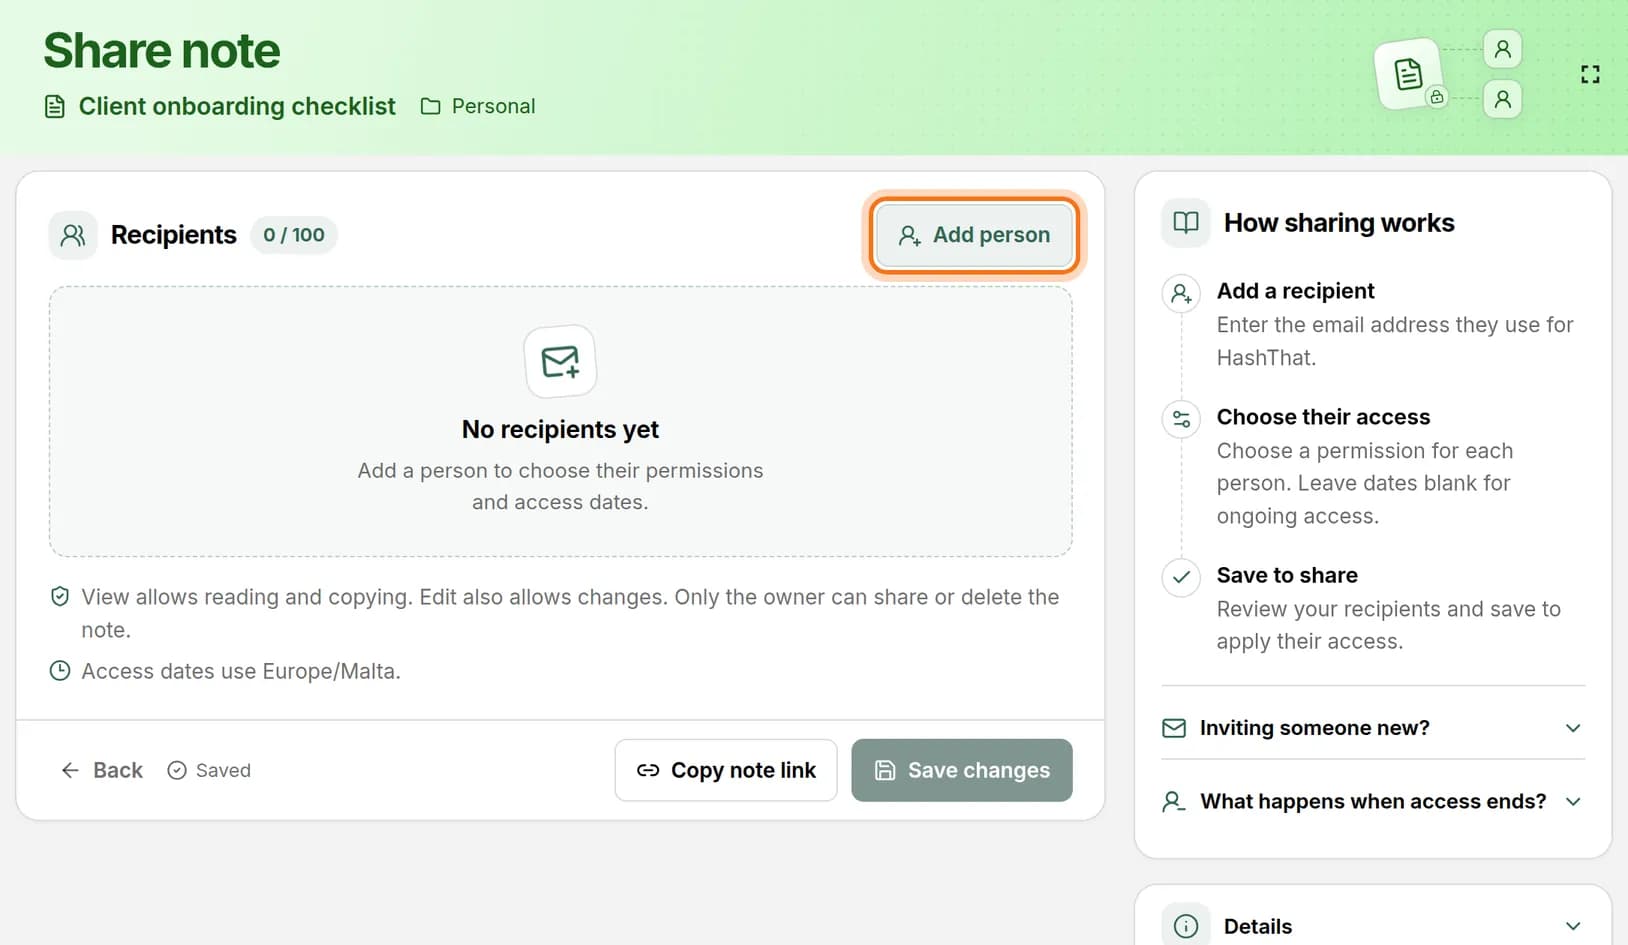
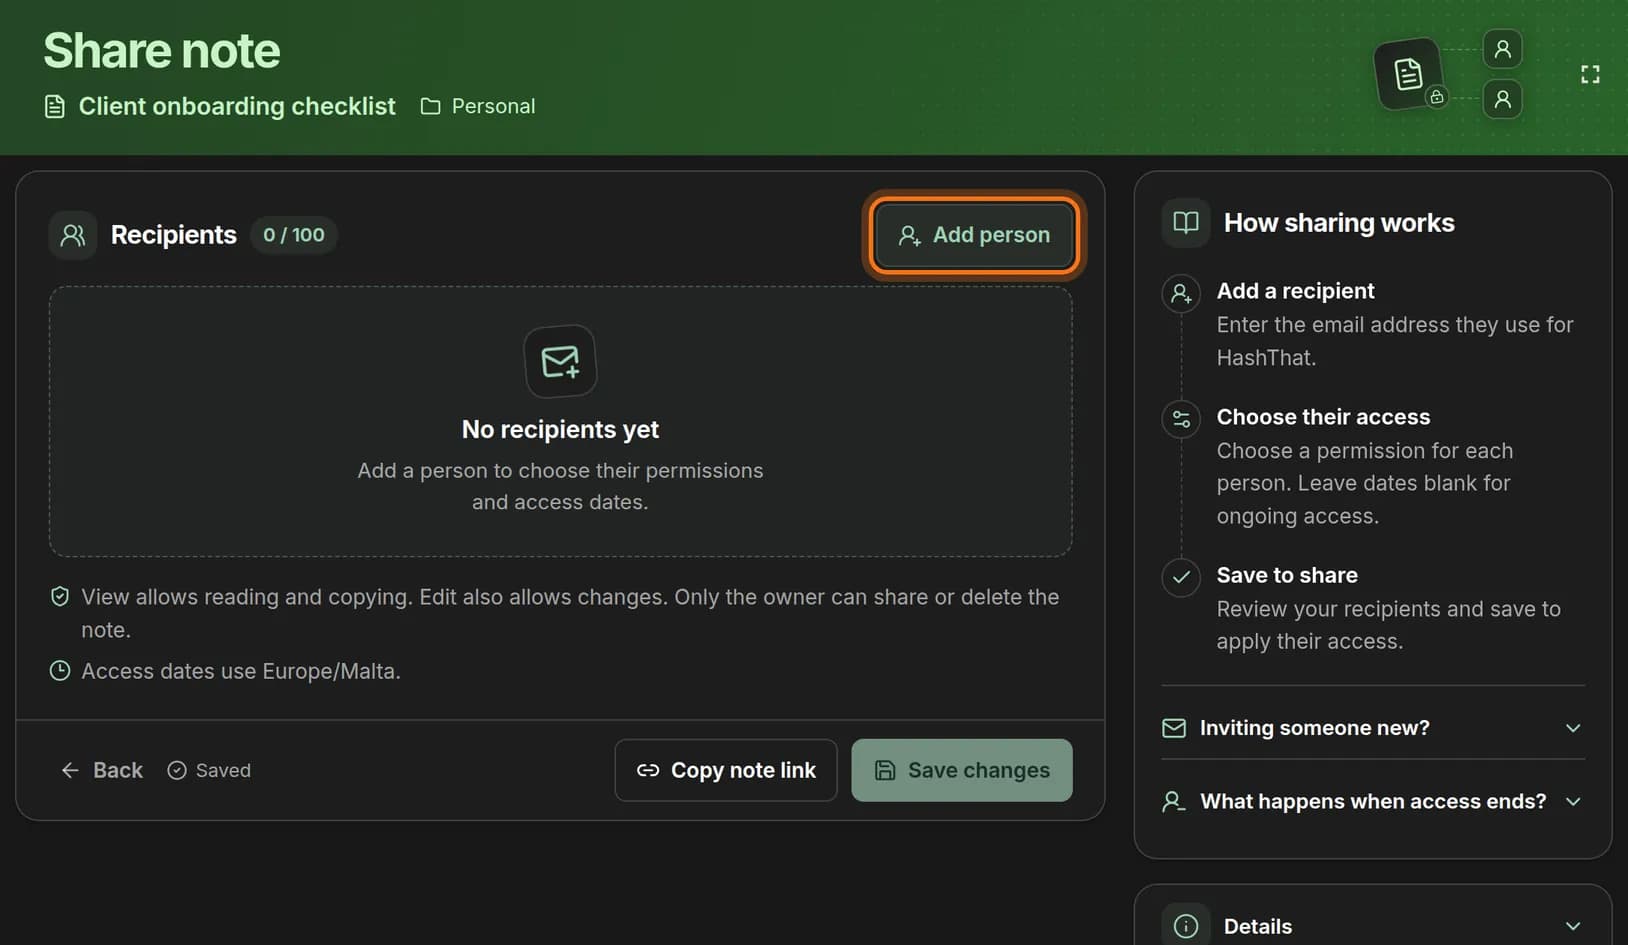
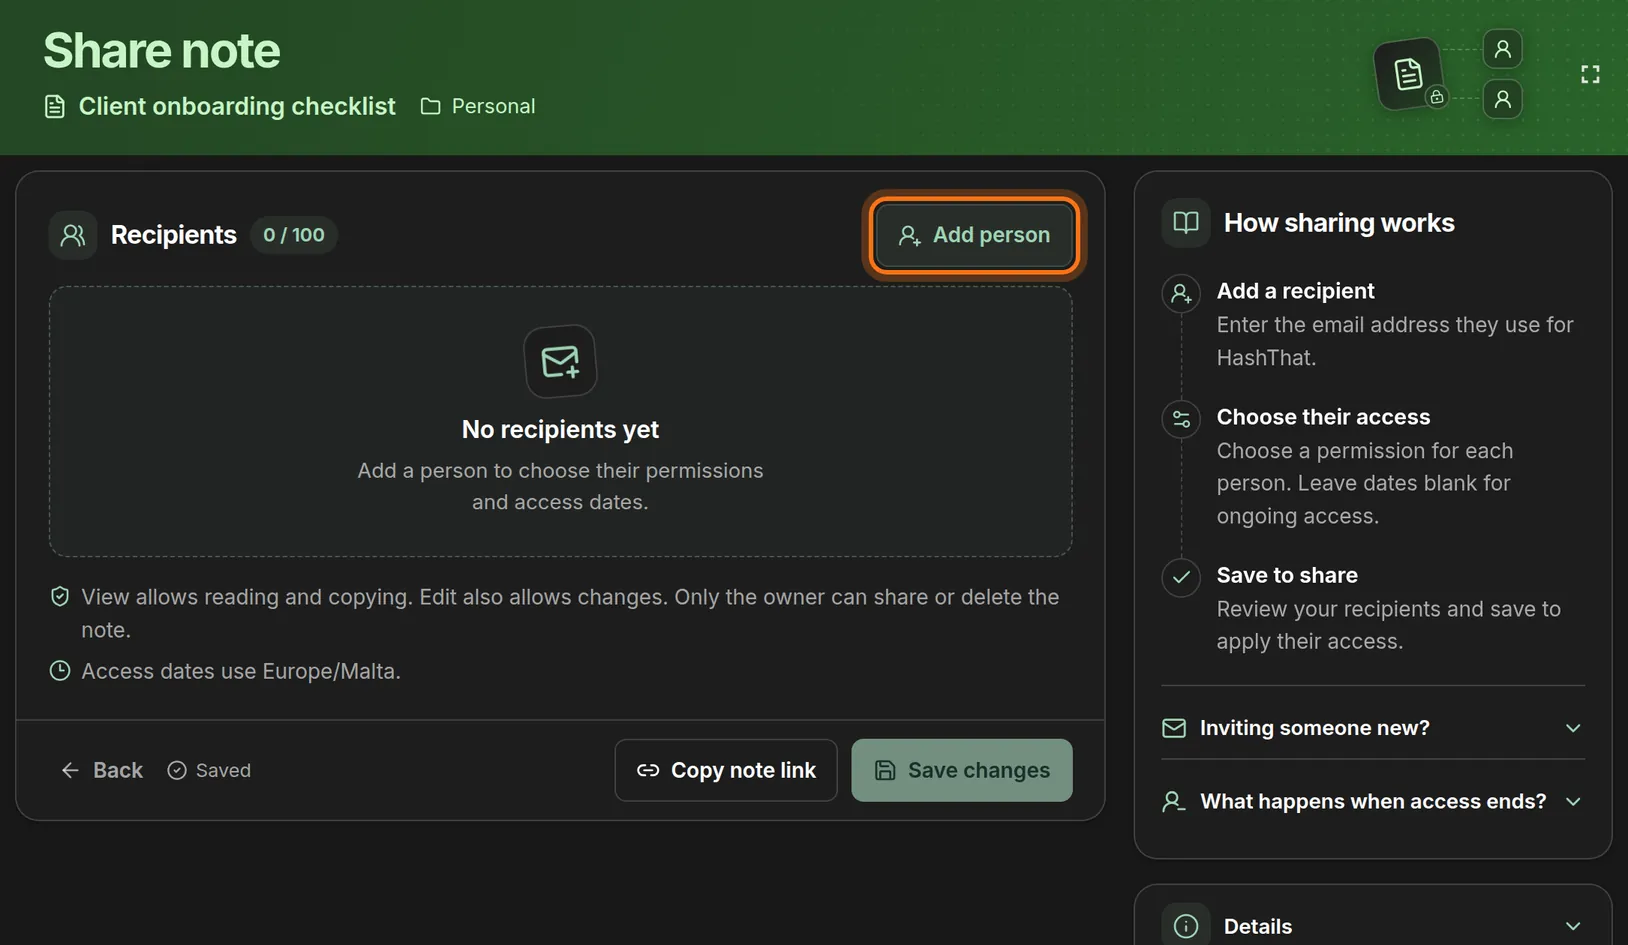
- Click Add person.
You should see: A new row with empty boxes under Recipients.
 Full size
 Full size
You can add up to 100 people to one note. Step 3: Type their email address
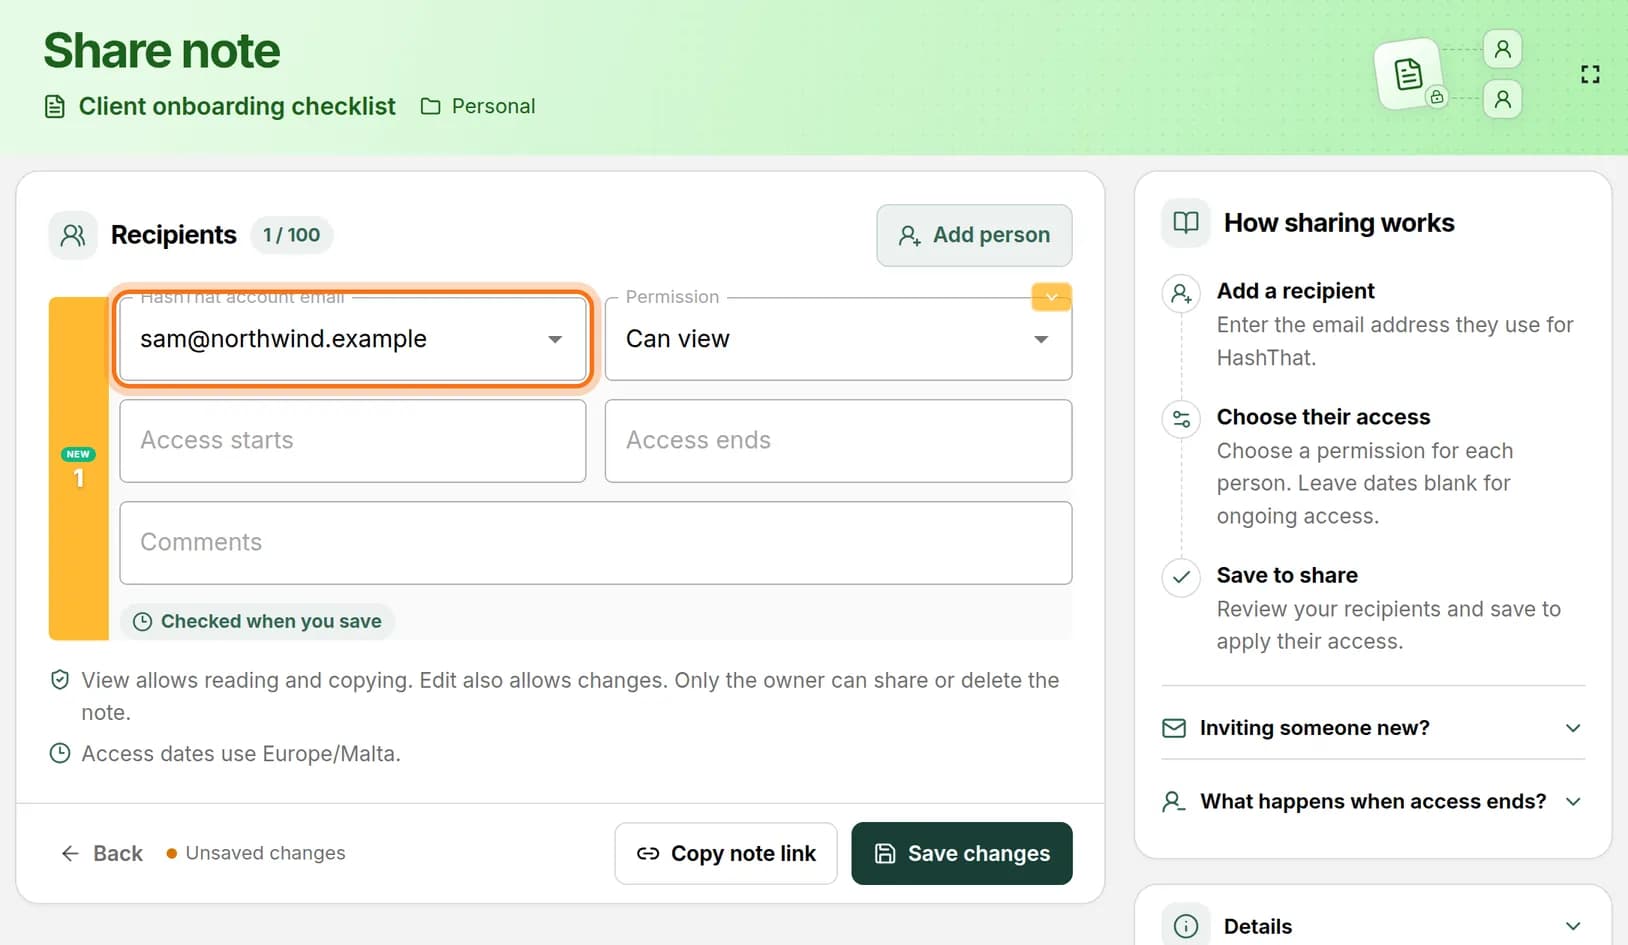
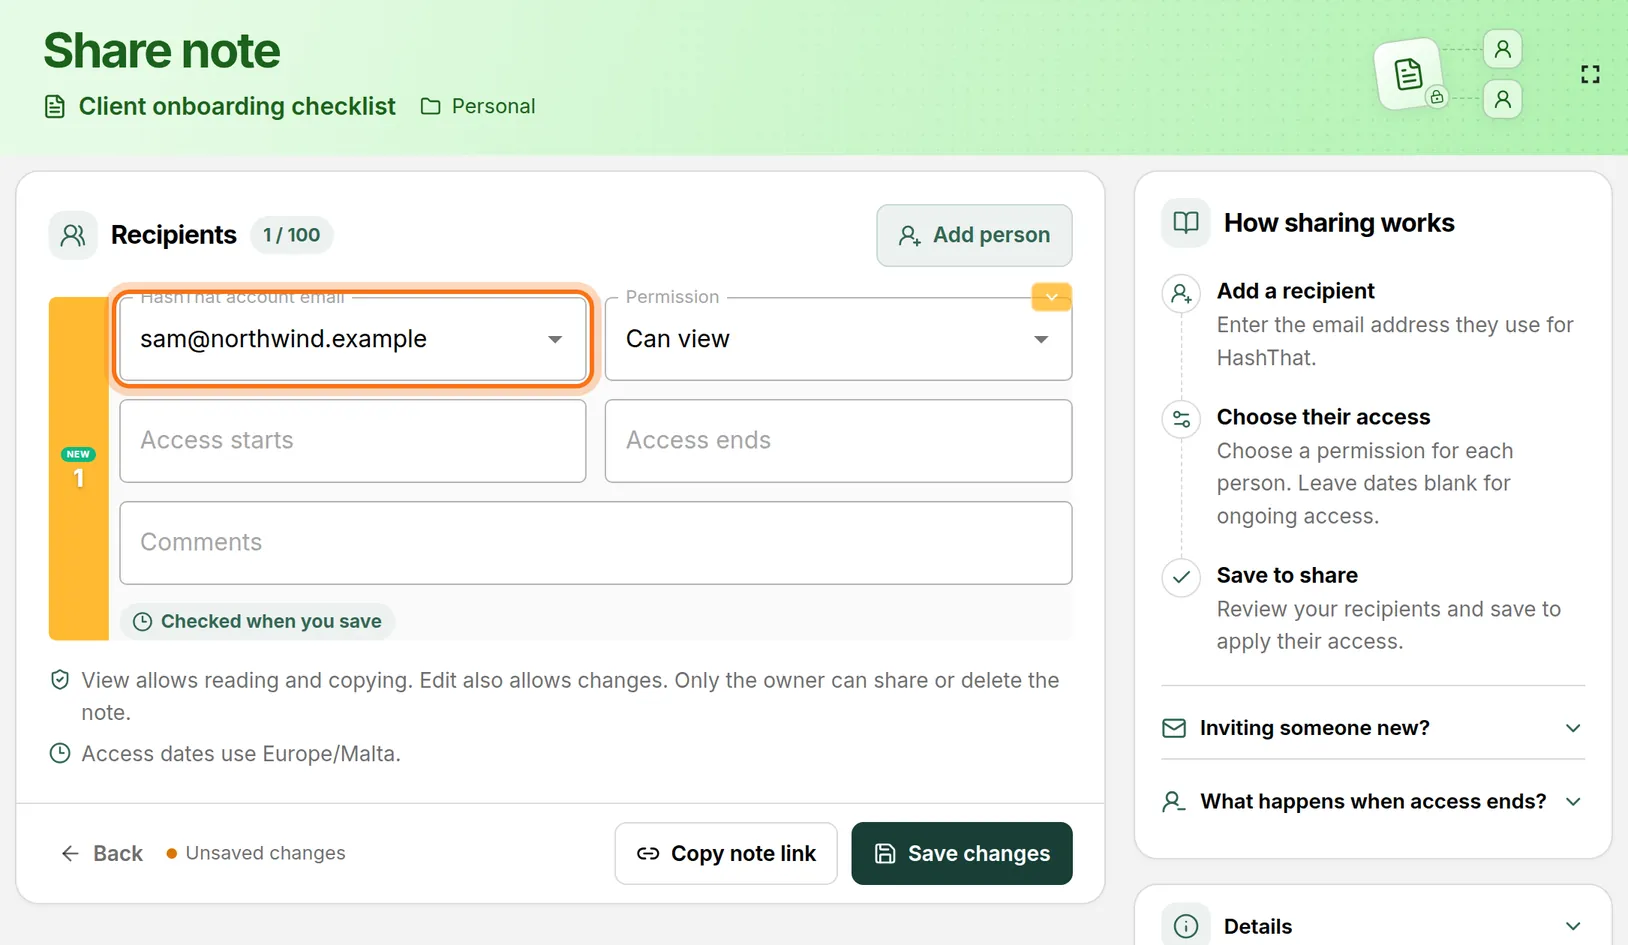
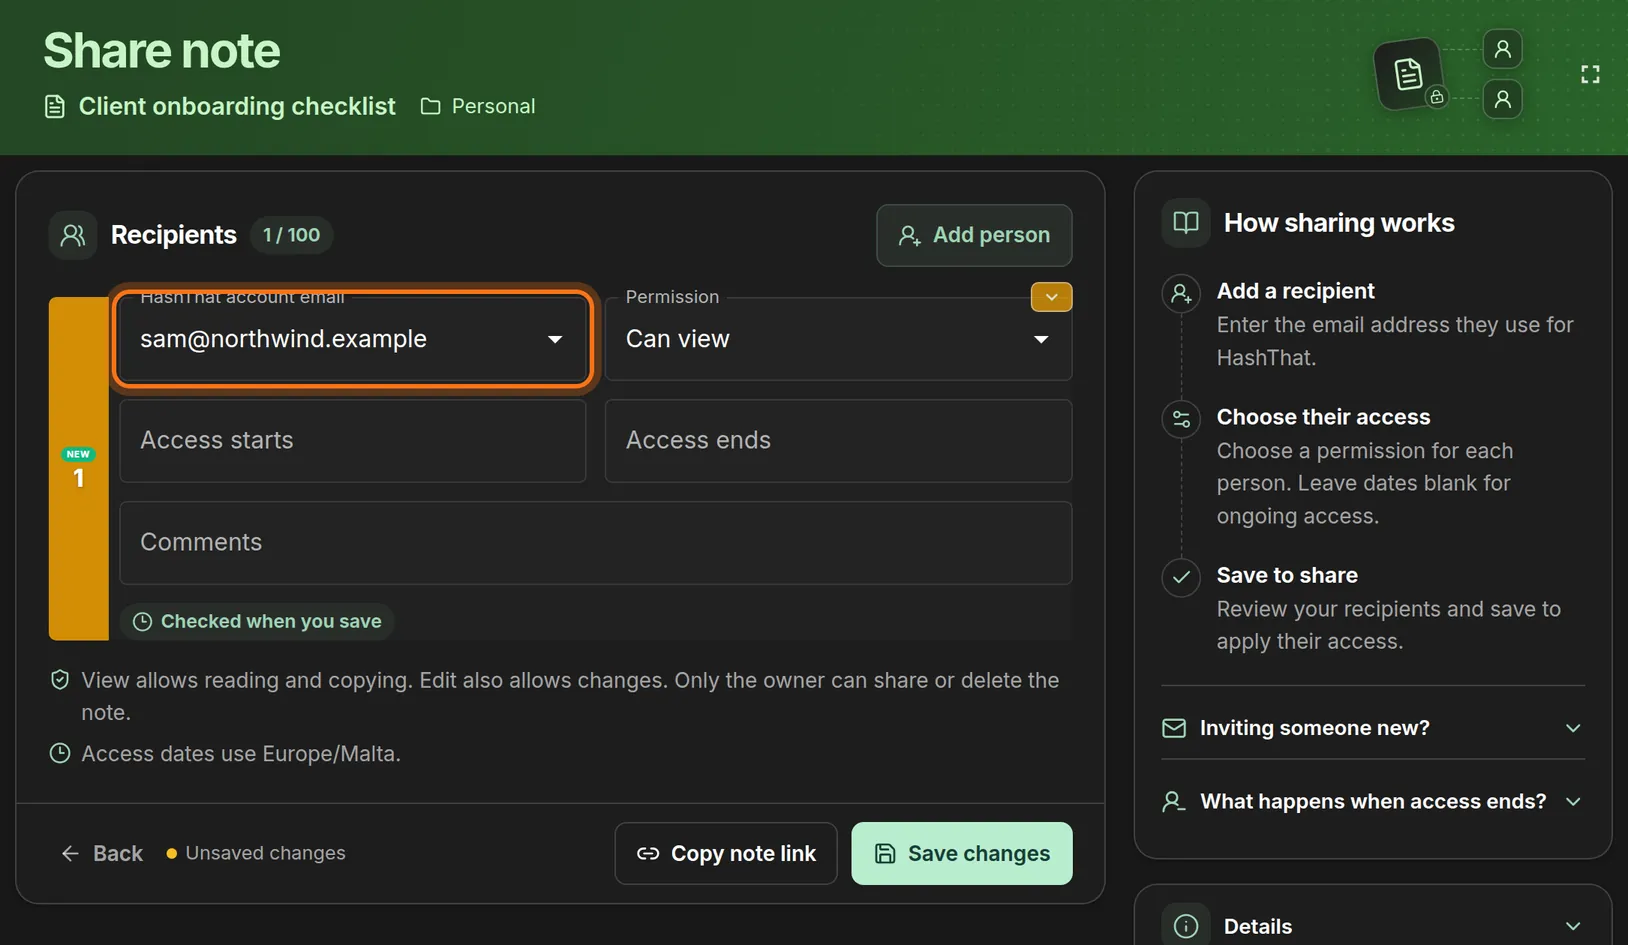
- Click HashThat account email.
- Type the full email address the person uses for HashThat, for example sam@northwind.example.
 Full size
 Full size
HashThat checks the address when you save. Step 4: Choose what they may do
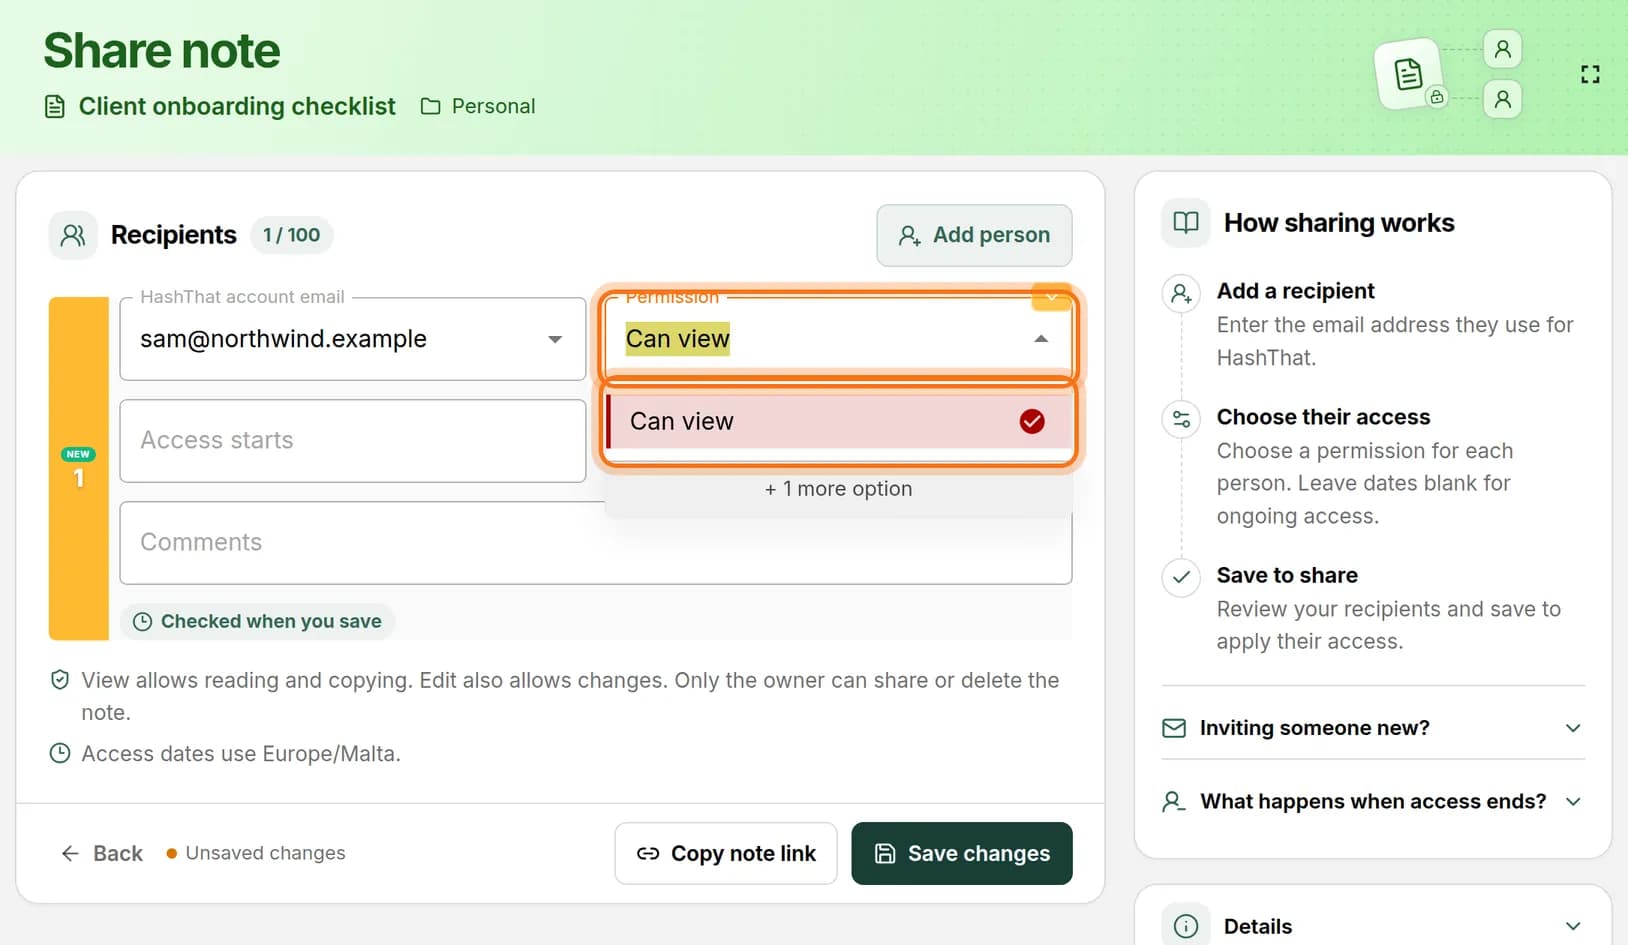
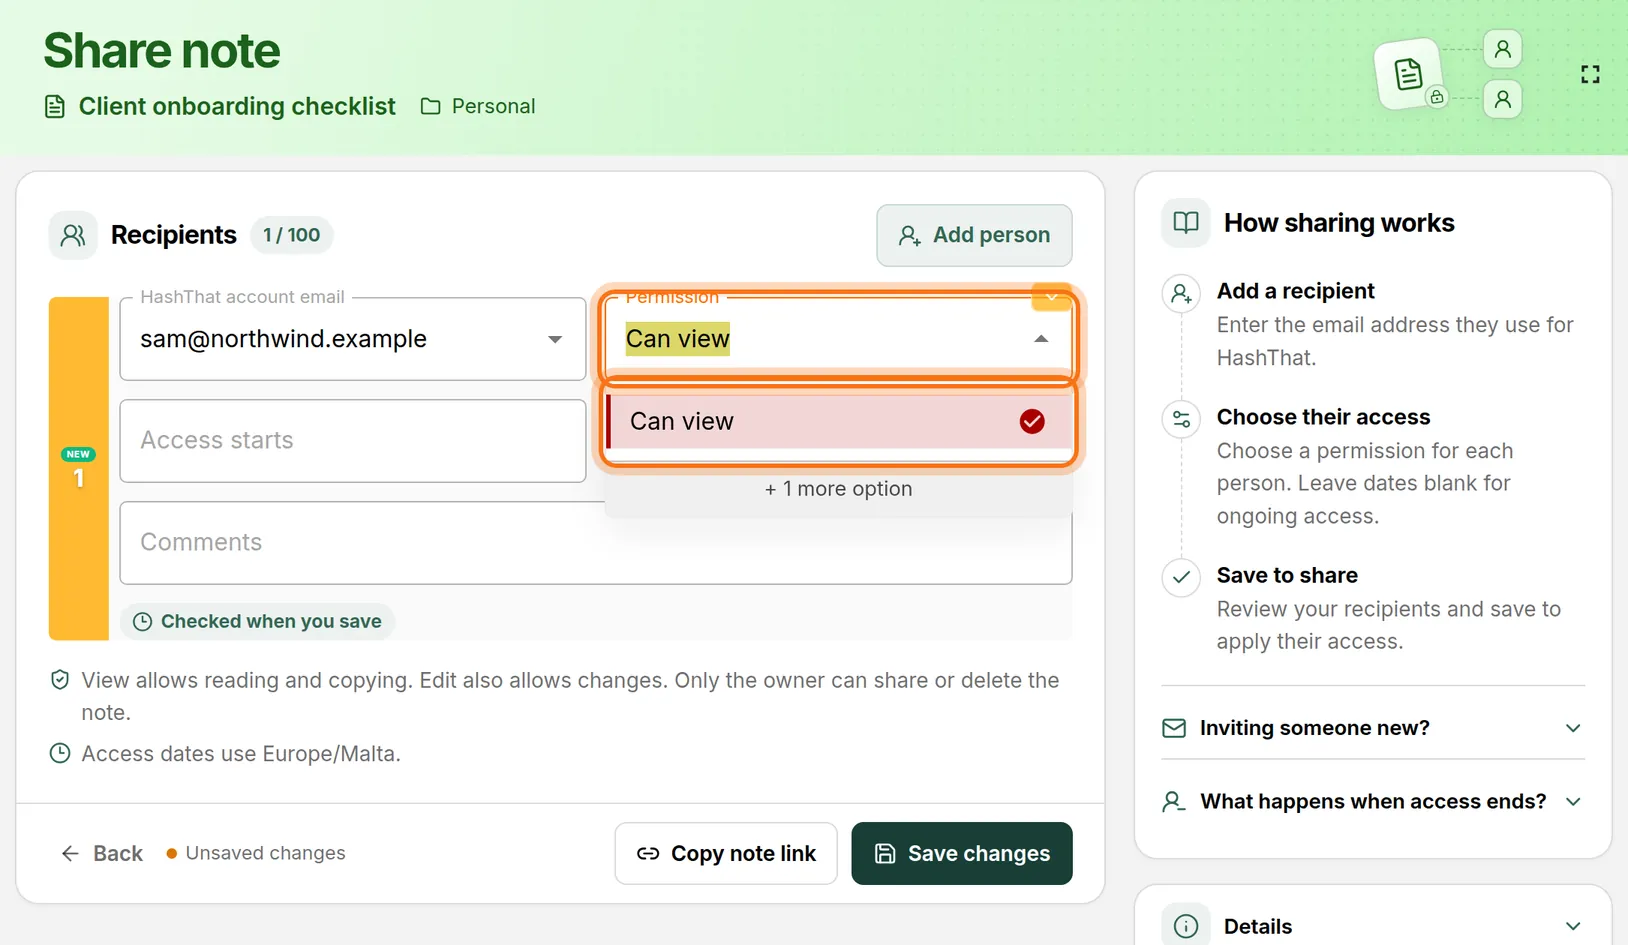
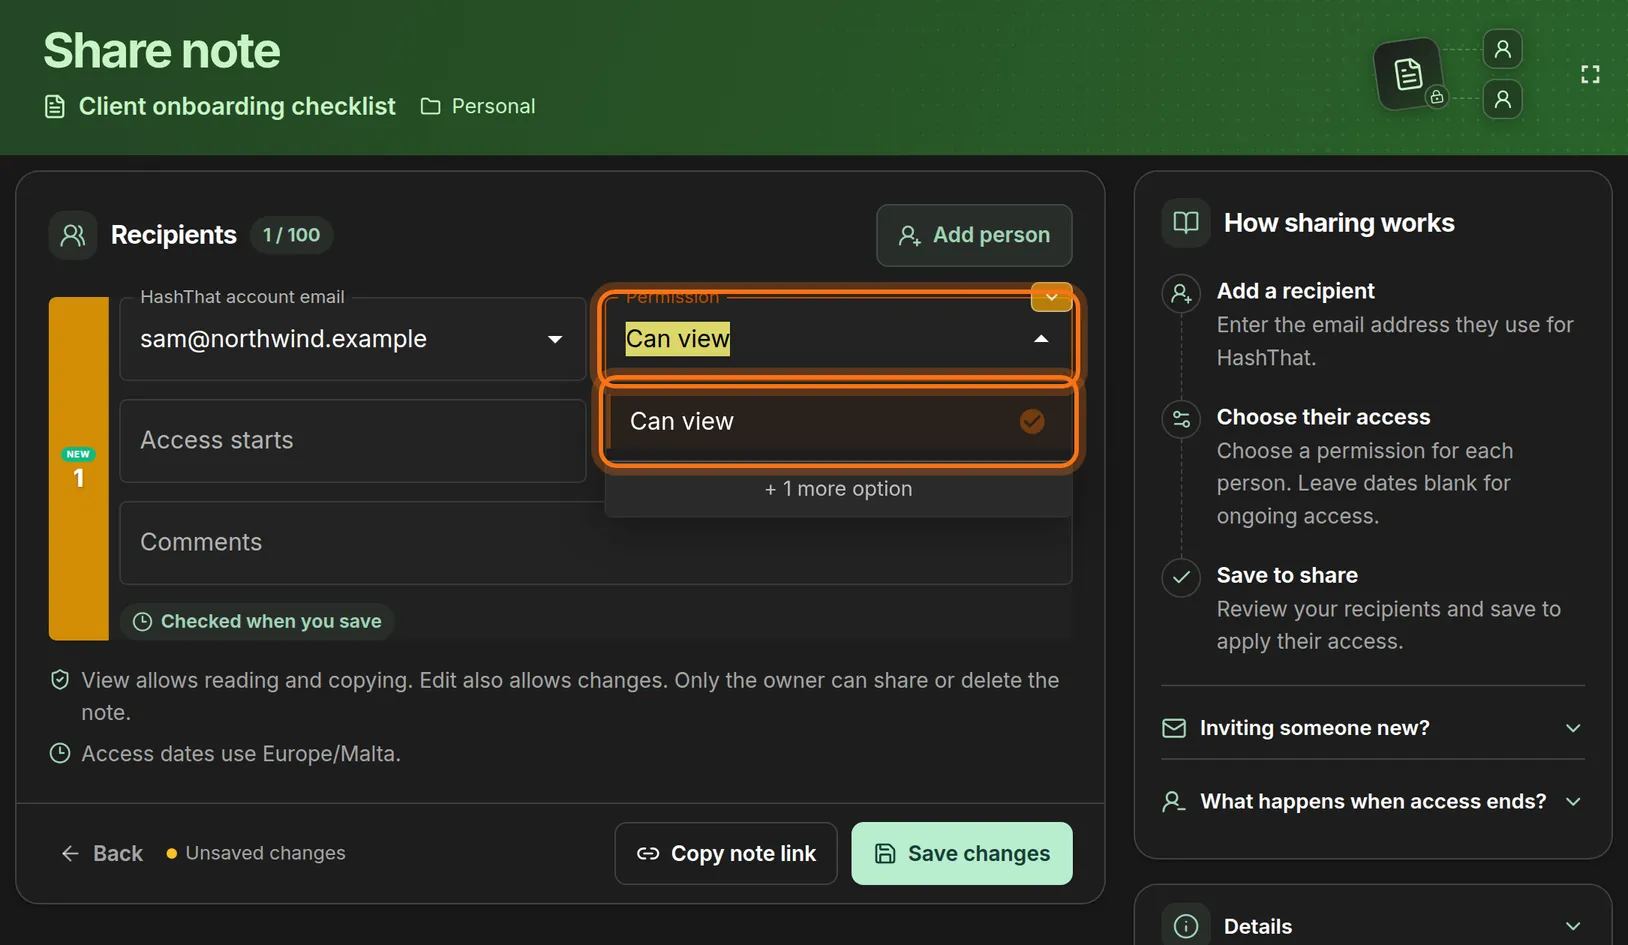
- Click Permission.
- Pick Can view for someone who only needs to read or copy the note.
- Pick Can edit, where it is offered, for someone who should also change the note.
 Full size
 Full size
Only you, the owner, can share the note further or delete it. Step 5: Set the day access ends
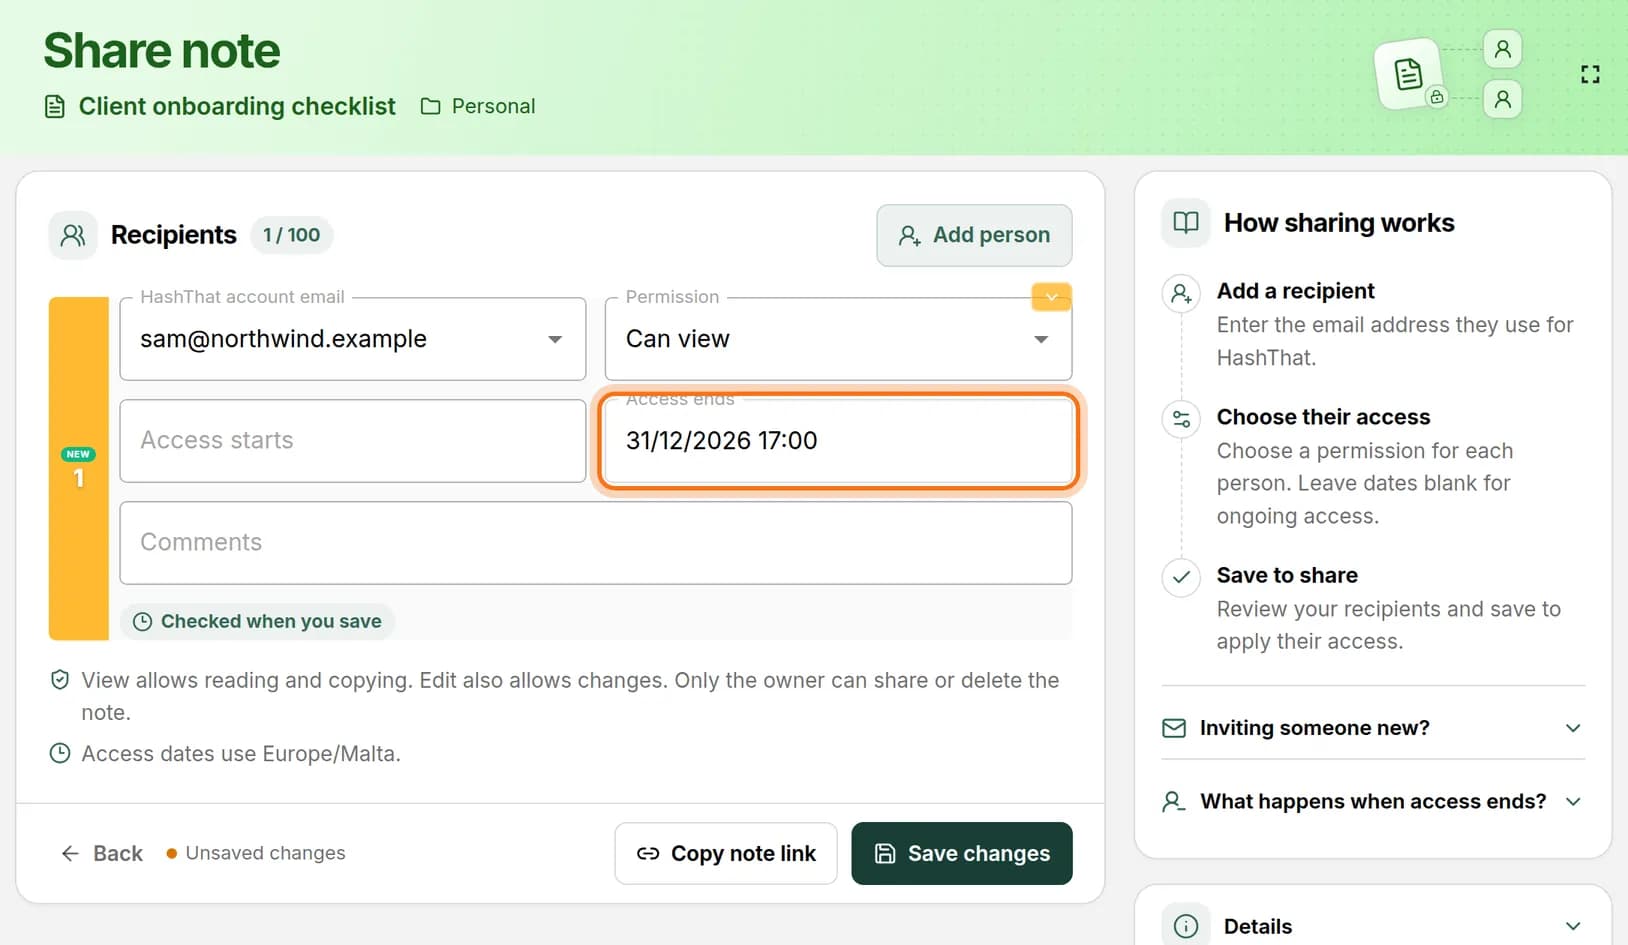
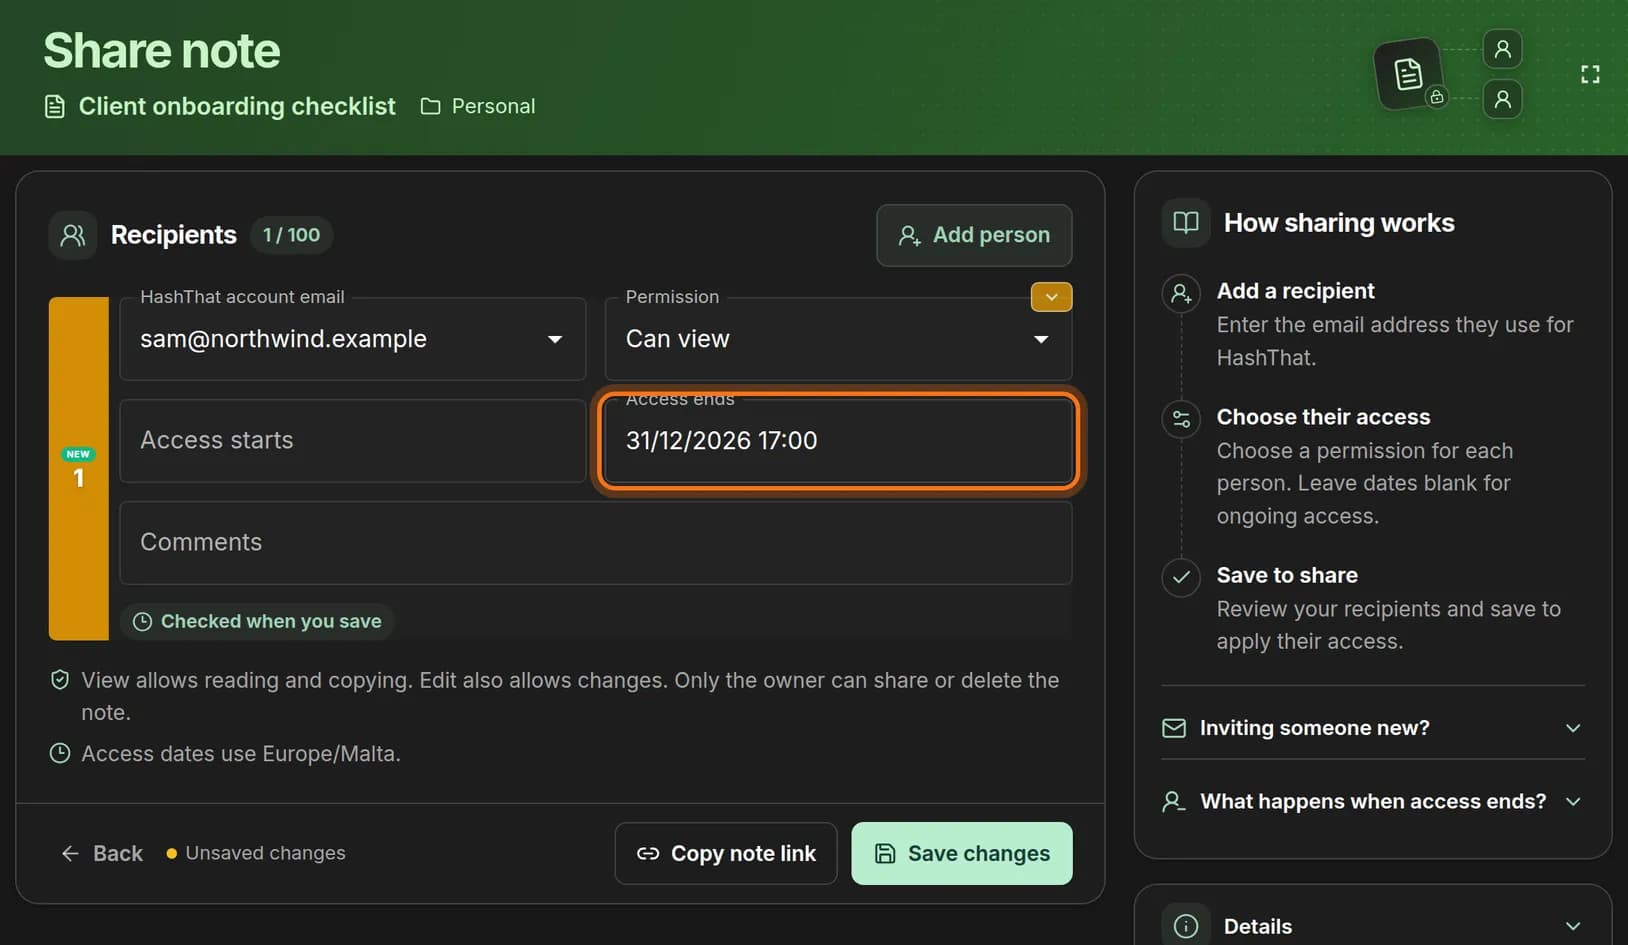
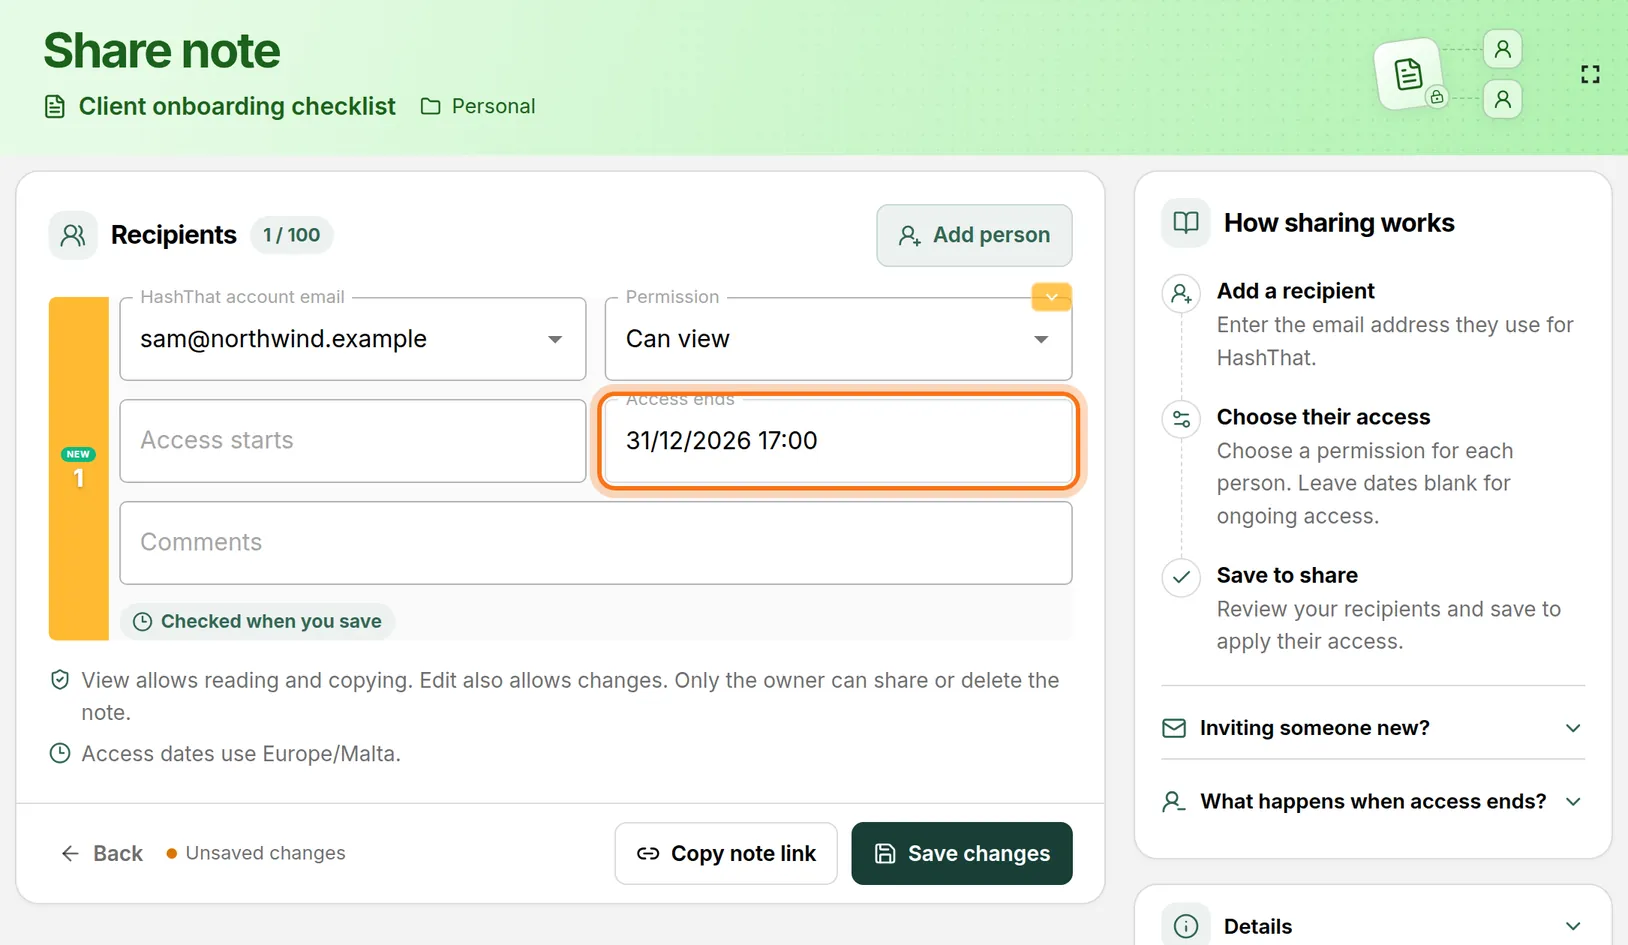
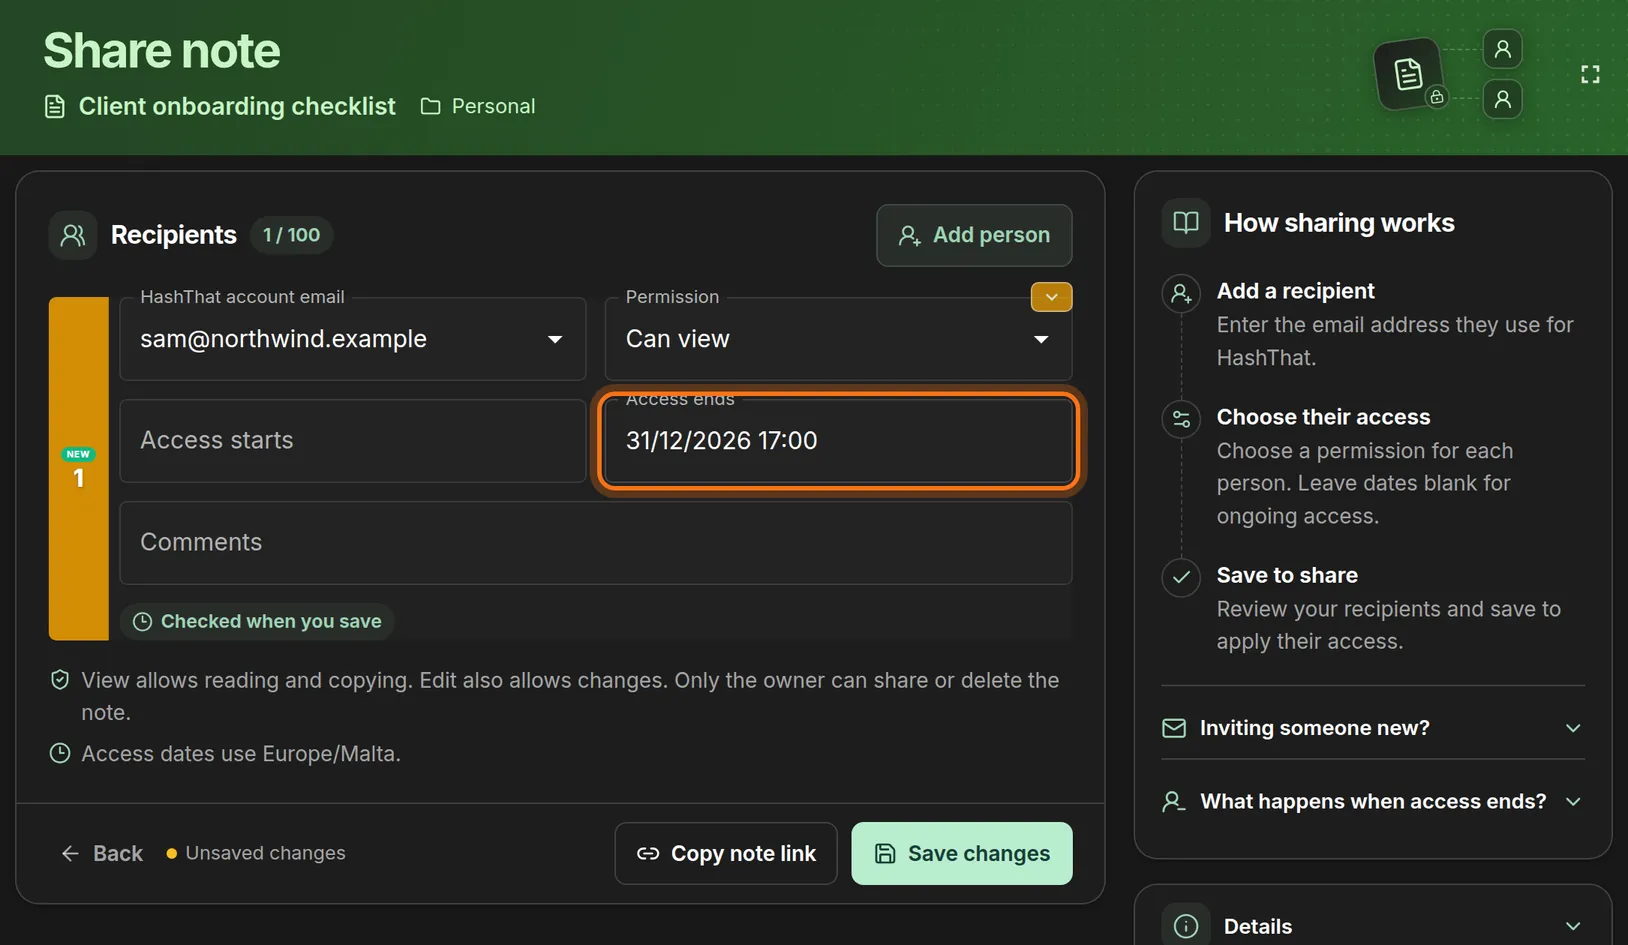
- Click Access ends.
- Enter the last day and time the person should be able to open the note.
- Leave Access starts empty so they can open it straight away.
- Read the line under the row. It tells you which time zone the dates use.
 Full size
 Full size
After this date the person can no longer open the note. Step 6: Save the share
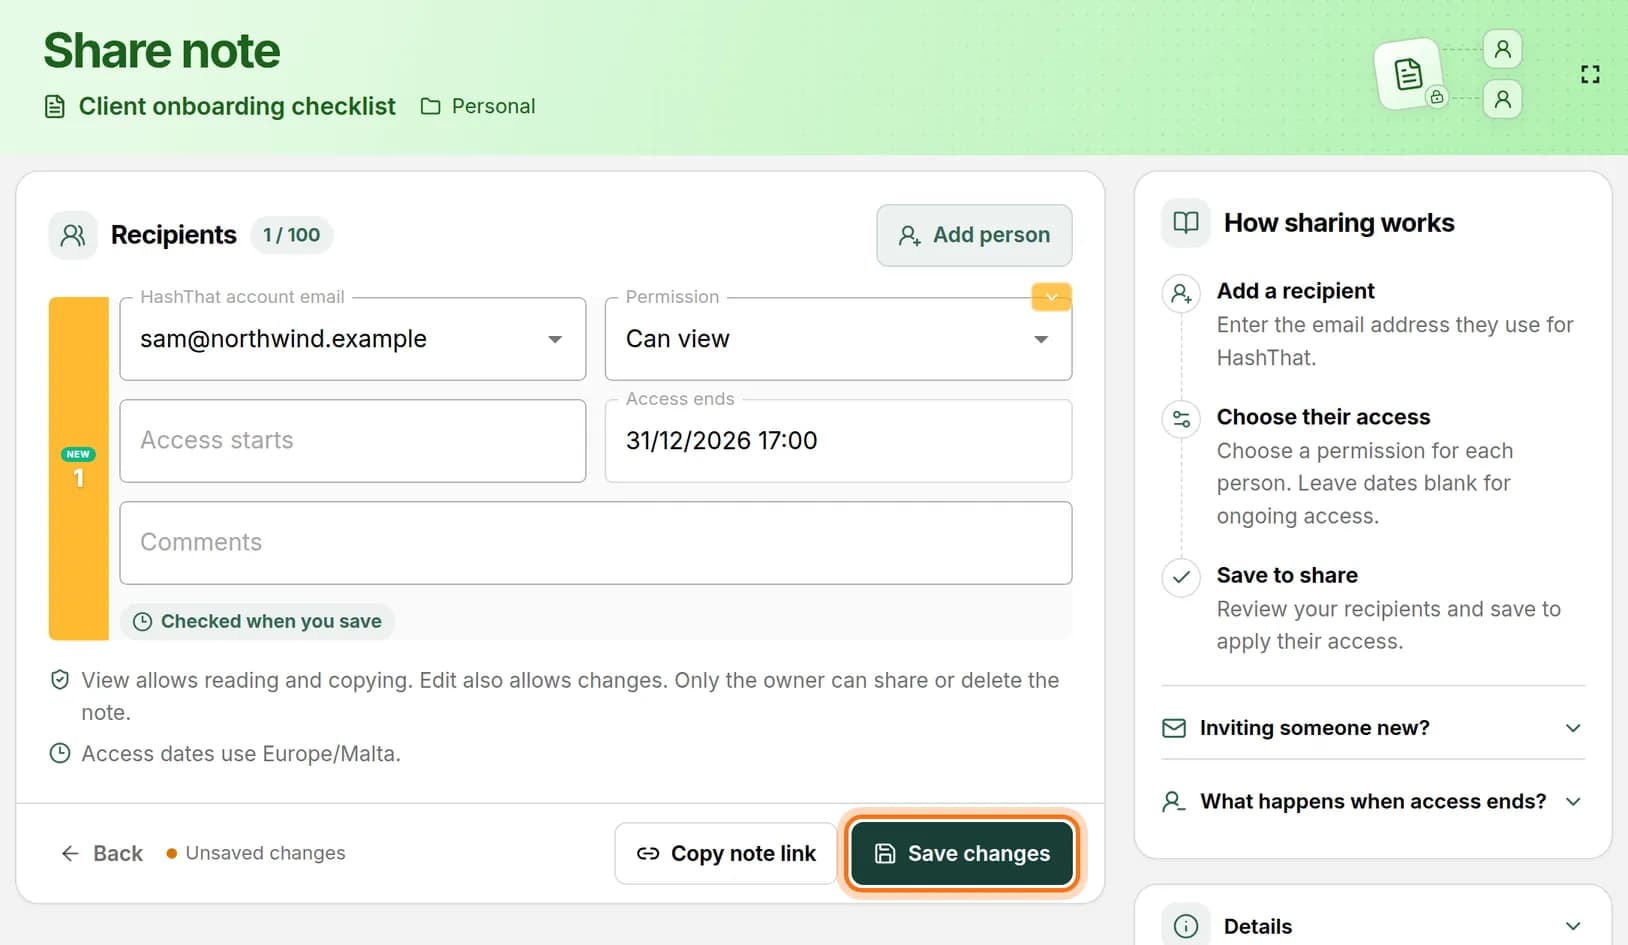
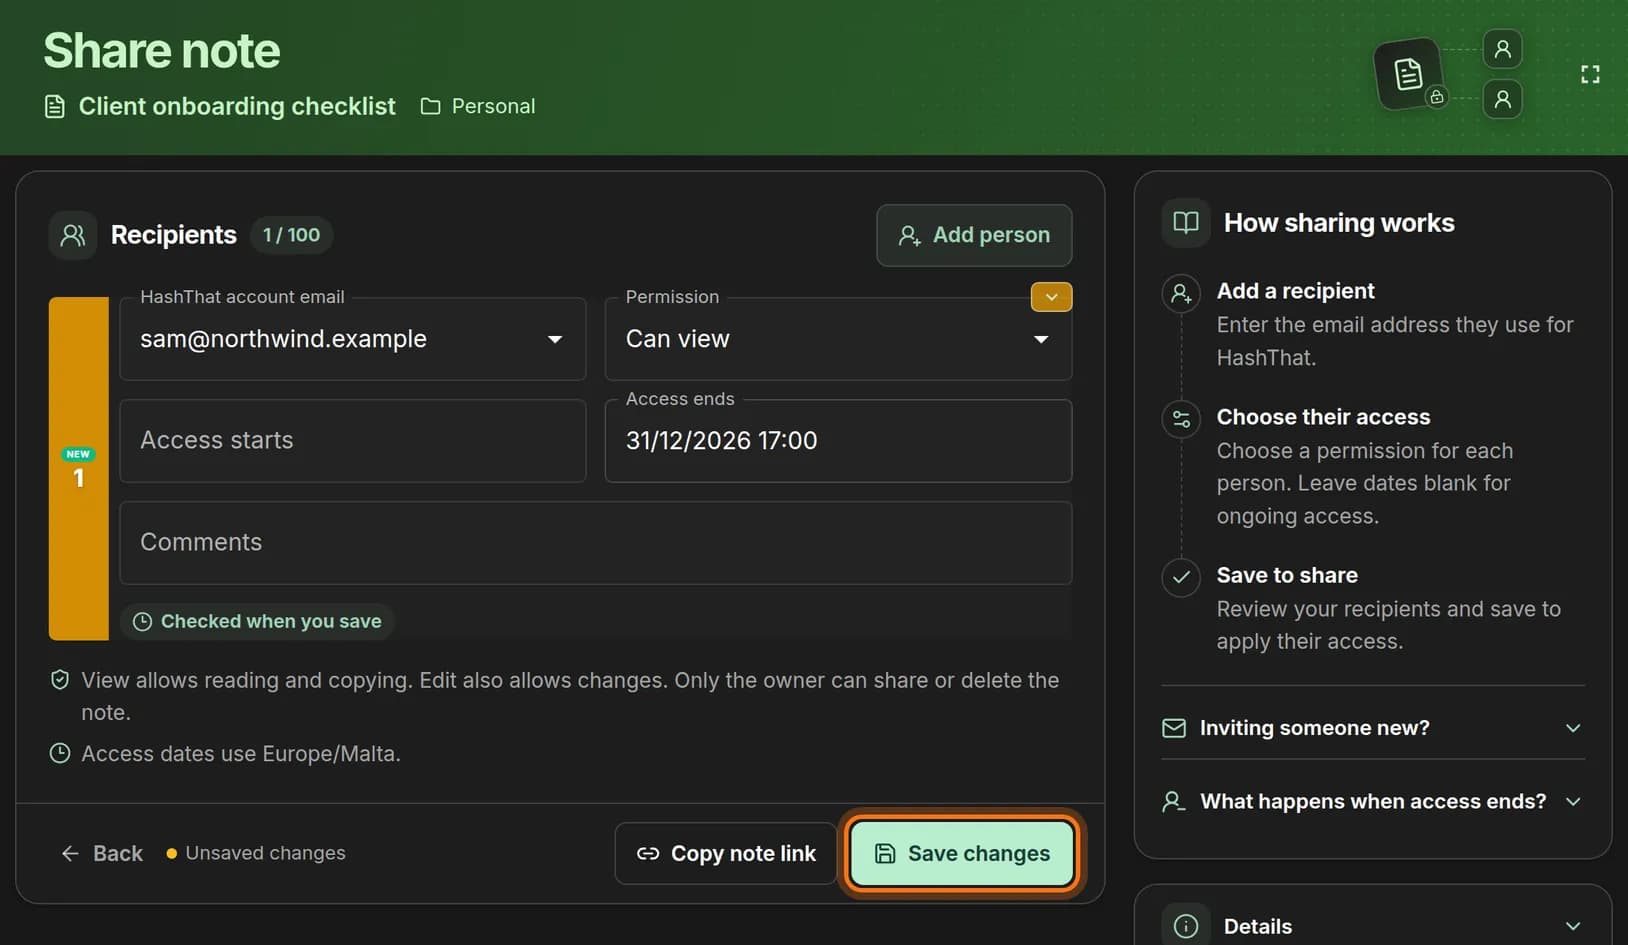
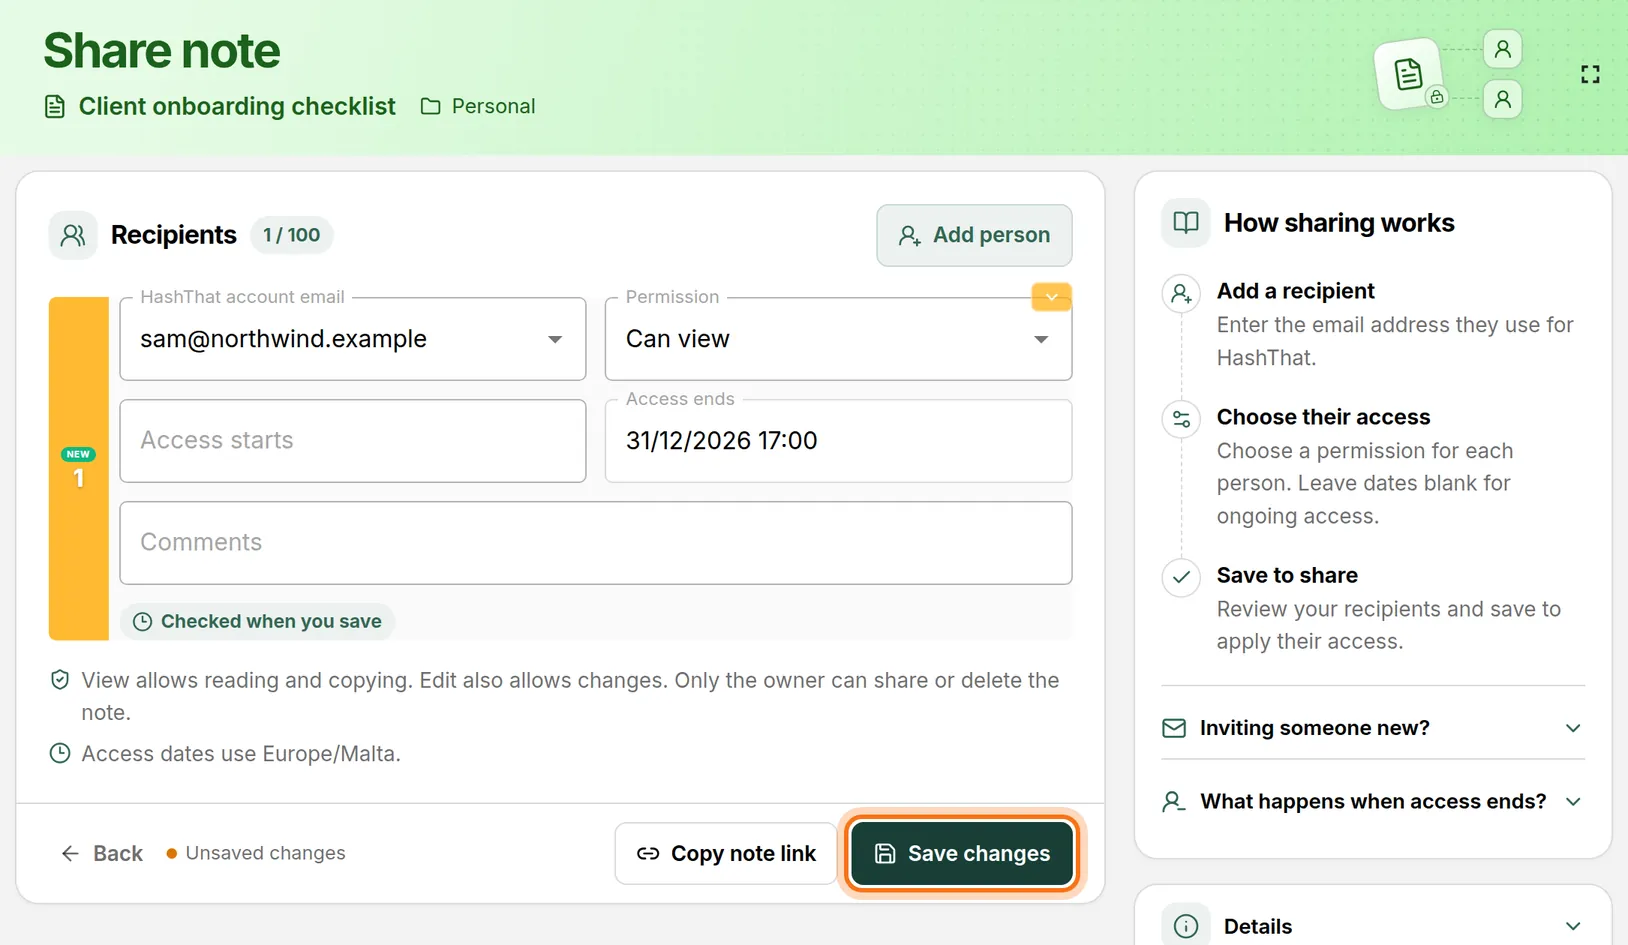
- Check the email address once more.
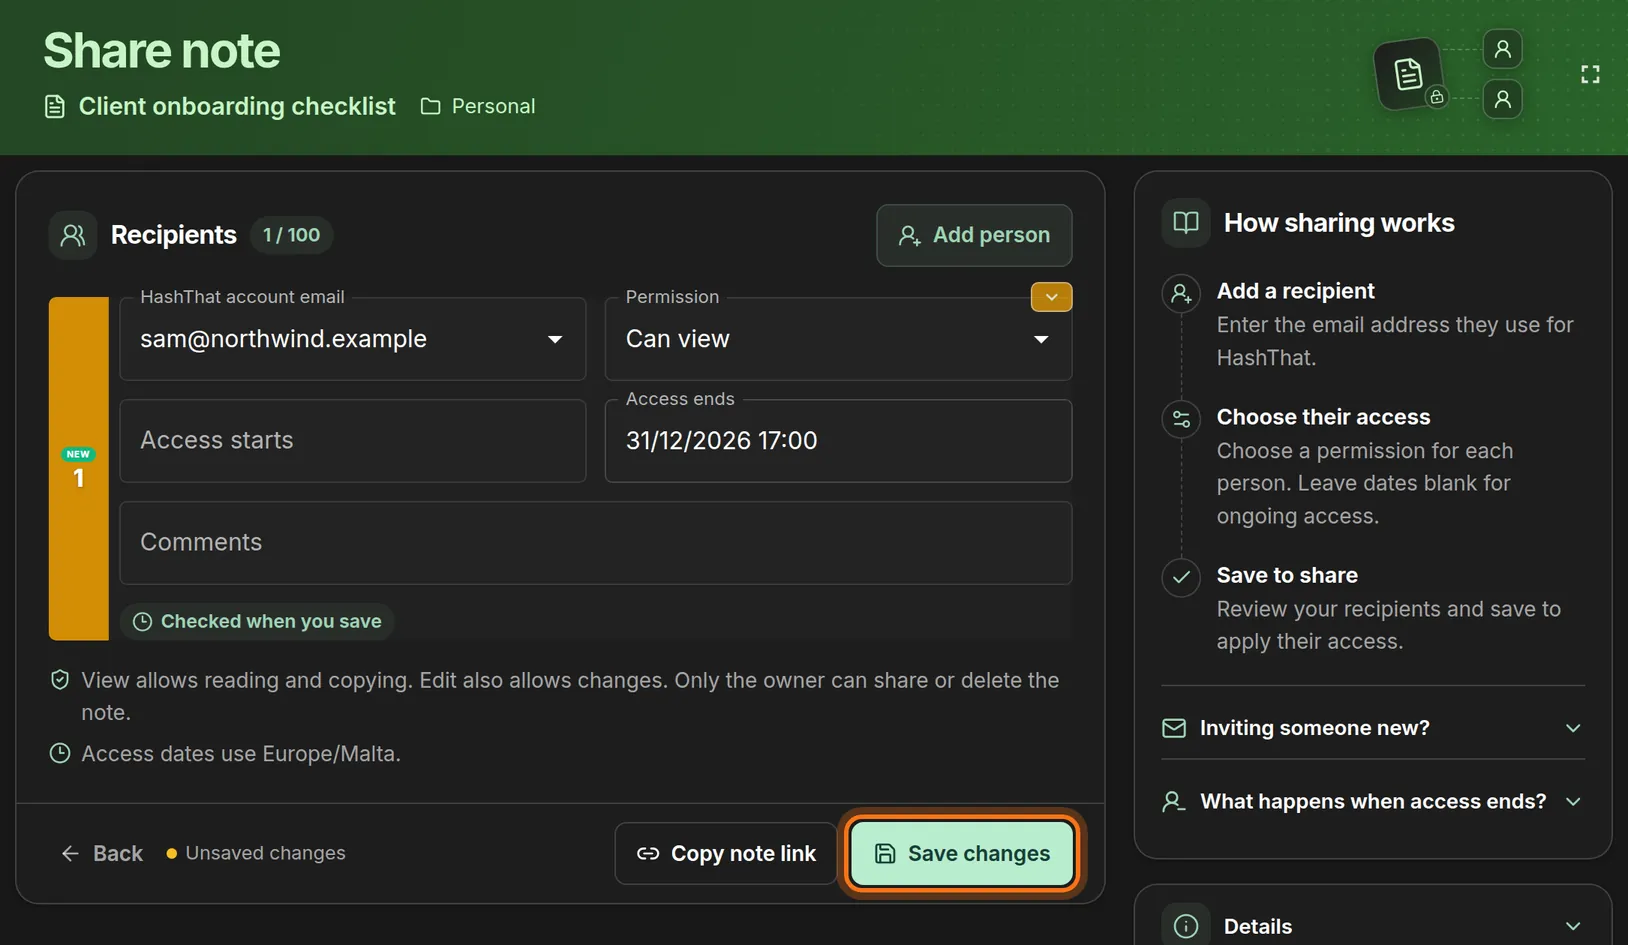
- Click Save changes.
You should see: The status beside Back changes from Unsaved changes to Saved.
 Full size
 Full size
Nothing is shared until you click Save changes. Copy note link gives you a link you can send to the person. They still have to sign in with the account you shared with.
Check it worked
- Open the share page again from the note’s card. The person’s email, permission and end date are listed.
- The other person signs in to HashThat and finds the note in their own notes.
If something looks different
The person has no HashThat account yet
Save their email anyway. HashThat sends them an invitation. After they have verified their email and finished setting up, open this page again, click Check account on their row and save again.
I want to end access early
Open the share page, delete the person’s row and click Save changes. Text they already copied out of the note cannot be taken back.
Tip: Each person has their own dates. You can share one note with two people and give them different end dates.