Make a checklist you can tick off
Write a short to-do list in a note, then tick tasks off with a click.
- 8 steps
- About 4 minutes
Before you start
- You are signed in to HashThat in your web browser.
- Notes Pro. Checklists use the Markdown mode, which is part of Notes Pro for personal notes.
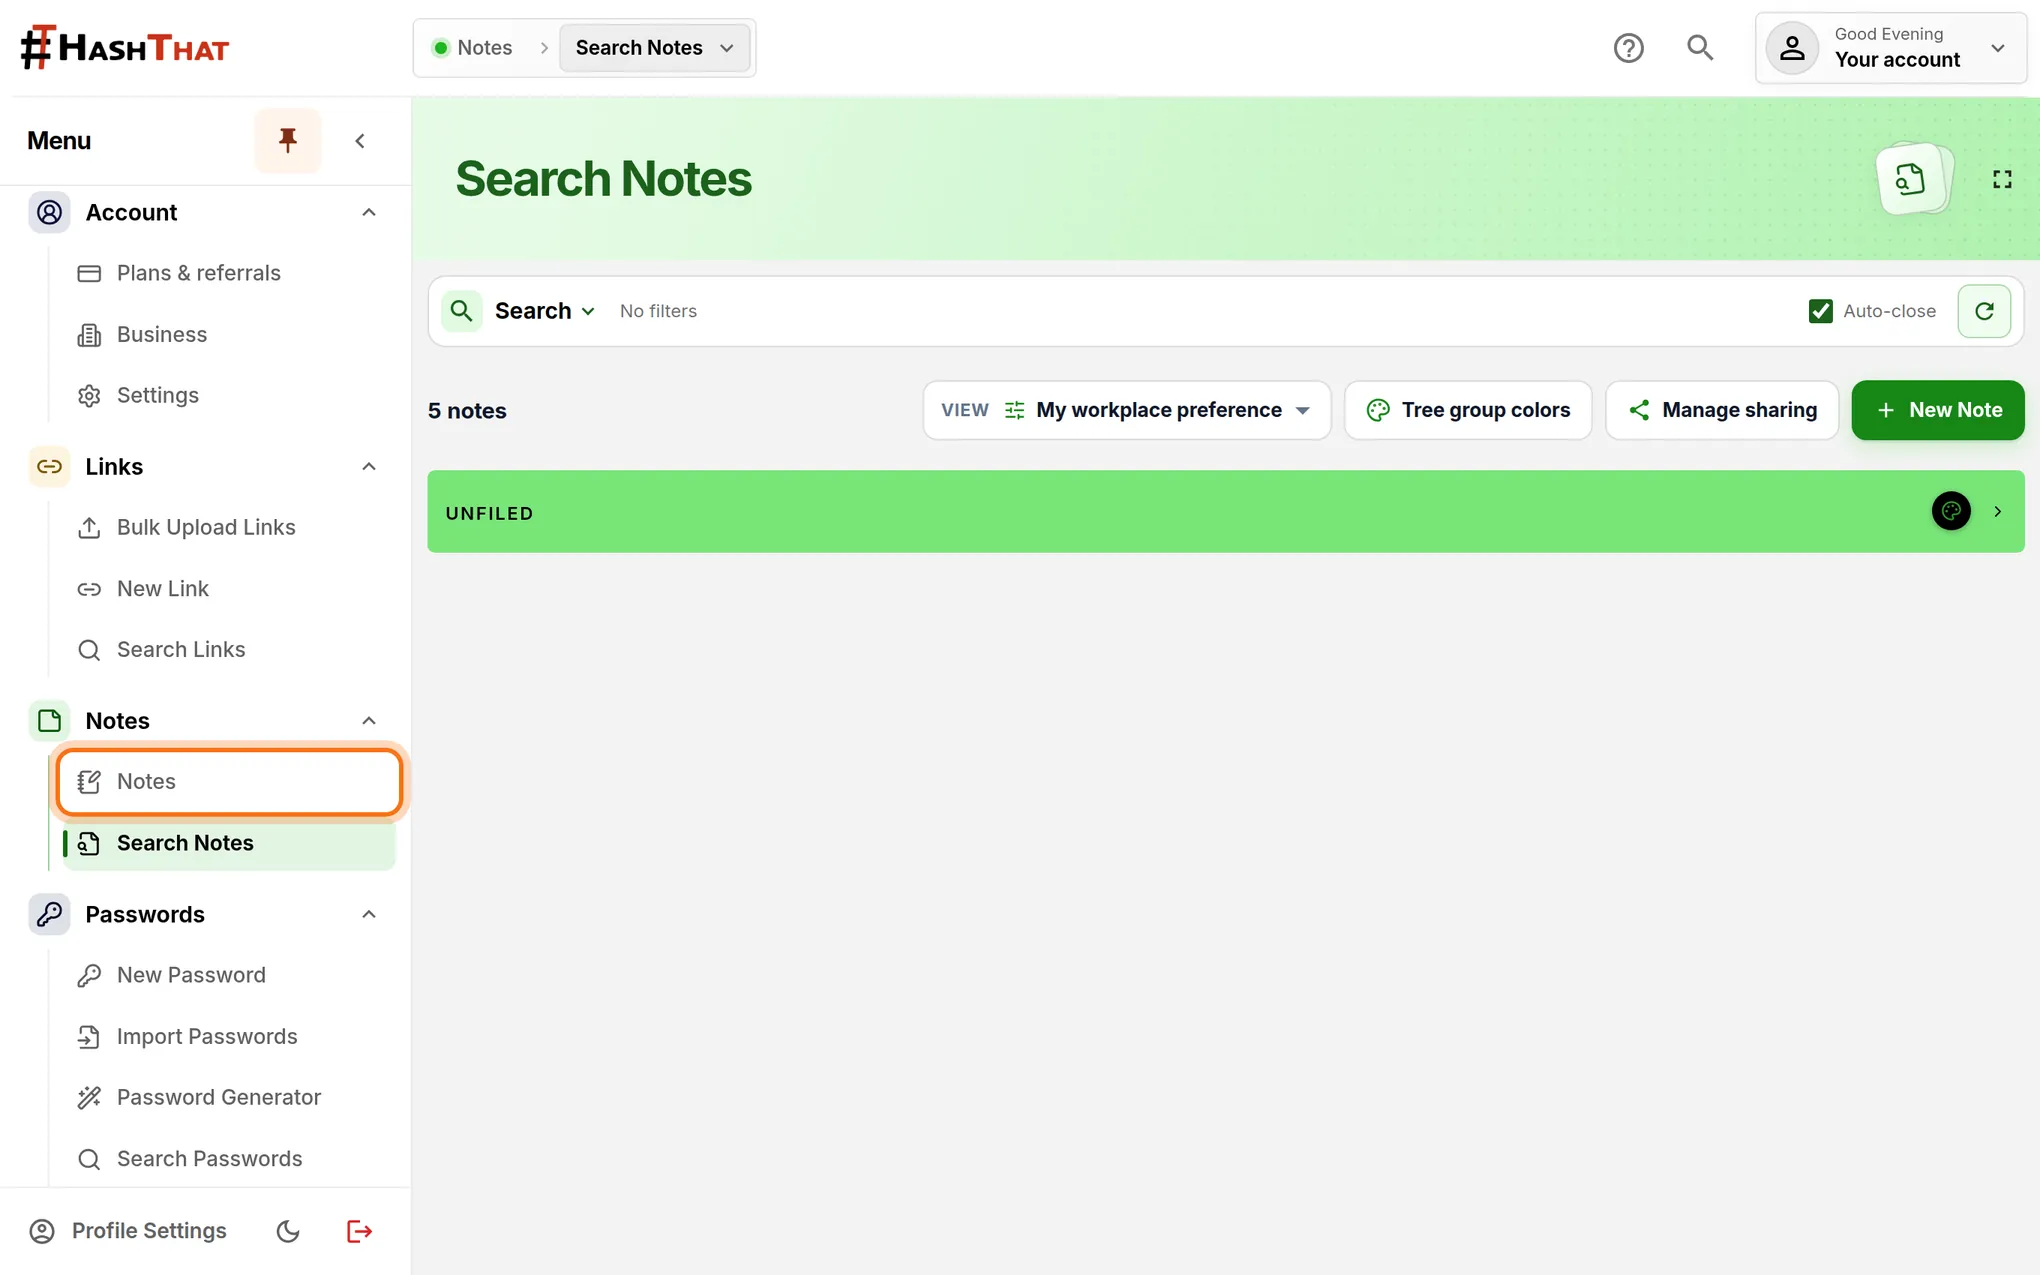
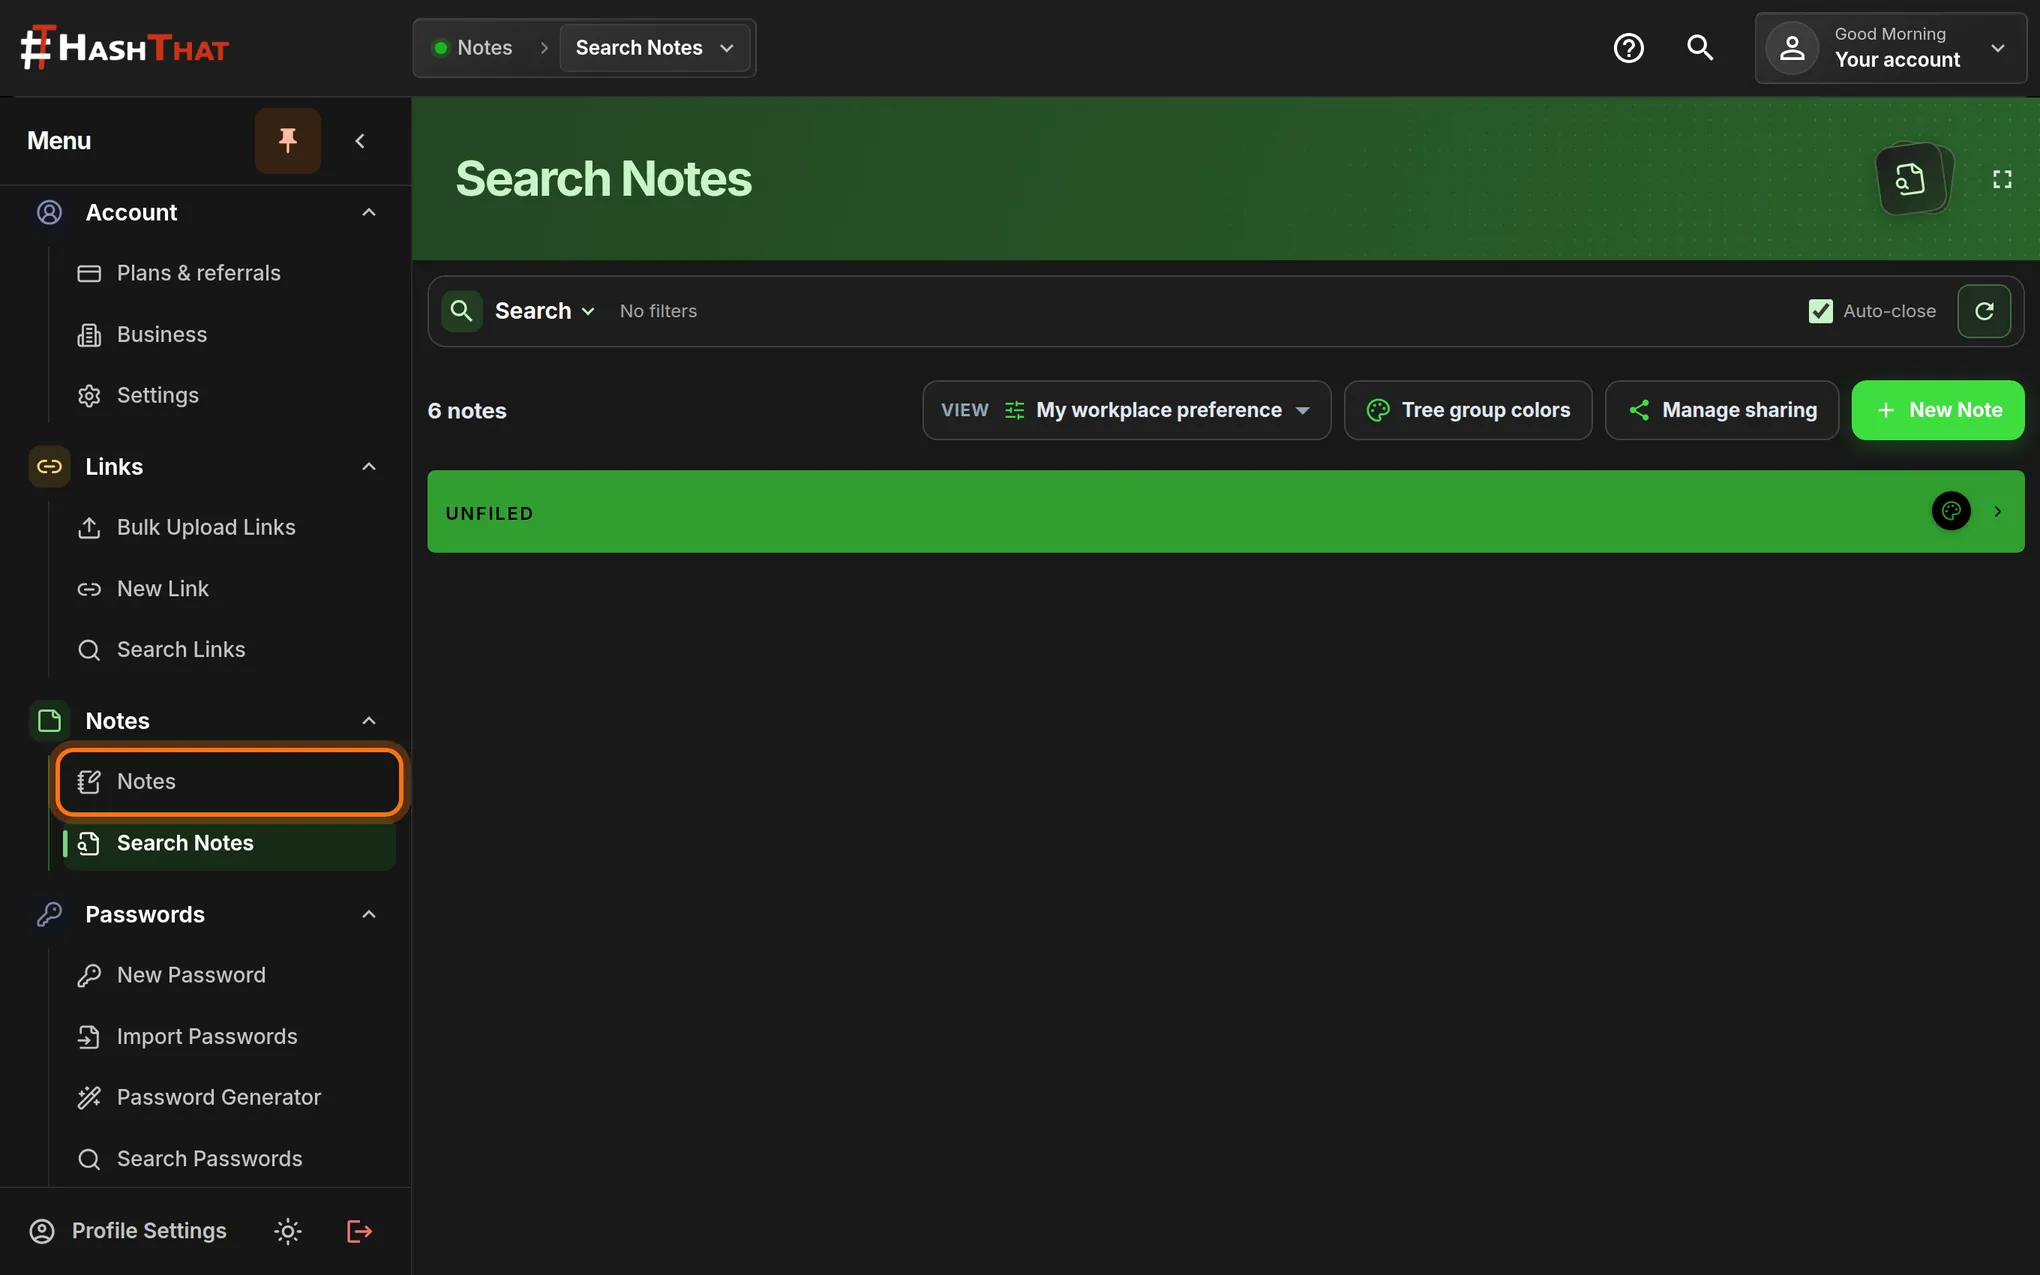
Step 1: Open Notes
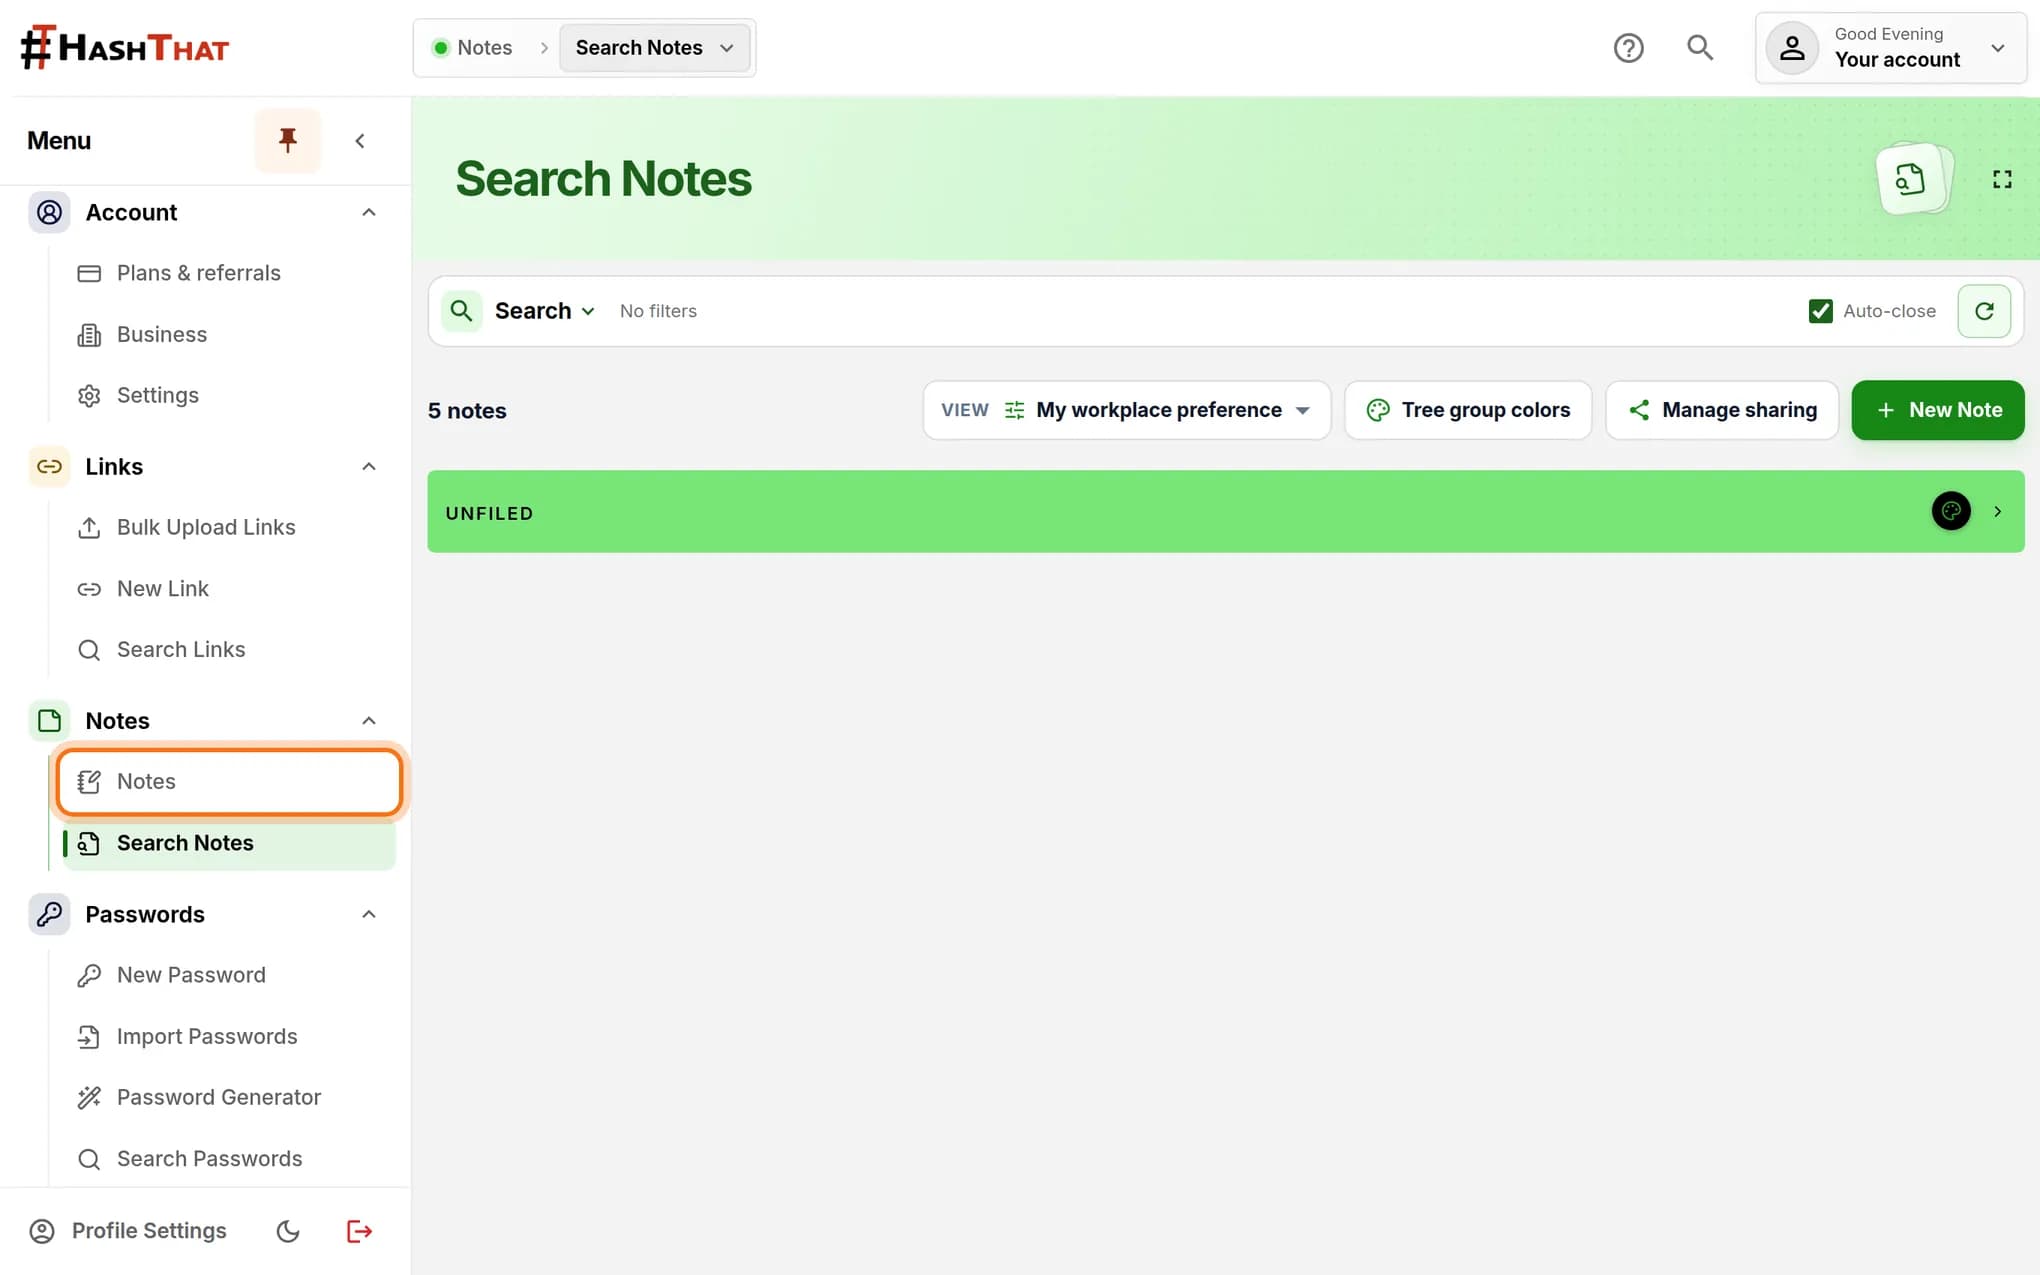
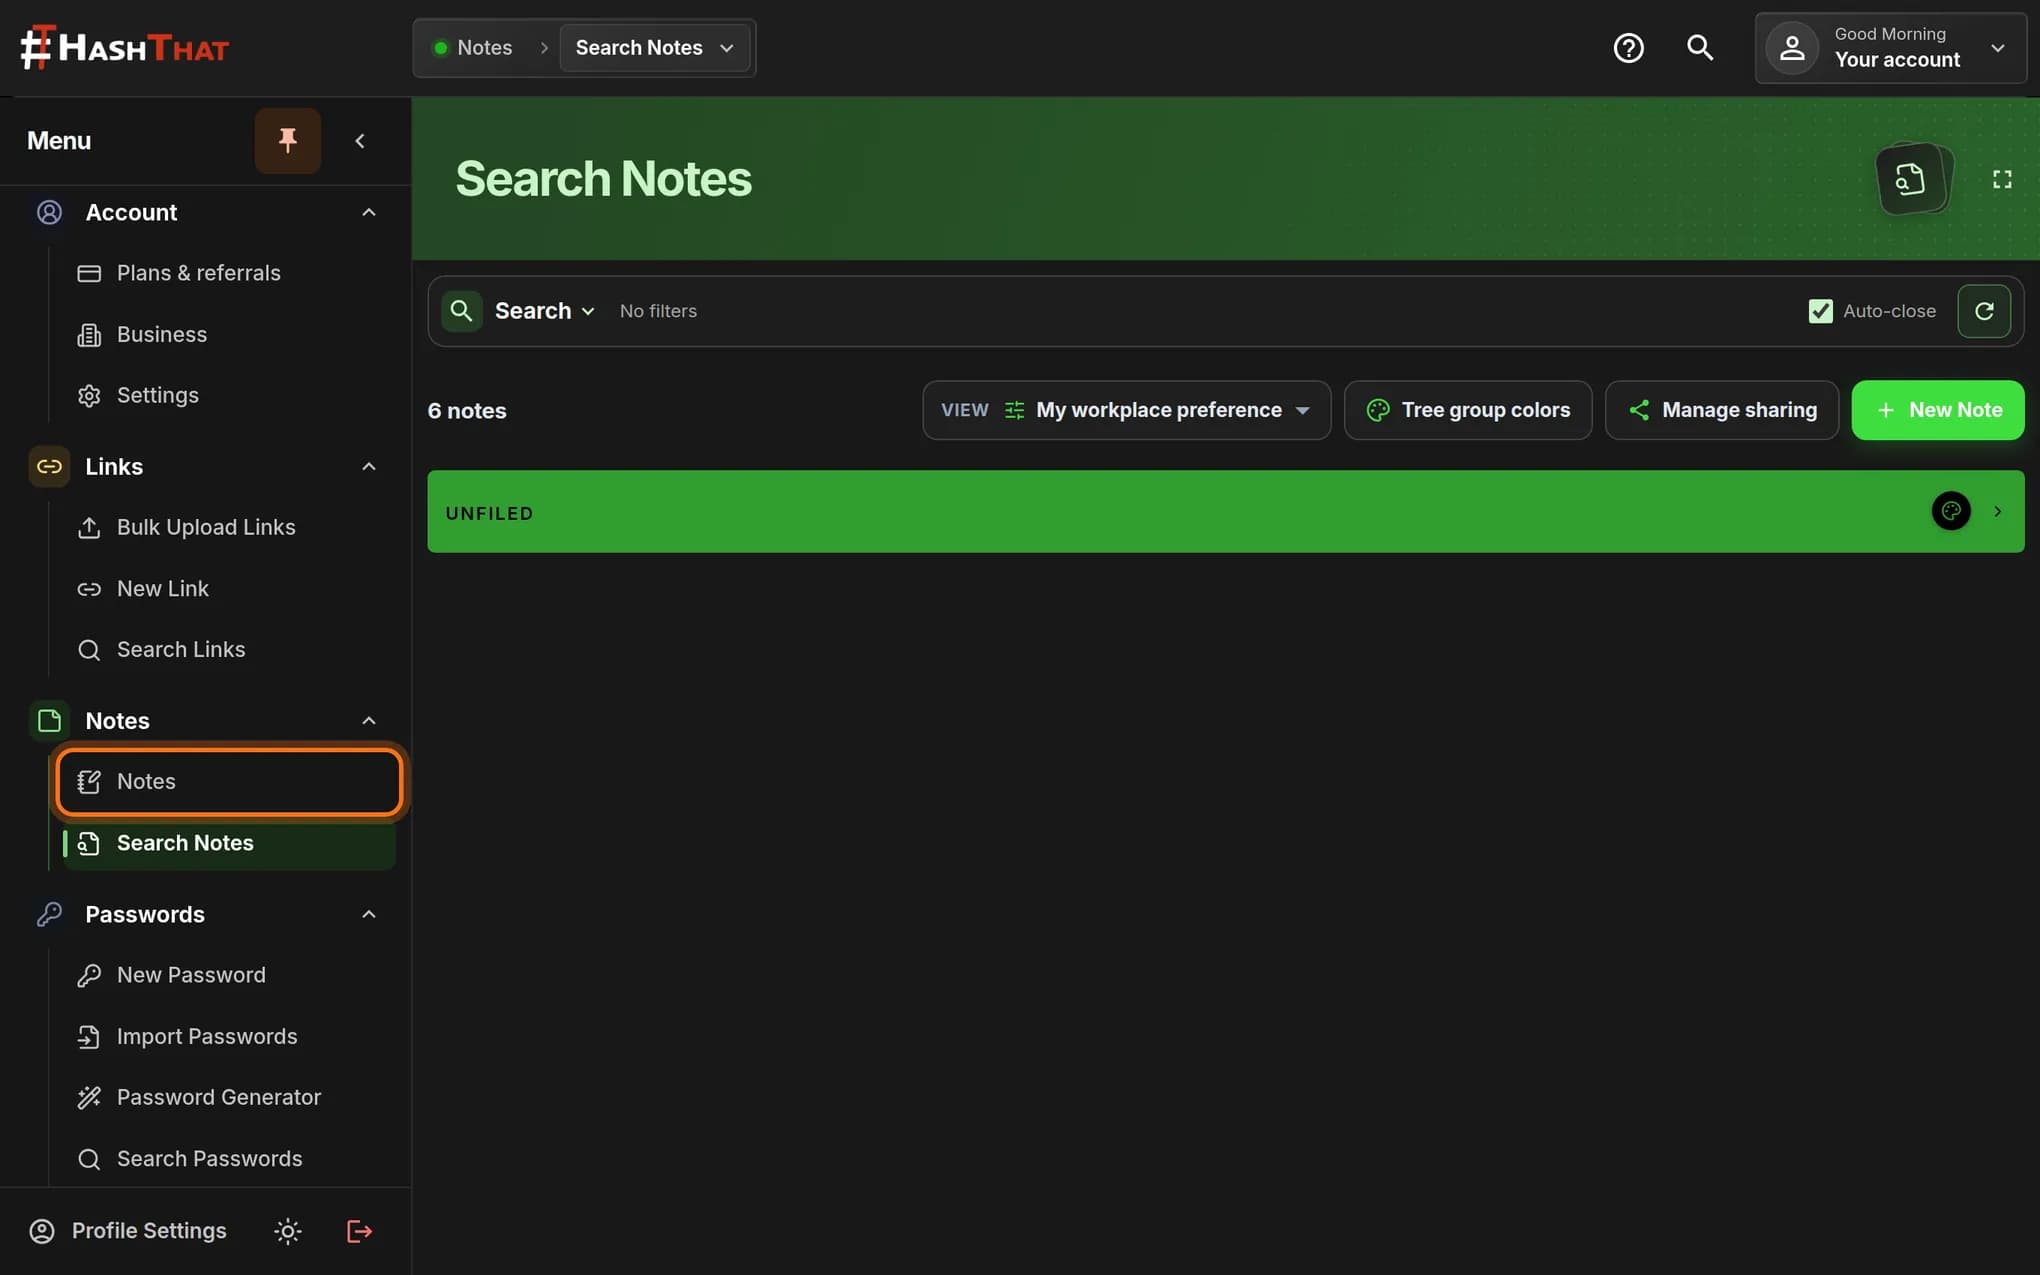
- Look at the menu on the left.
- Under Notes, click Notes.
You should see: An empty note with a Title box at the top.
 Full size
 Full size
The first item under Notes opens the editor with a new, empty note. If an older note opens instead, click the Notes button at the top left of the editor and choose New.
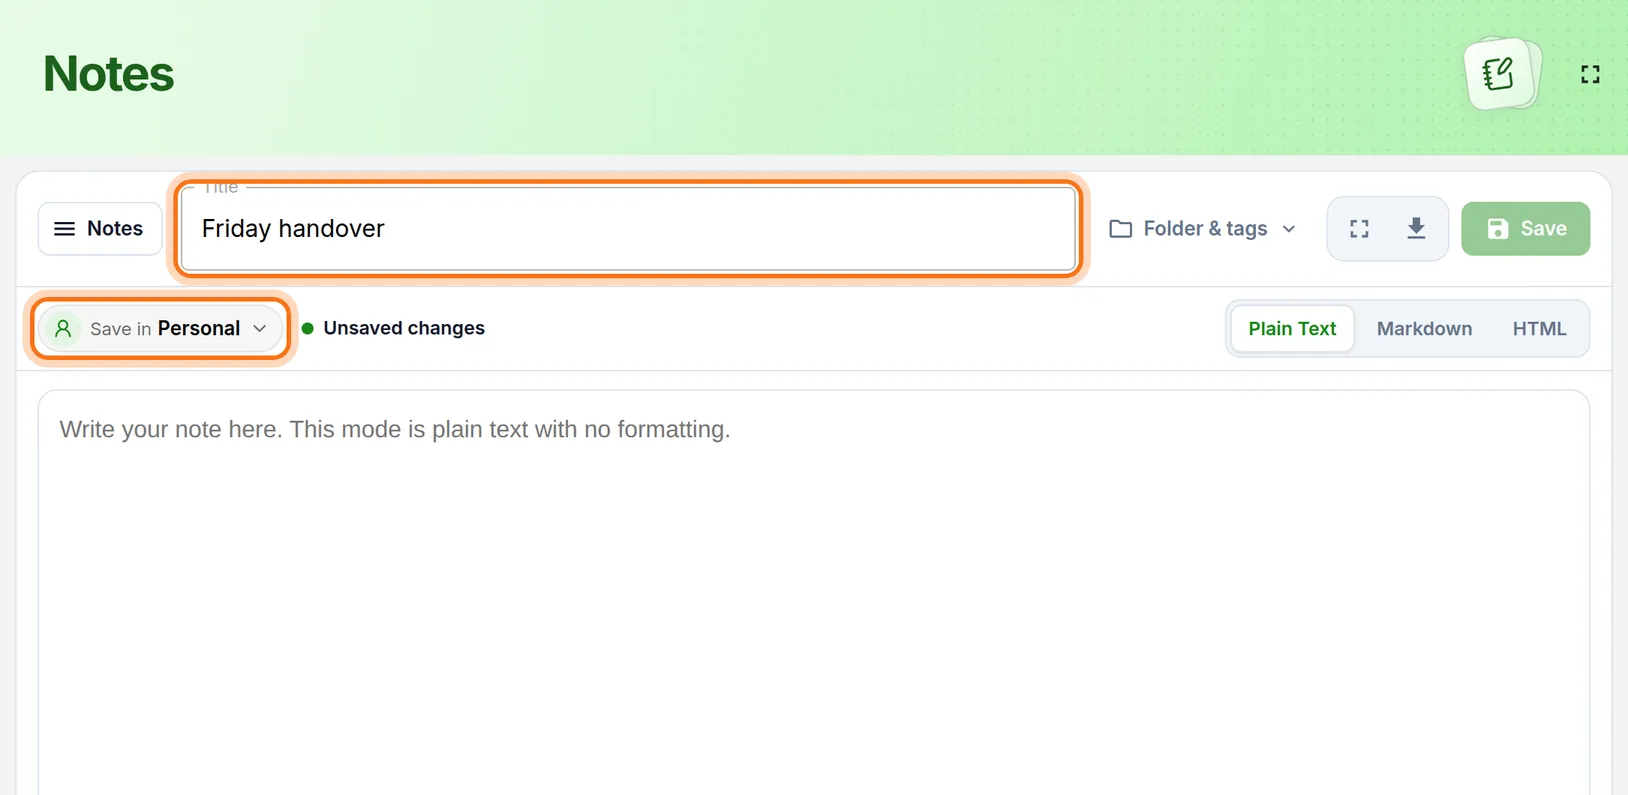
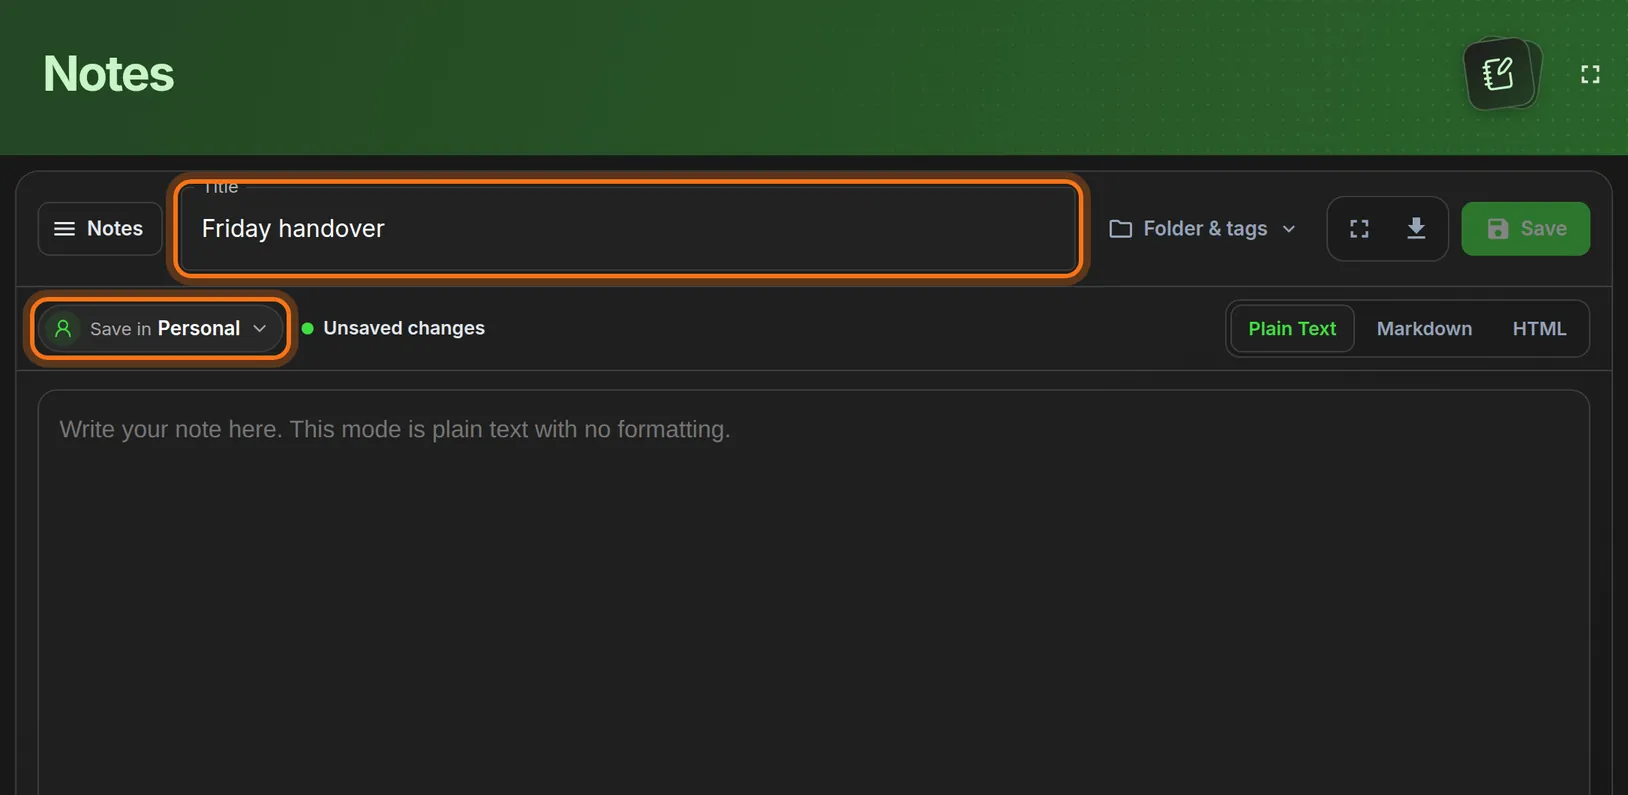
Step 2: Give the note a title
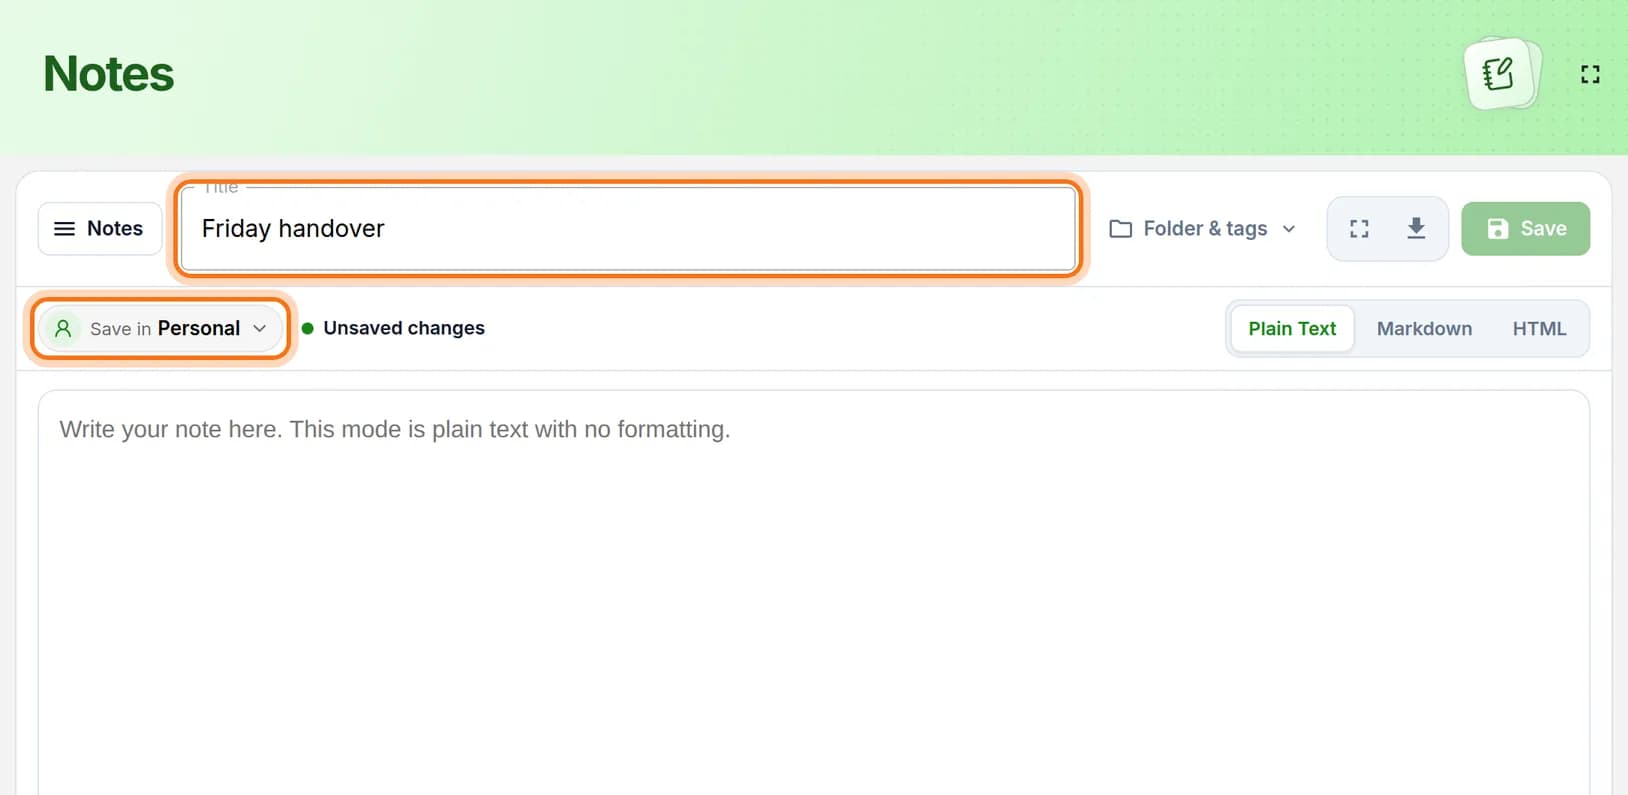
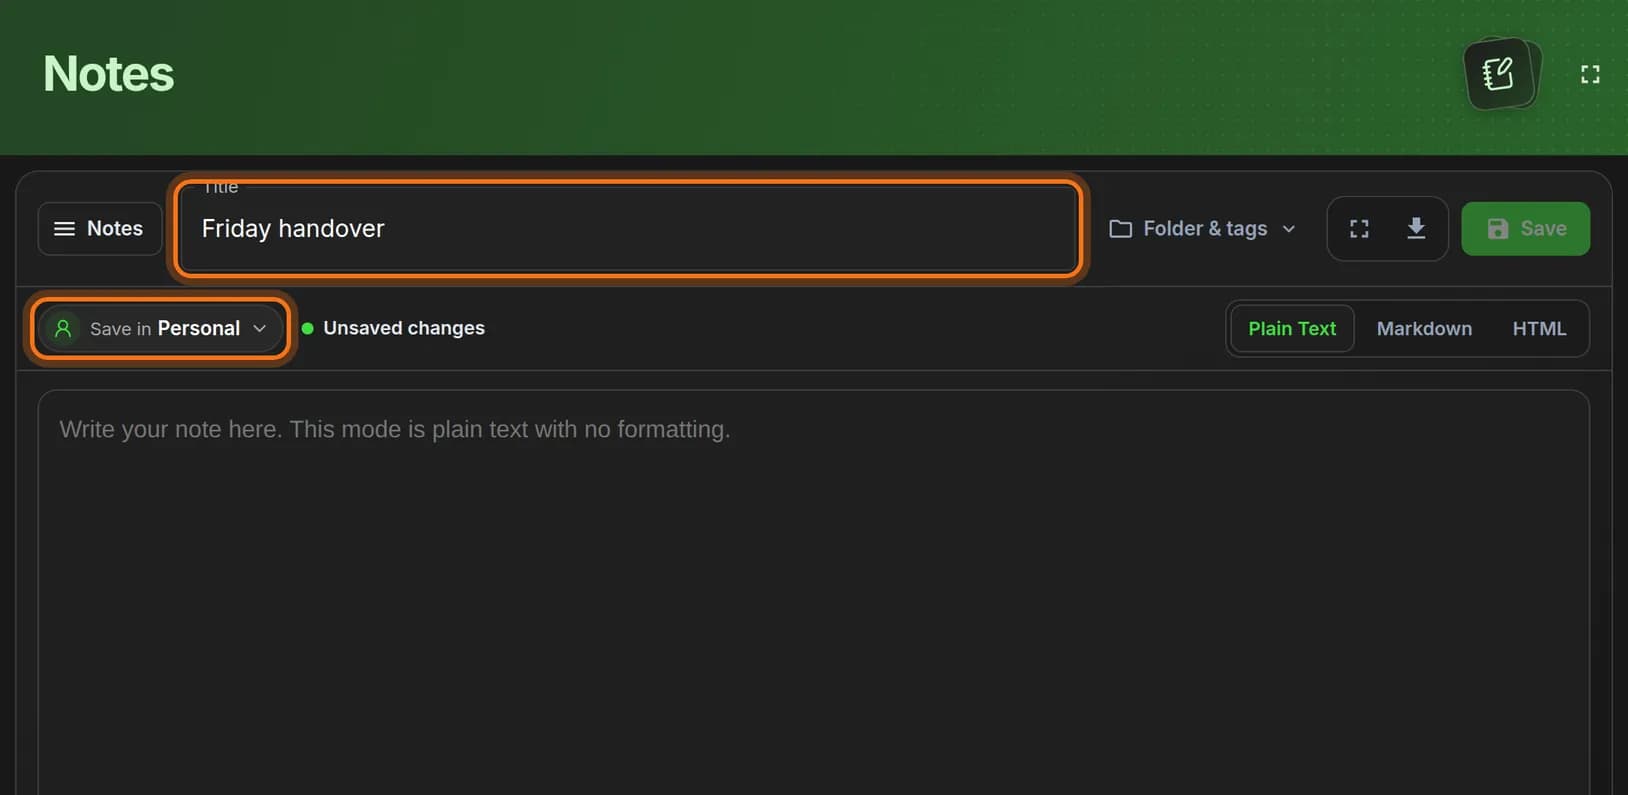
- Click the Title box.
- Type a title, for example Friday handover.
- Below the title, check that Save in says Personal.
 Full size
 Full size
The title is how you will find the note later. Step 3: Switch the note to Markdown
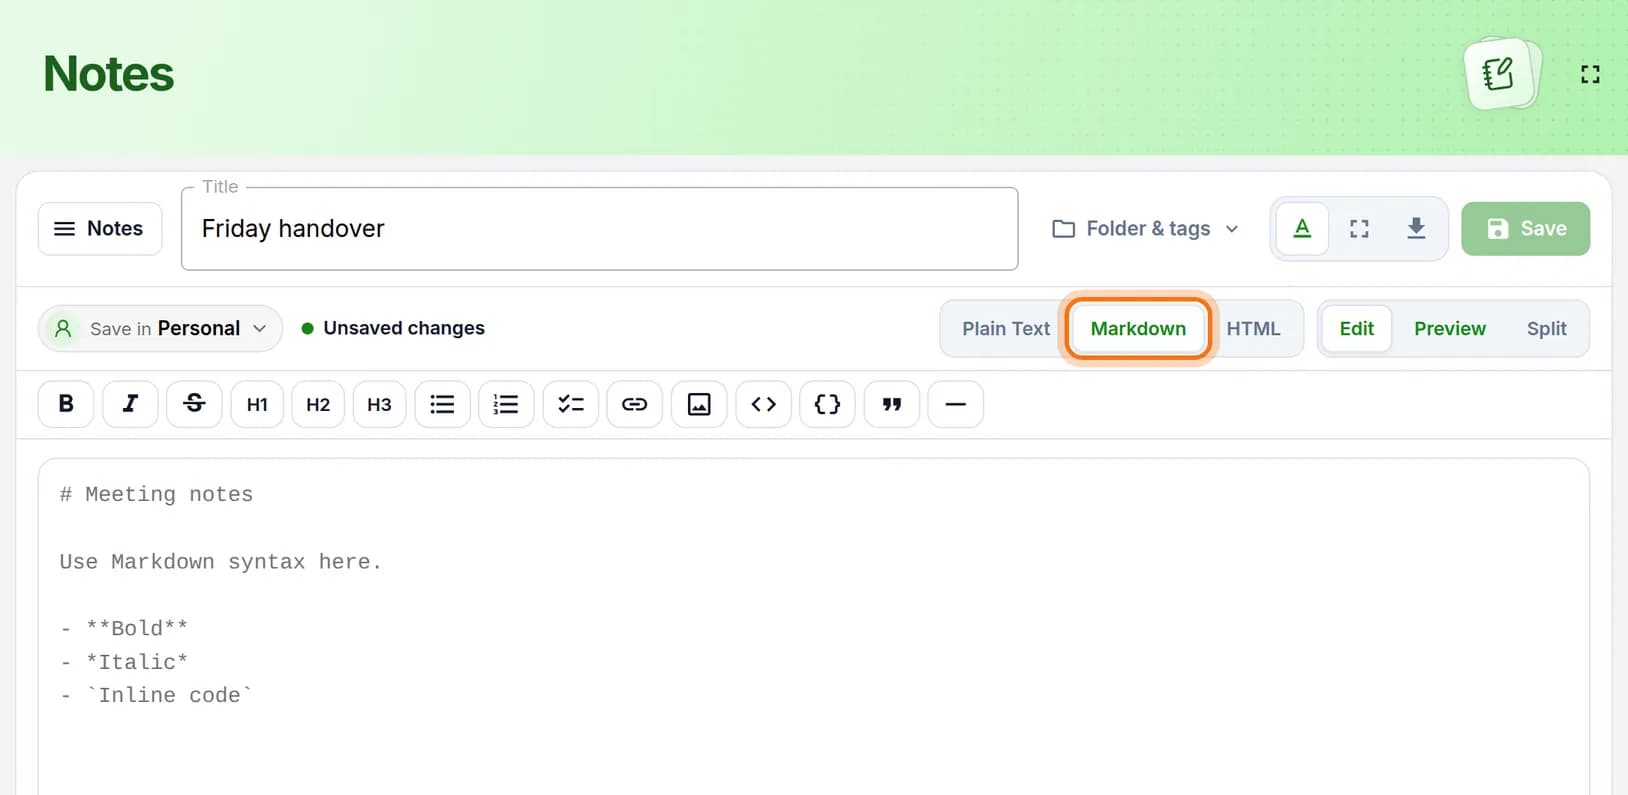
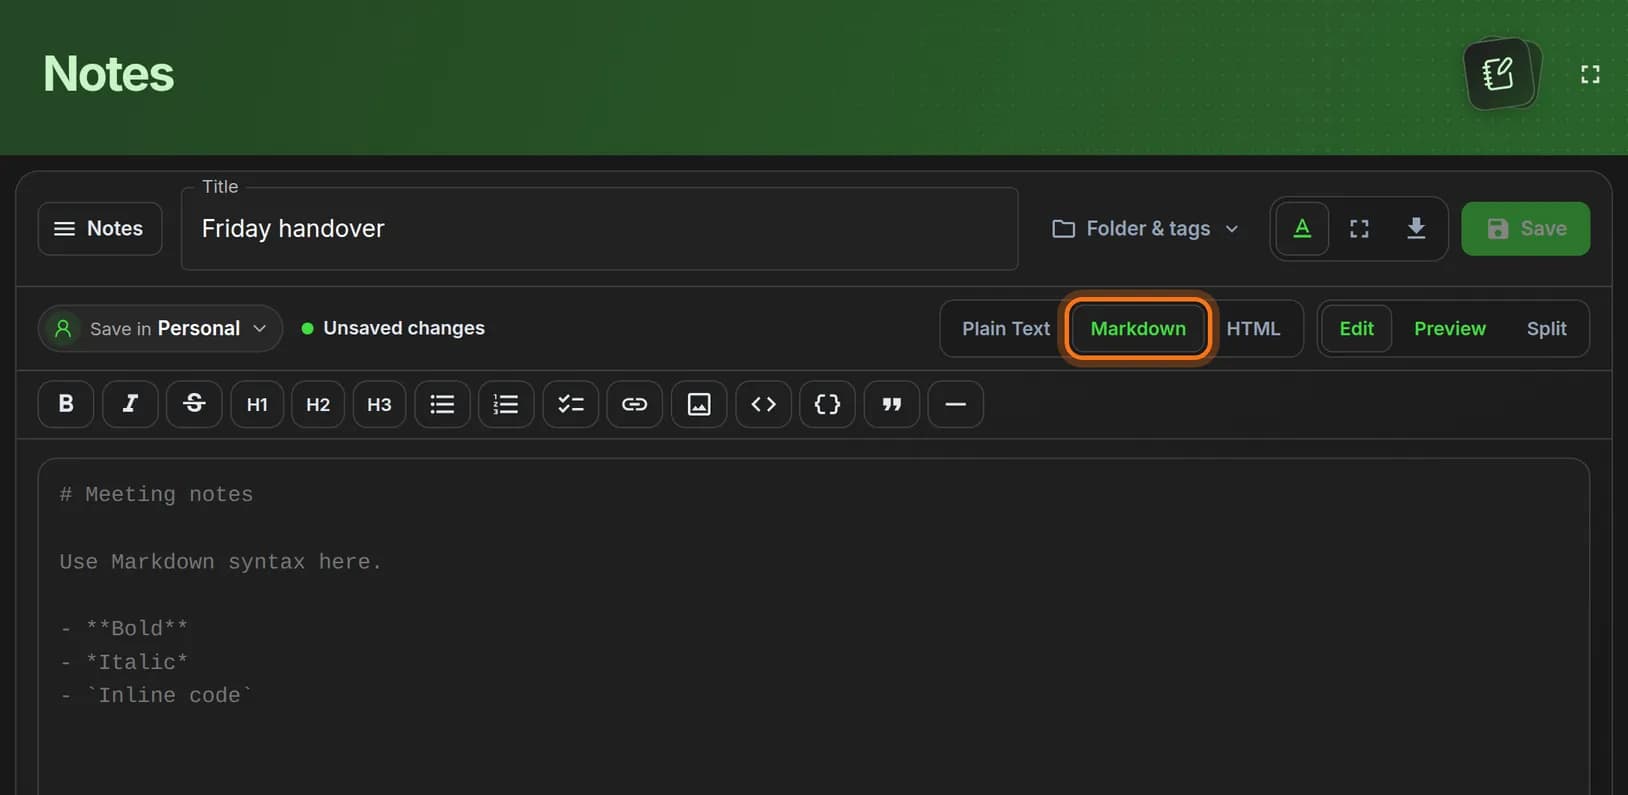
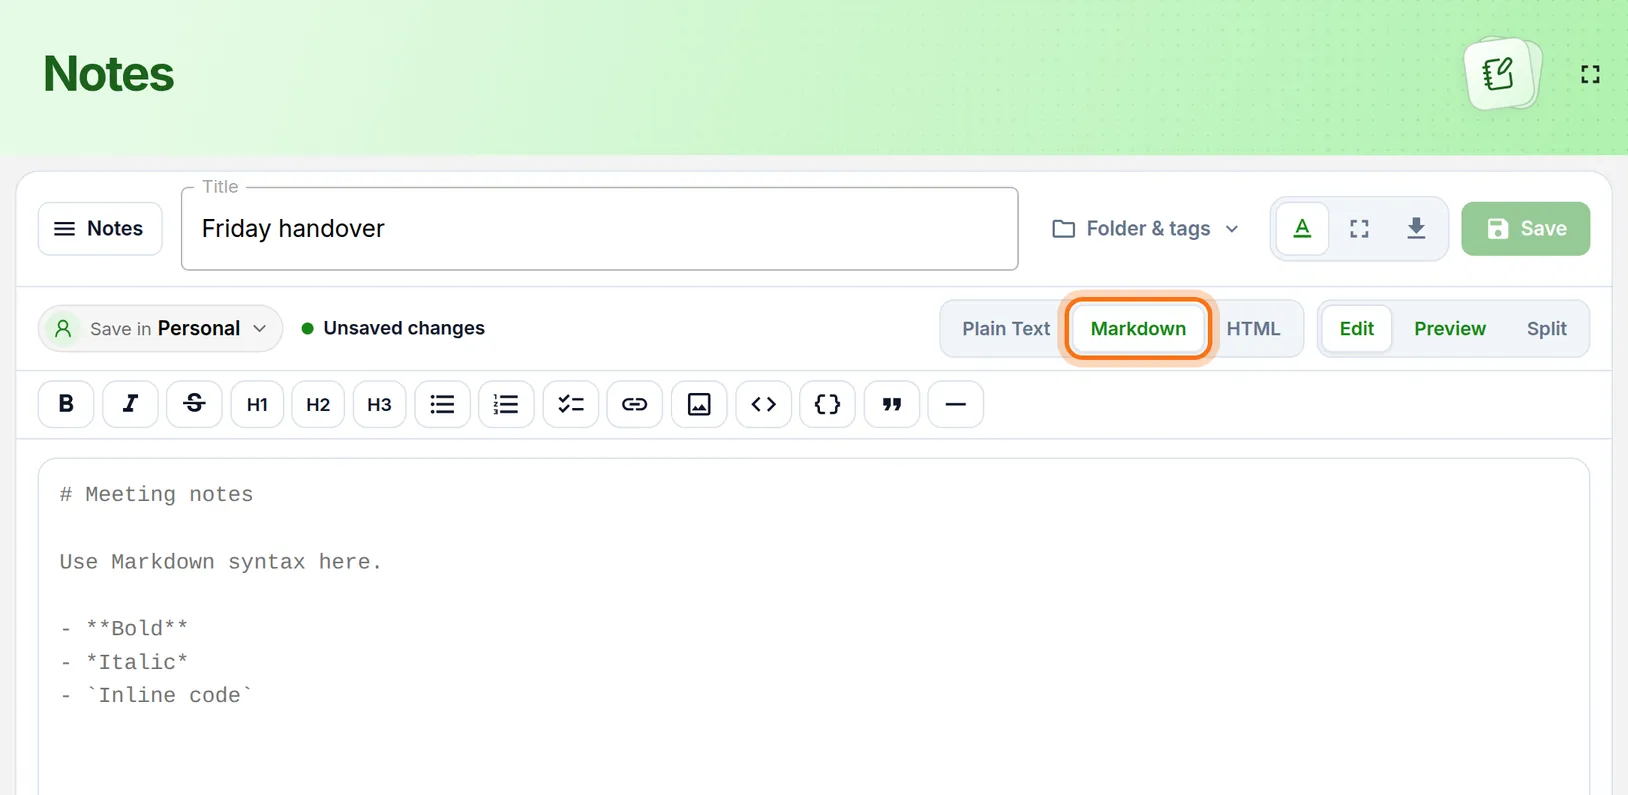
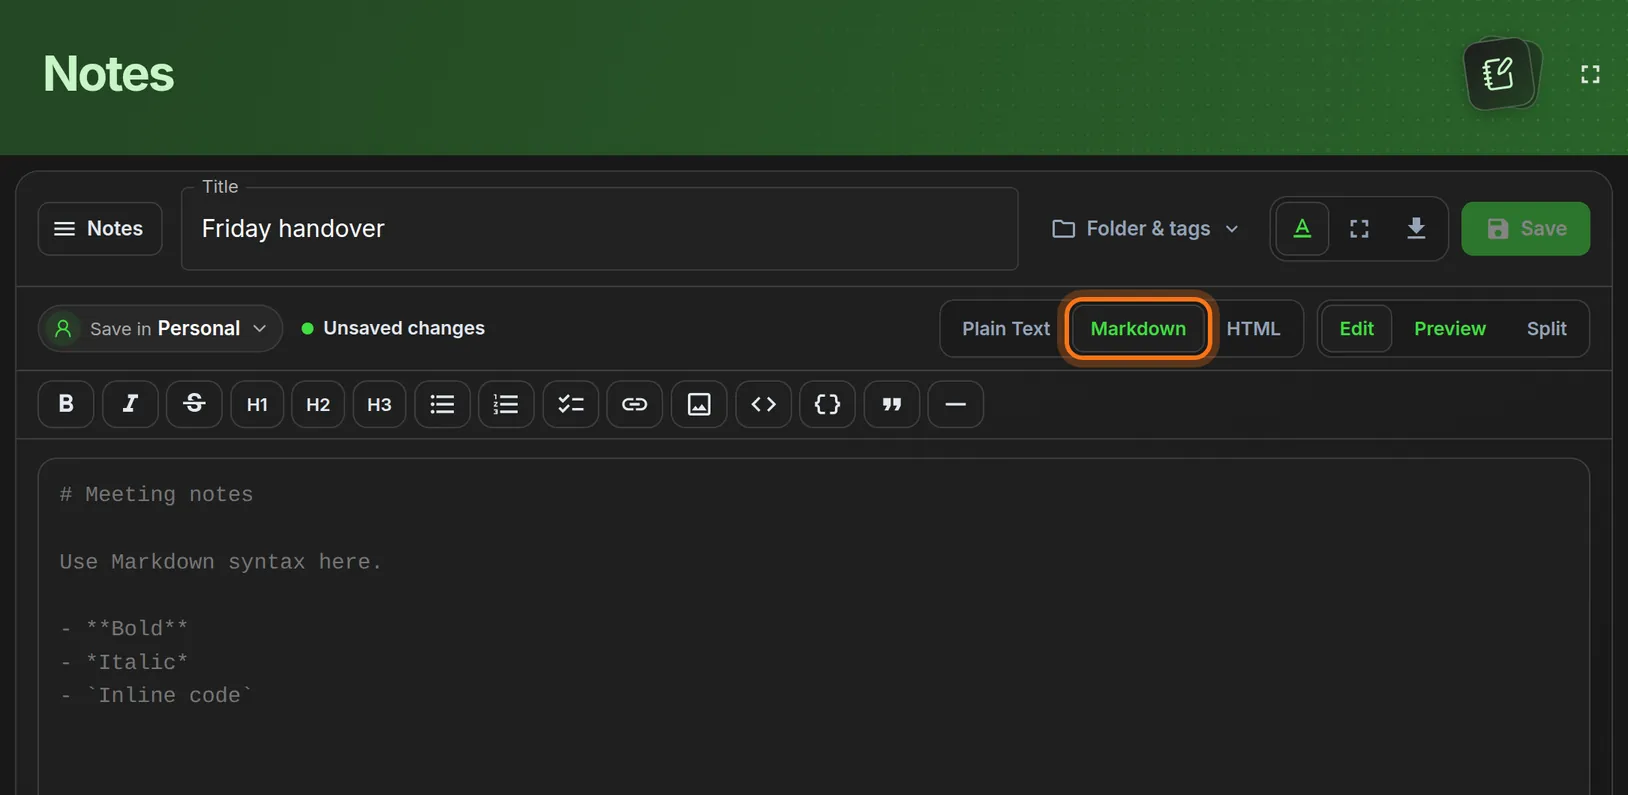
- Find the three buttons on the right: Plain Text, Markdown and HTML.
- Click Markdown.
You should see: A row of formatting buttons above the writing area, and three new buttons: Edit, Preview and Split.
 Full size
 Full size
Markdown is the mode that understands checklists. Step 4: Show the preview next to your text
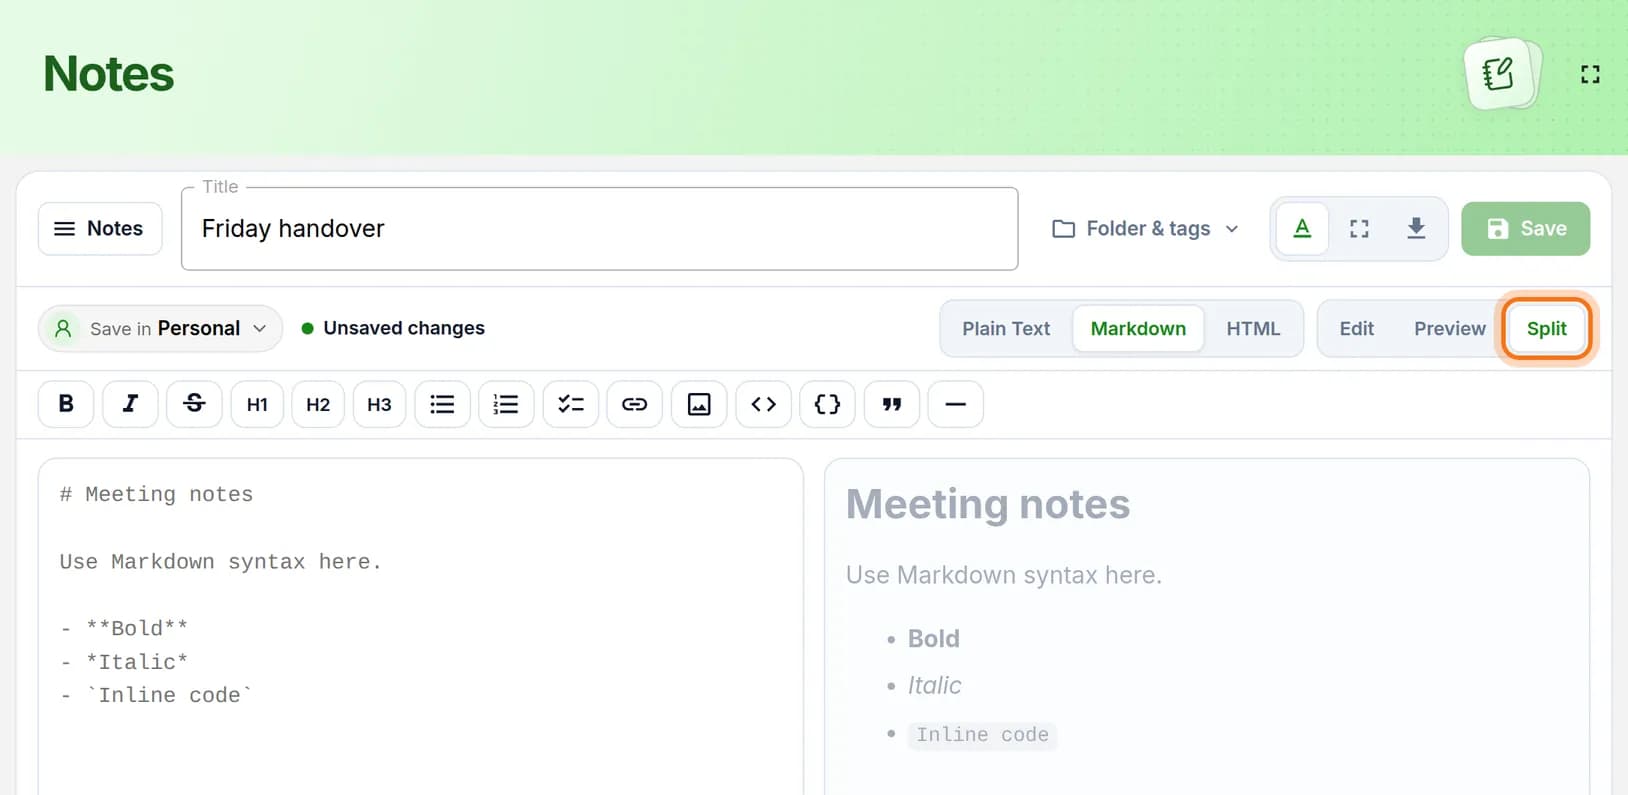
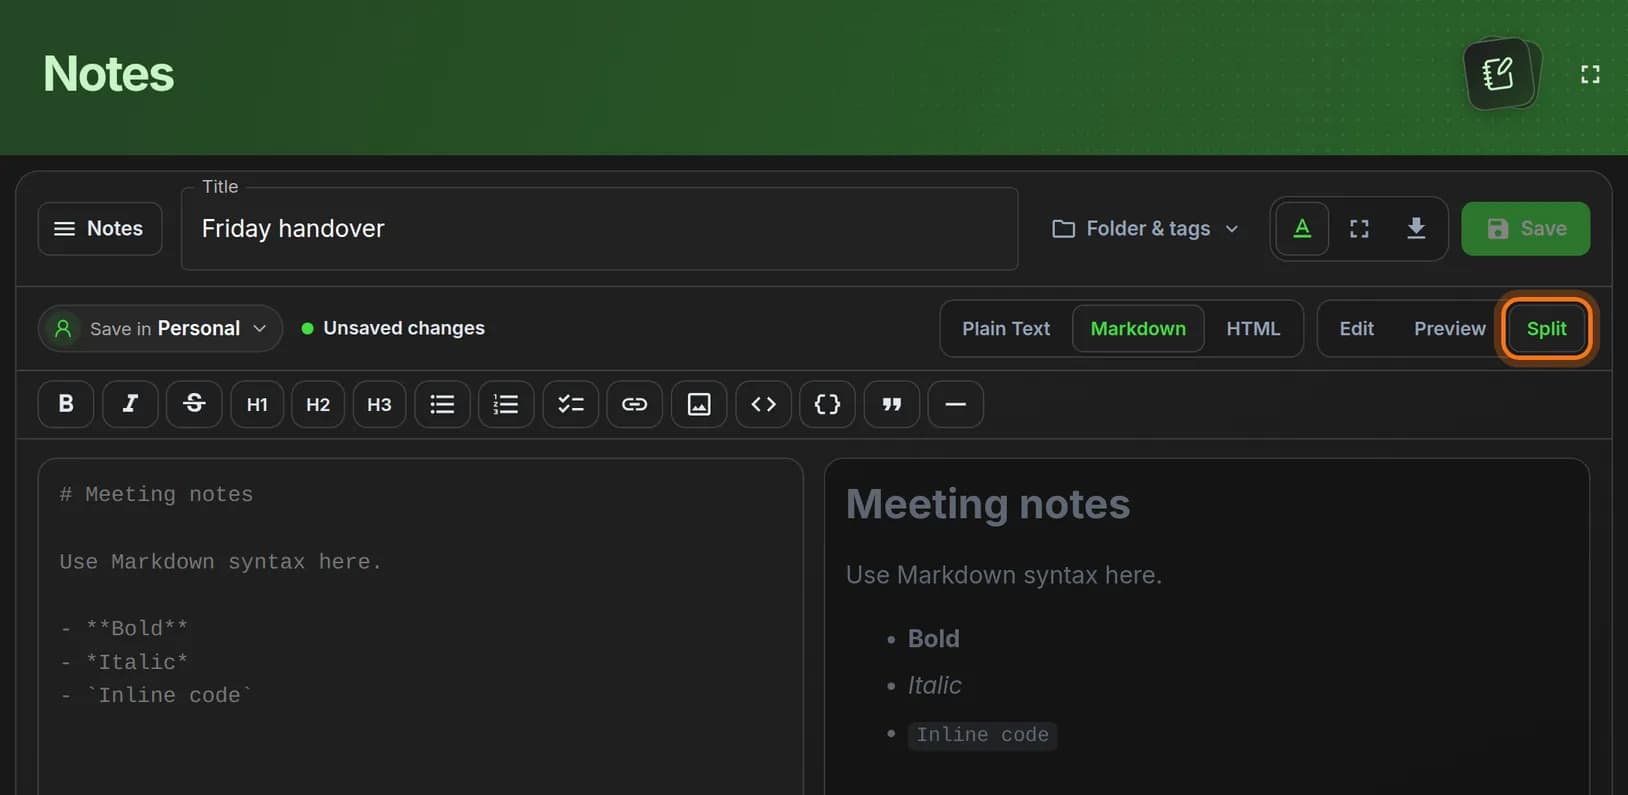
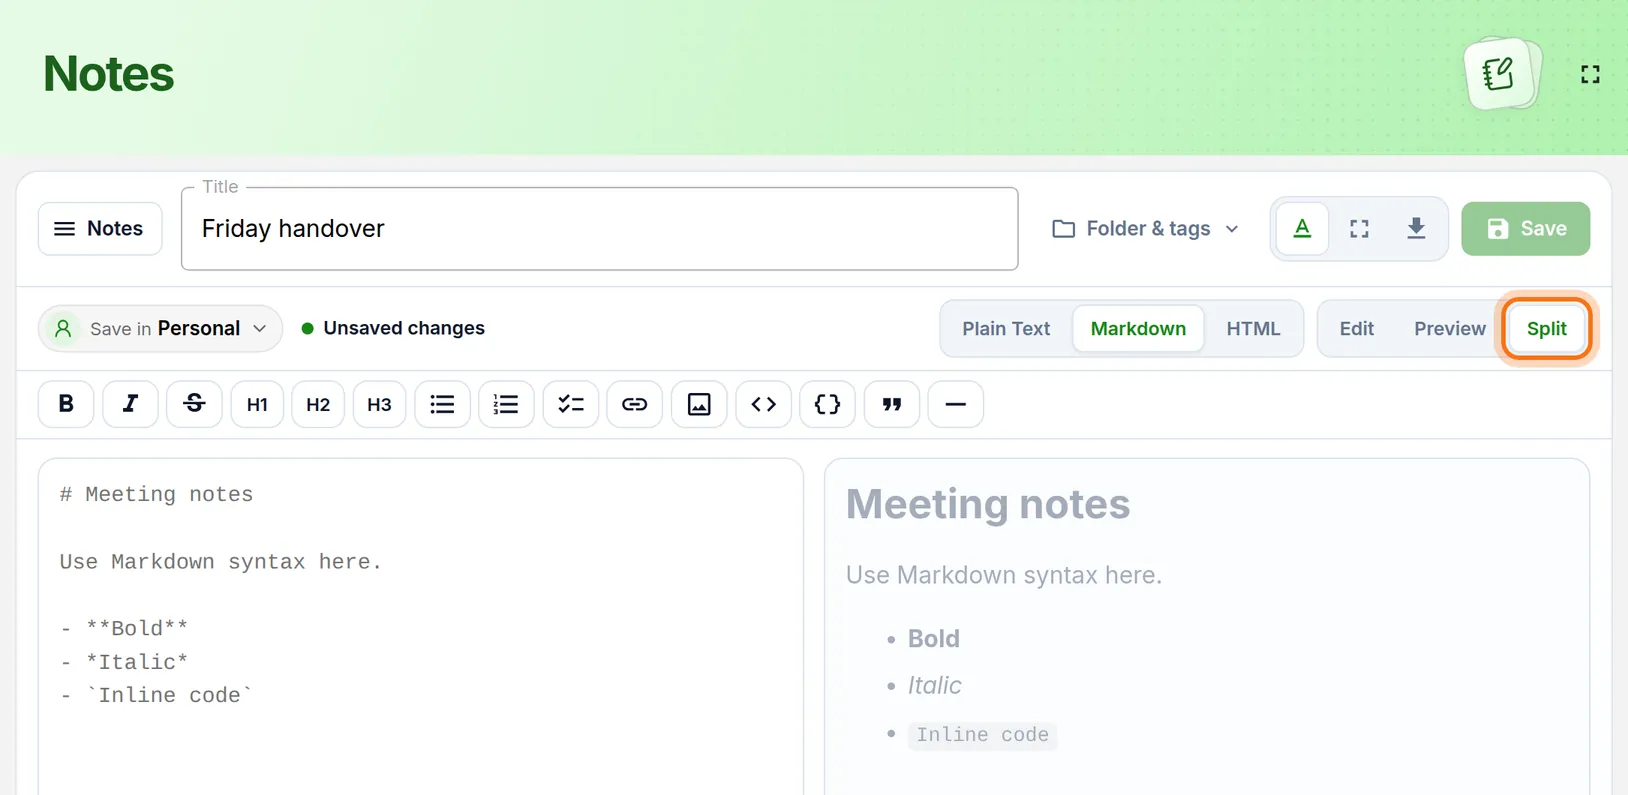
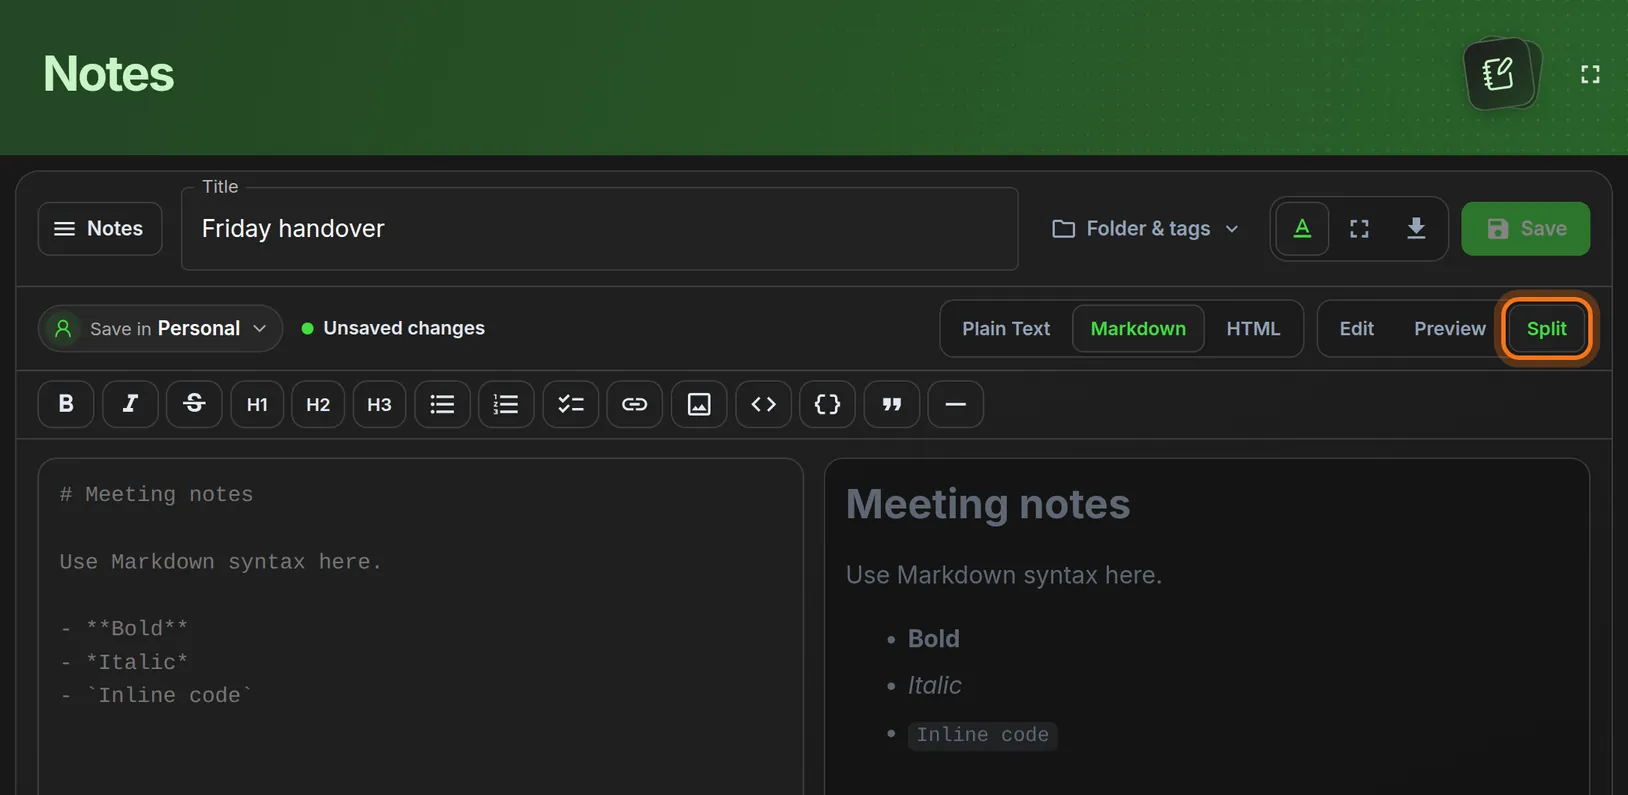
- Click Split at the far right.
You should see: Two areas side by side. You type on the left, and the finished note appears on the right.
 Full size
 Full size
The grey sample text disappears as soon as you start typing. Step 5: Type your tasks
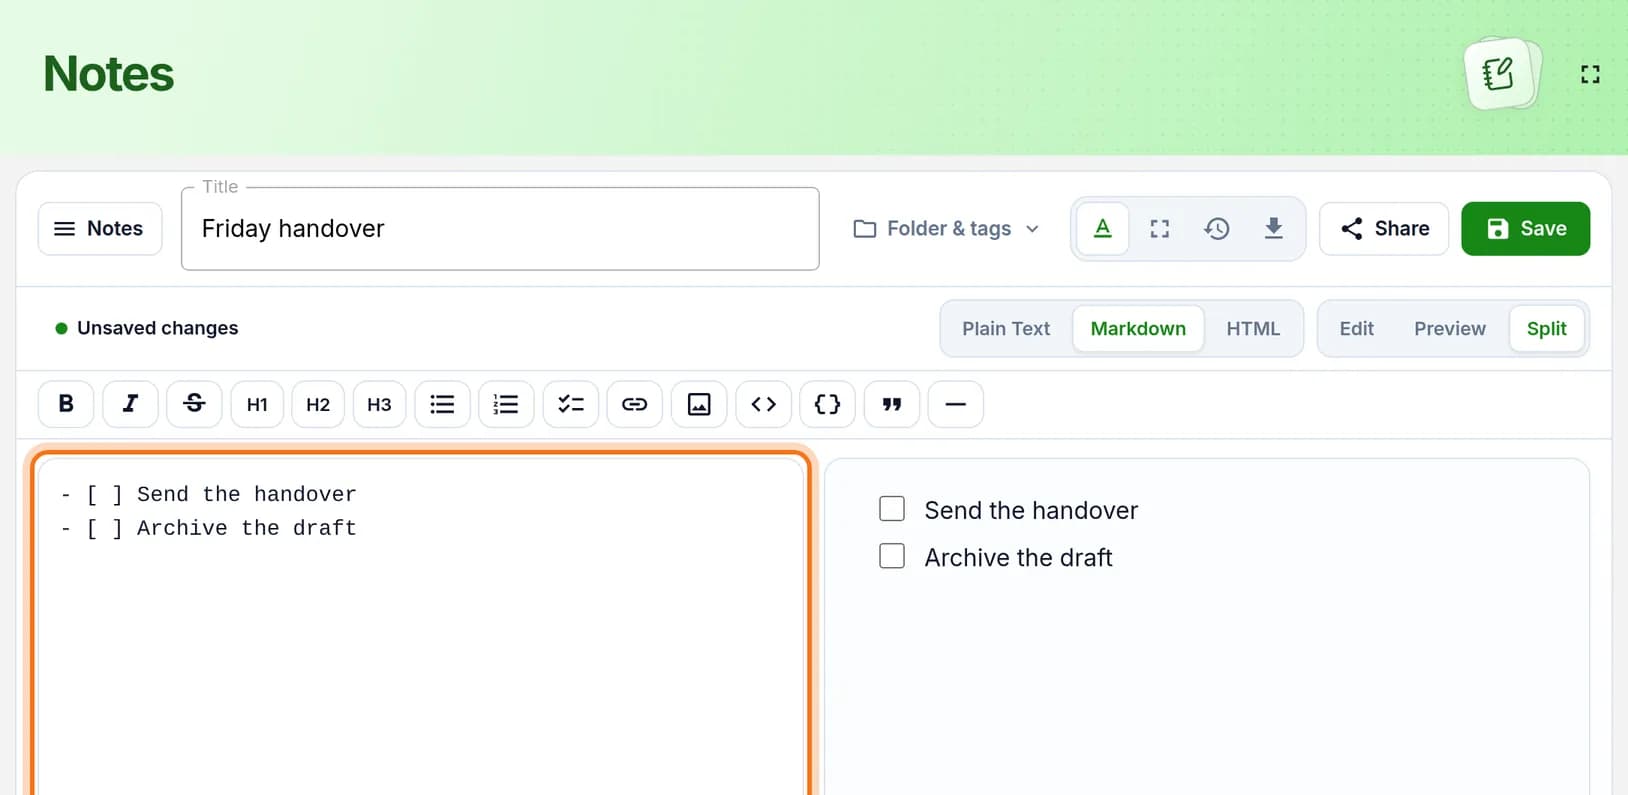
- Click in the left area.
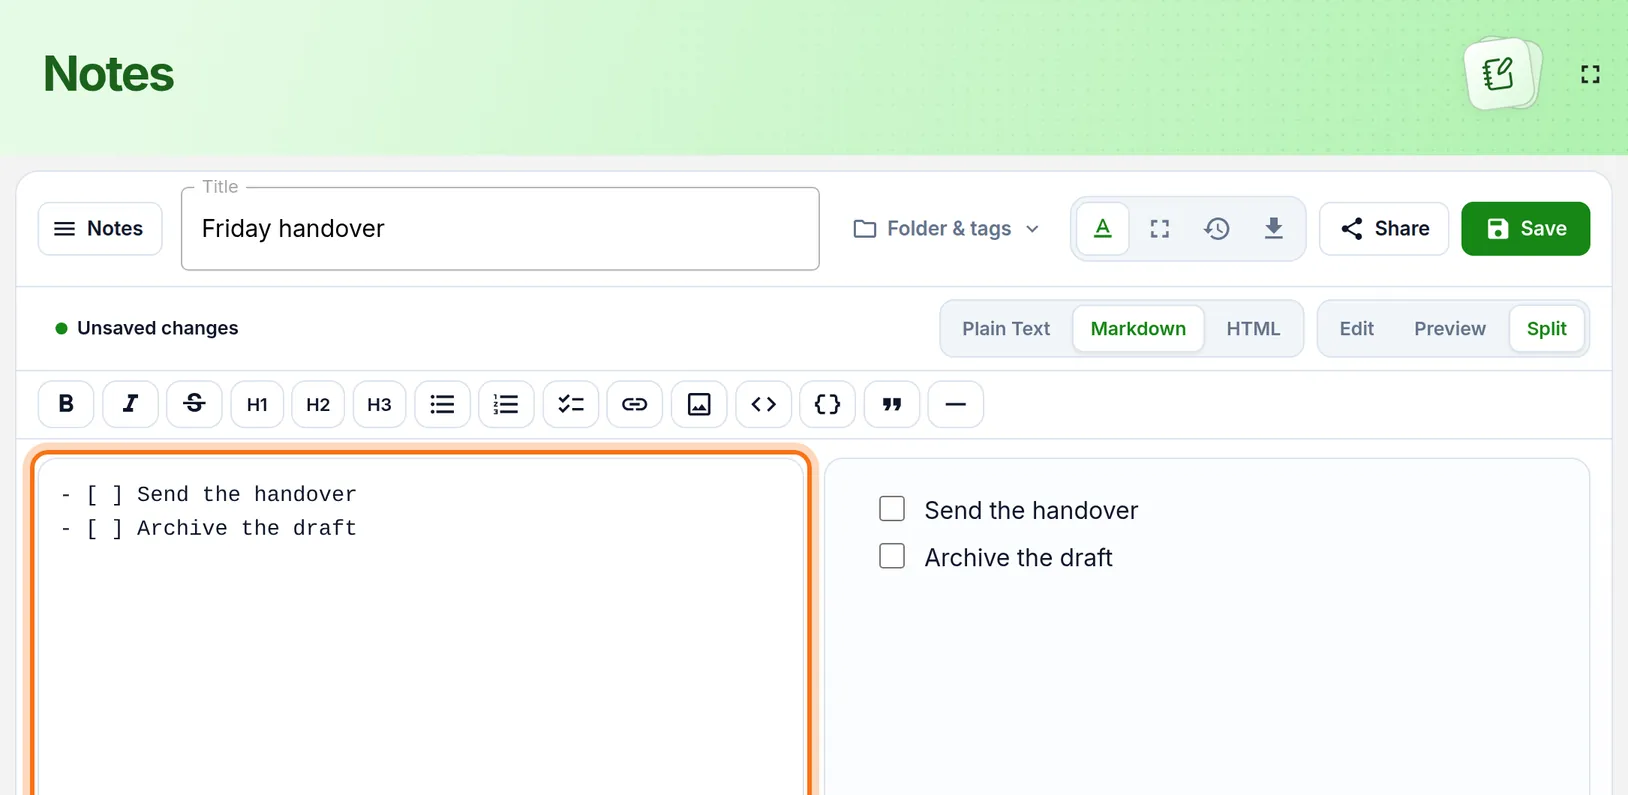
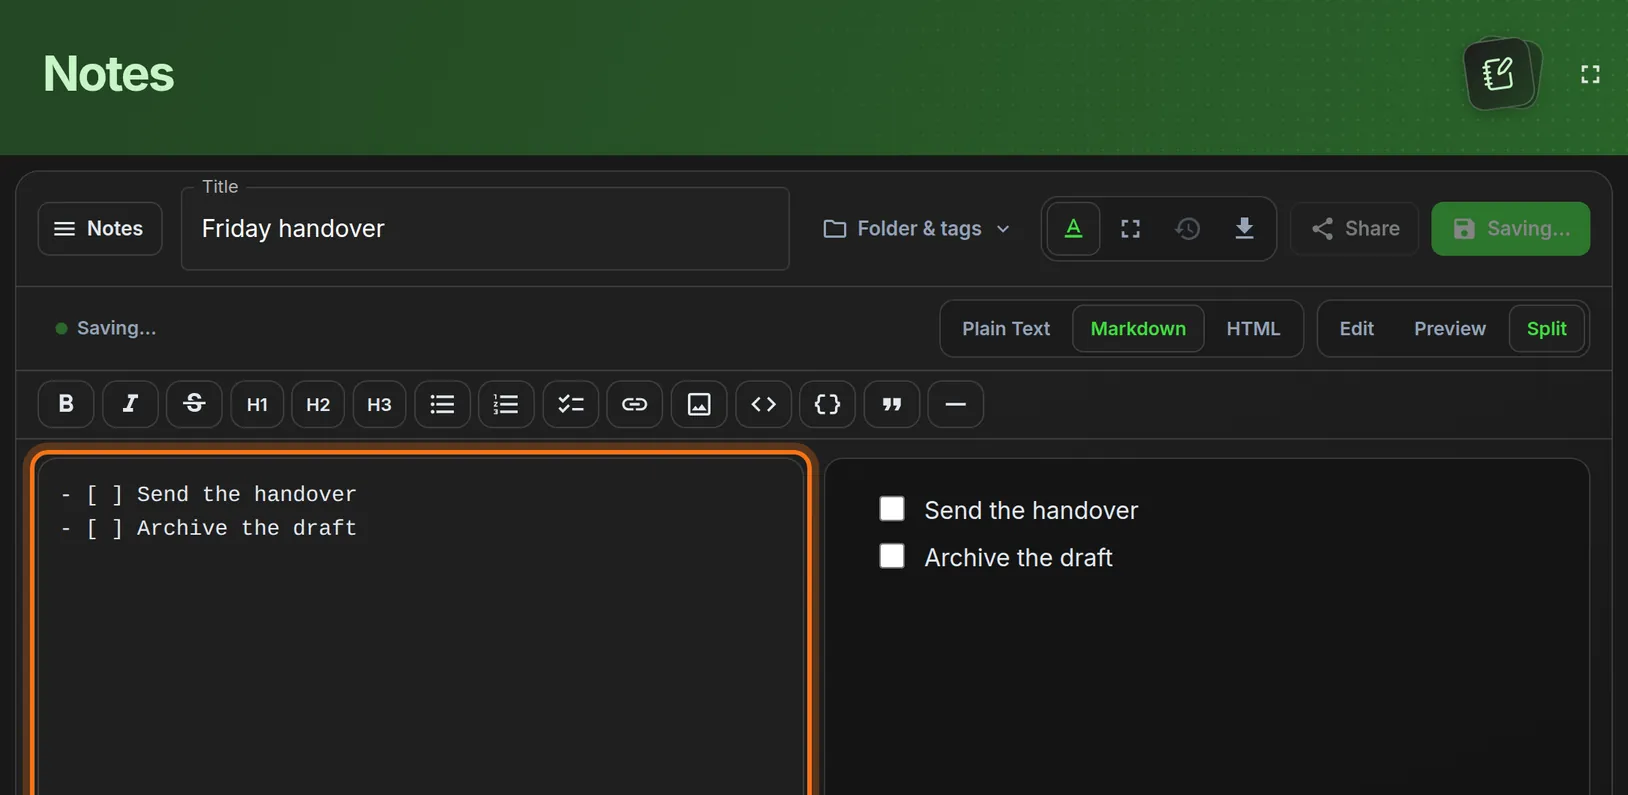
- Type a dash, a space, an opening bracket, a space, a closing bracket, a space, and then the task: - [ ] Send the handover
- Press Enter. HashThat starts the next line with - [ ] for you.
- Type the second task: Archive the draft
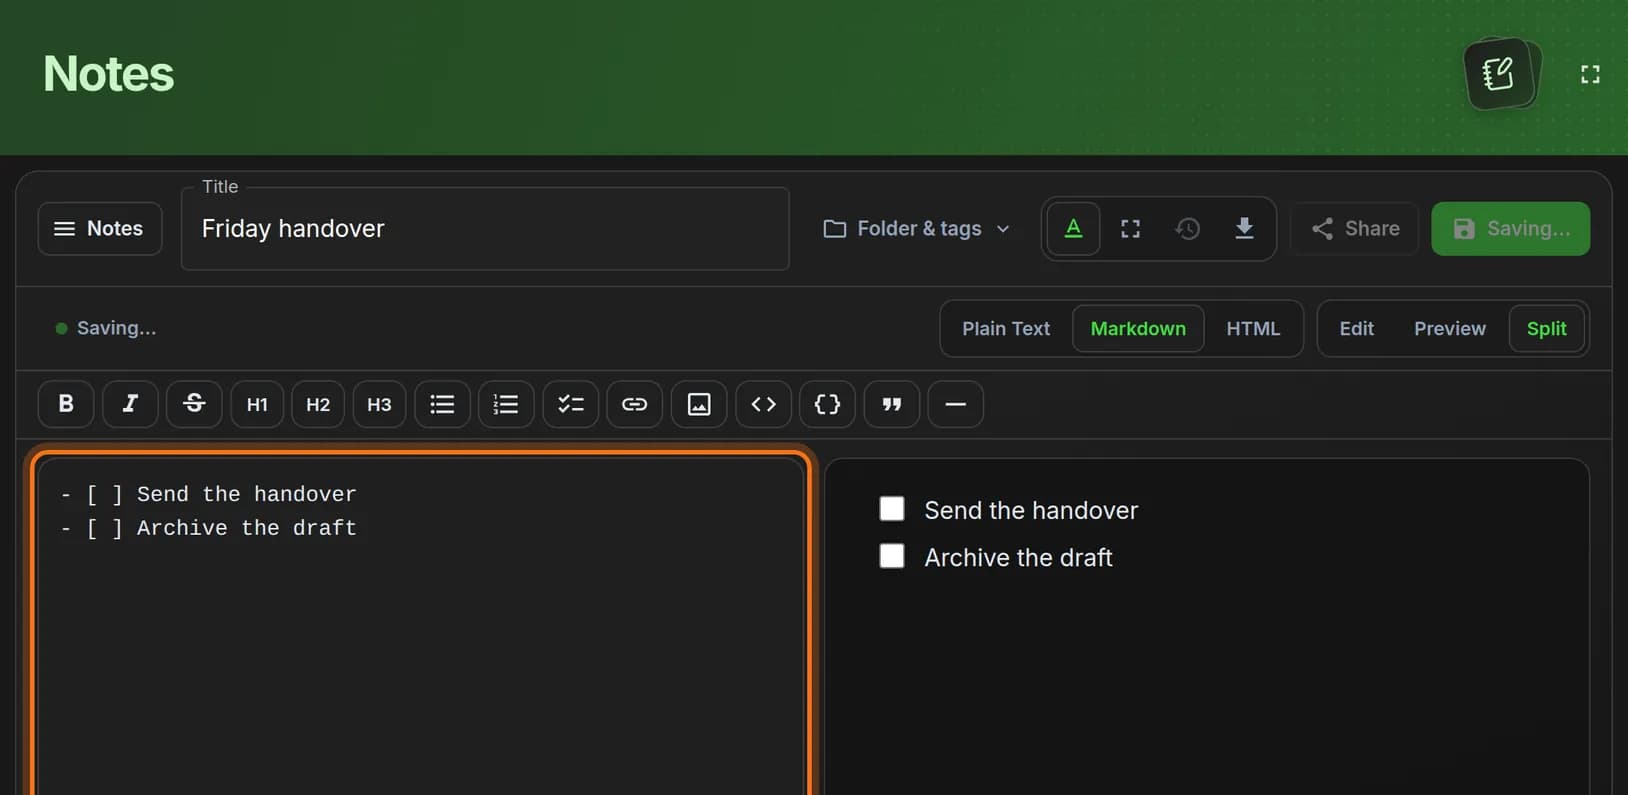
You should see: Two tasks with empty checkboxes in the preview on the right.
 Full size
 Full size
Each line on the left becomes one checkbox on the right. Prefer a button? The checklist icon in the toolbar inserts - [ ] for you.
Step 6: Tick off a task
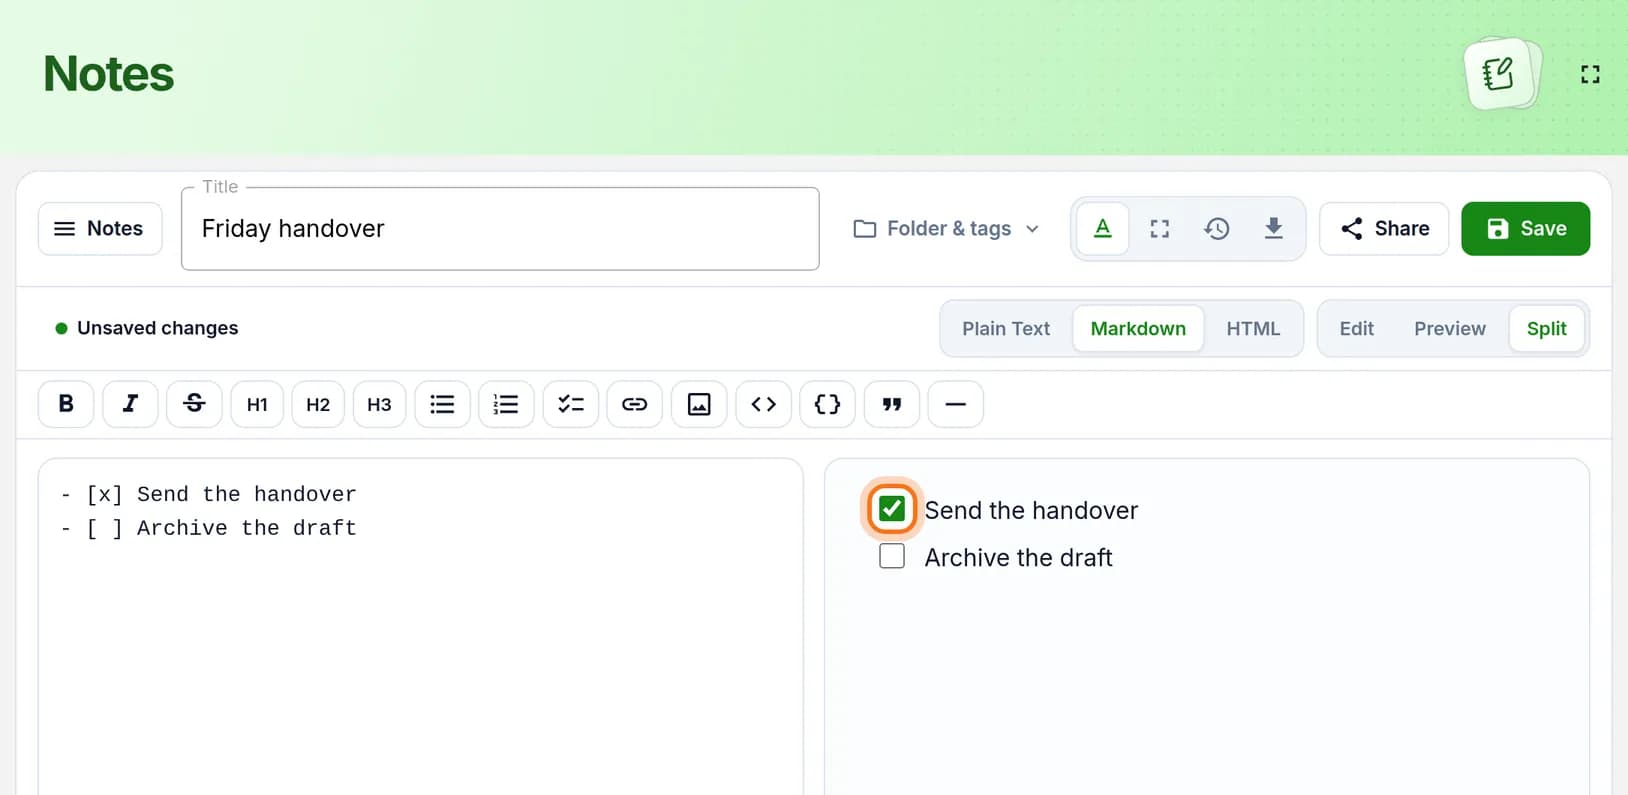
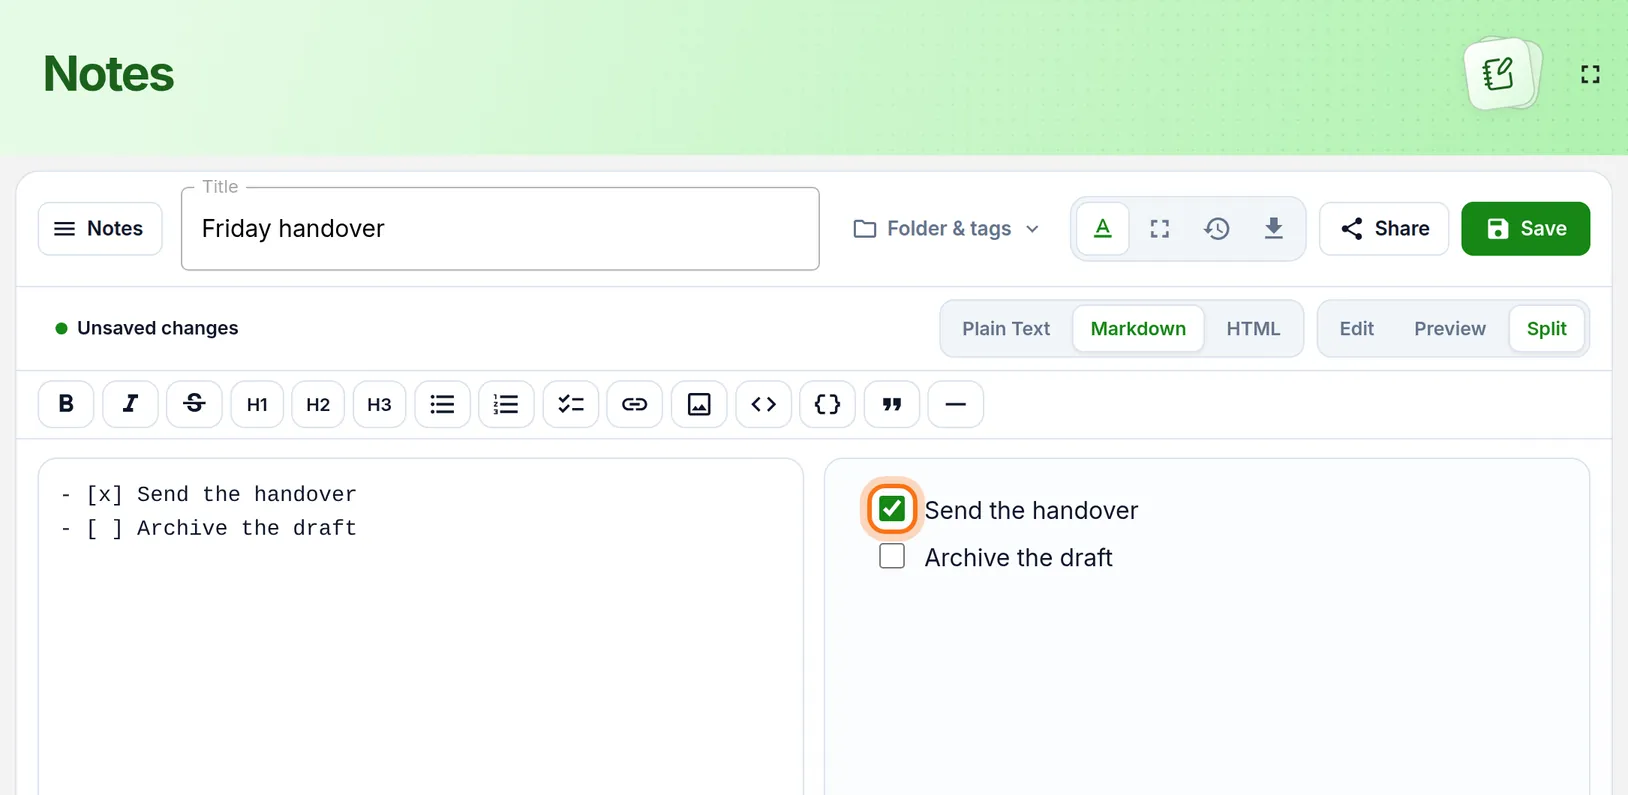
- In the preview on the right, click the checkbox beside Send the handover.
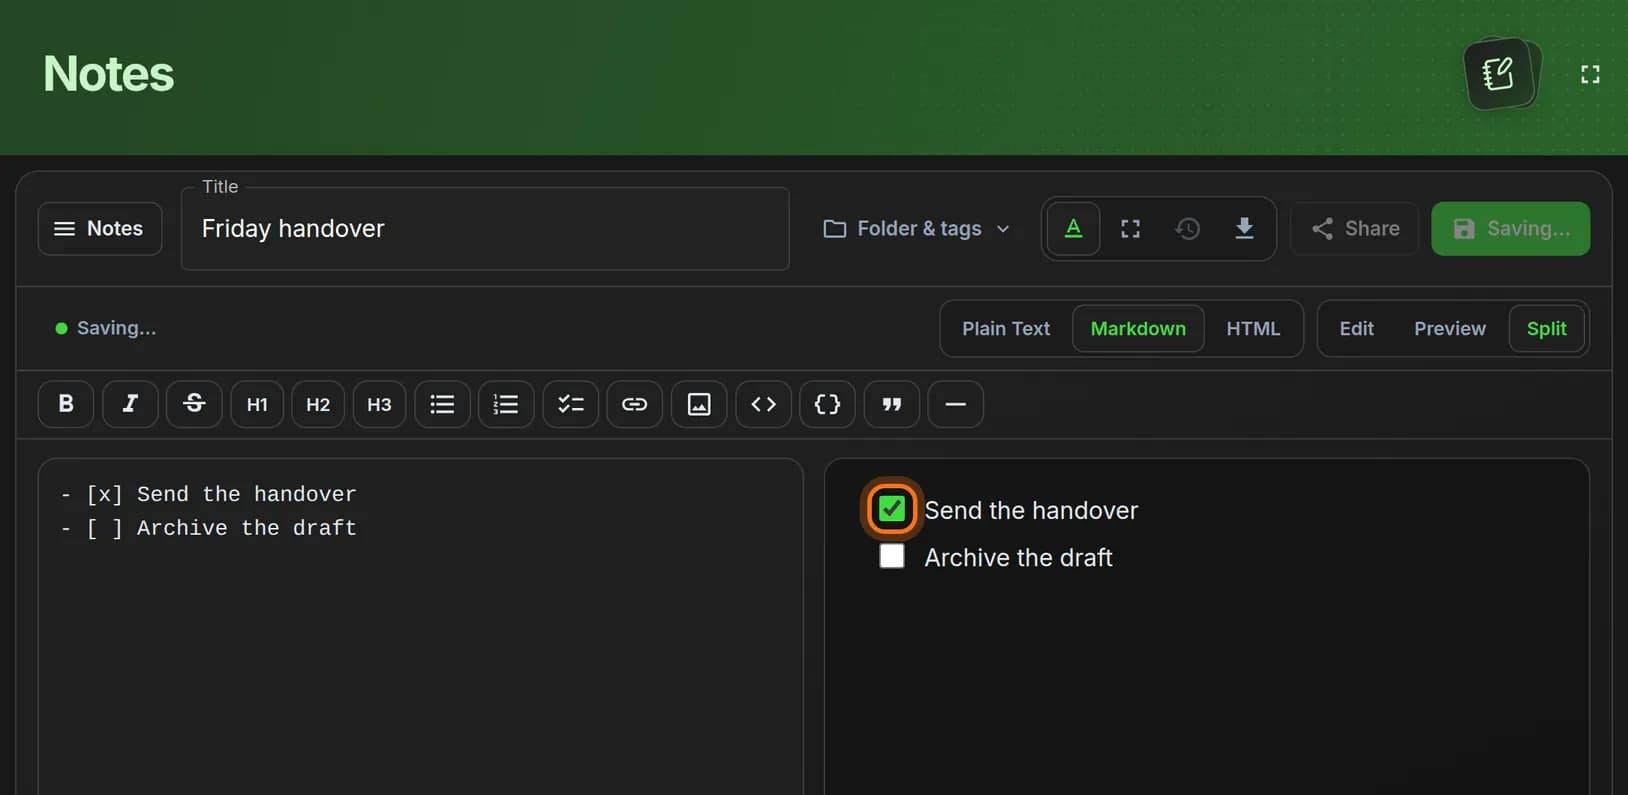
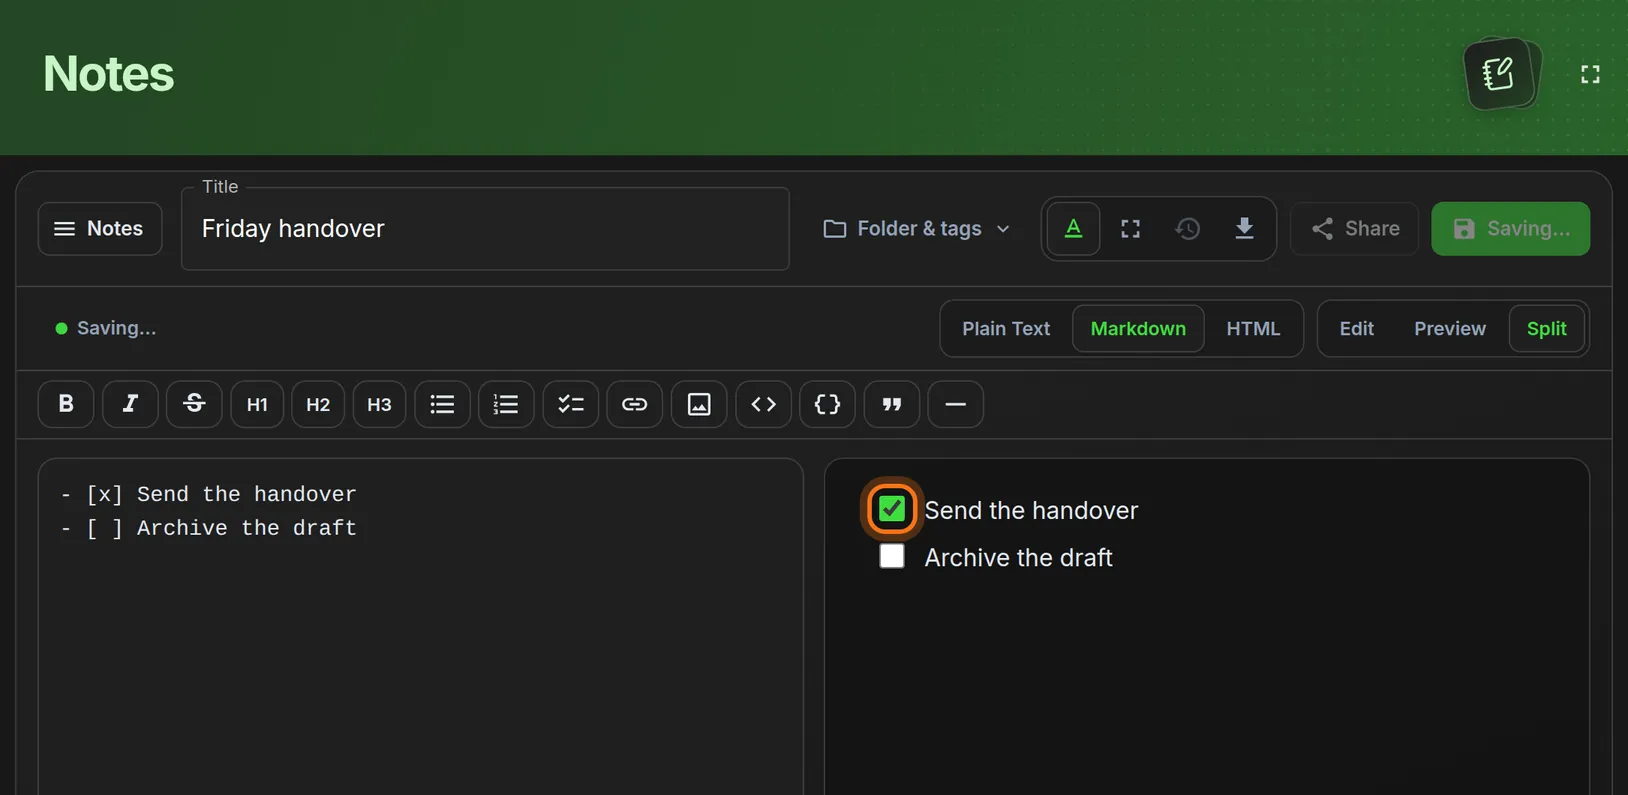
You should see: A tick in the box. On the left, the line changes to - [x] Send the handover.
 Full size
 Full size
Ticking the box changes the text for you. Click again to untick. Step 7: Save the note
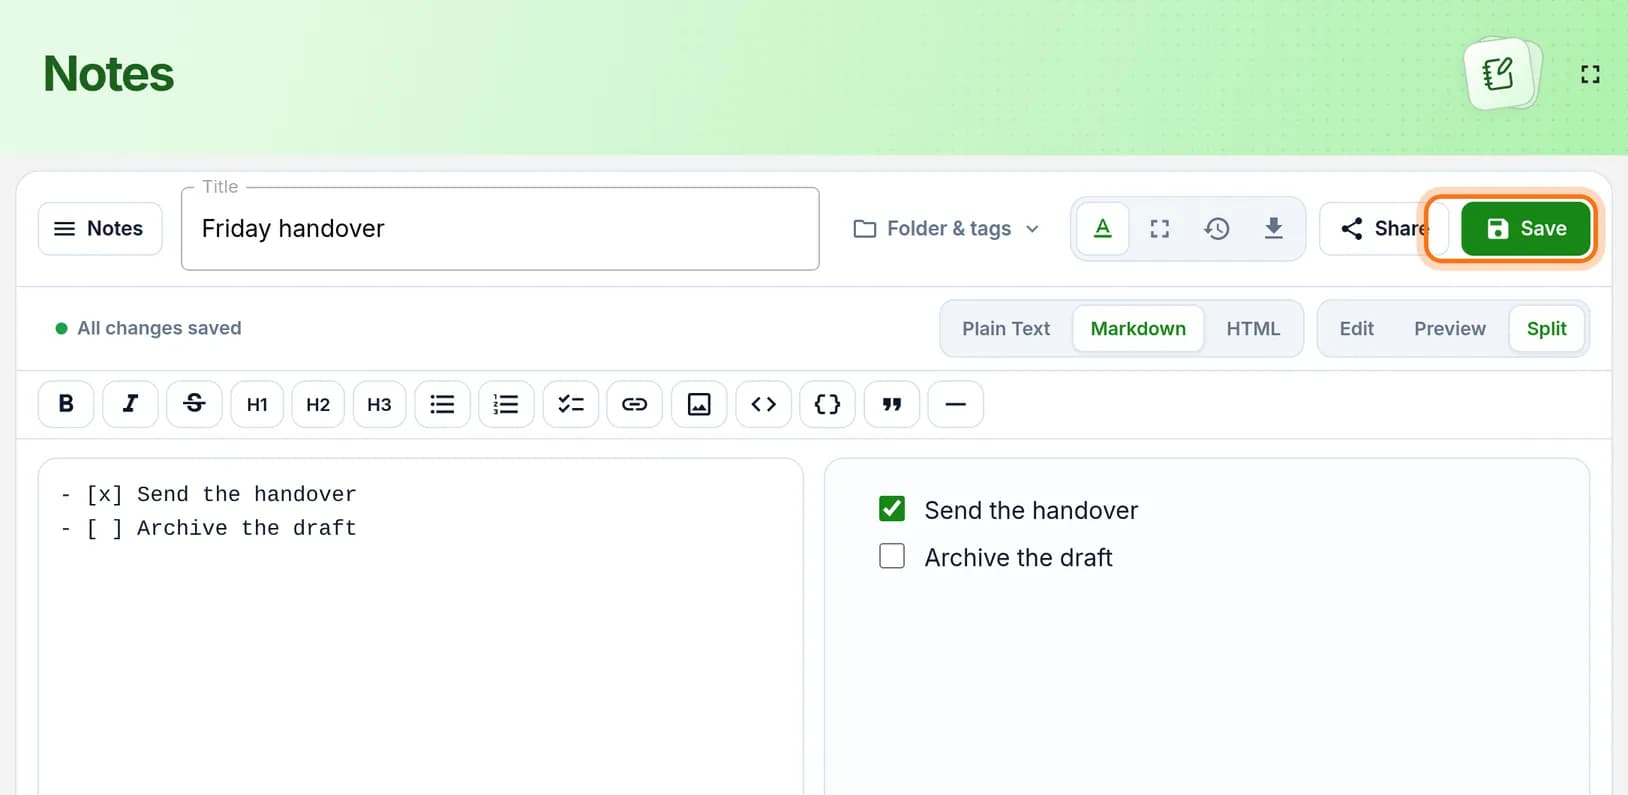
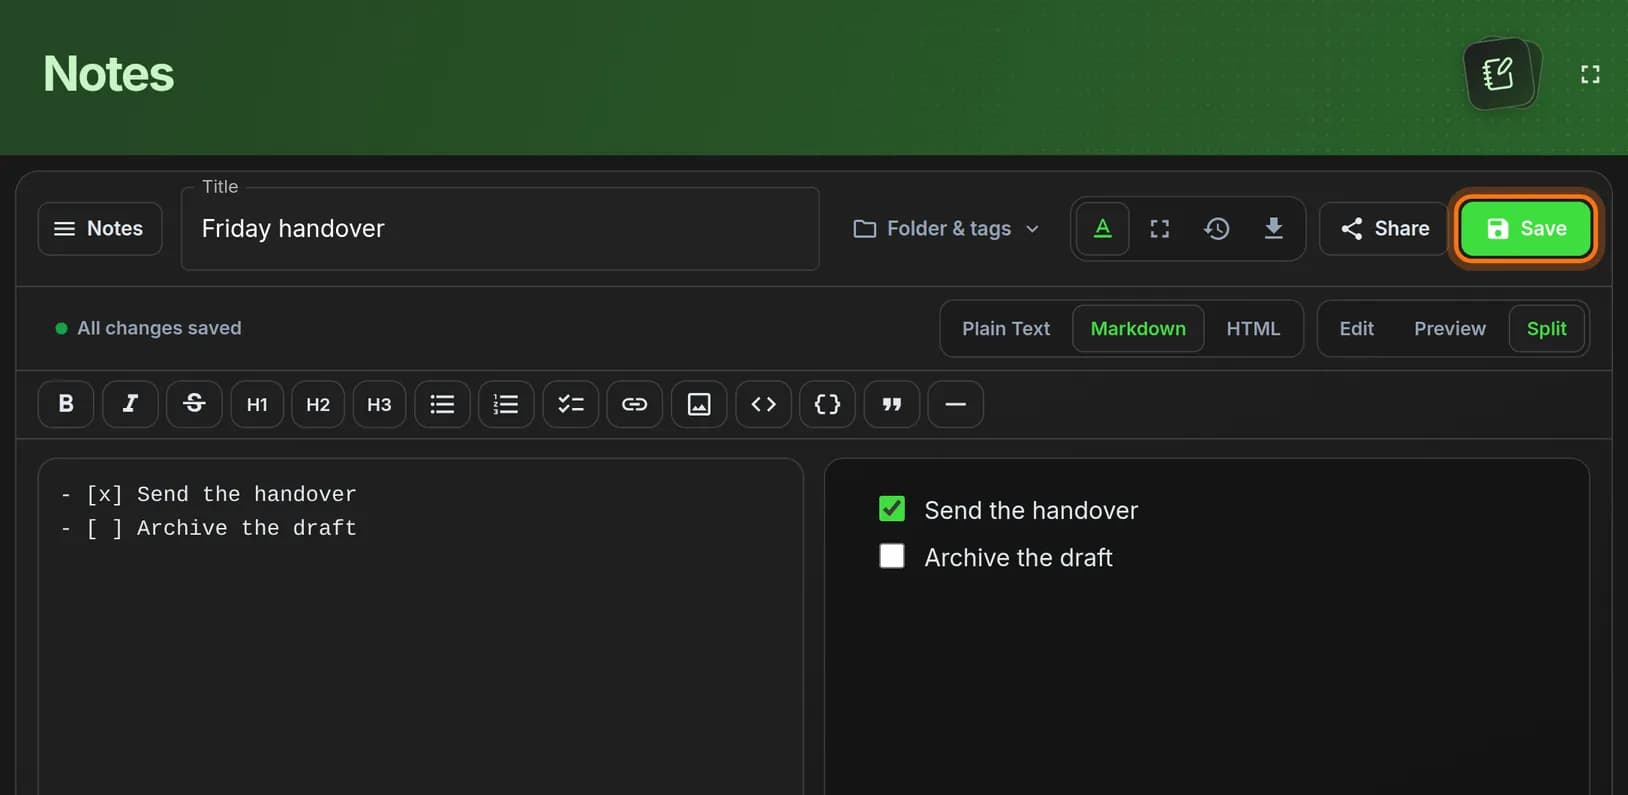
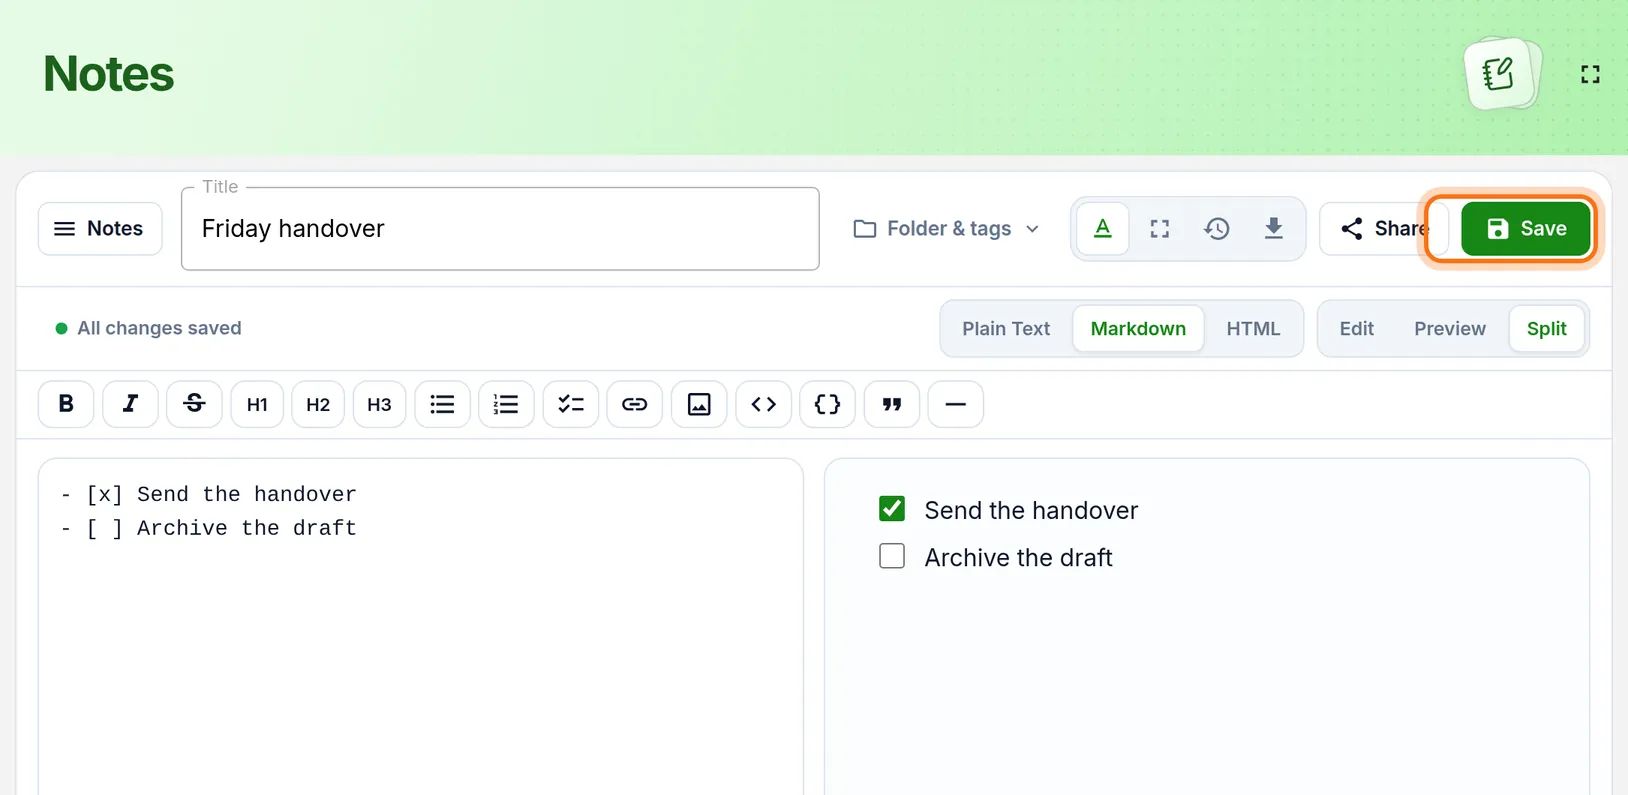
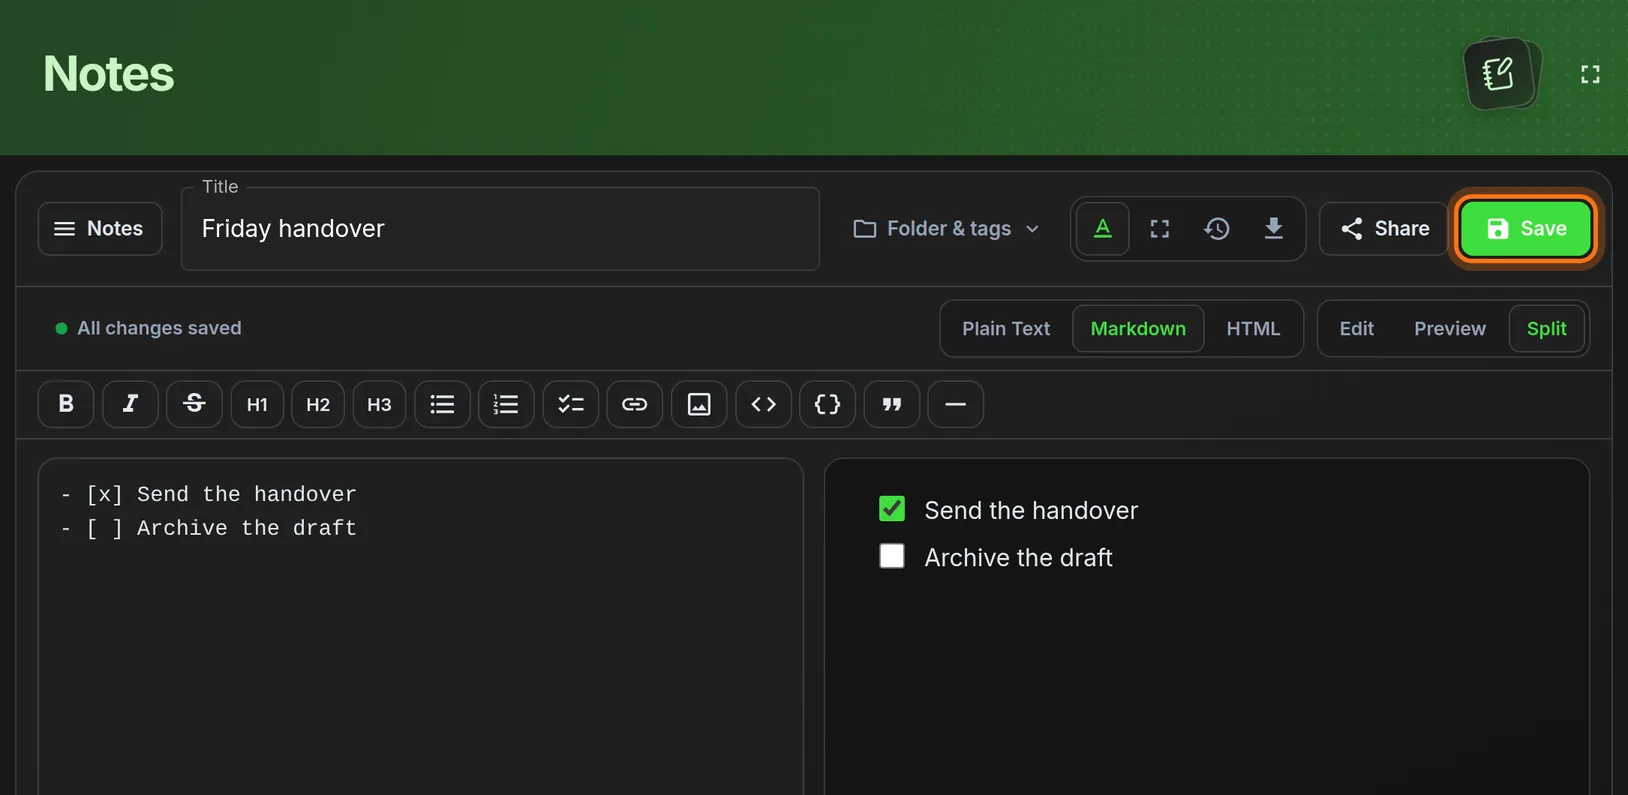
- Click the green Save button at the top right.
You should see: The status under the title reads All changes saved.
 Full size
 Full size
HashThat also saves a titled note for you shortly after you stop typing. Step 8: Confirm it is saved
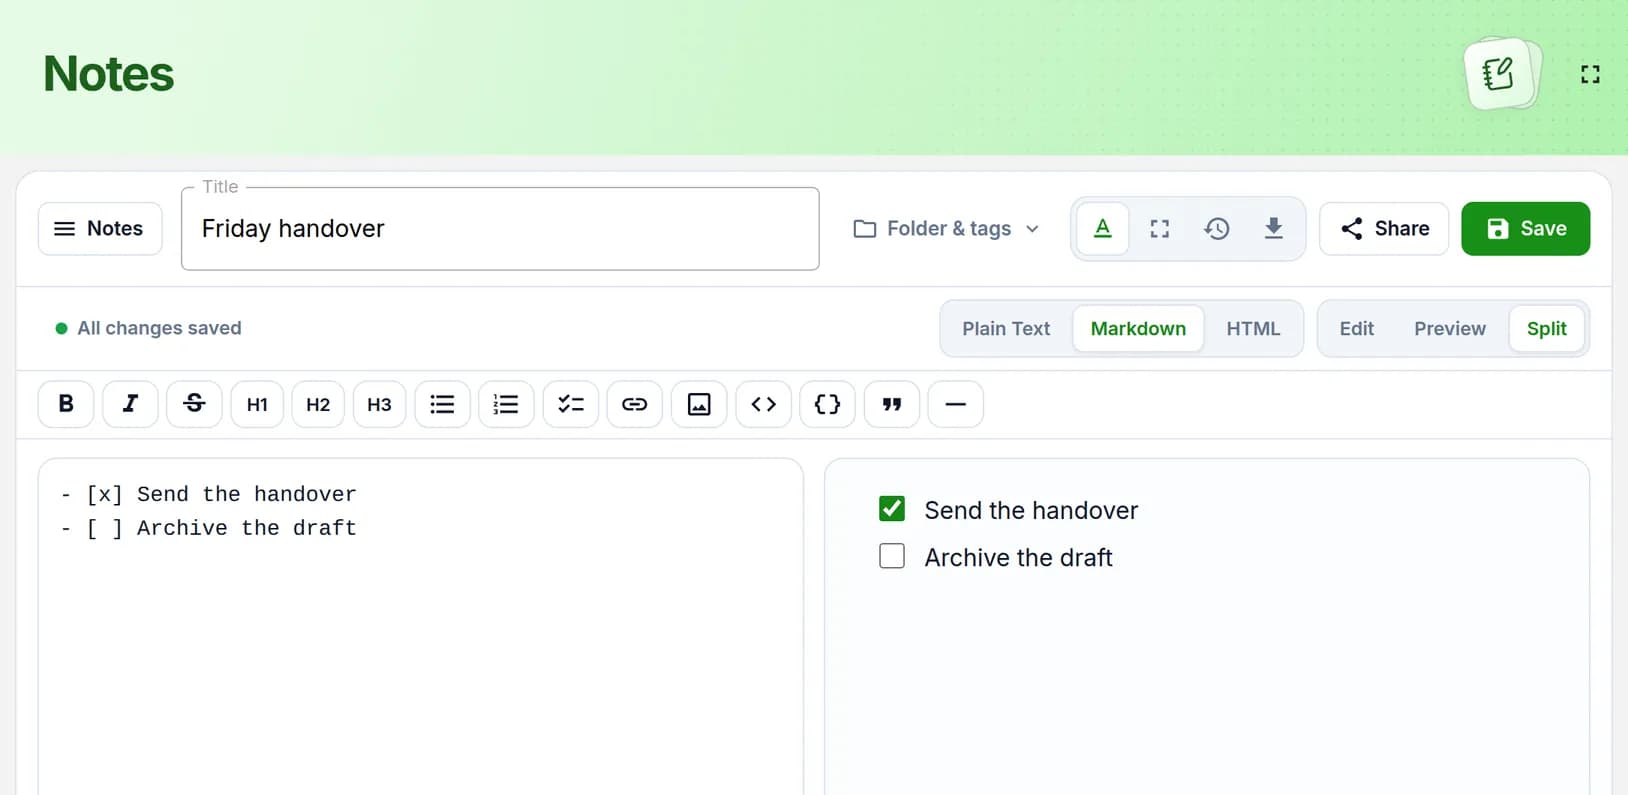
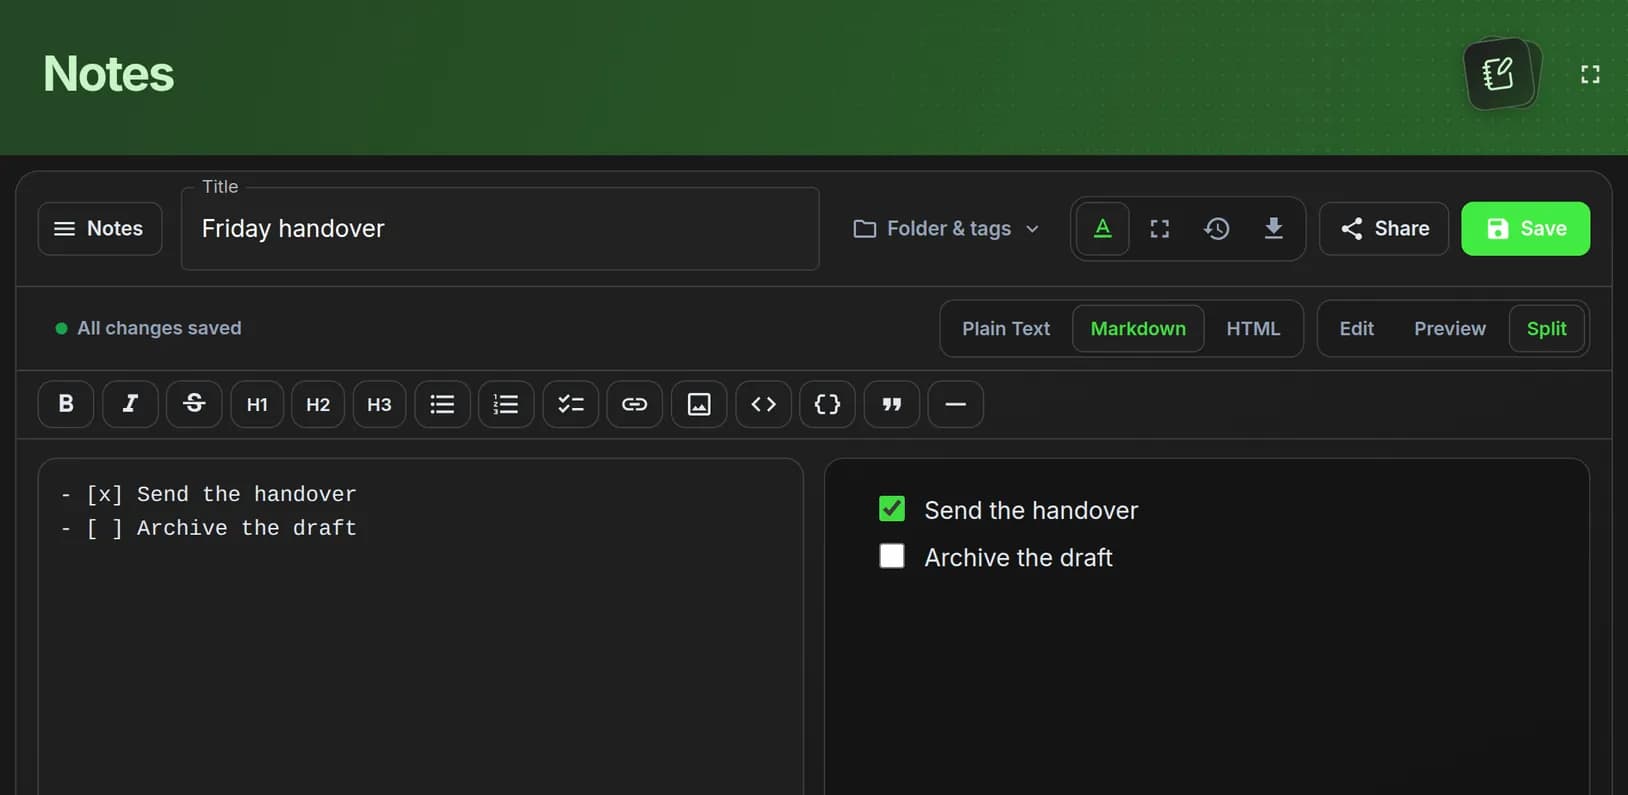
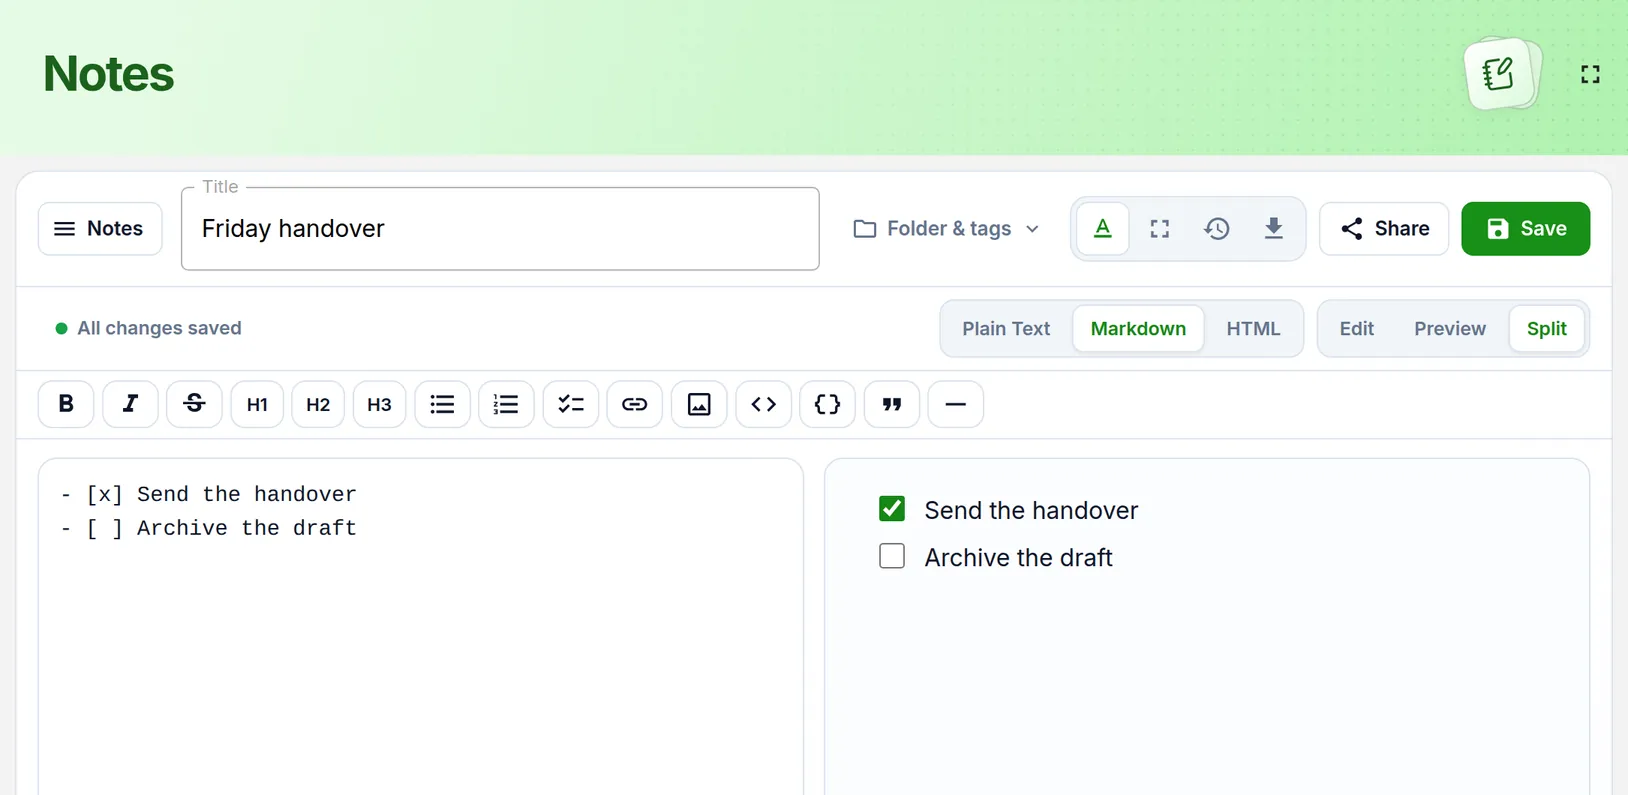
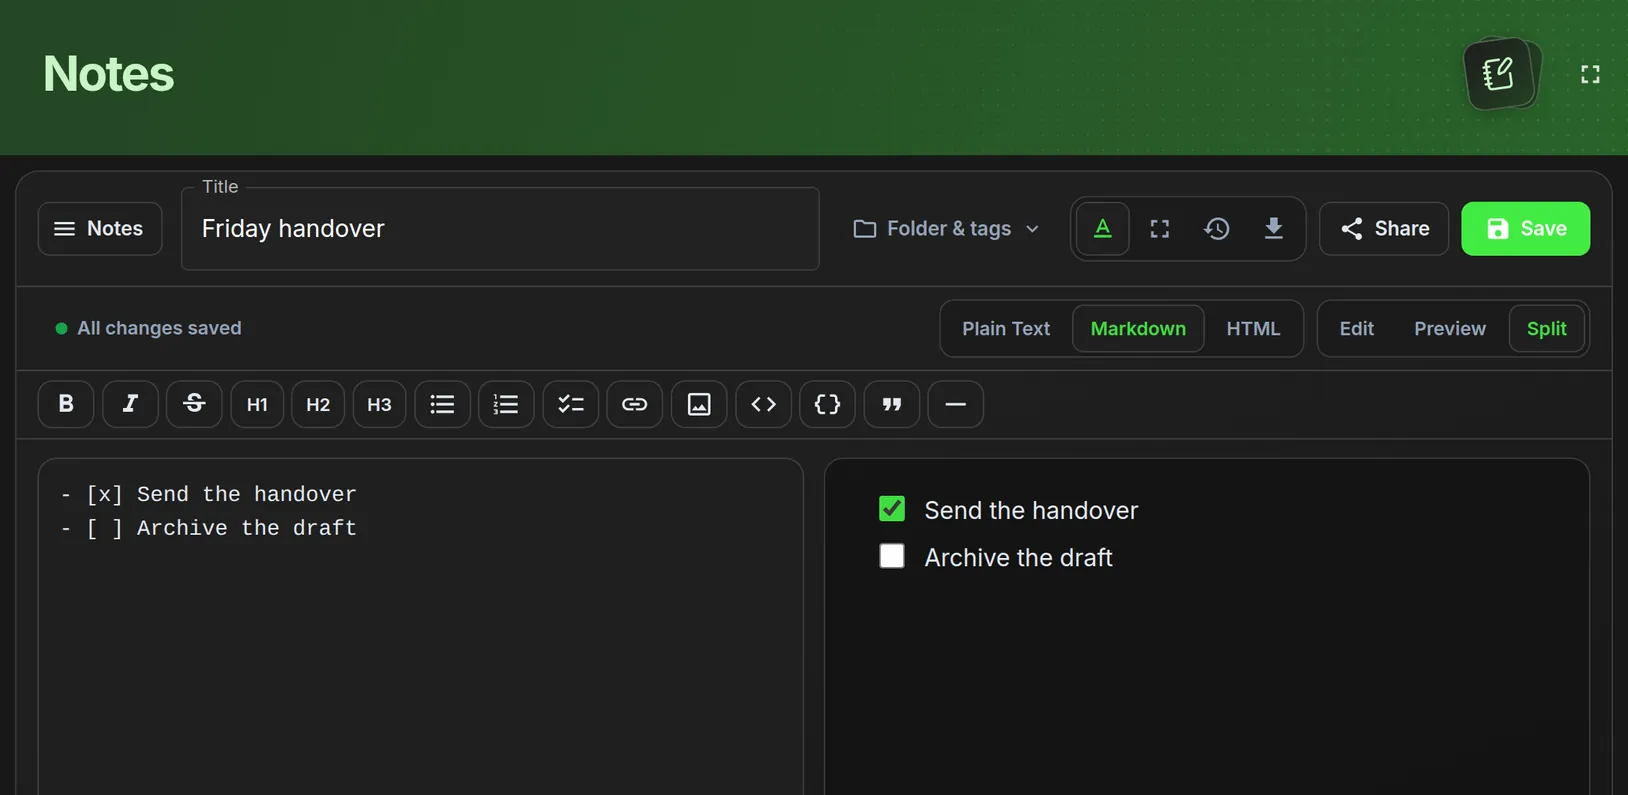
- Read the status line under the title. It should say All changes saved.
- Read the bar at the bottom of the note. Saved shows today’s date and time.
 Full size
 Full size
Your checklist is now stored in your encrypted notes.
Check it worked
- The note’s status reads All changes saved.
- Open Search Notes from the menu. A card with your title is there.
- Open the note again. The first task is still ticked and the second is still empty.
If something looks different
My line shows as plain text, not a checkbox
Check the spaces. It must be a dash, a space, [, a space, ], a space, then the task. The note must also be in Markdown mode.
I cannot see the preview
Click Split to see both sides, or Preview to see only the finished note.
The Markdown button is locked
Markdown for personal notes is part of Notes Pro. Plain-text notes work on the free plan, but they do not have checkboxes.
Tip: To add a heading above your list, start a line with two hash signs and a space, like ## Before I leave.