Create many short links from a spreadsheet
Fill in a spreadsheet with one web address per row and import it to get a short link for each.
- 7 steps
- About 7 minutes
Before you start
- Links Pro for an import into your personal links, or a business vault you are allowed to add links to.
- A spreadsheet program such as Excel, Numbers or Google Sheets.
- The web addresses you want to shorten.
Step 1: Open Bulk Upload Links
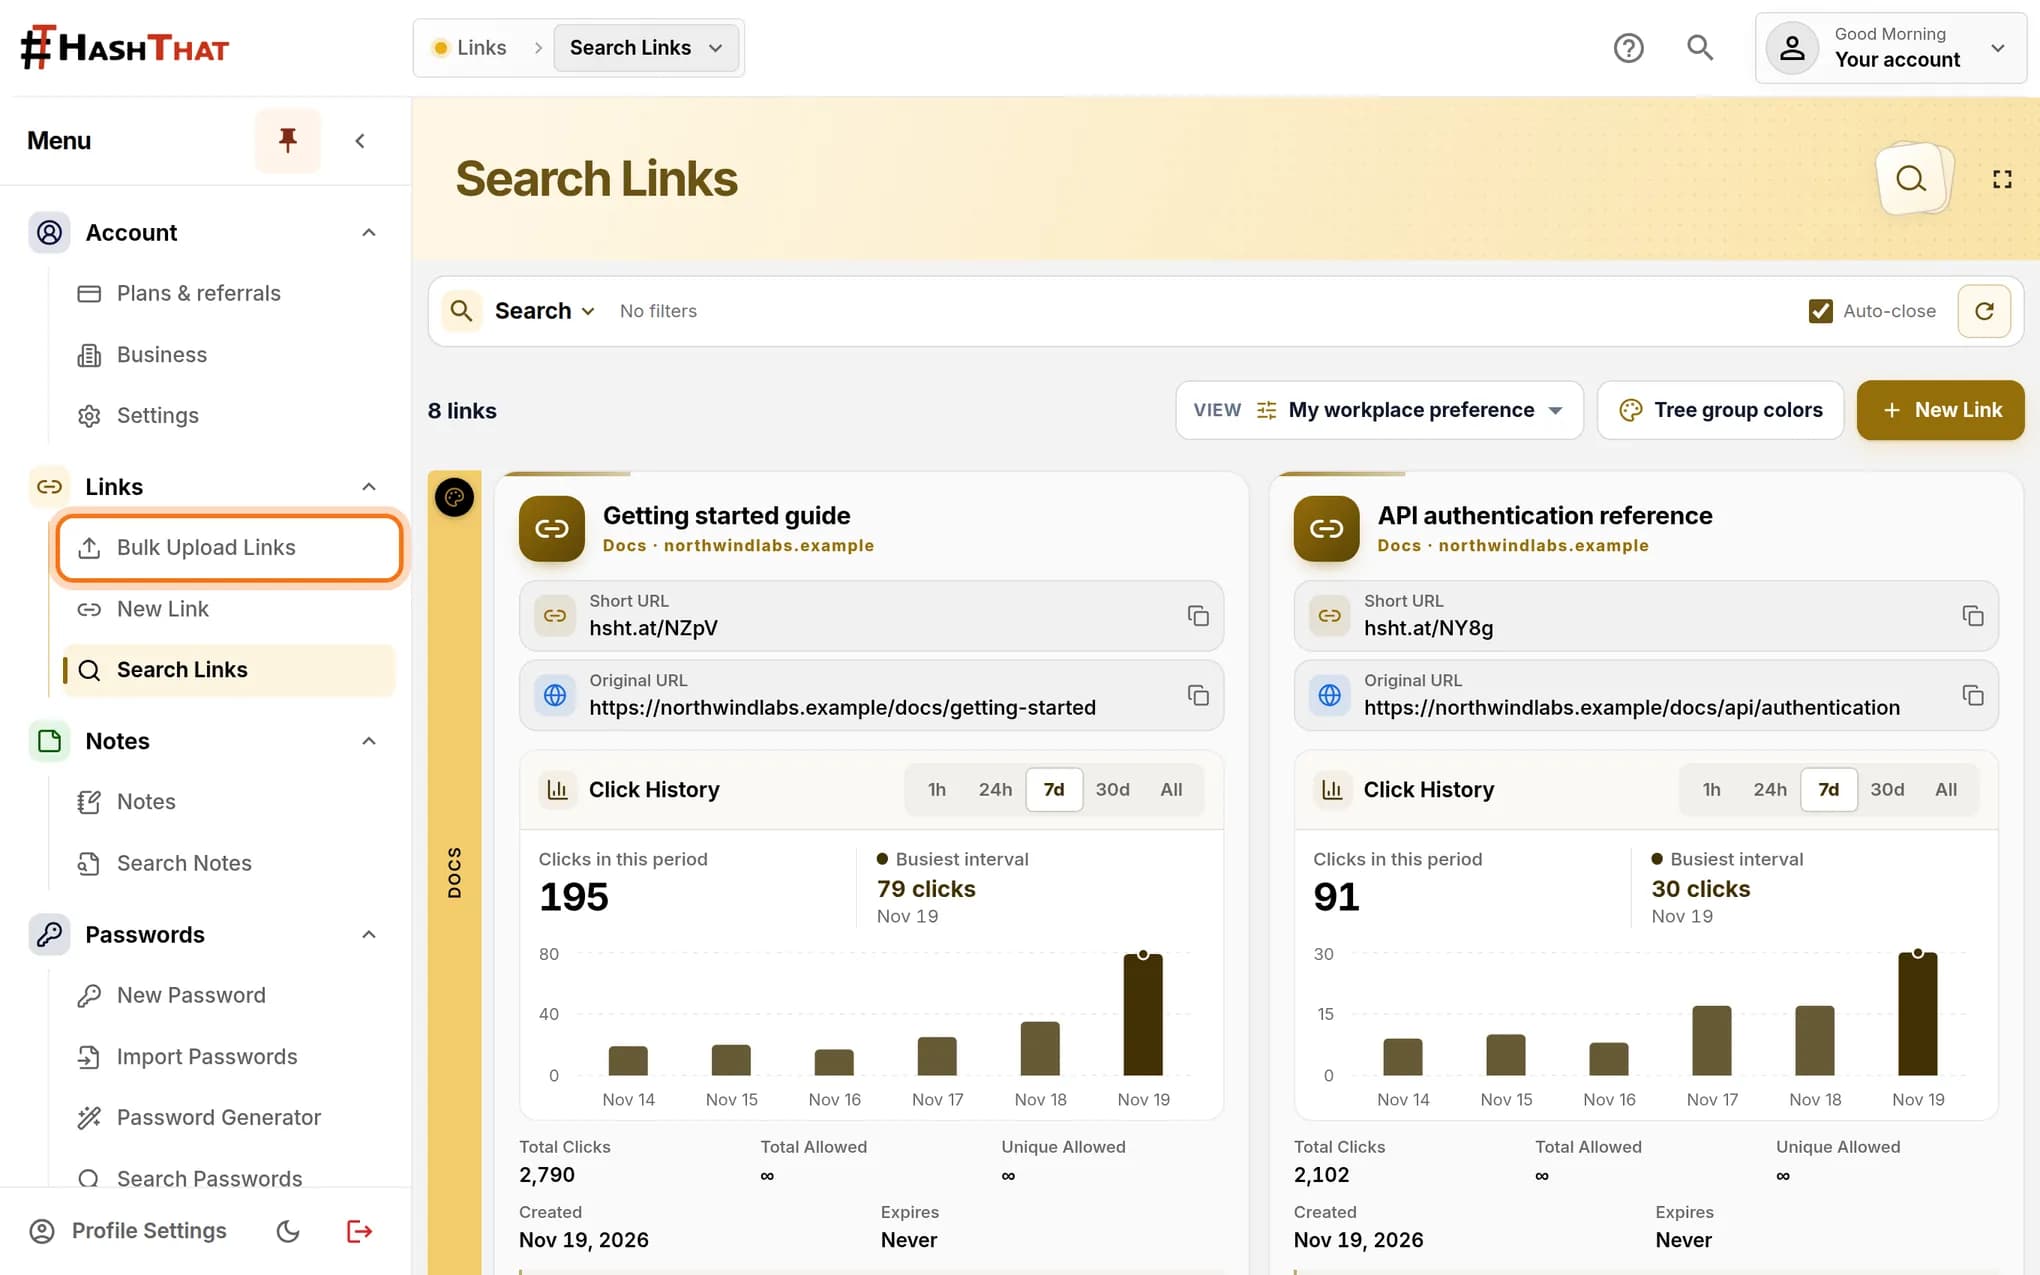
- Look at the menu on the left.
- Under Links, click Bulk Upload Links.
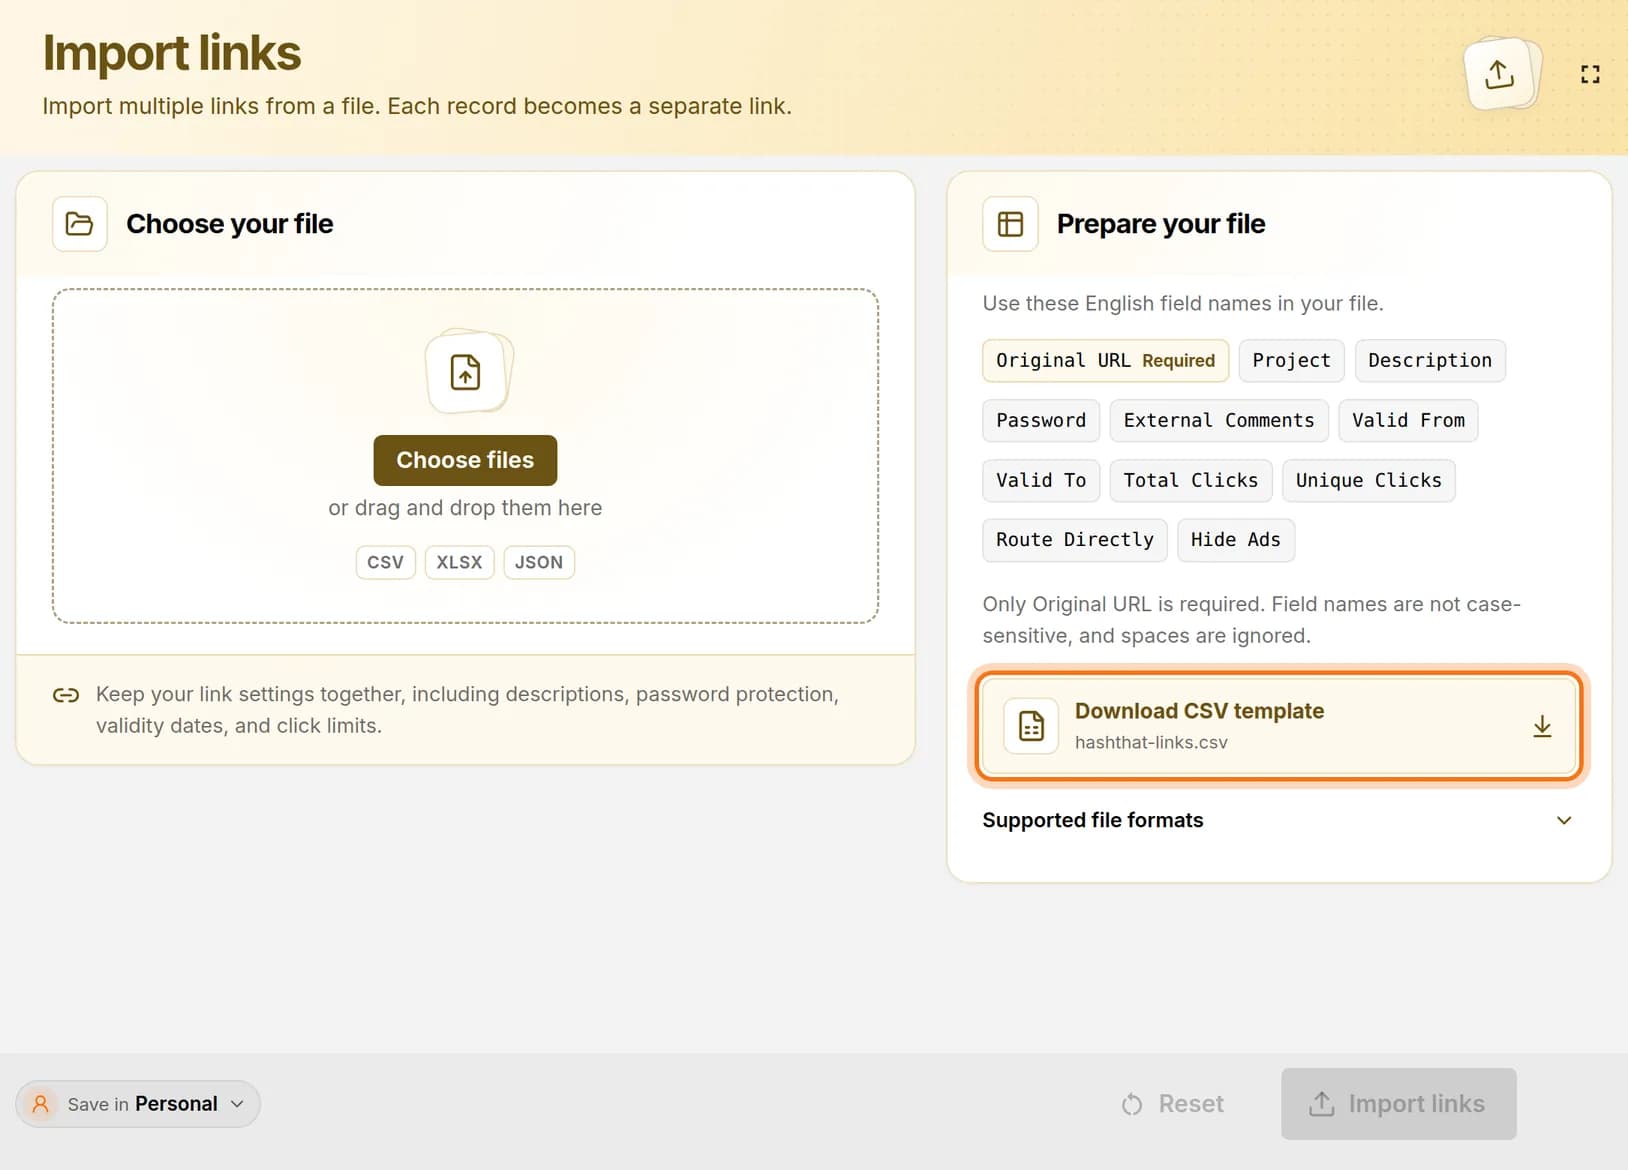
You should see: A page titled Import links with two panels: Choose your file and Prepare your file.
 Full size
 Full size
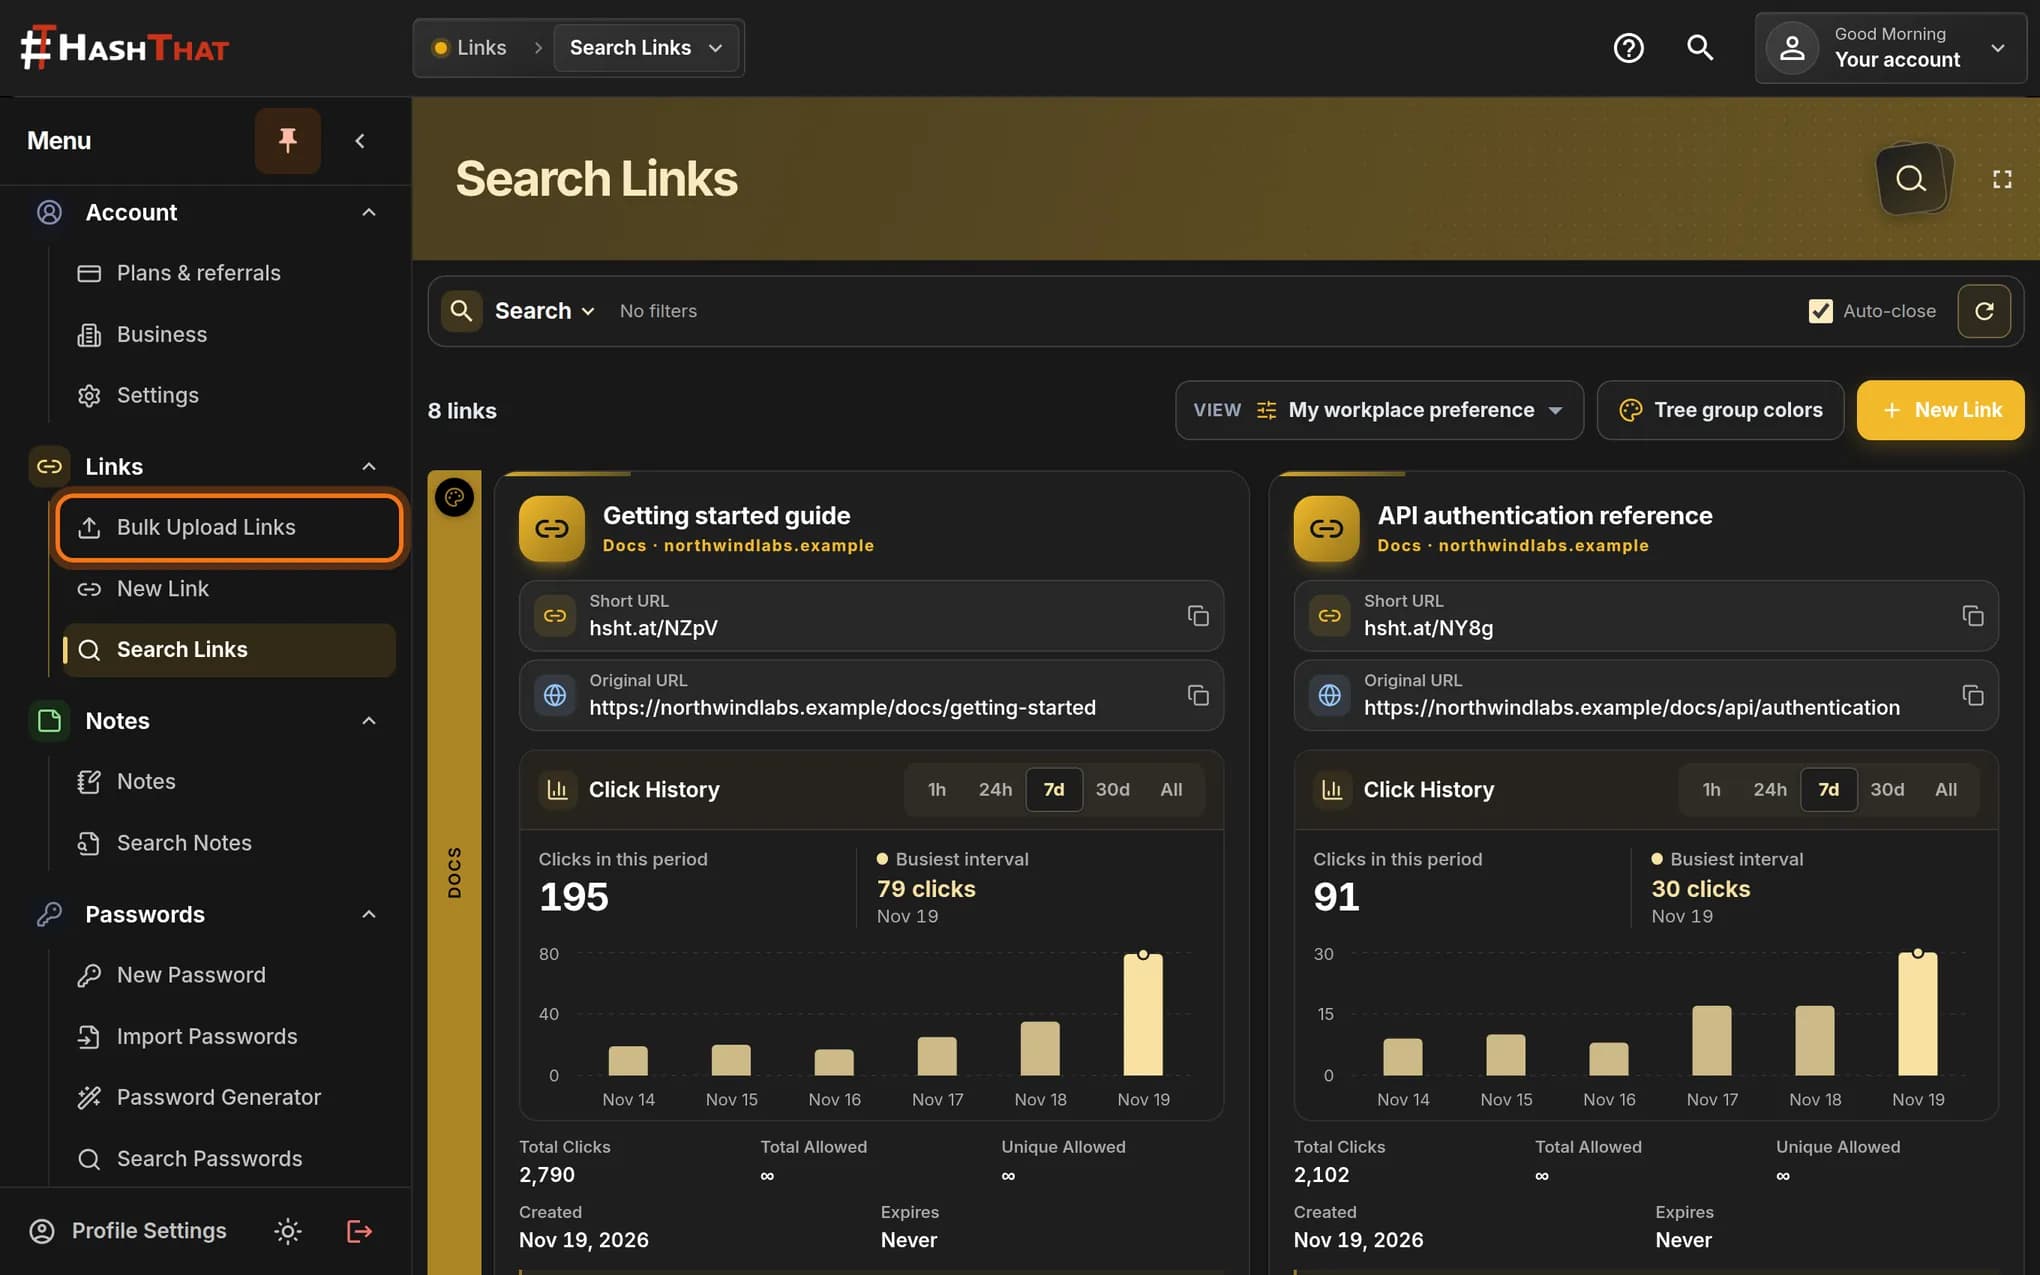
Bulk Upload Links is the first item under Links. Step 2: Download the template
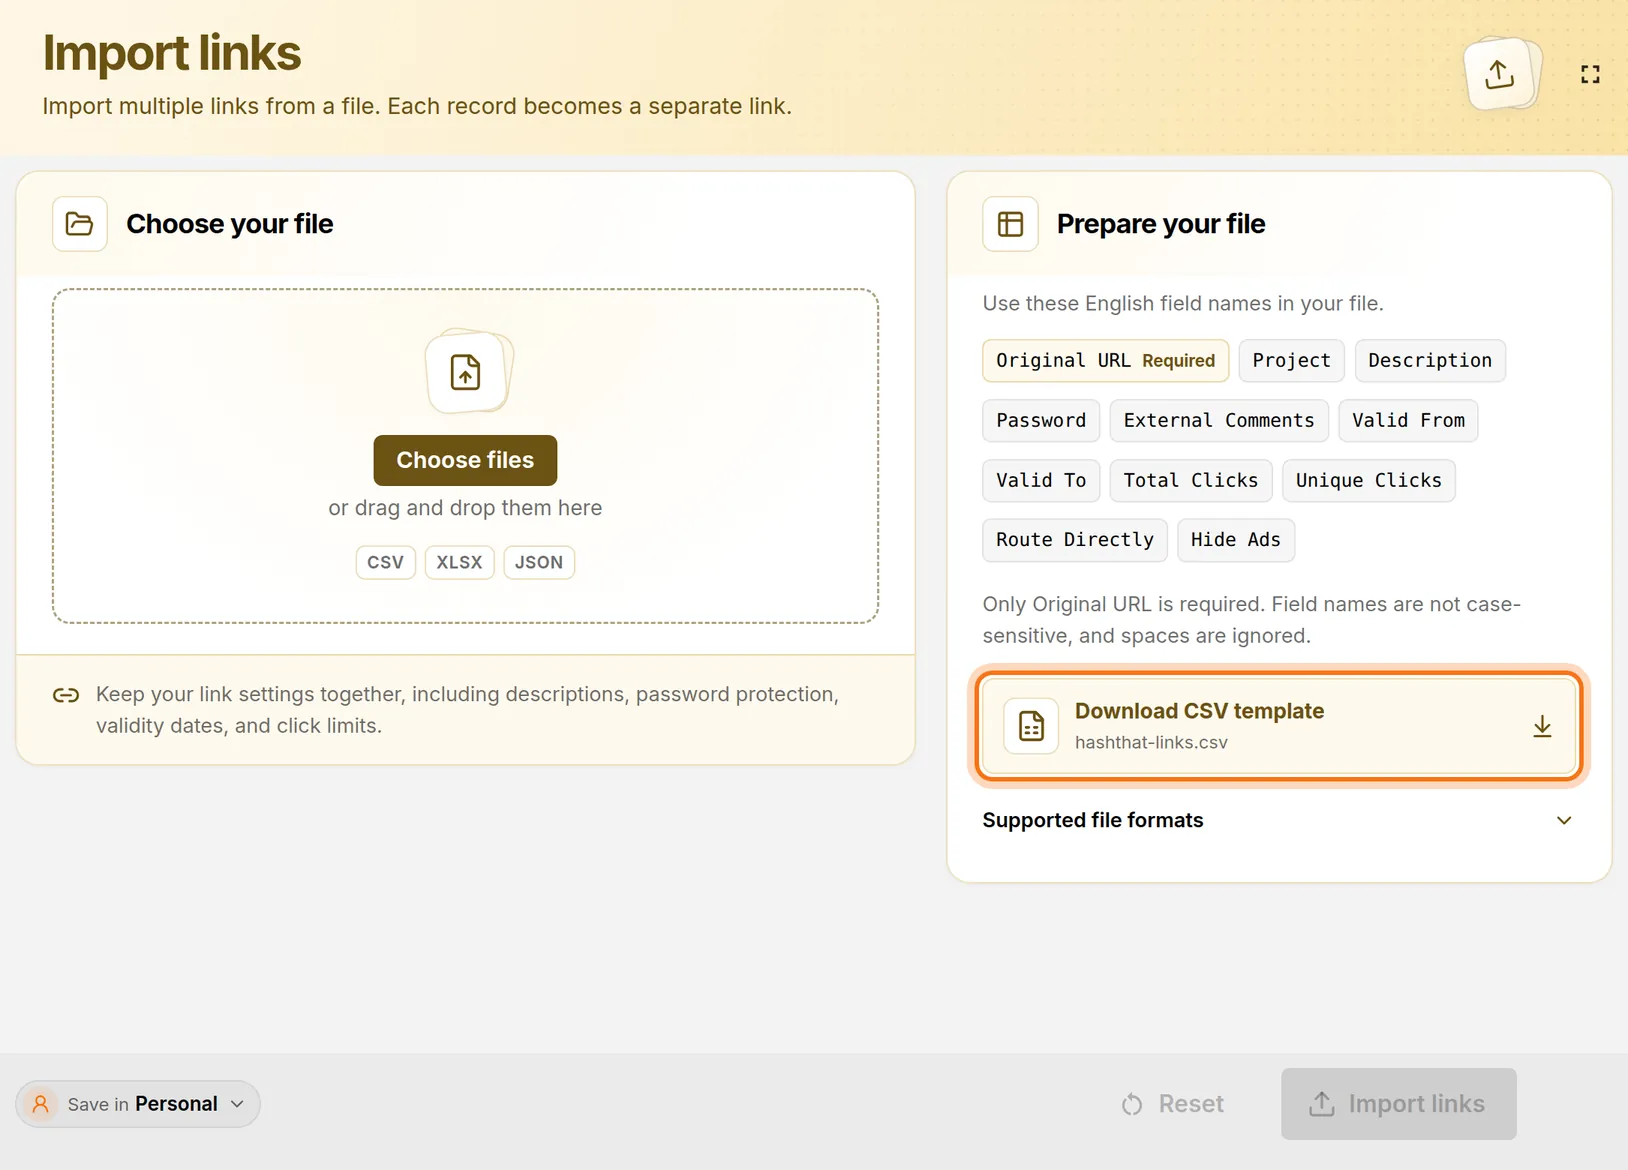
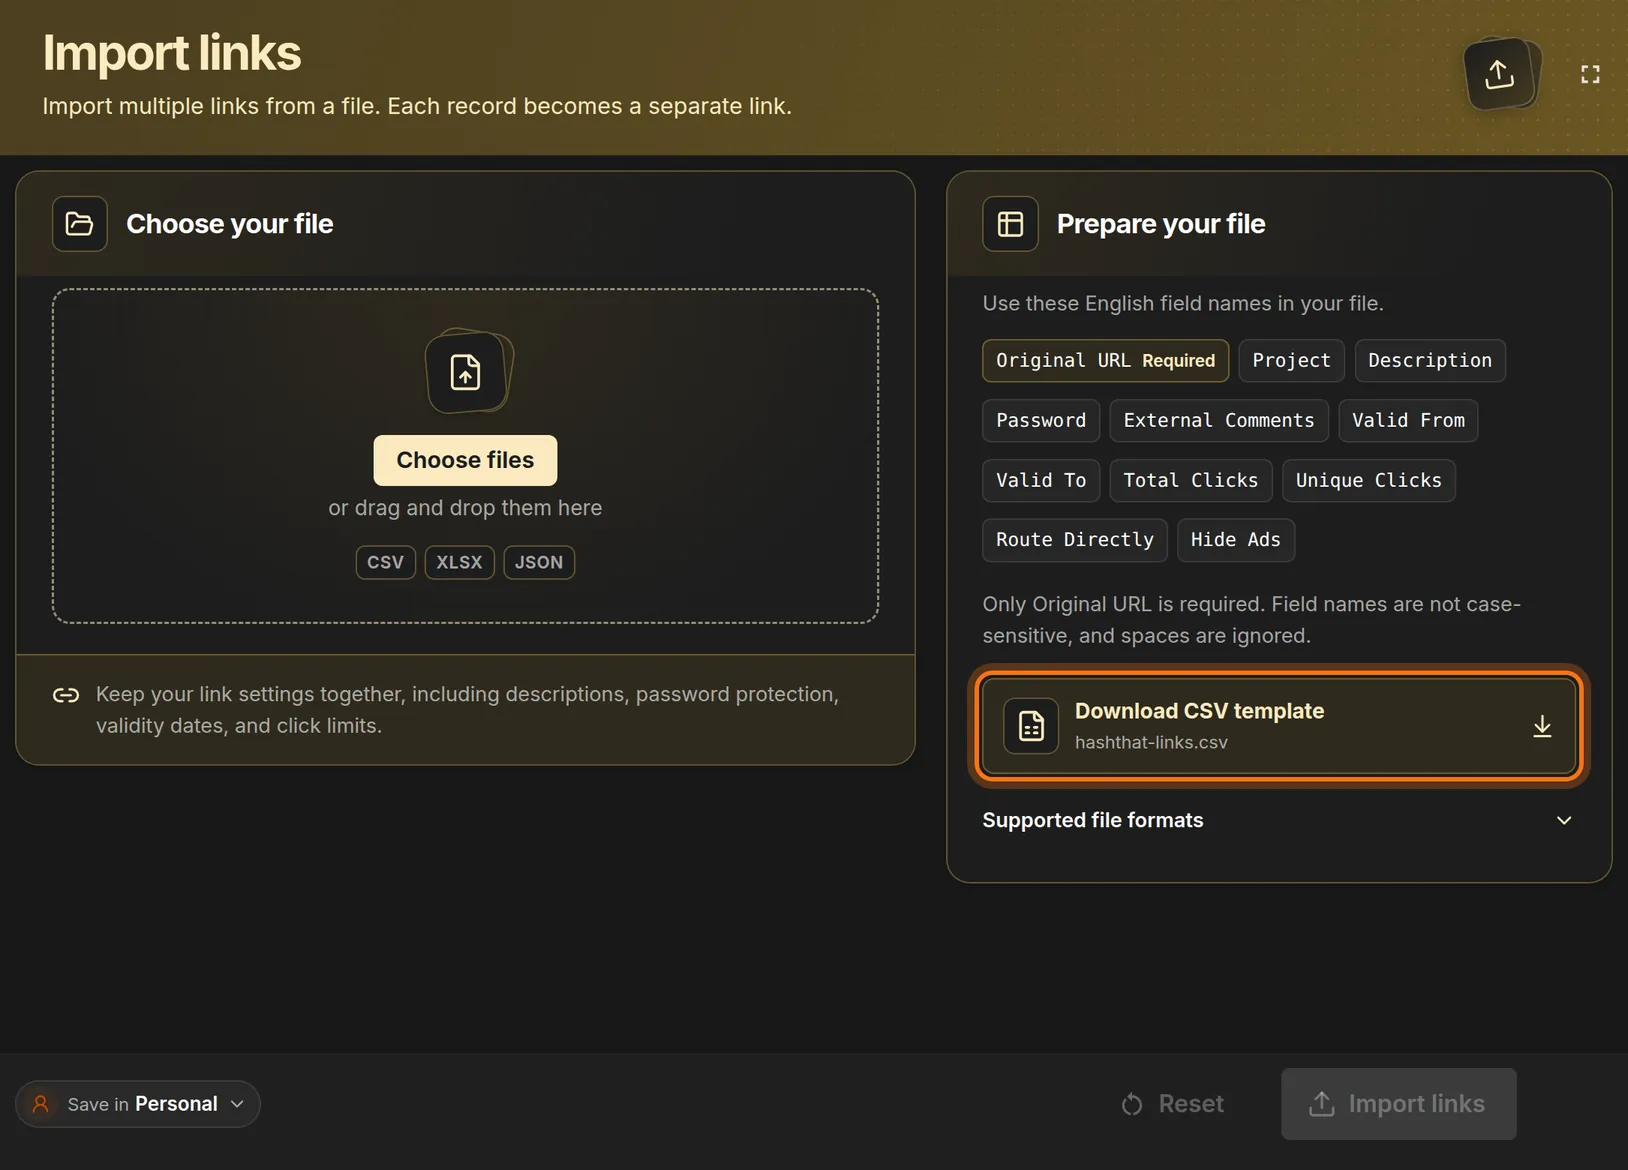
- In the Prepare your file panel, click Download CSV template.
- Your browser saves a file named hashthat-links.csv, usually in your Downloads folder.
- Open that file in your spreadsheet program.
 Full size
 Full size
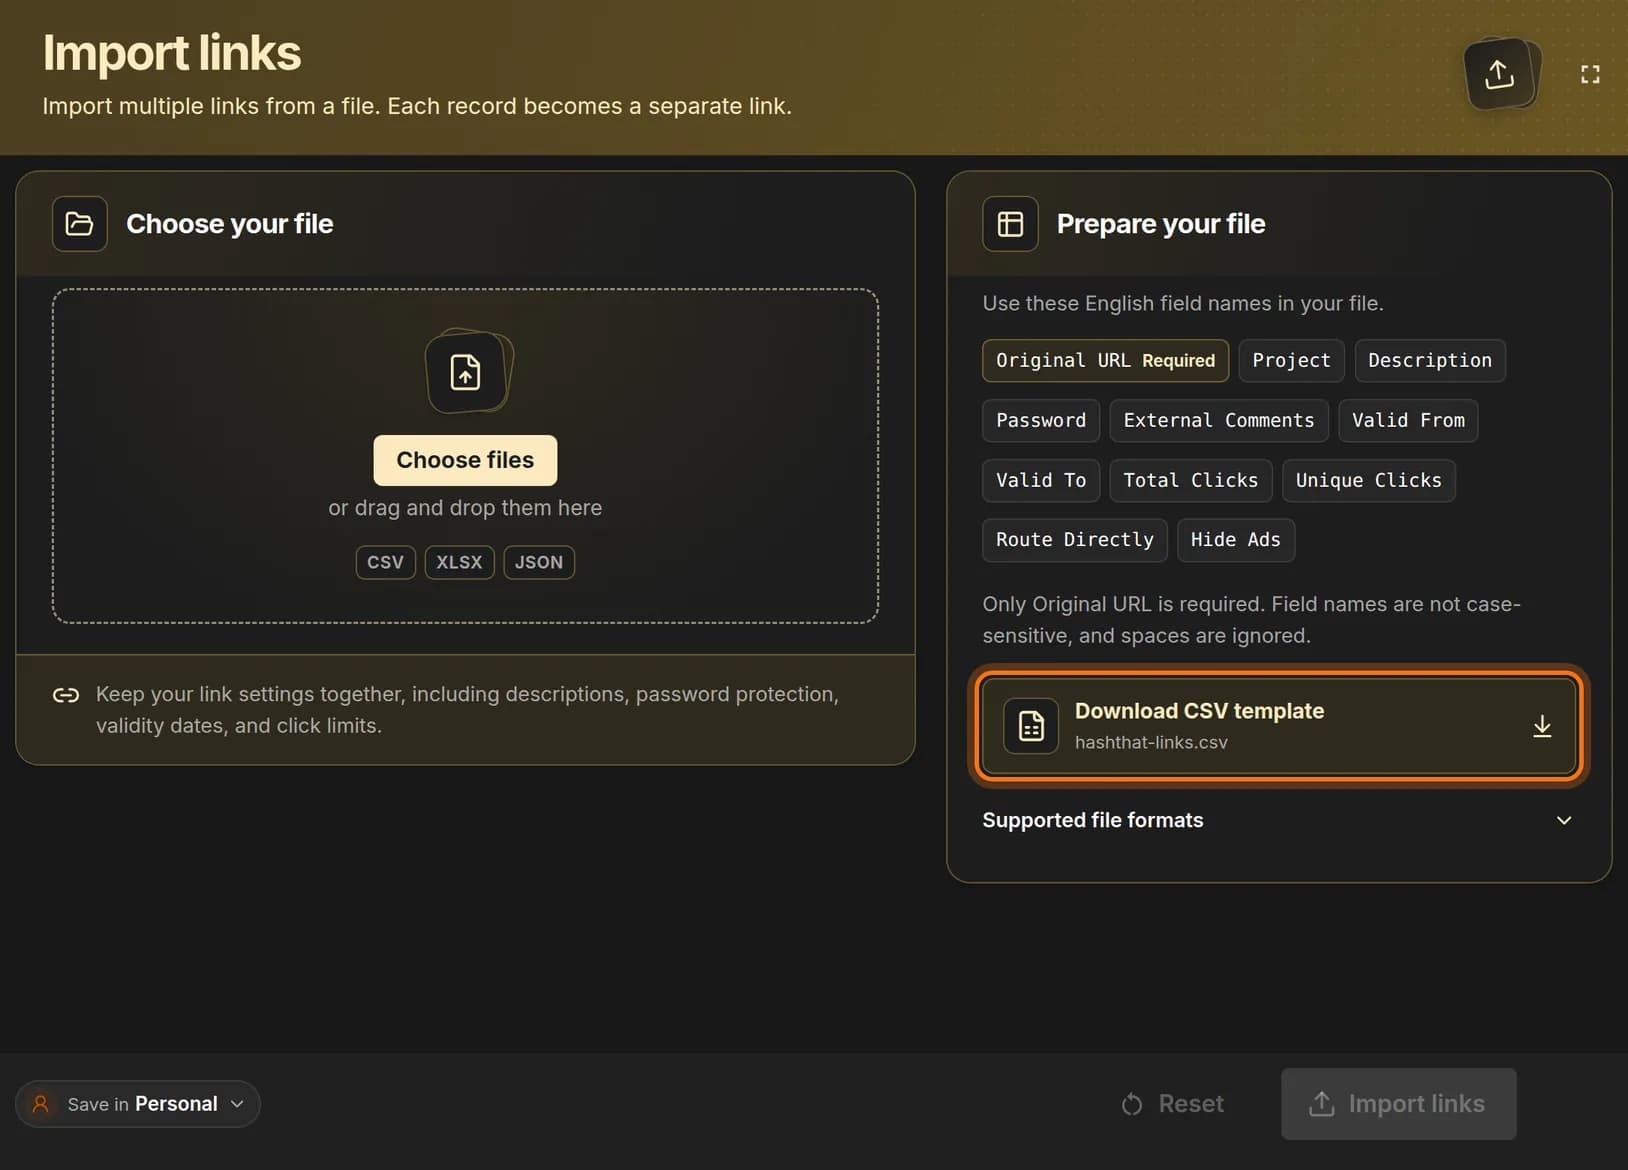
The grey labels are the column names HashThat understands. Only Original URL is required. Step 3: Fill in one row per link
- Leave the first row, with the column names, as it is.
- In the second row, paste a web address into the Original URL column.
- Type a group name in Project and a short label in Description.
- Repeat on a new row for every address. Leave columns you do not need empty.
Original URL Project Description https://northwindlabs.example/events/spring-meetup/register Spring meetup Registration page https://northwindlabs.example/events/spring-meetup/schedule Spring meetup Event schedule Two rows make two short links, grouped under the project “Spring meetup”. Save the sheet as a CSV file when you are done. In most programs that is File, then Save as or Download, then CSV.
Step 4: Choose your file
- Return to HashThat.
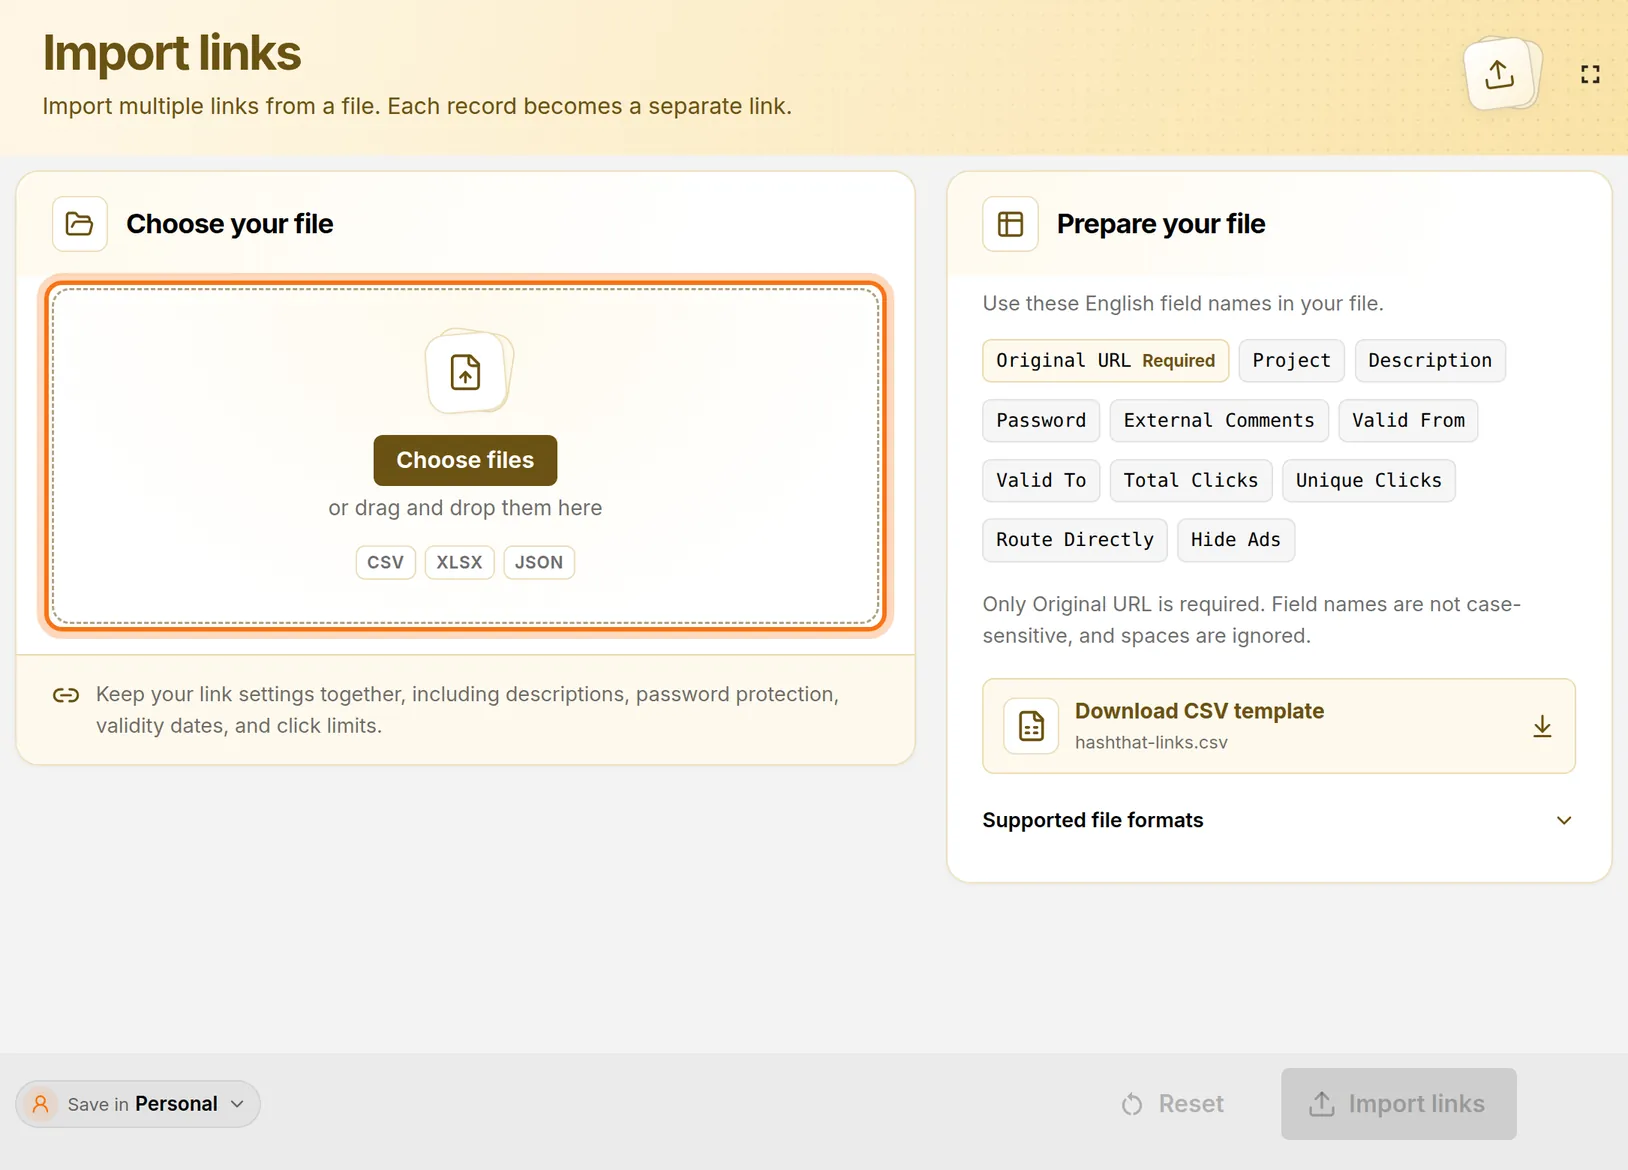
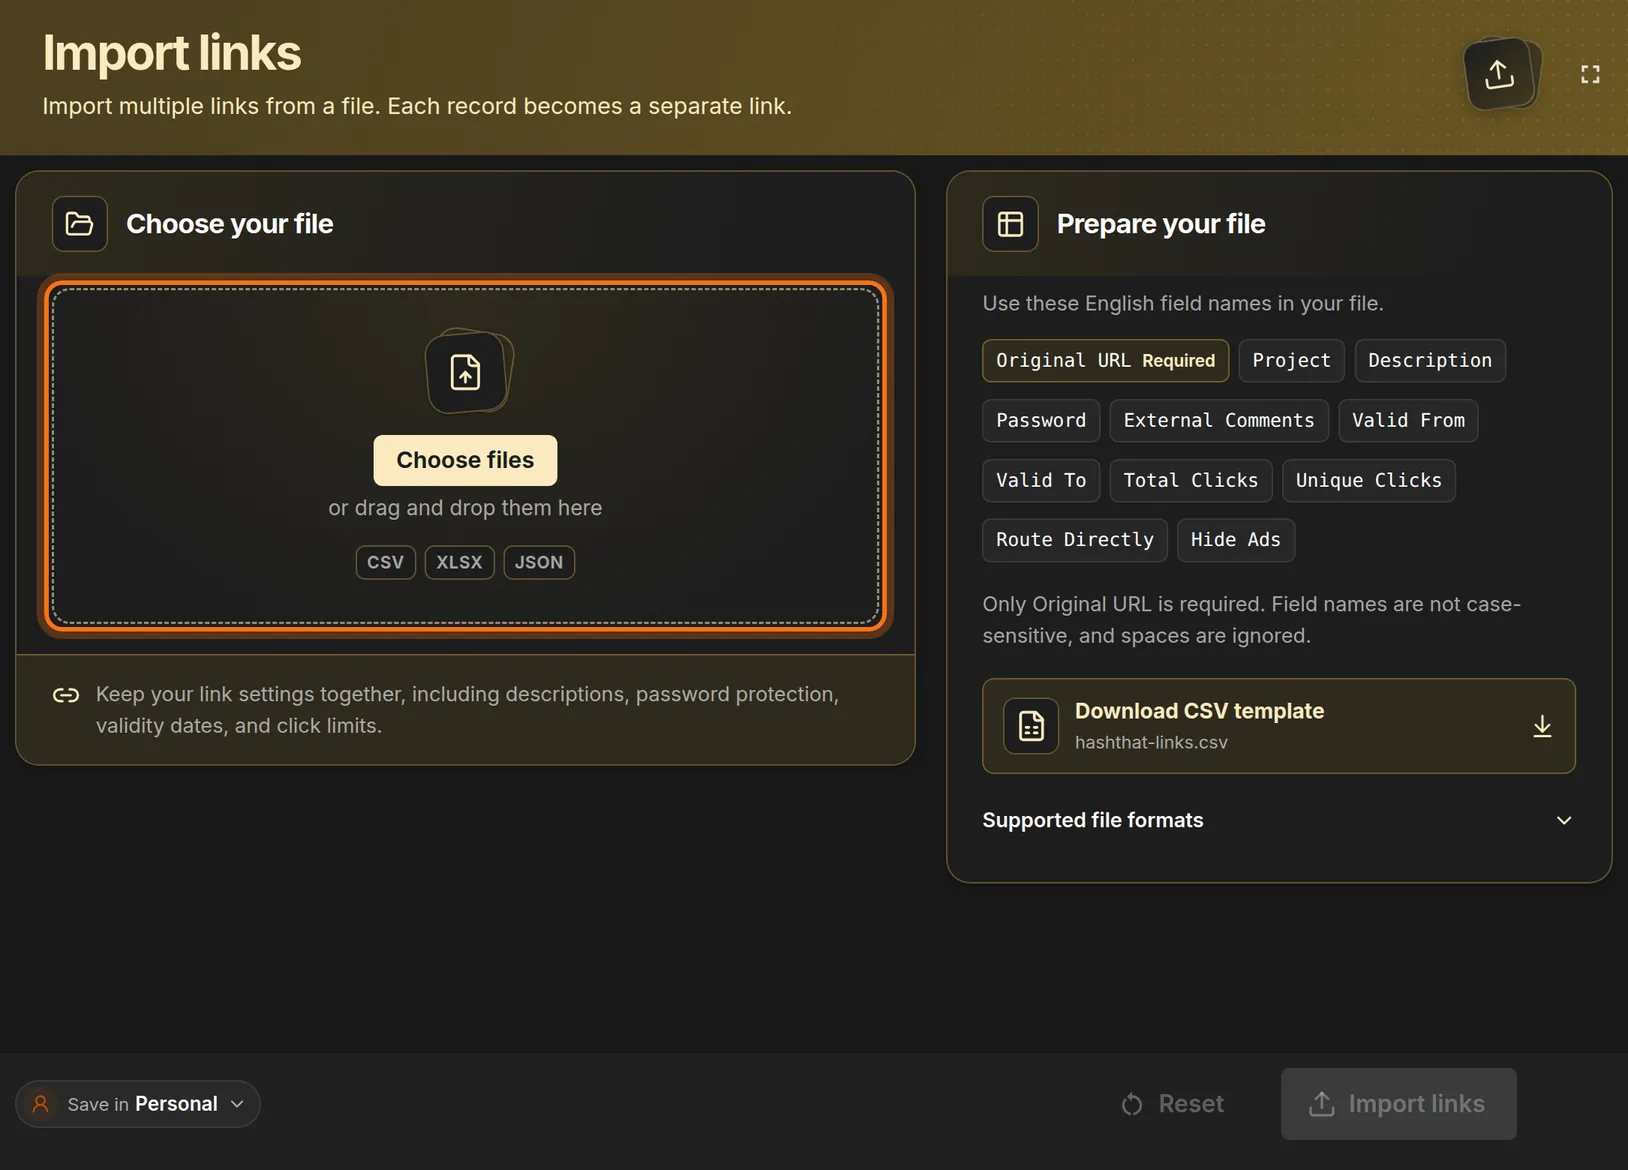
- In the Choose your file panel, click Choose files.
- Select your saved file and confirm. You can also drag the file onto the dashed box.
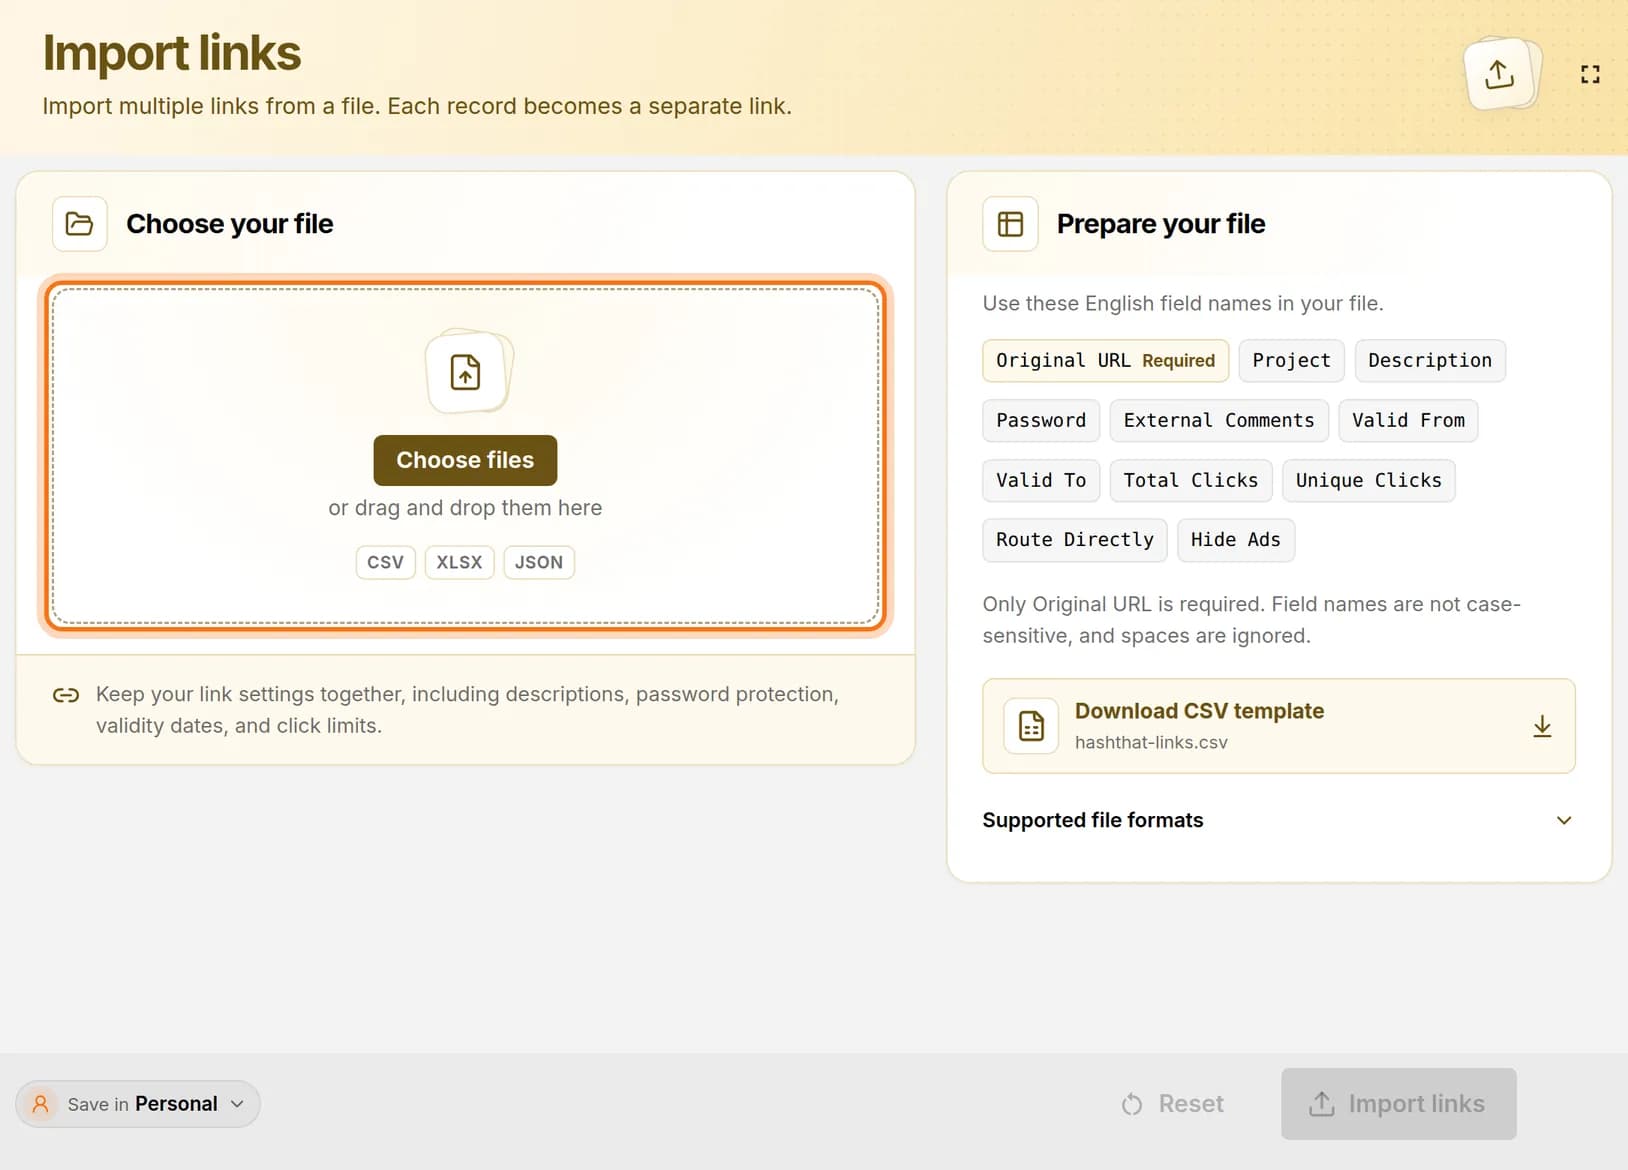 Full size
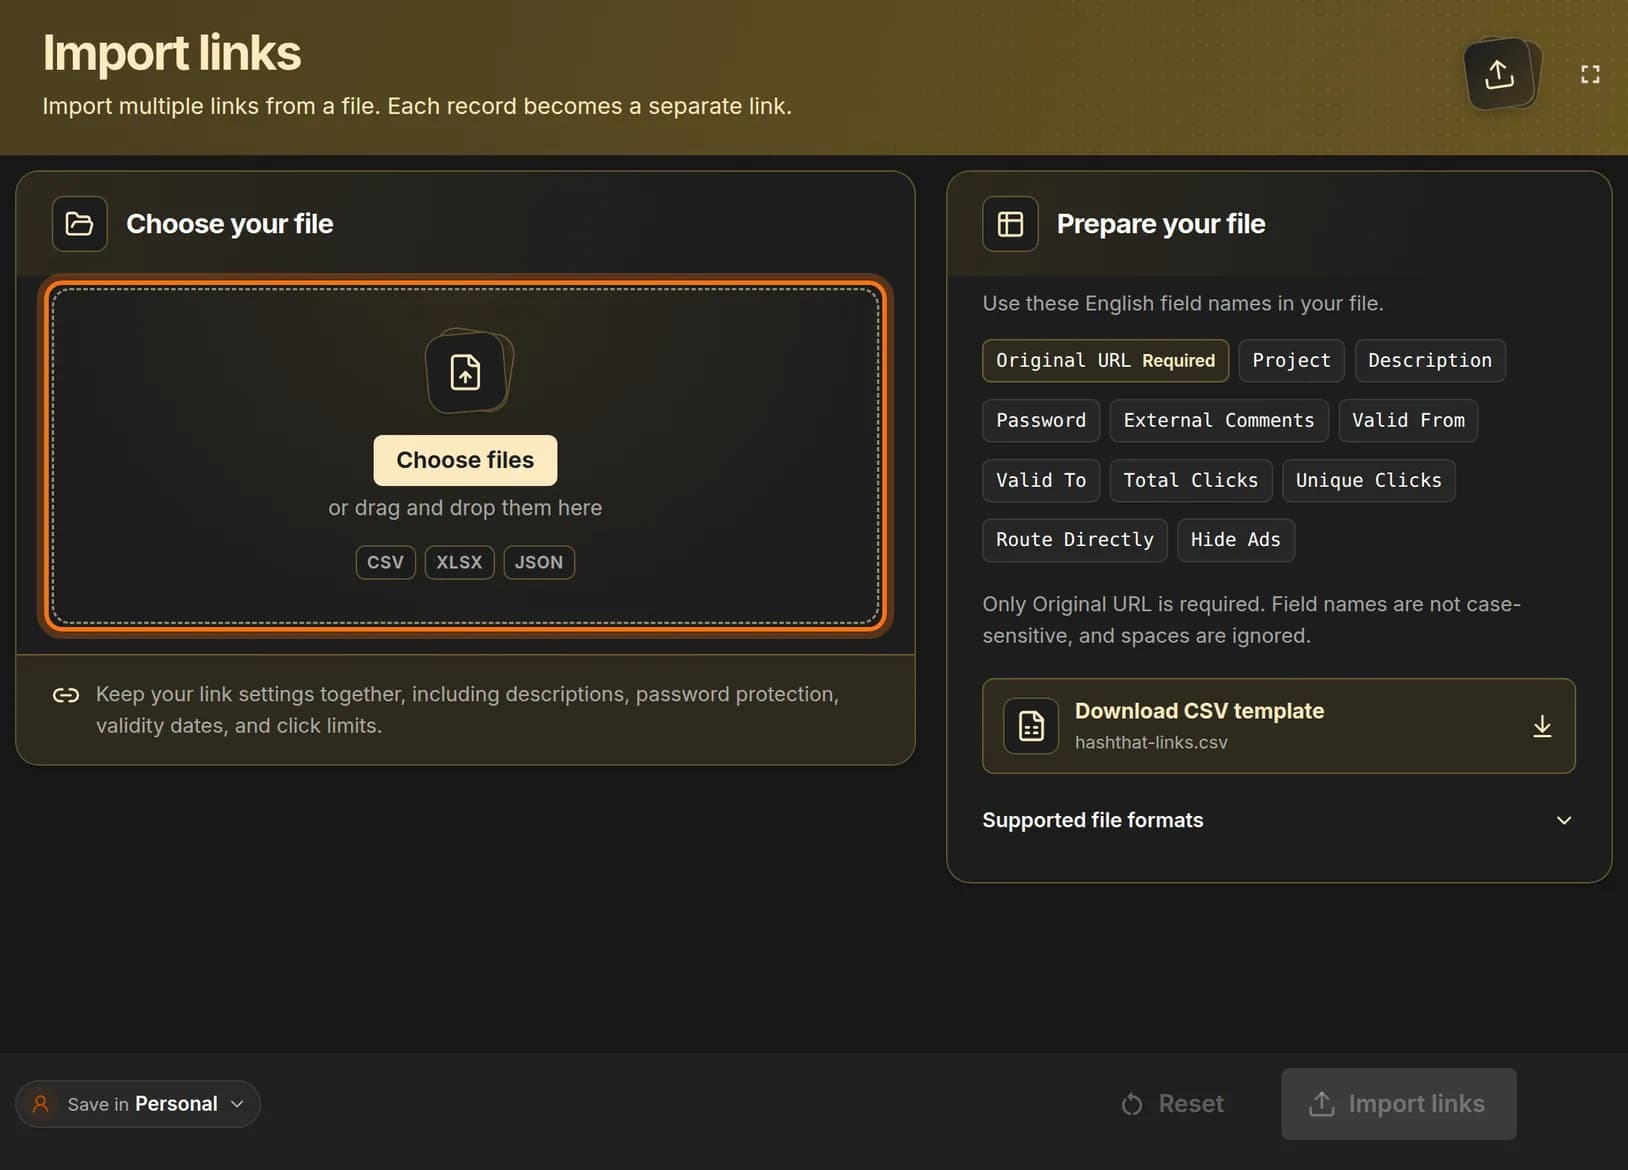 Full size
The box accepts CSV, XLSX and JSON files. Step 5: Check the file name
- Look below the dashed box.
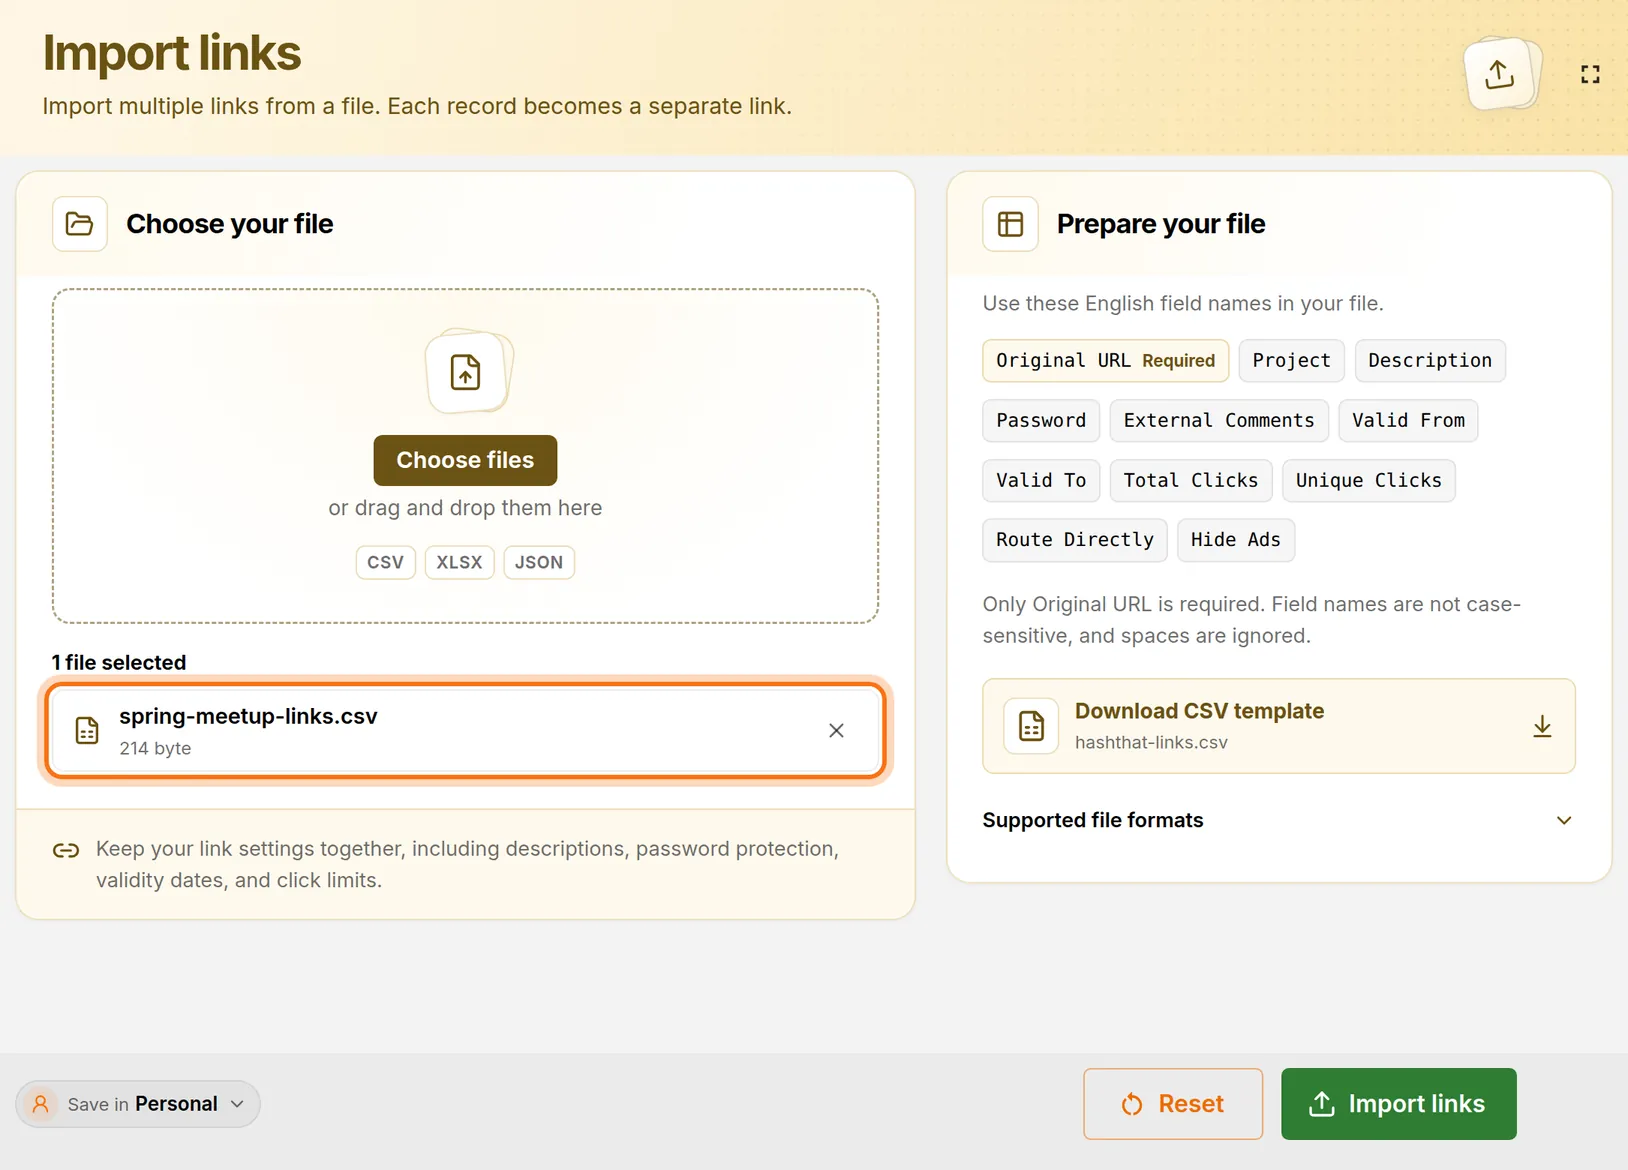
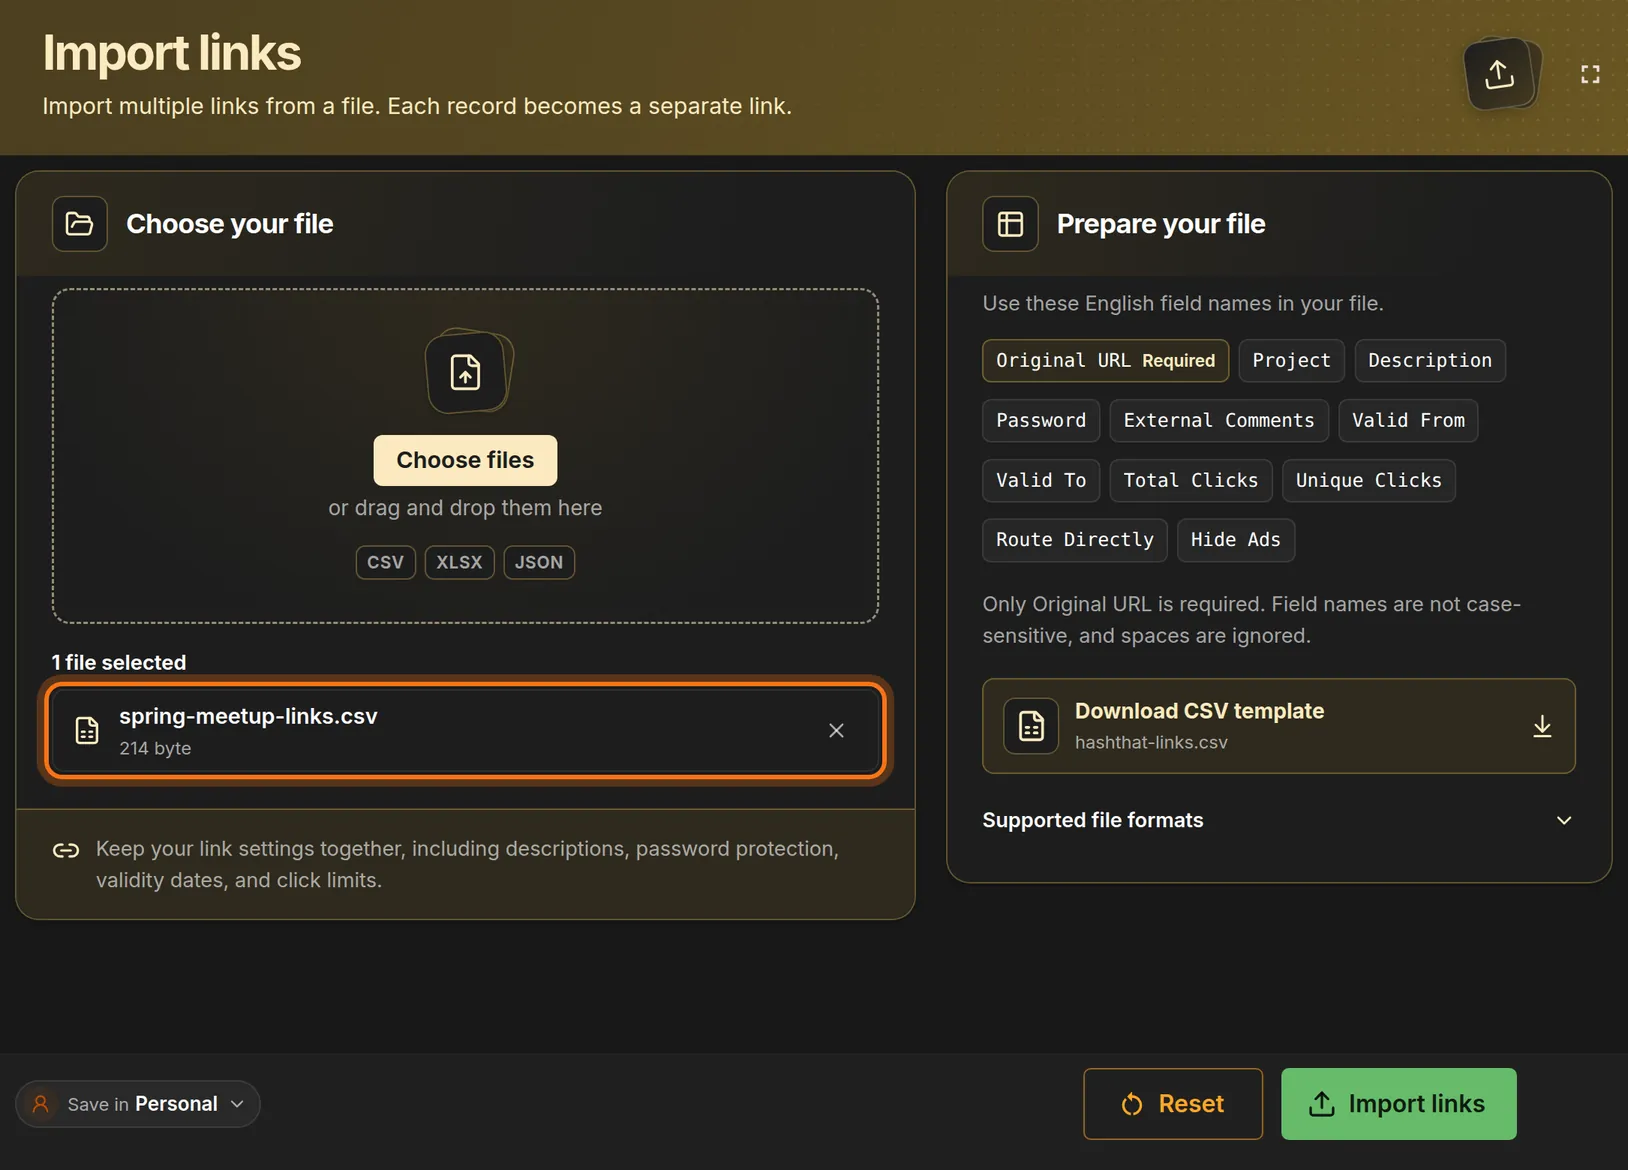
- Read the line 1 file selected and the file name under it.
- Wrong file? Click the × on that row and choose again.
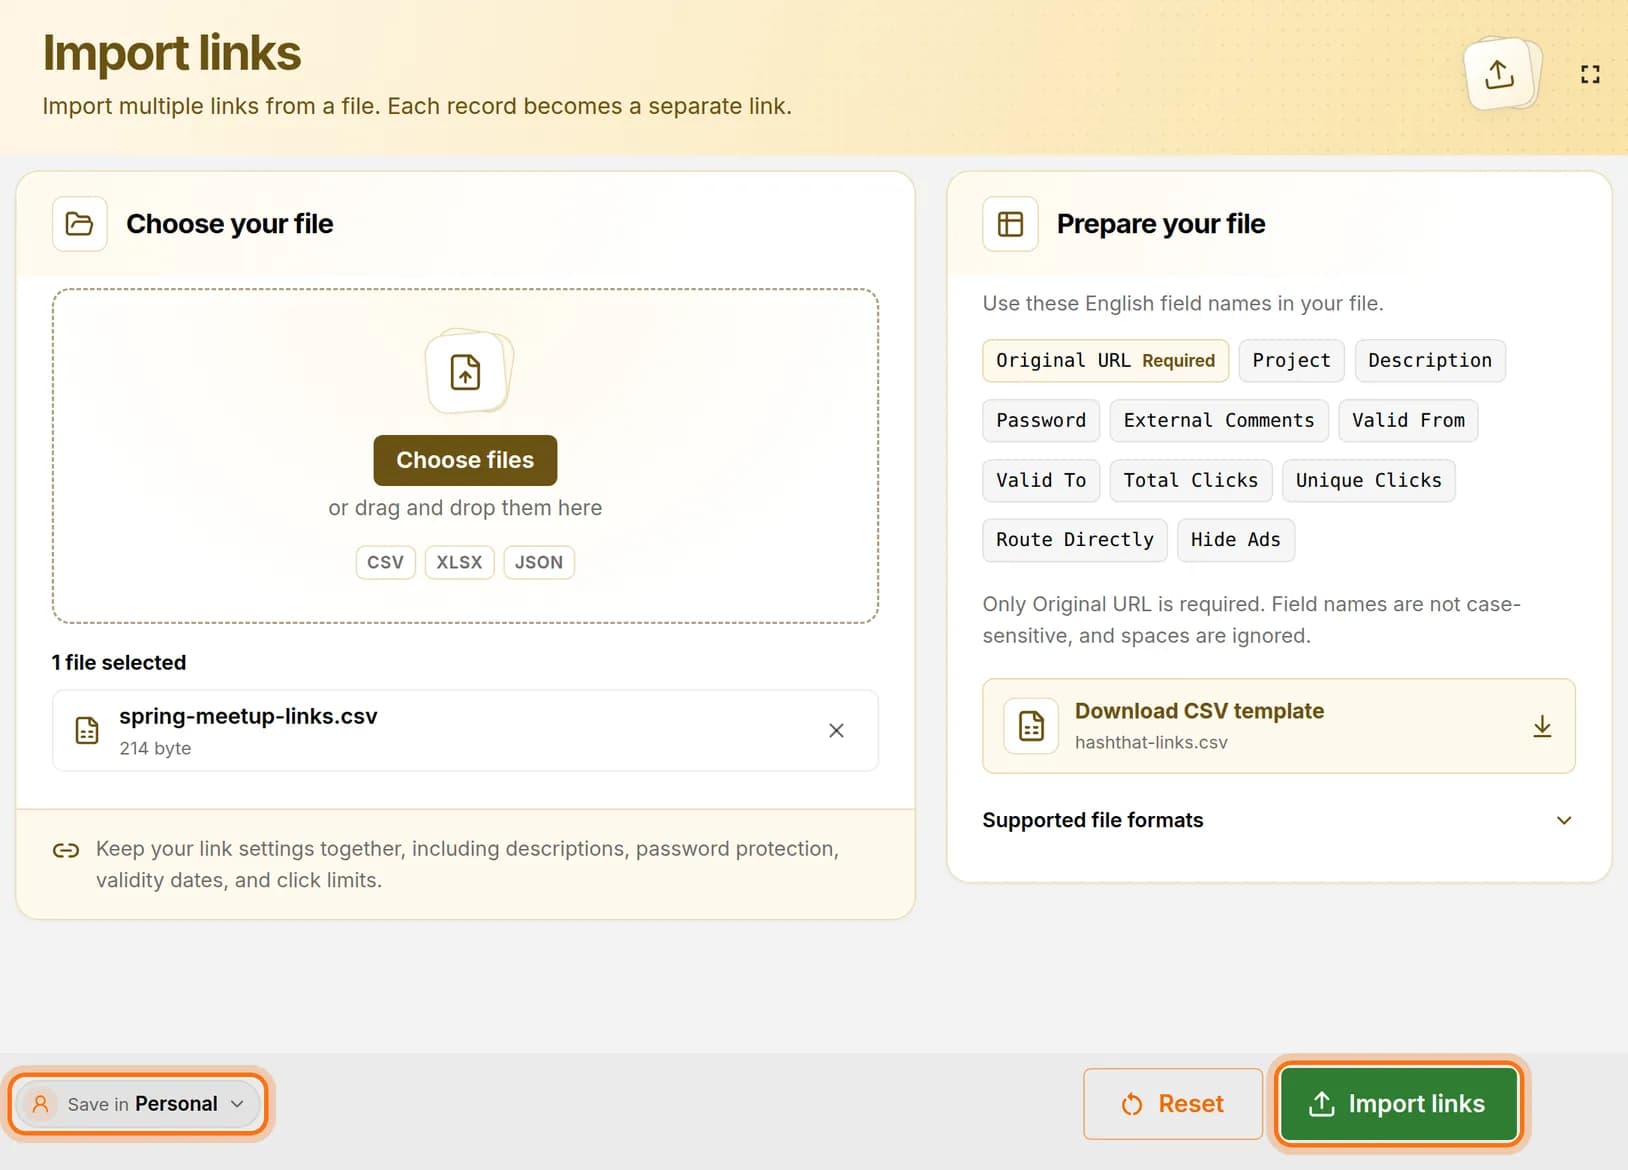
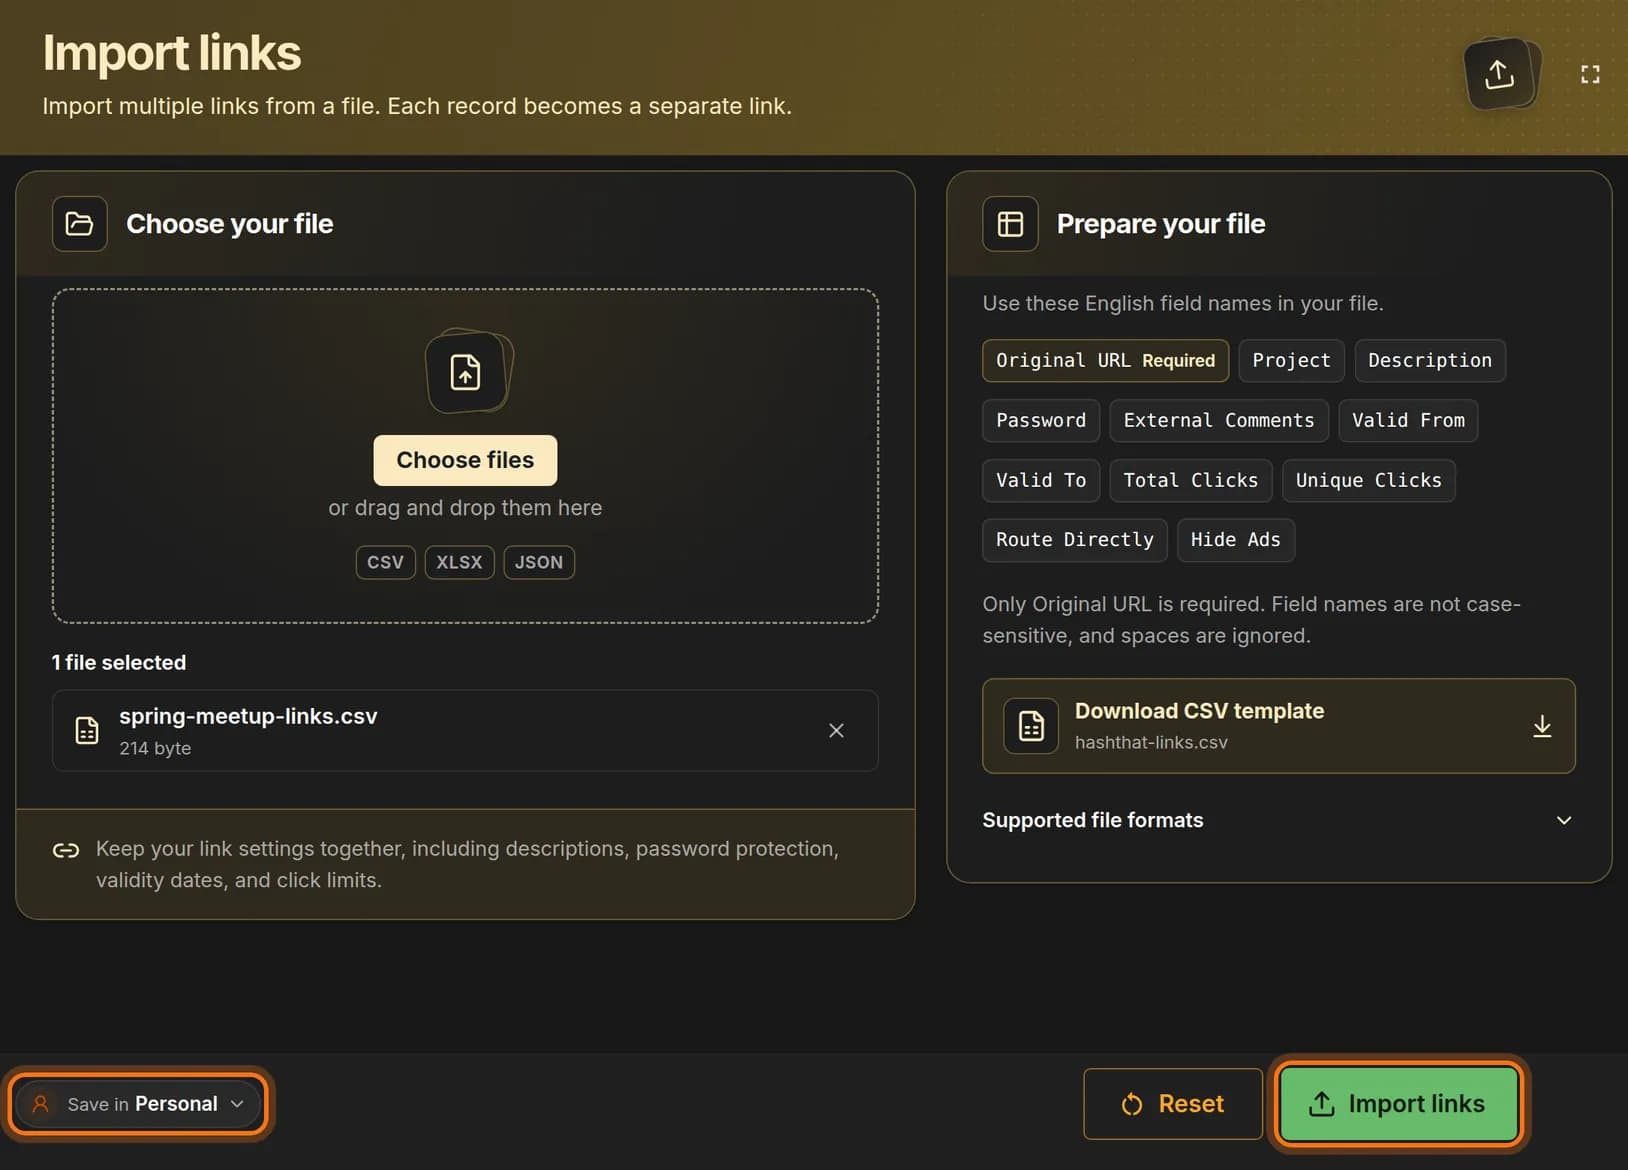
You should see: Your file’s name in the list, and the Import links button turning green.
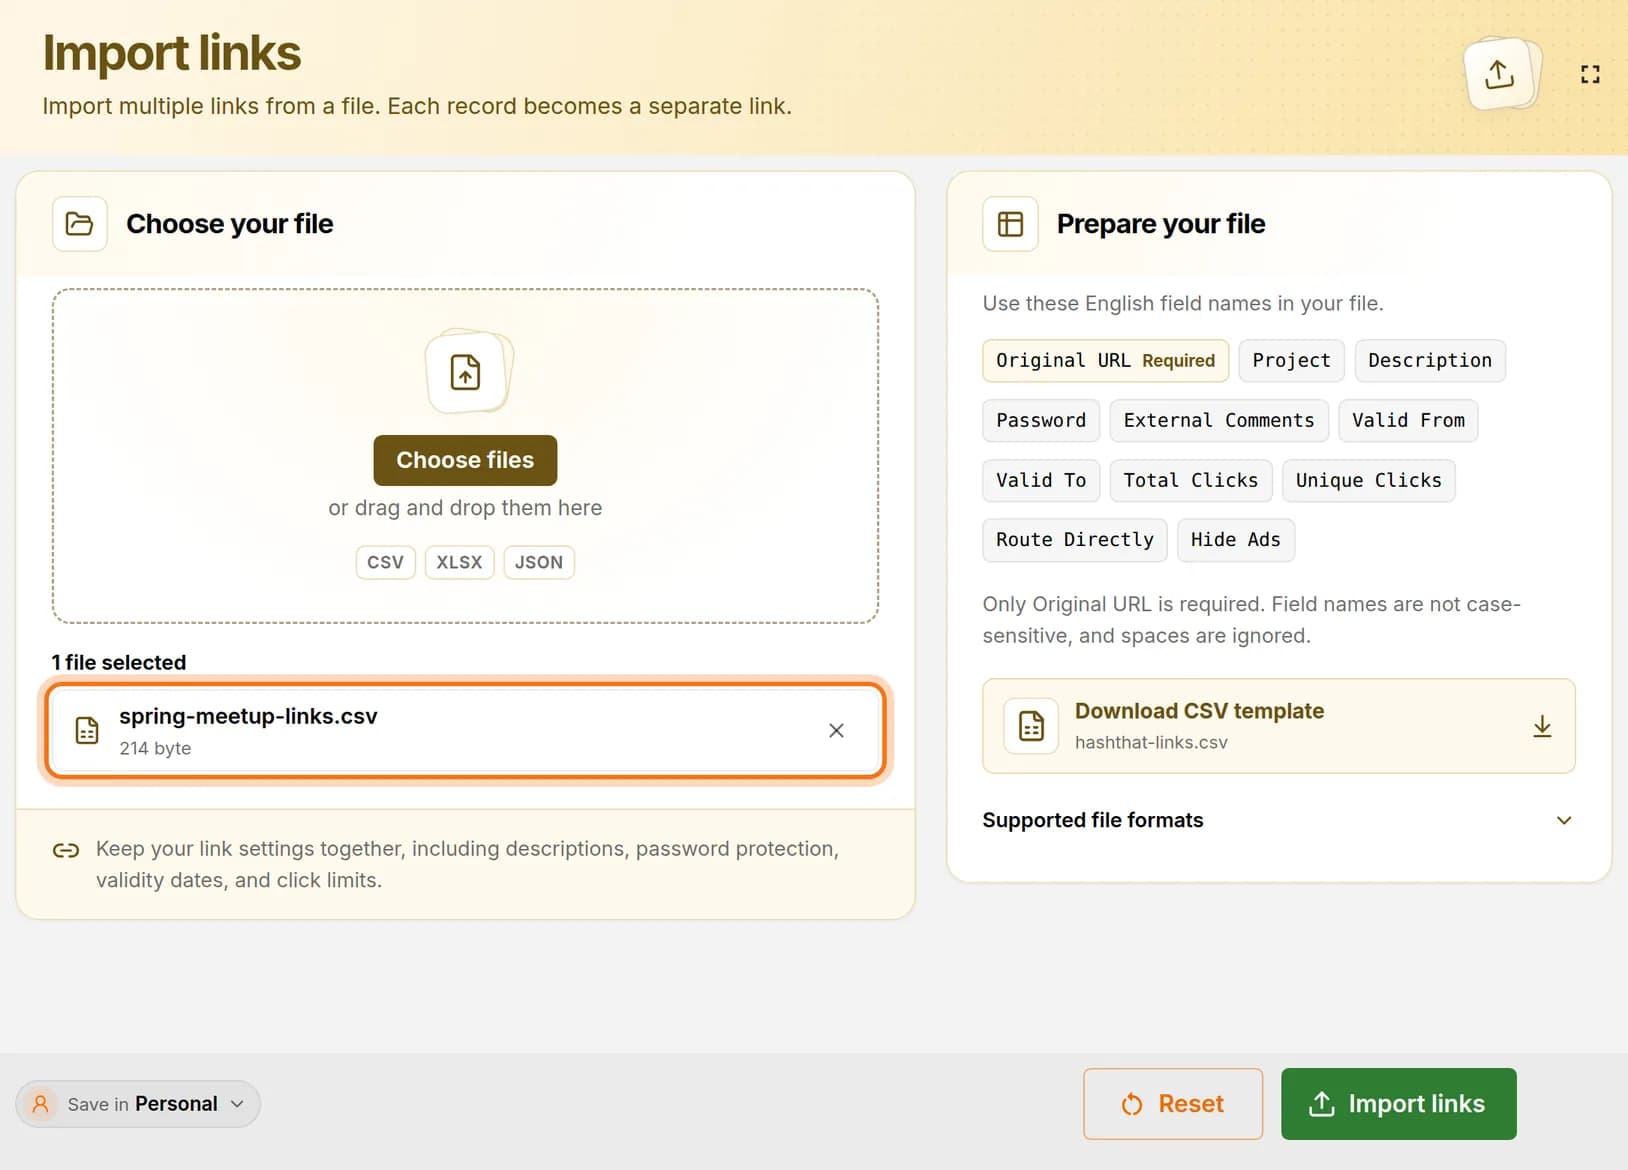 Full size
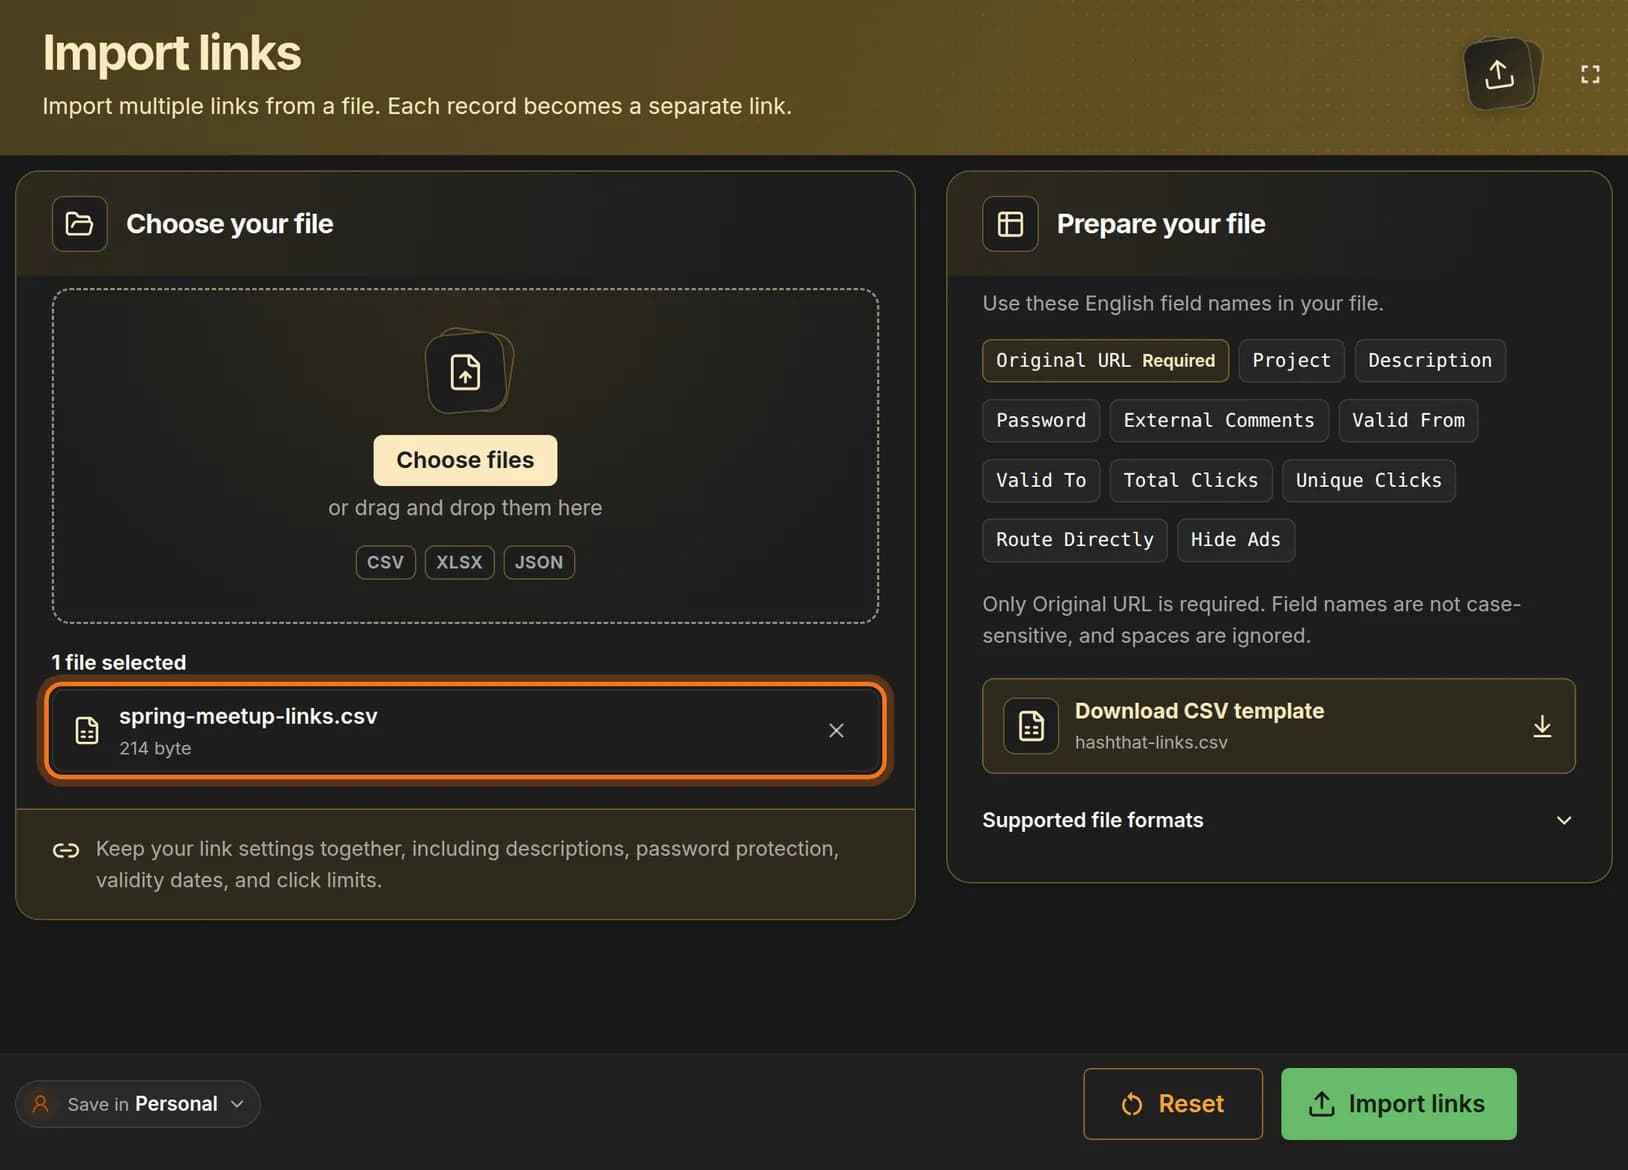 Full size
Nothing is imported yet. This only shows which file is ready. Step 6: Import the links
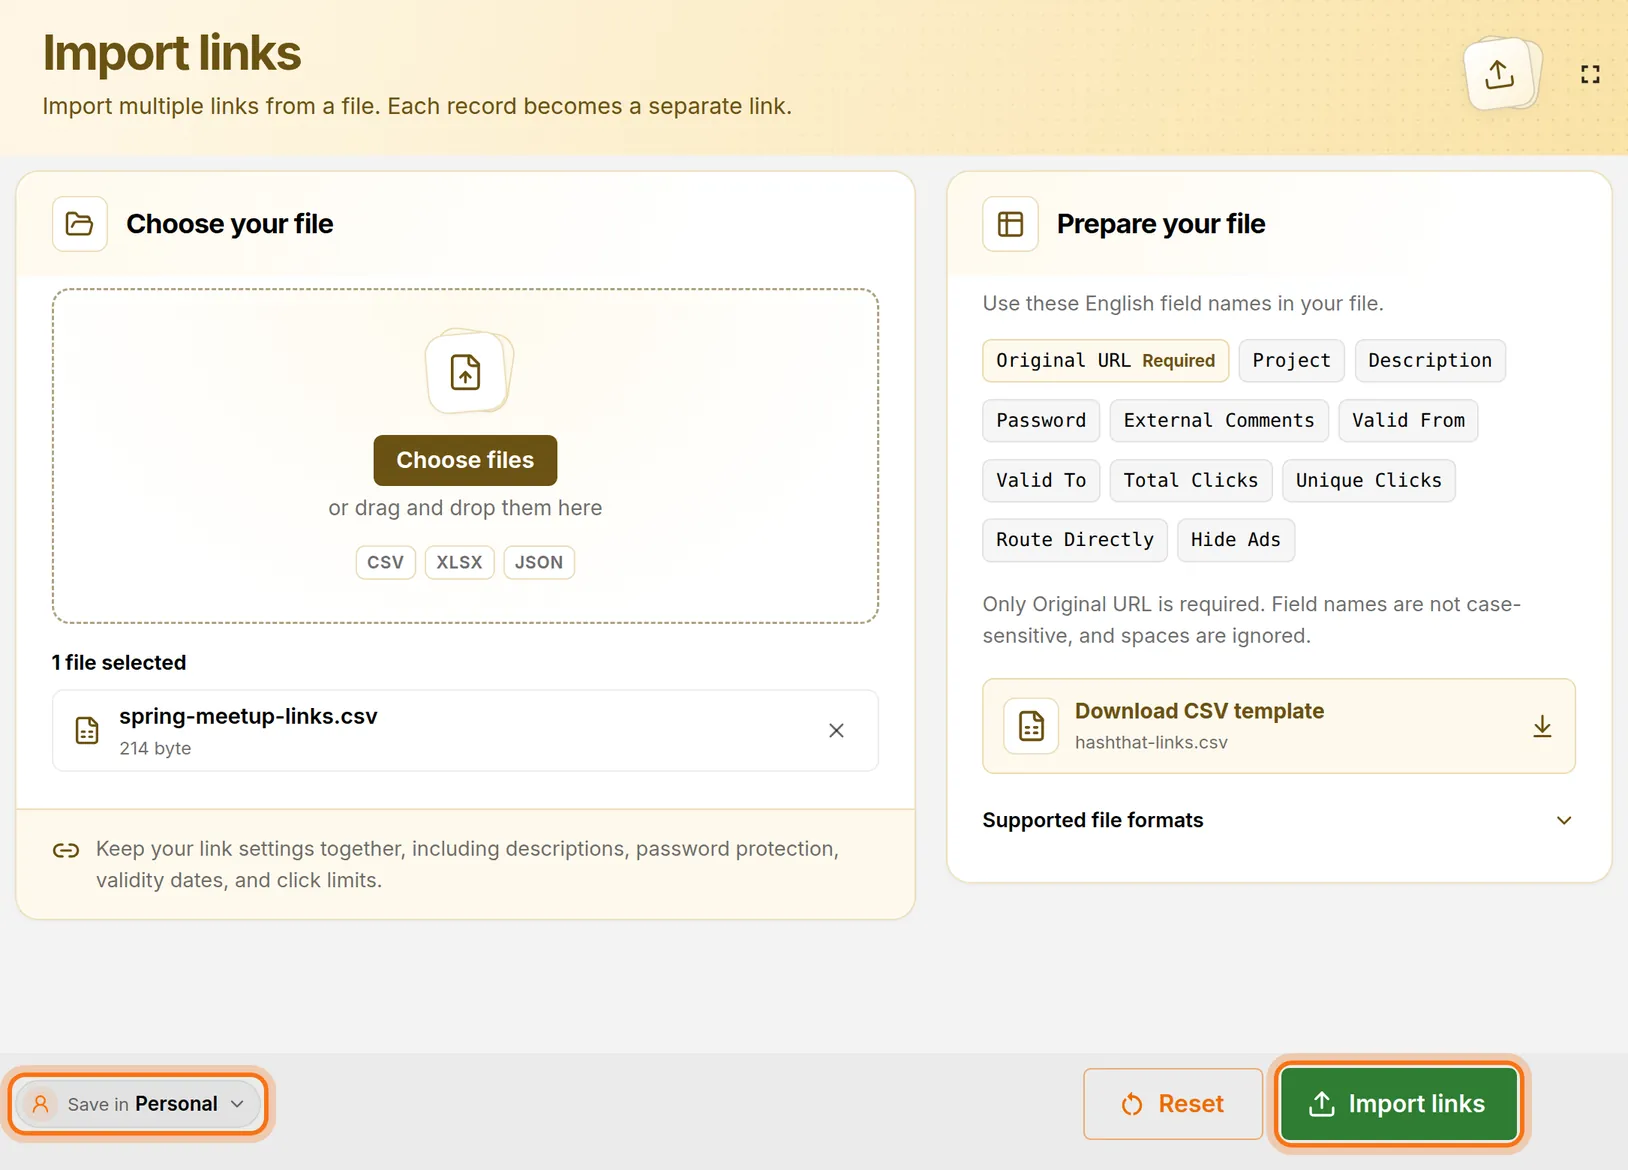
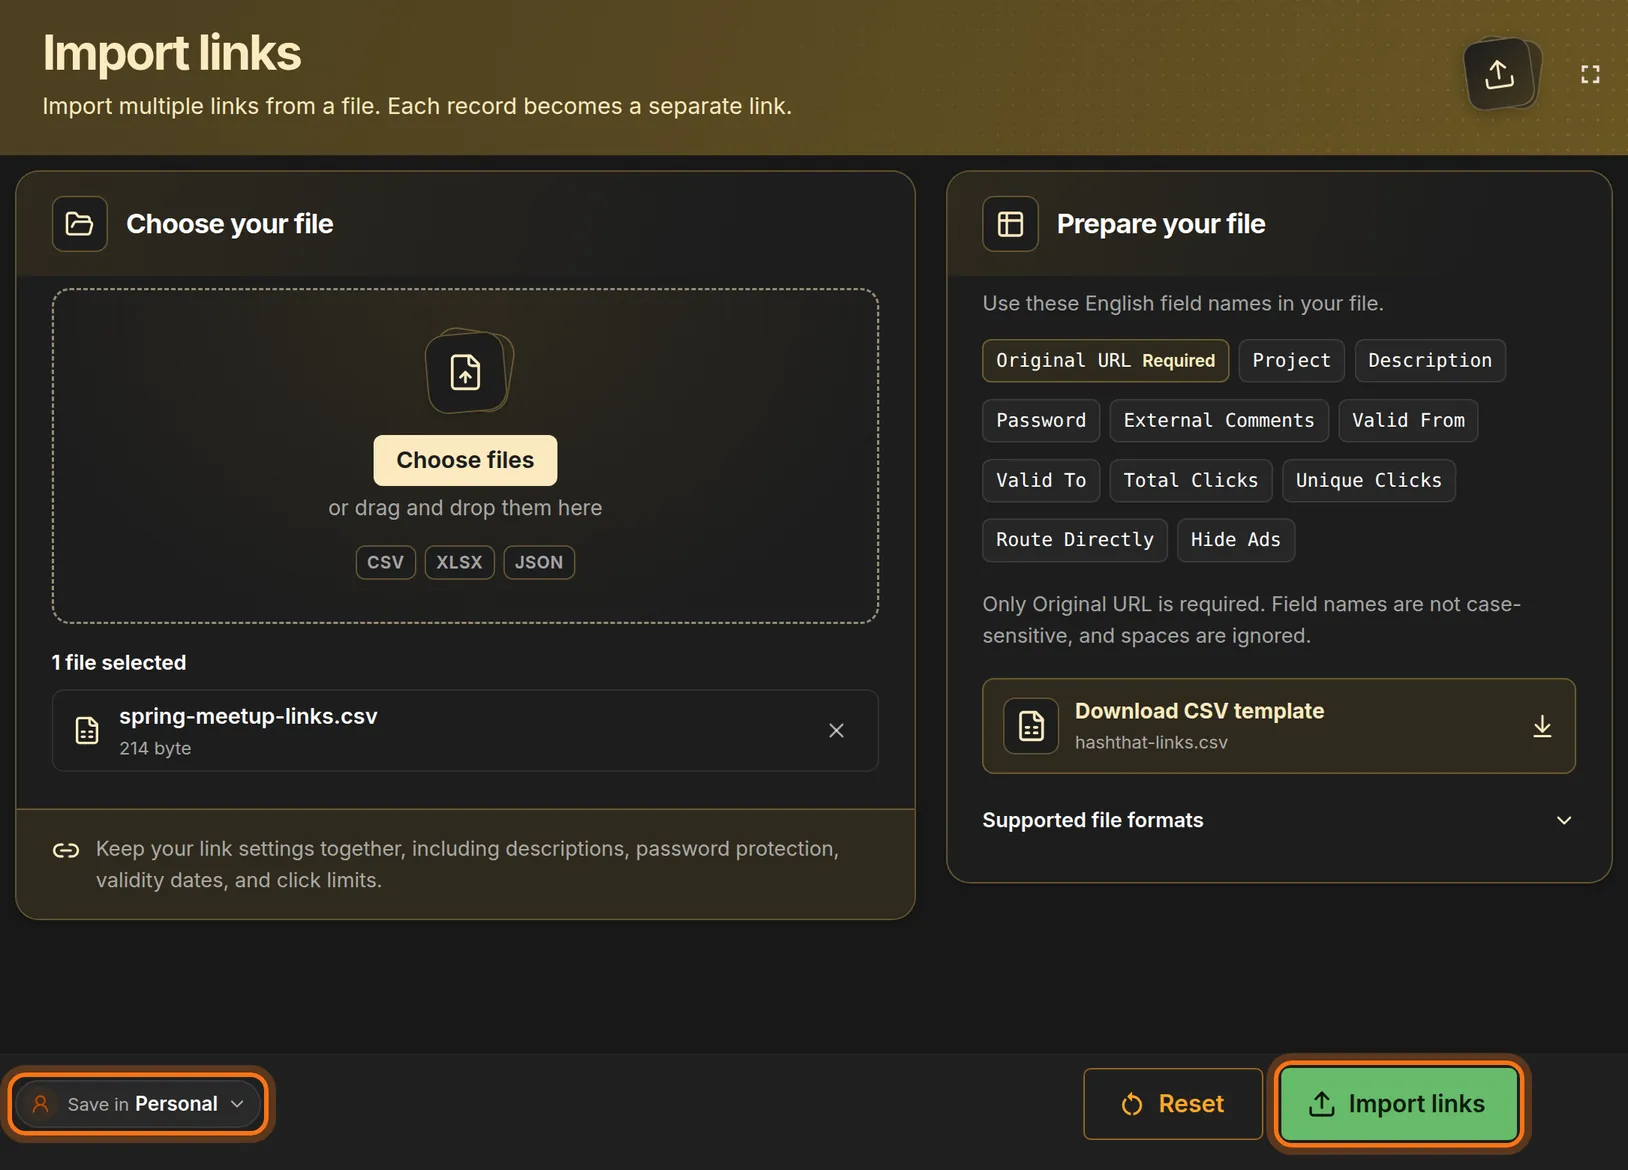
- At the bottom left, check Save in. It should say Personal for your own links.
- Click the green Import links button.
You should see: The message The links have been imported.
 Full size
 Full size
Every row of your file becomes its own short link. Step 7: Find your new links
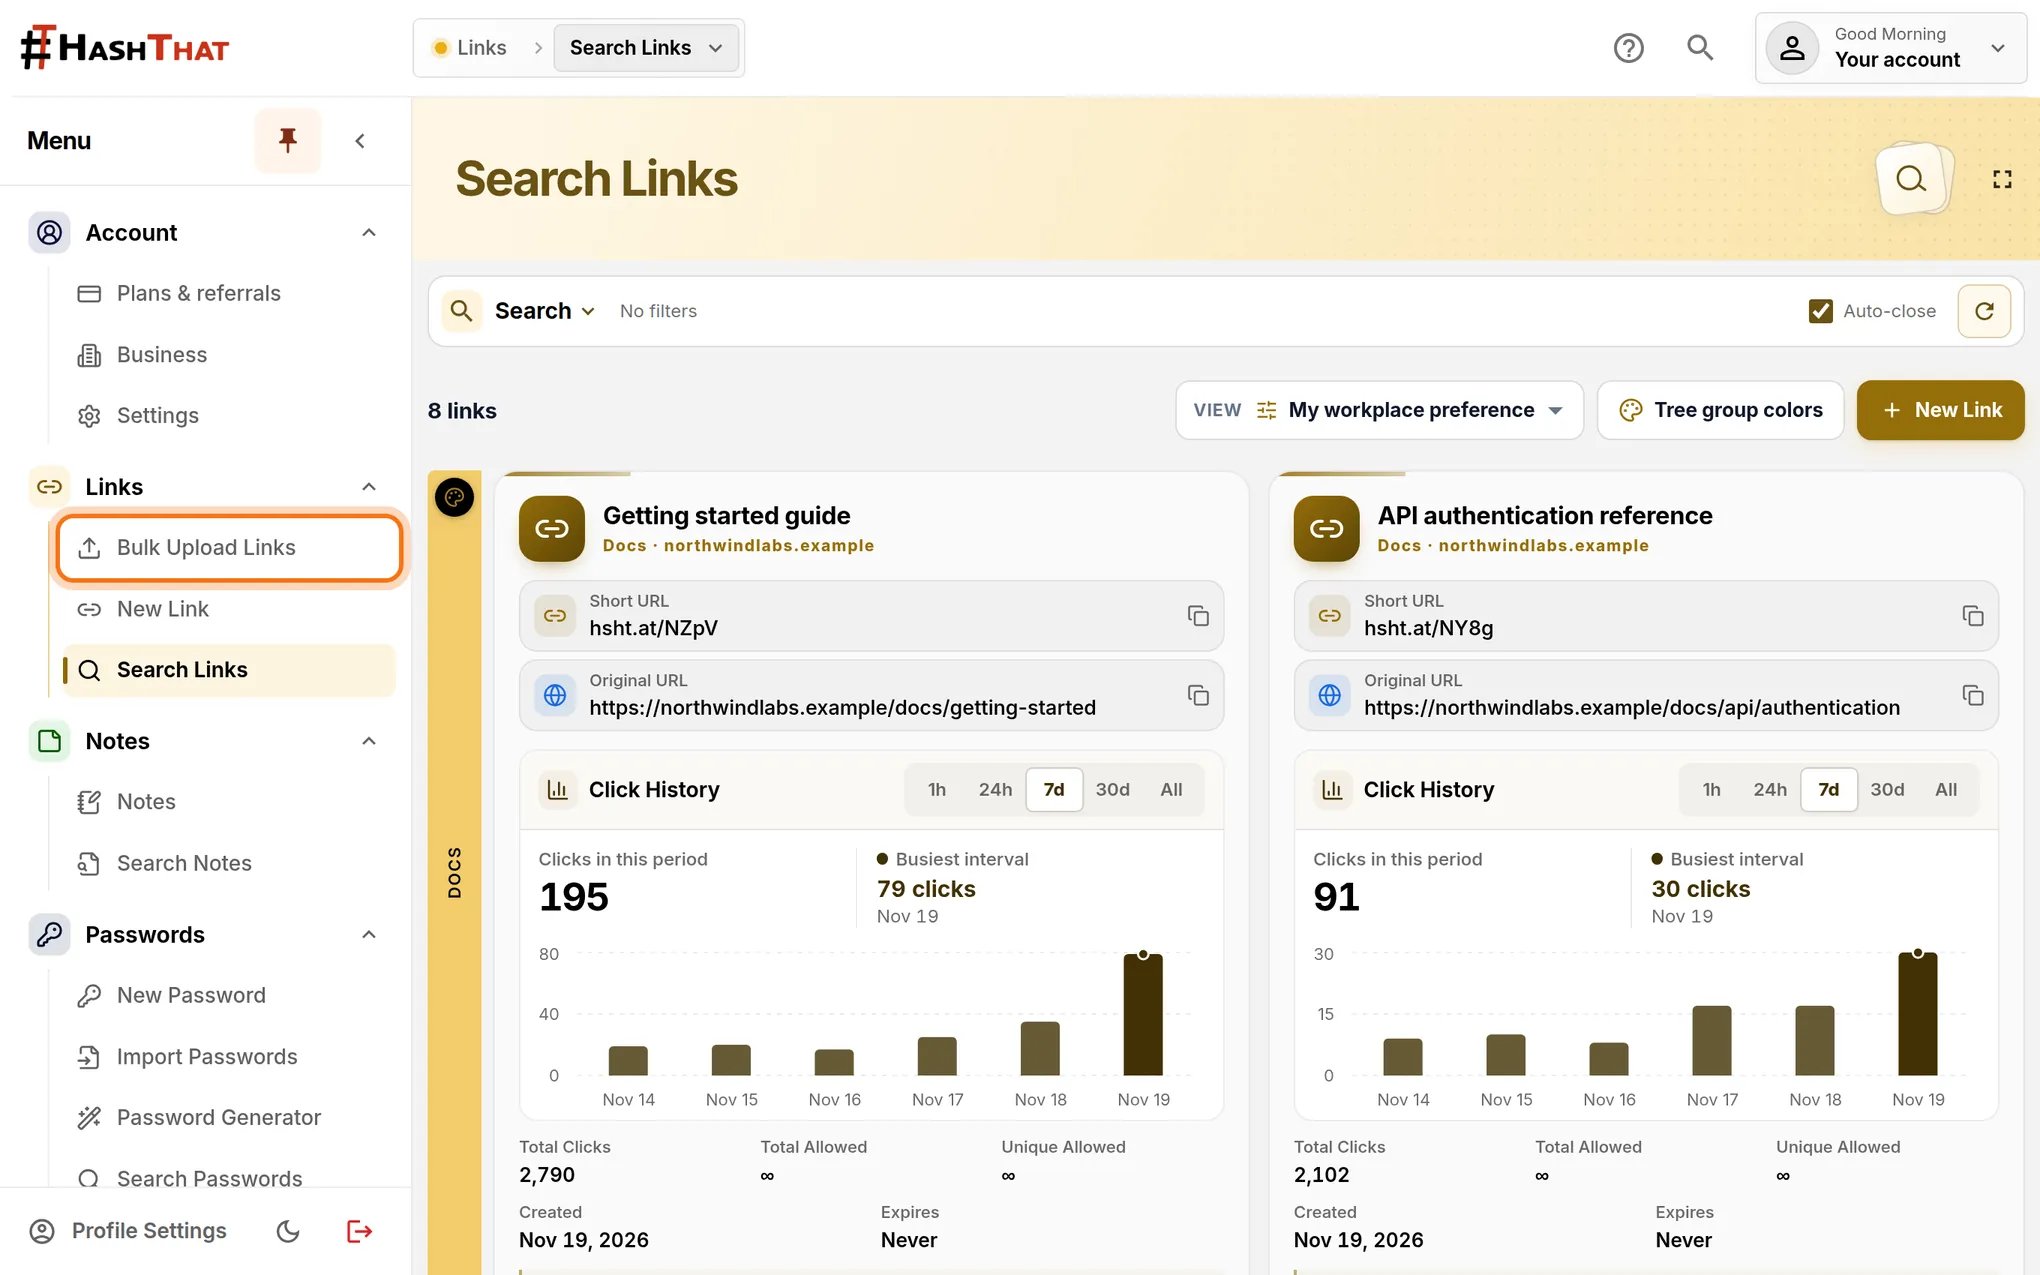
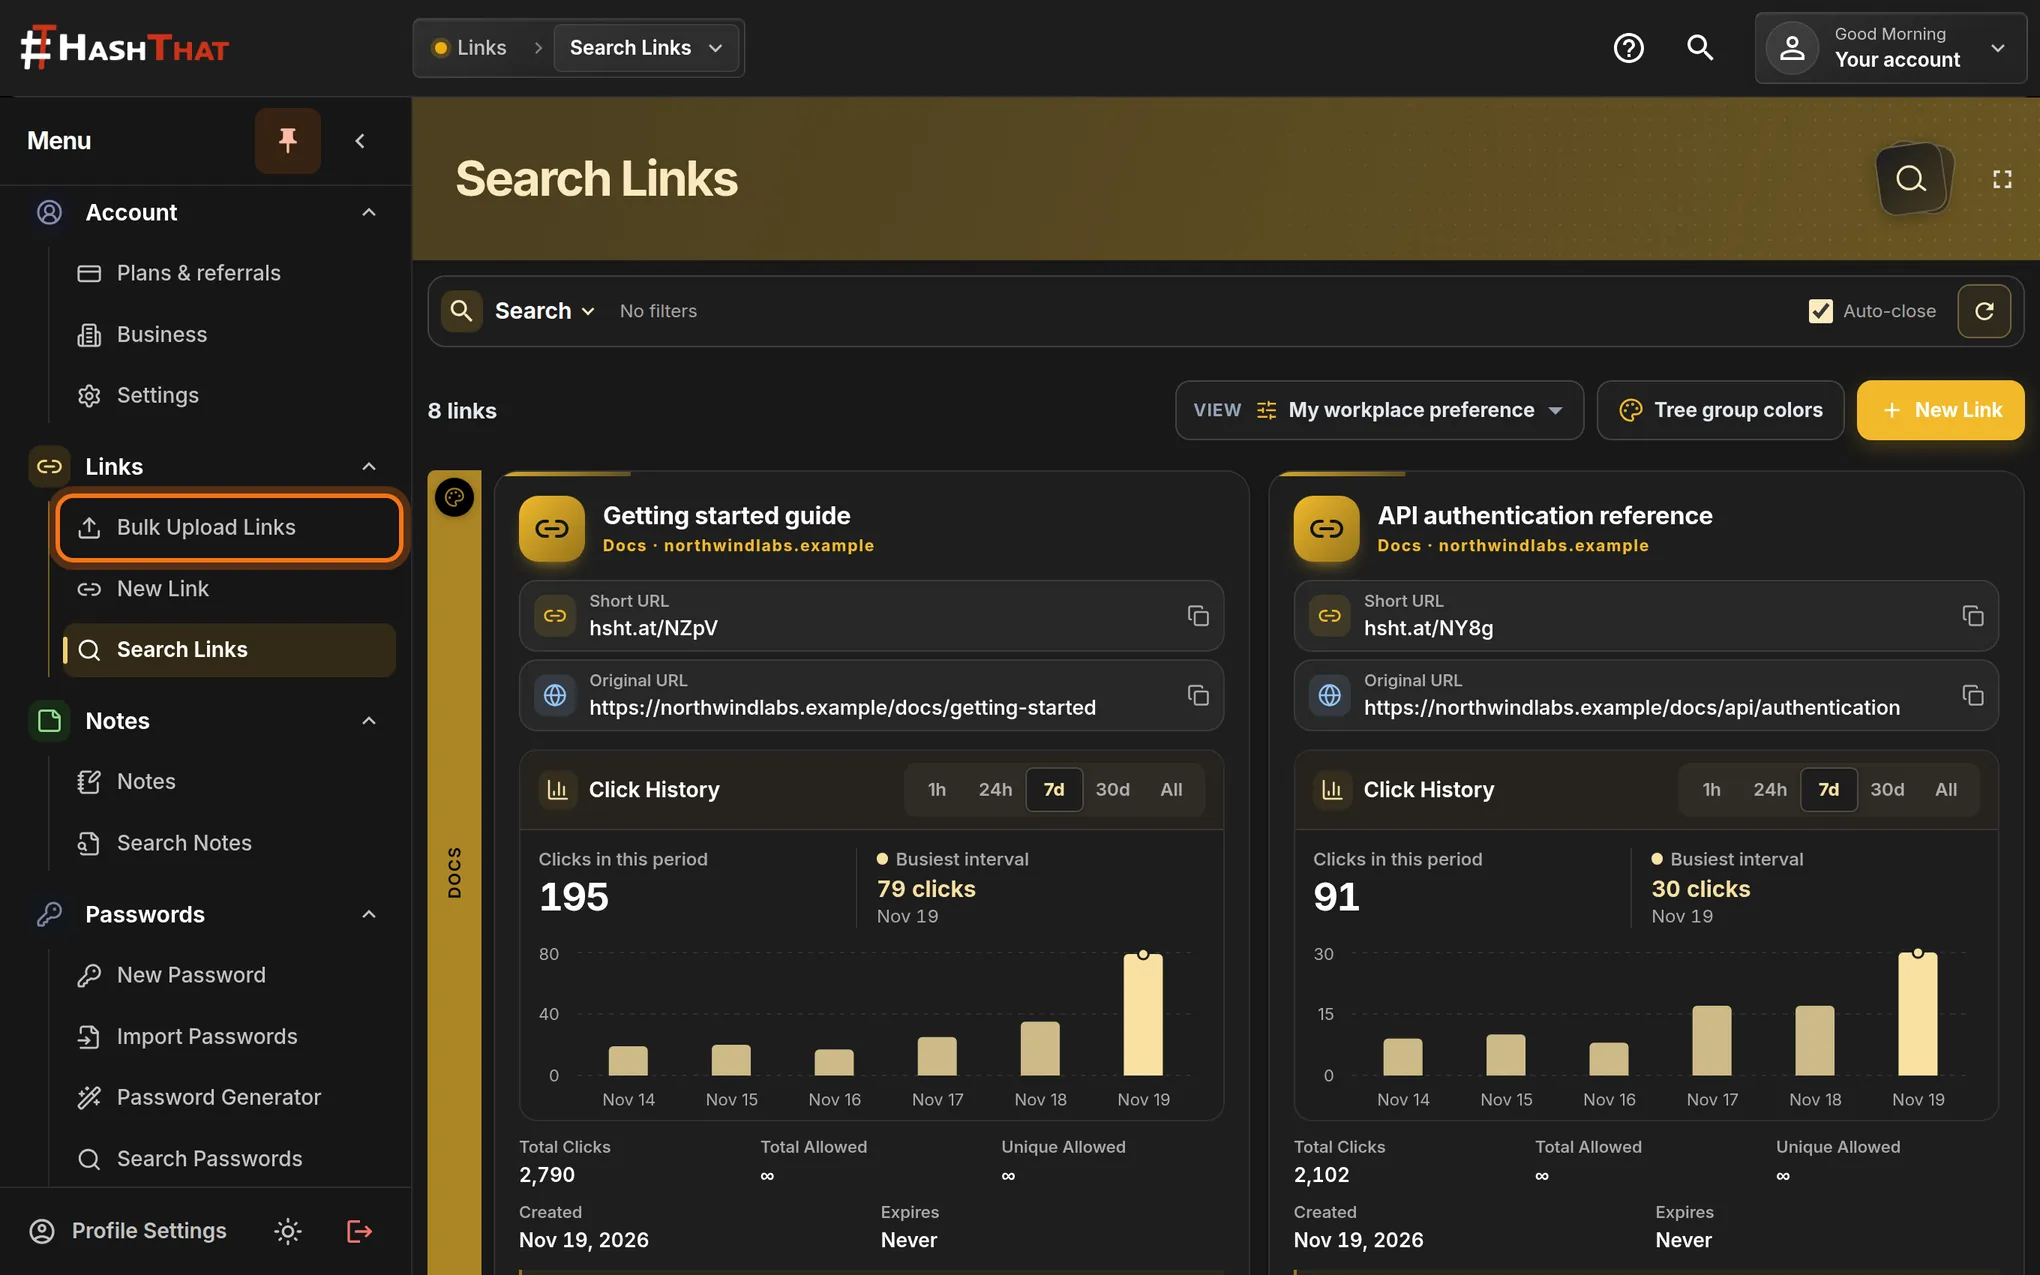
- In the left menu, click Search Links.
- Find the coloured bar with your project name and open it.
- Each card shows a Short URL you can click to copy.
Check it worked
- The number of links at the top of Search Links went up by the number of rows in your file.
- Each new card shows the right Original URL and its own Short URL.
If something looks different
HashThat says a record needs an Original URL
One row has an empty Original URL cell, or the column name was changed. Fix the file, click the × next to the old file in the list, and choose the corrected one.
The Import links button stays grey
No file is selected yet. Click Choose files, pick your file, and check that its name appears under the dashed box.
Tip: Use the same Project name on every row that belongs together. The links are then grouped under one bar on Search Links.