Set up two-factor authentication
Add a second check to your sign-in: a six-digit code from an app on your phone.
- 7 steps
- About 6 minutes
Before you start
- Security Pro.
- Your master password, and your secret key if you use one.
- A phone with an authenticator app installed, such as Google Authenticator, Microsoft Authenticator or Authy.
- About five minutes without interruption. The setup expires after 10 minutes.
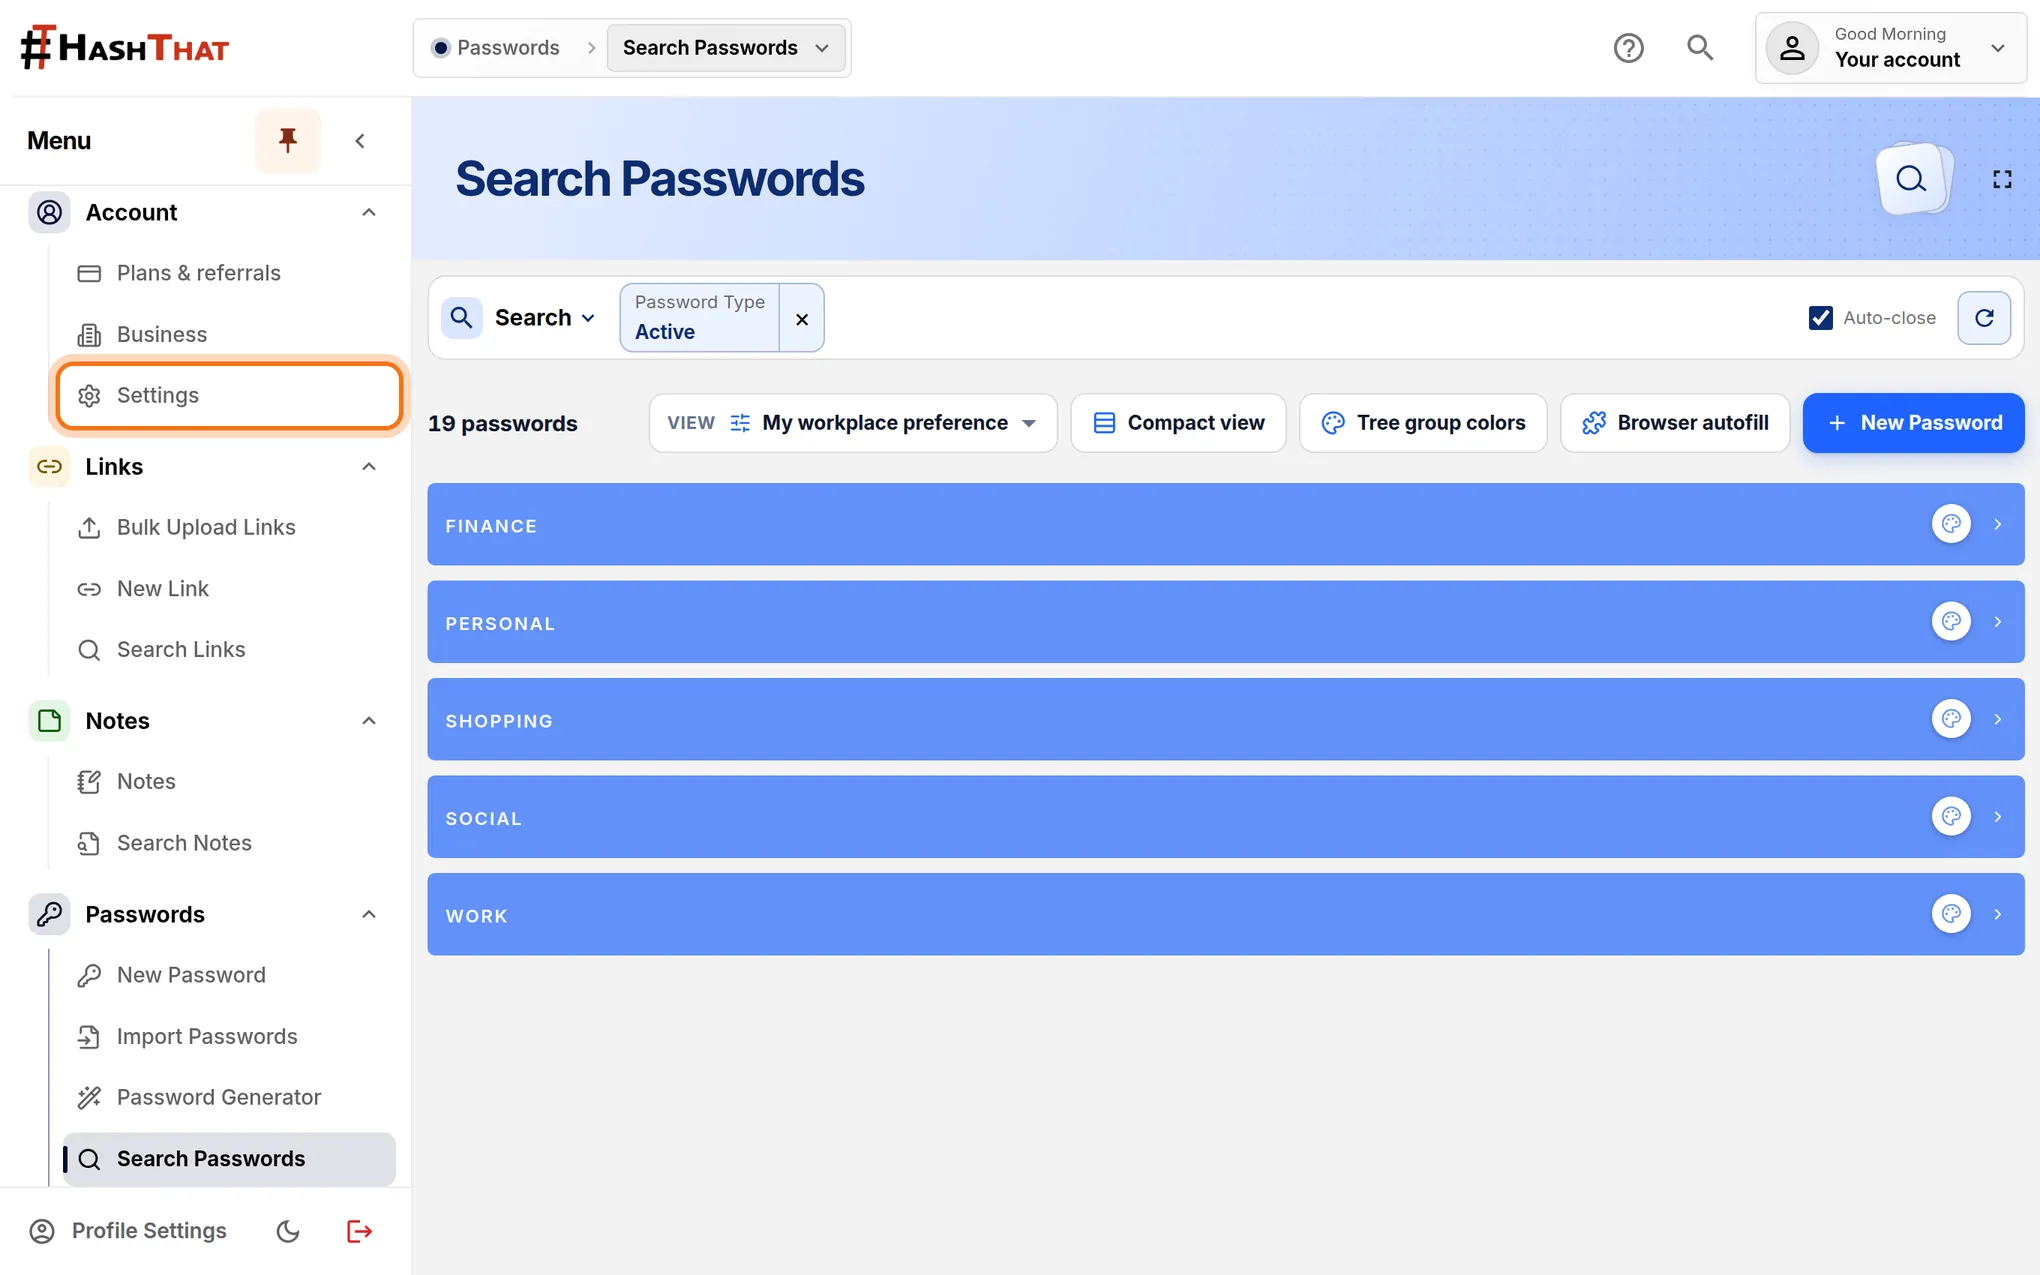
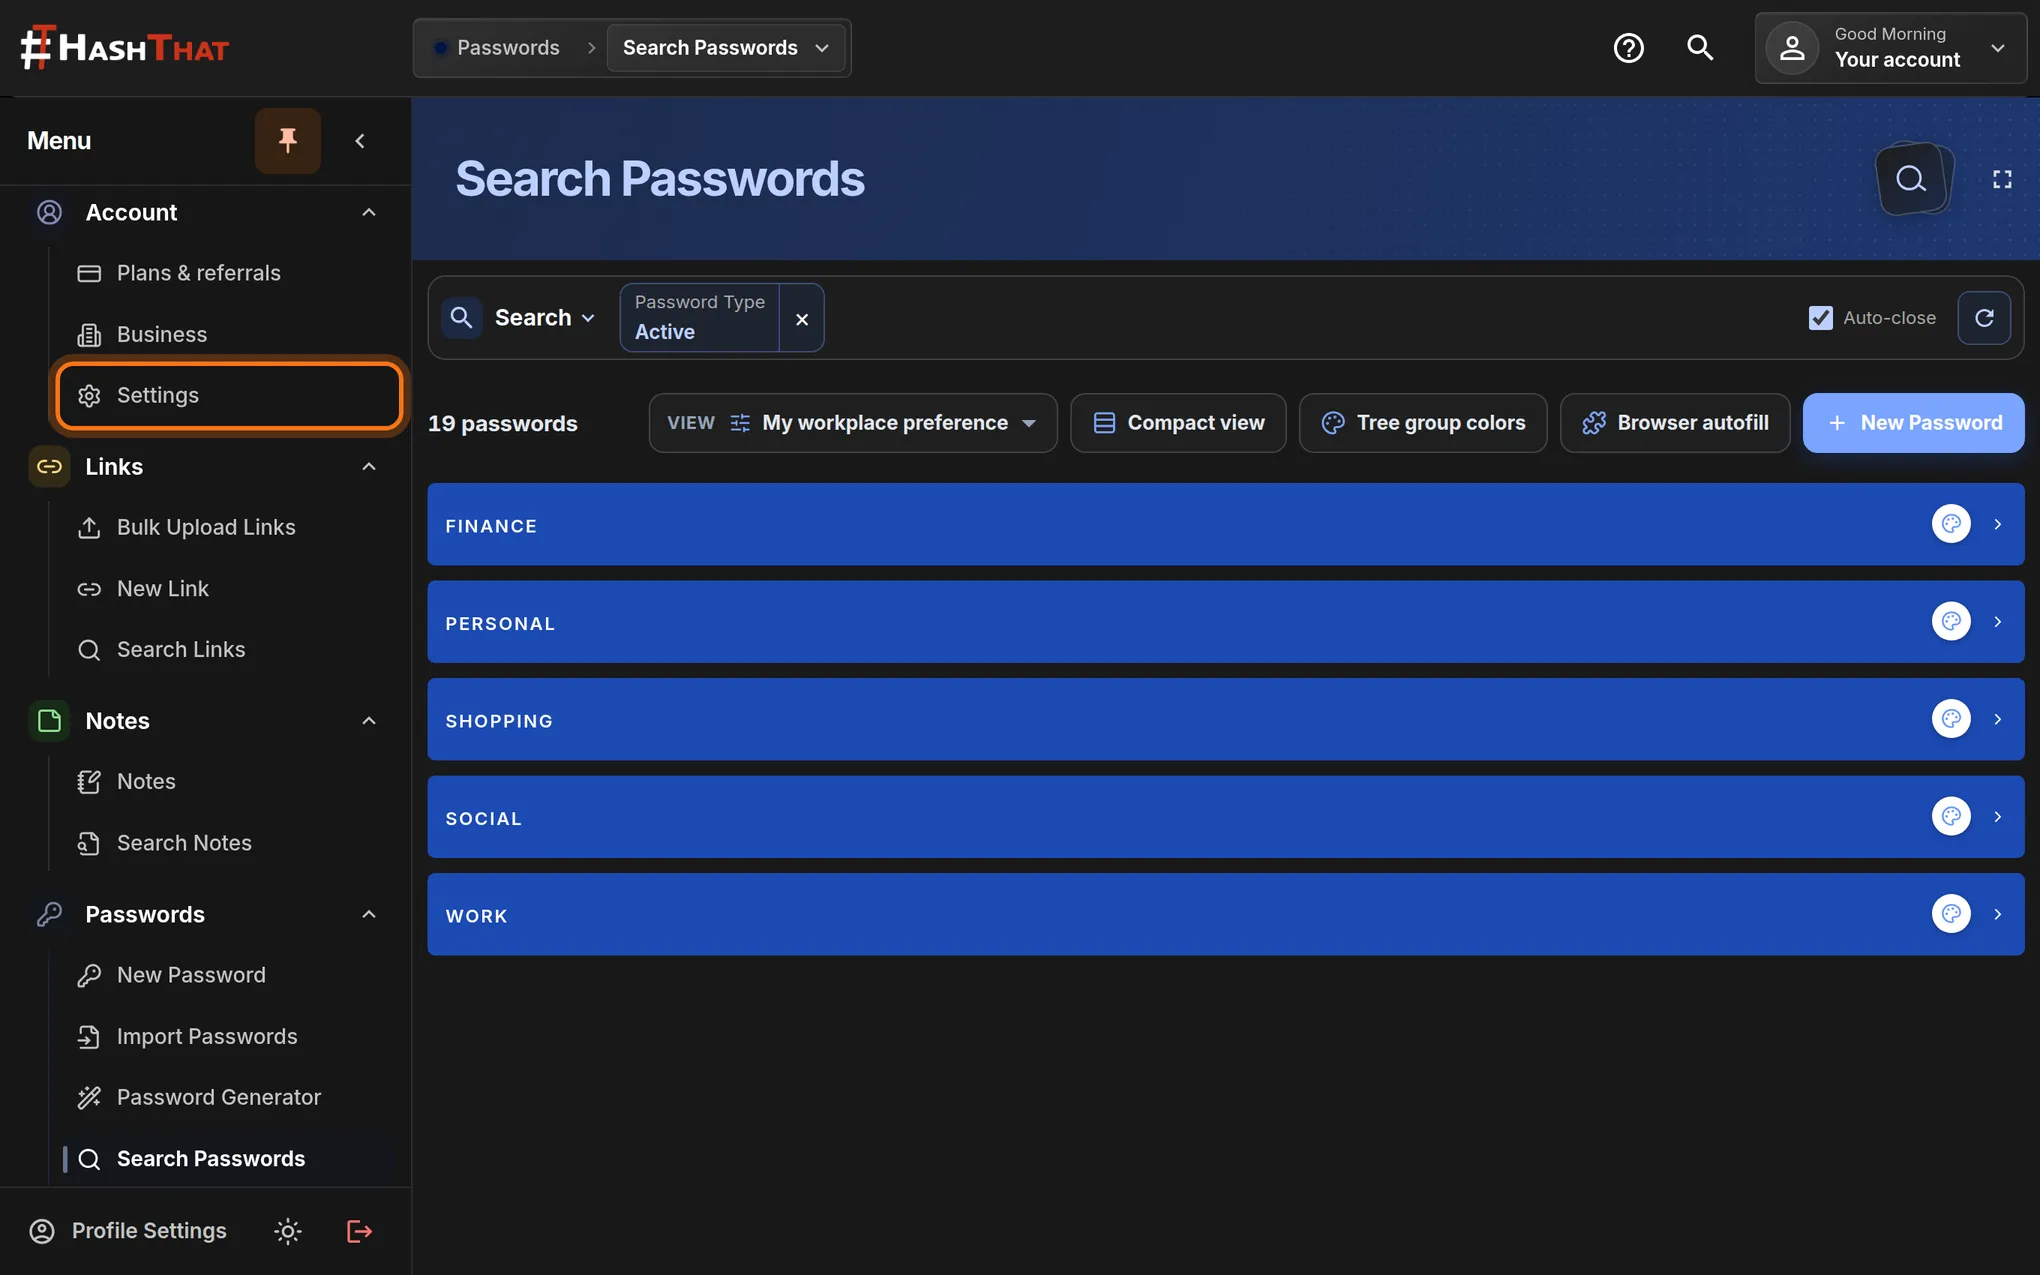
Step 1: Open Settings
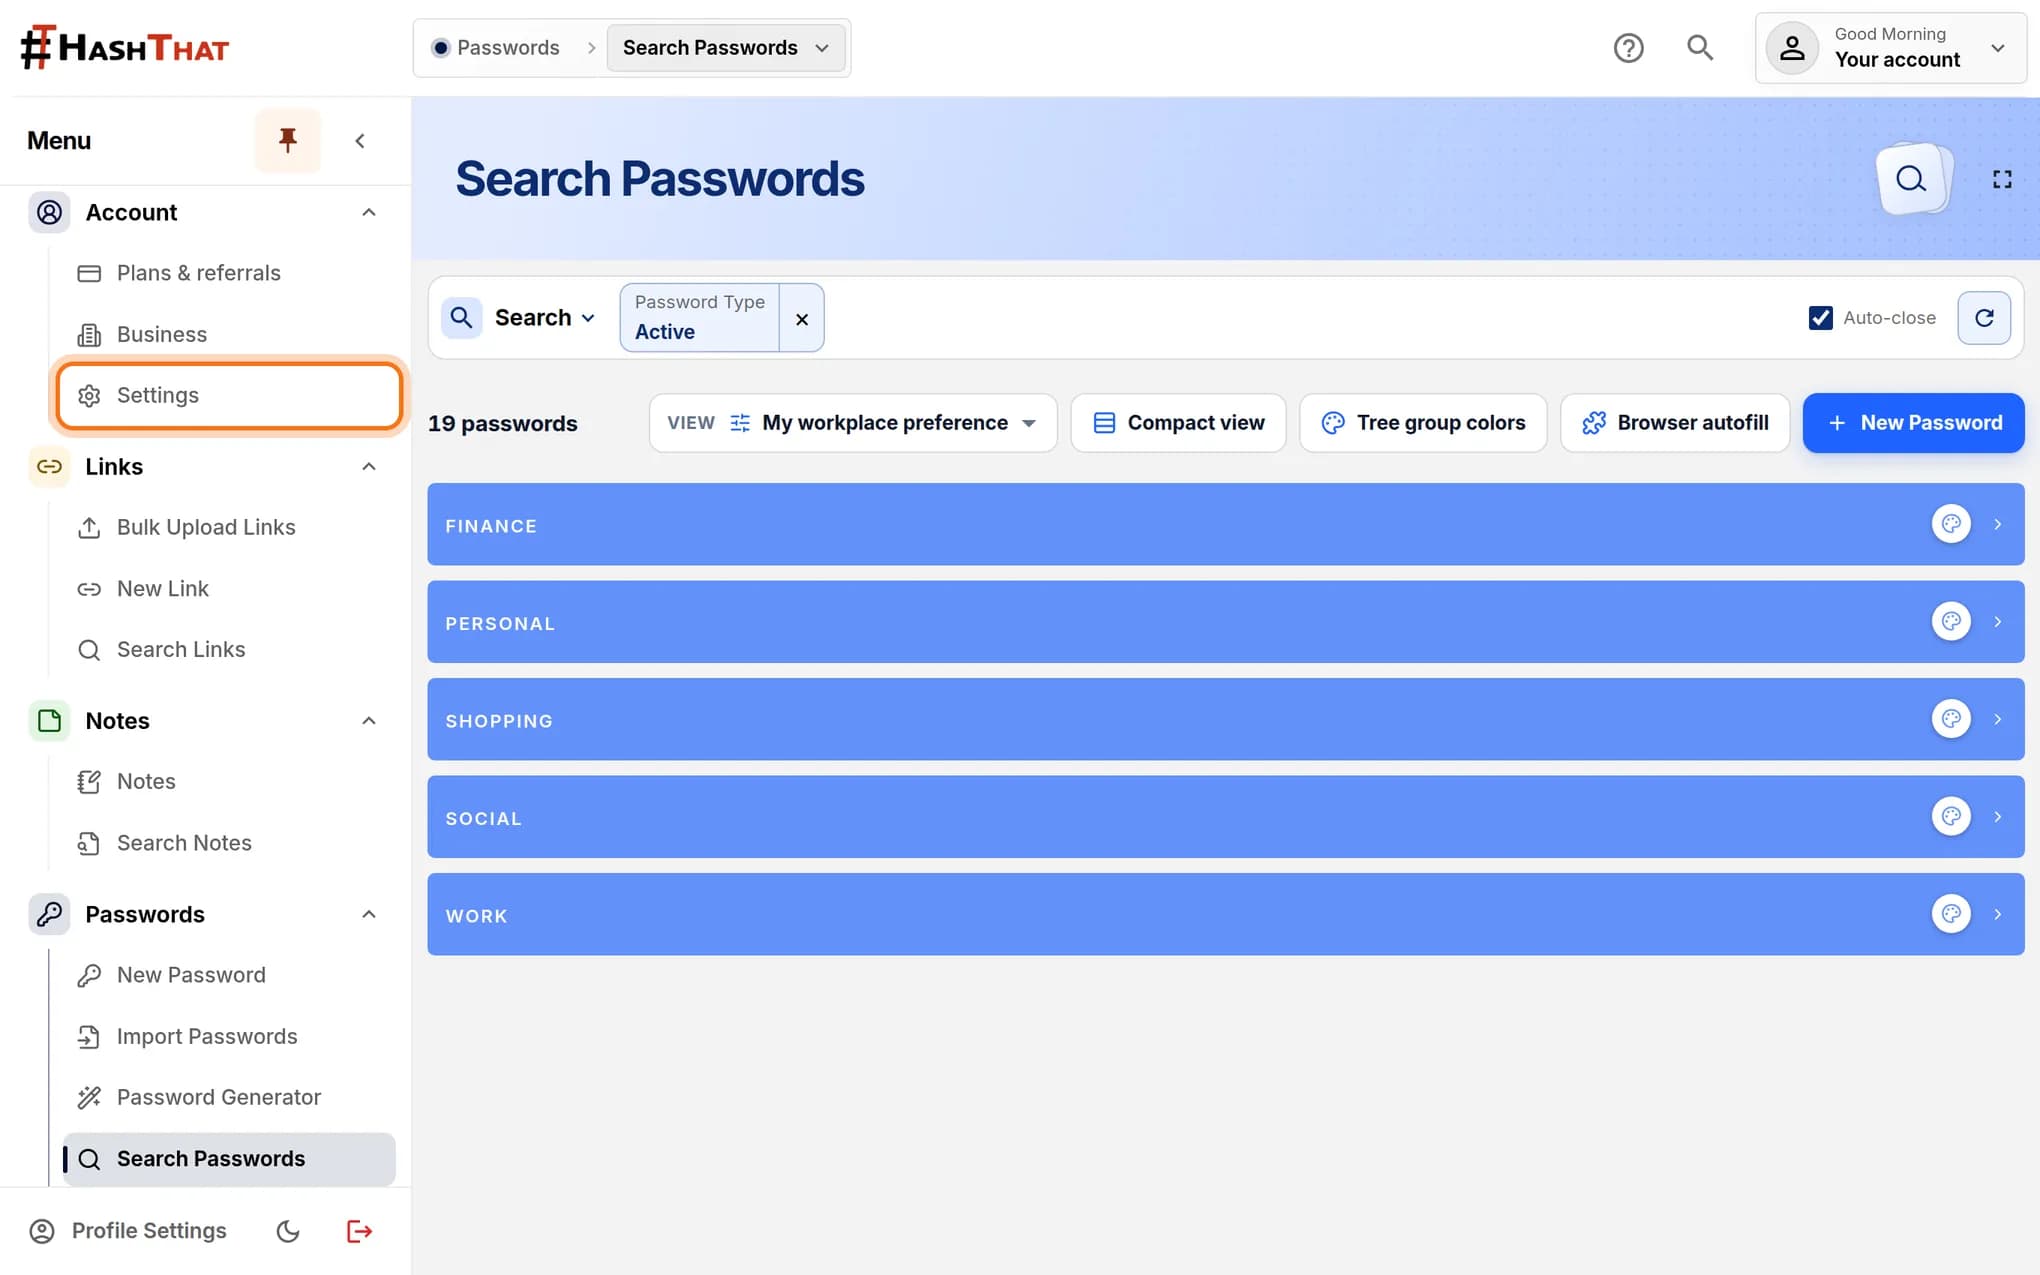
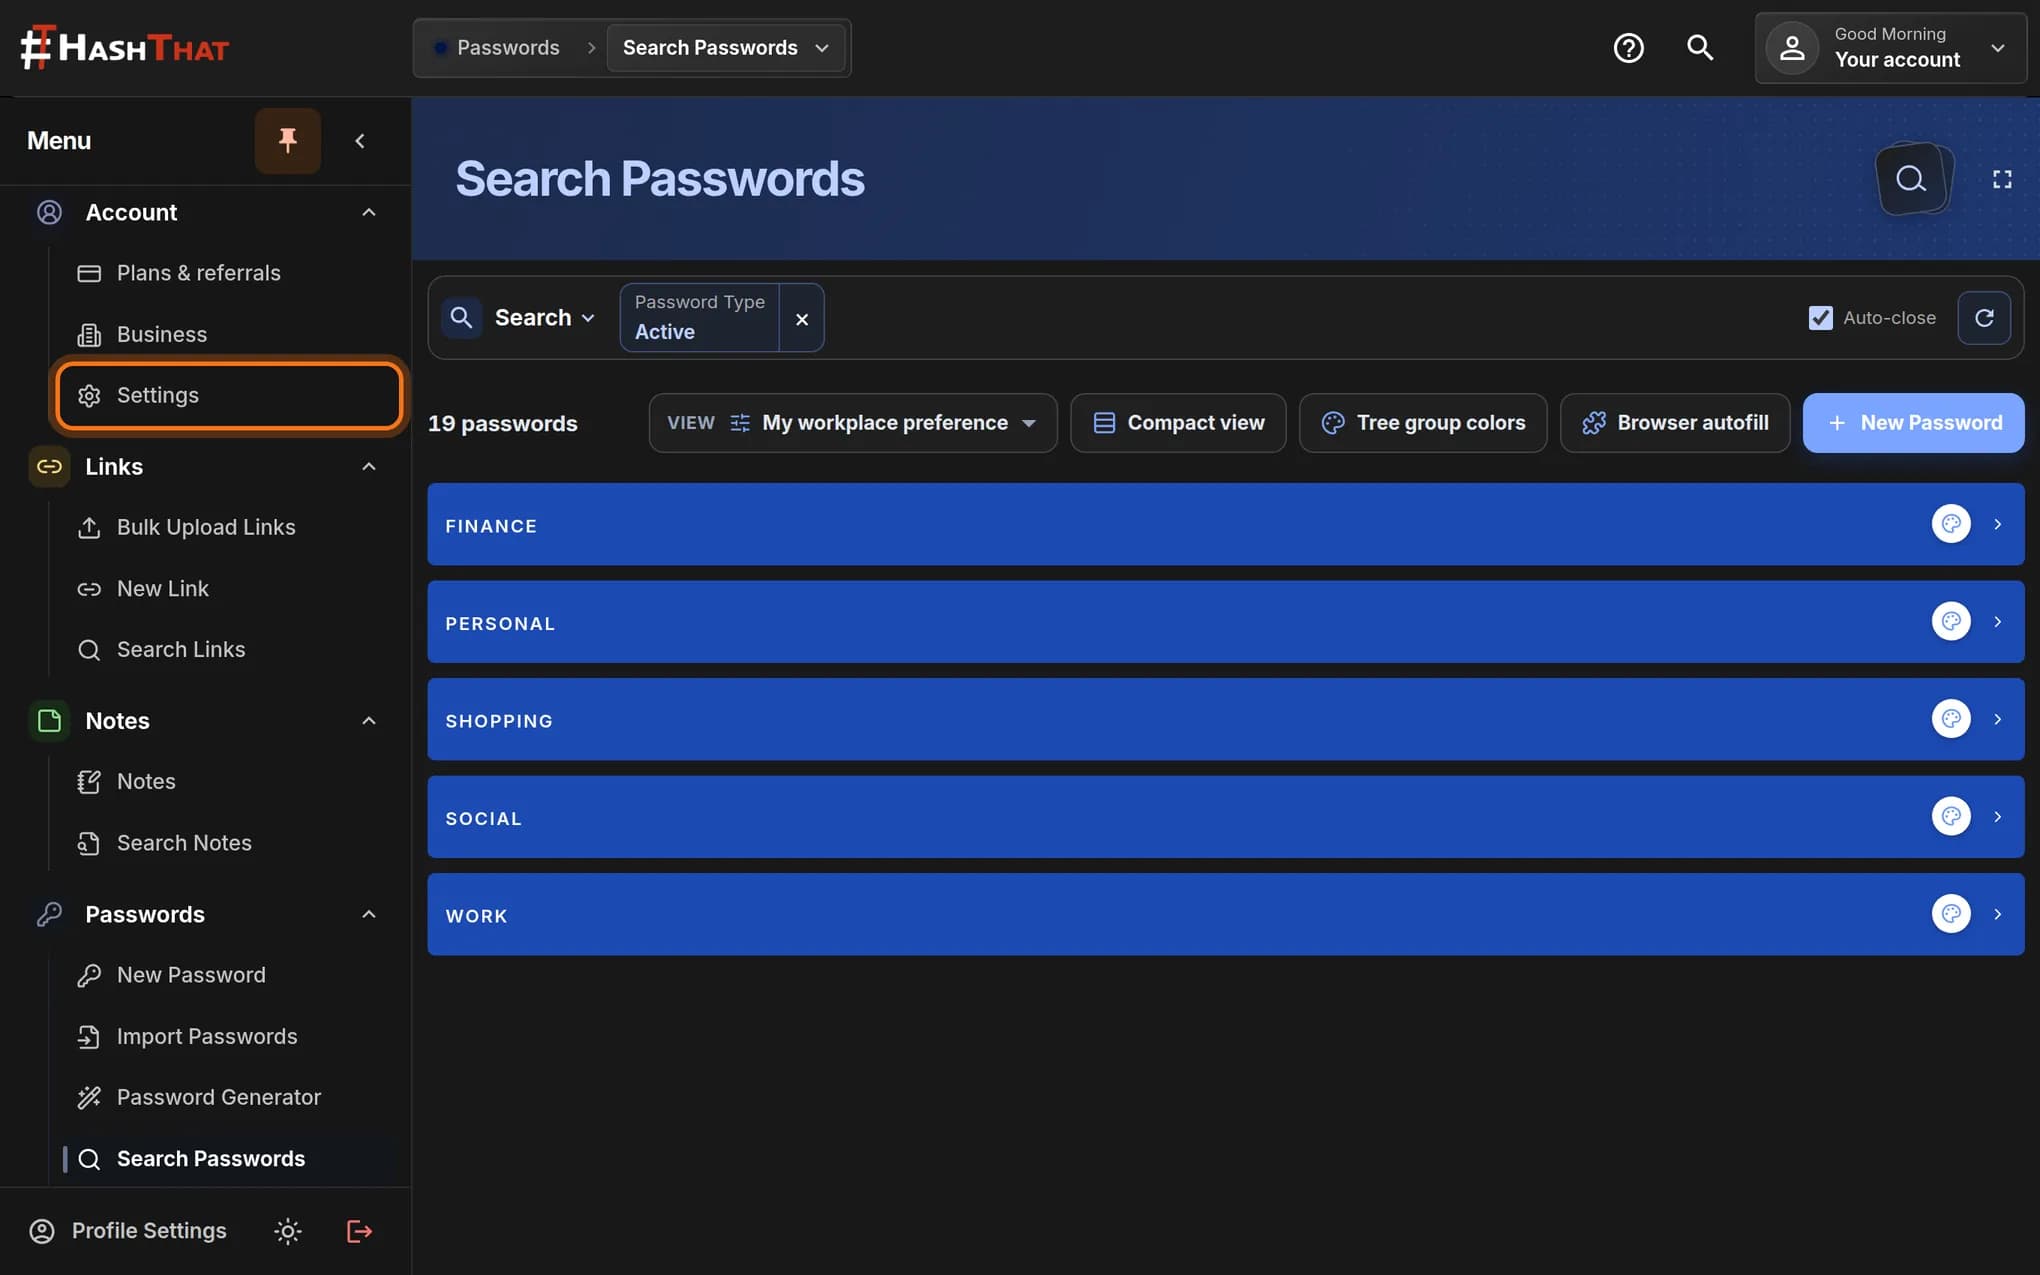
- Look at the menu on the left.
- Under Account, click Settings.
You should see: A page titled Account & Security.
 Full size
 Full size
Settings is the third item under Account. Step 2: Find two-factor authentication
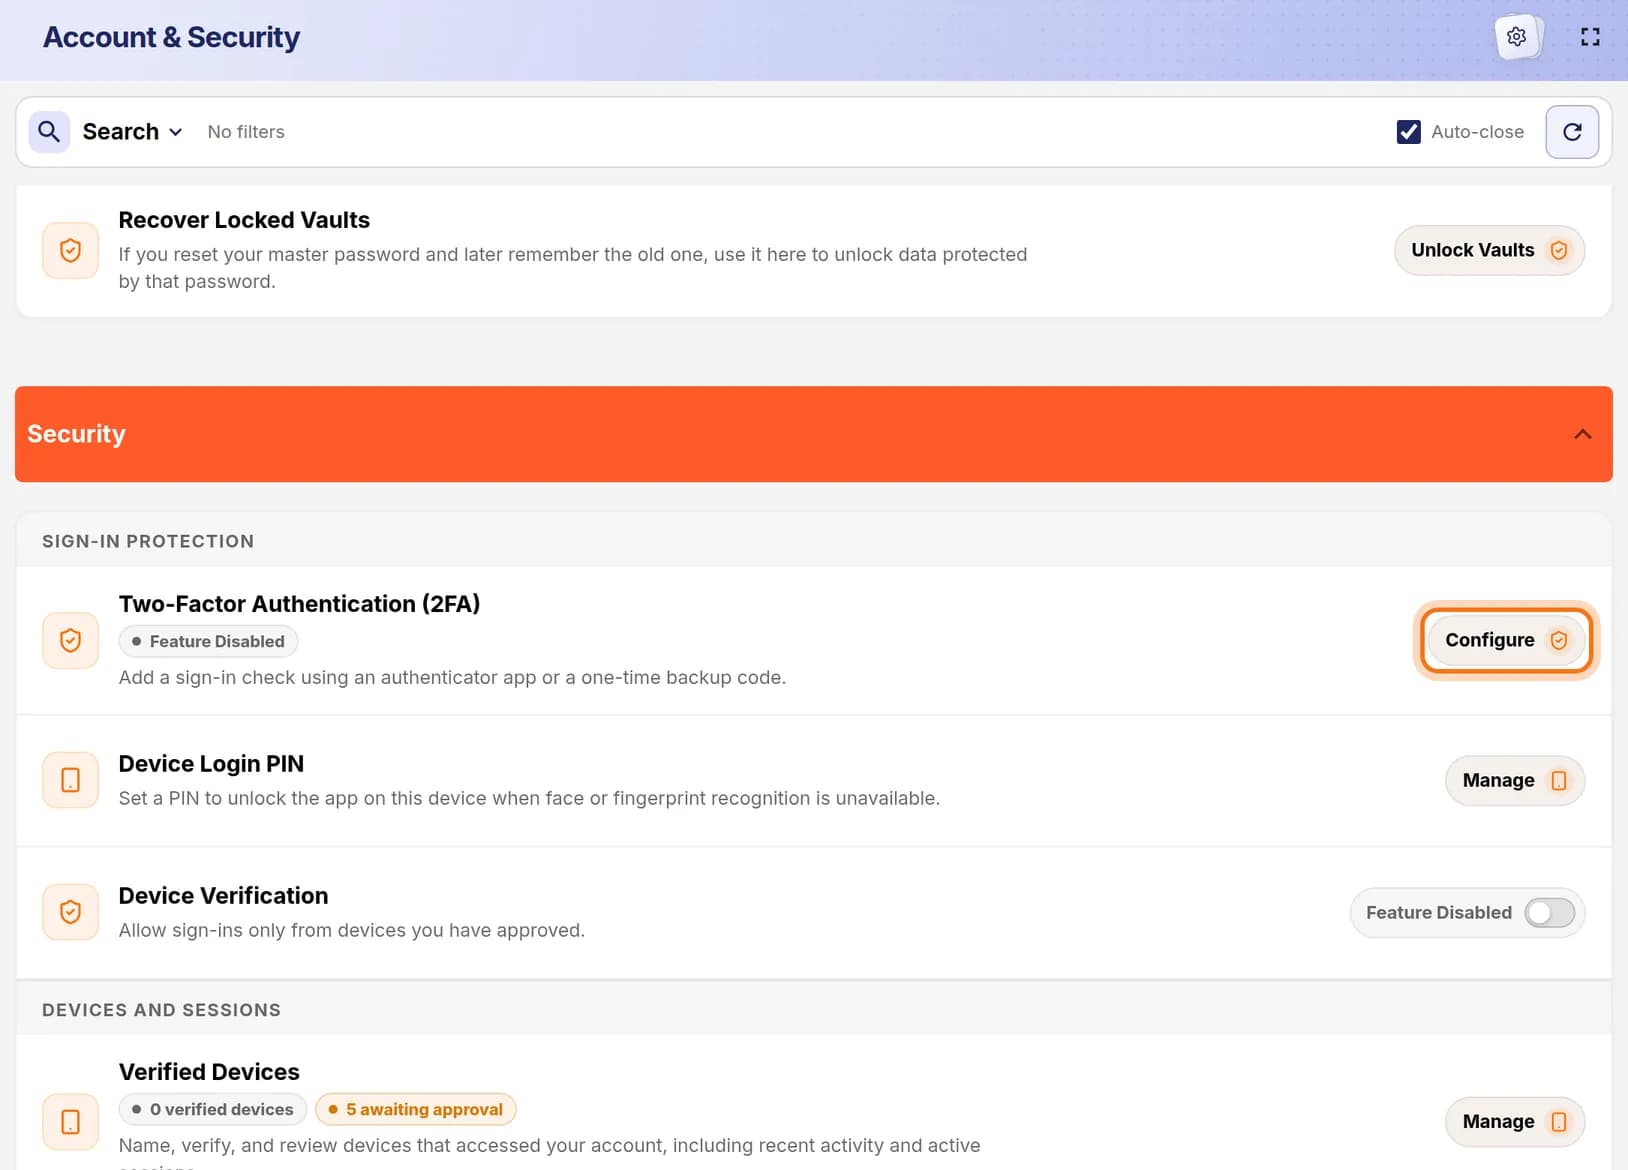
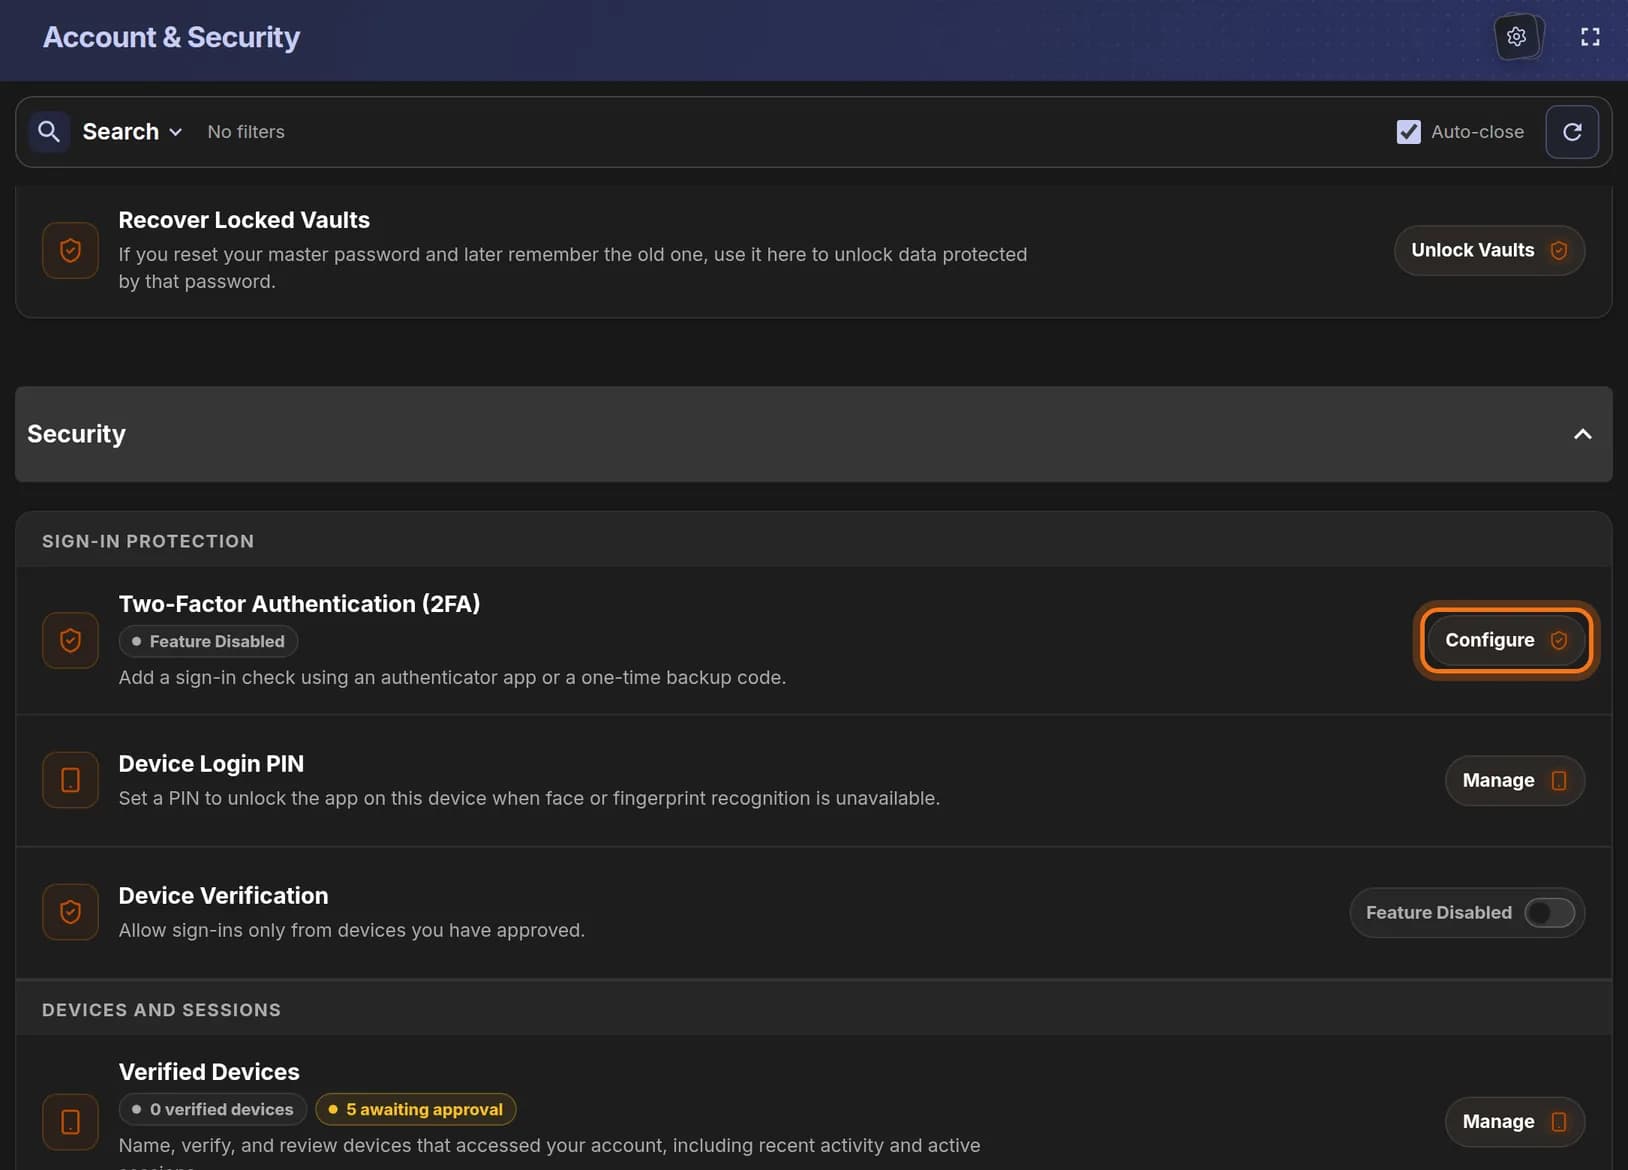
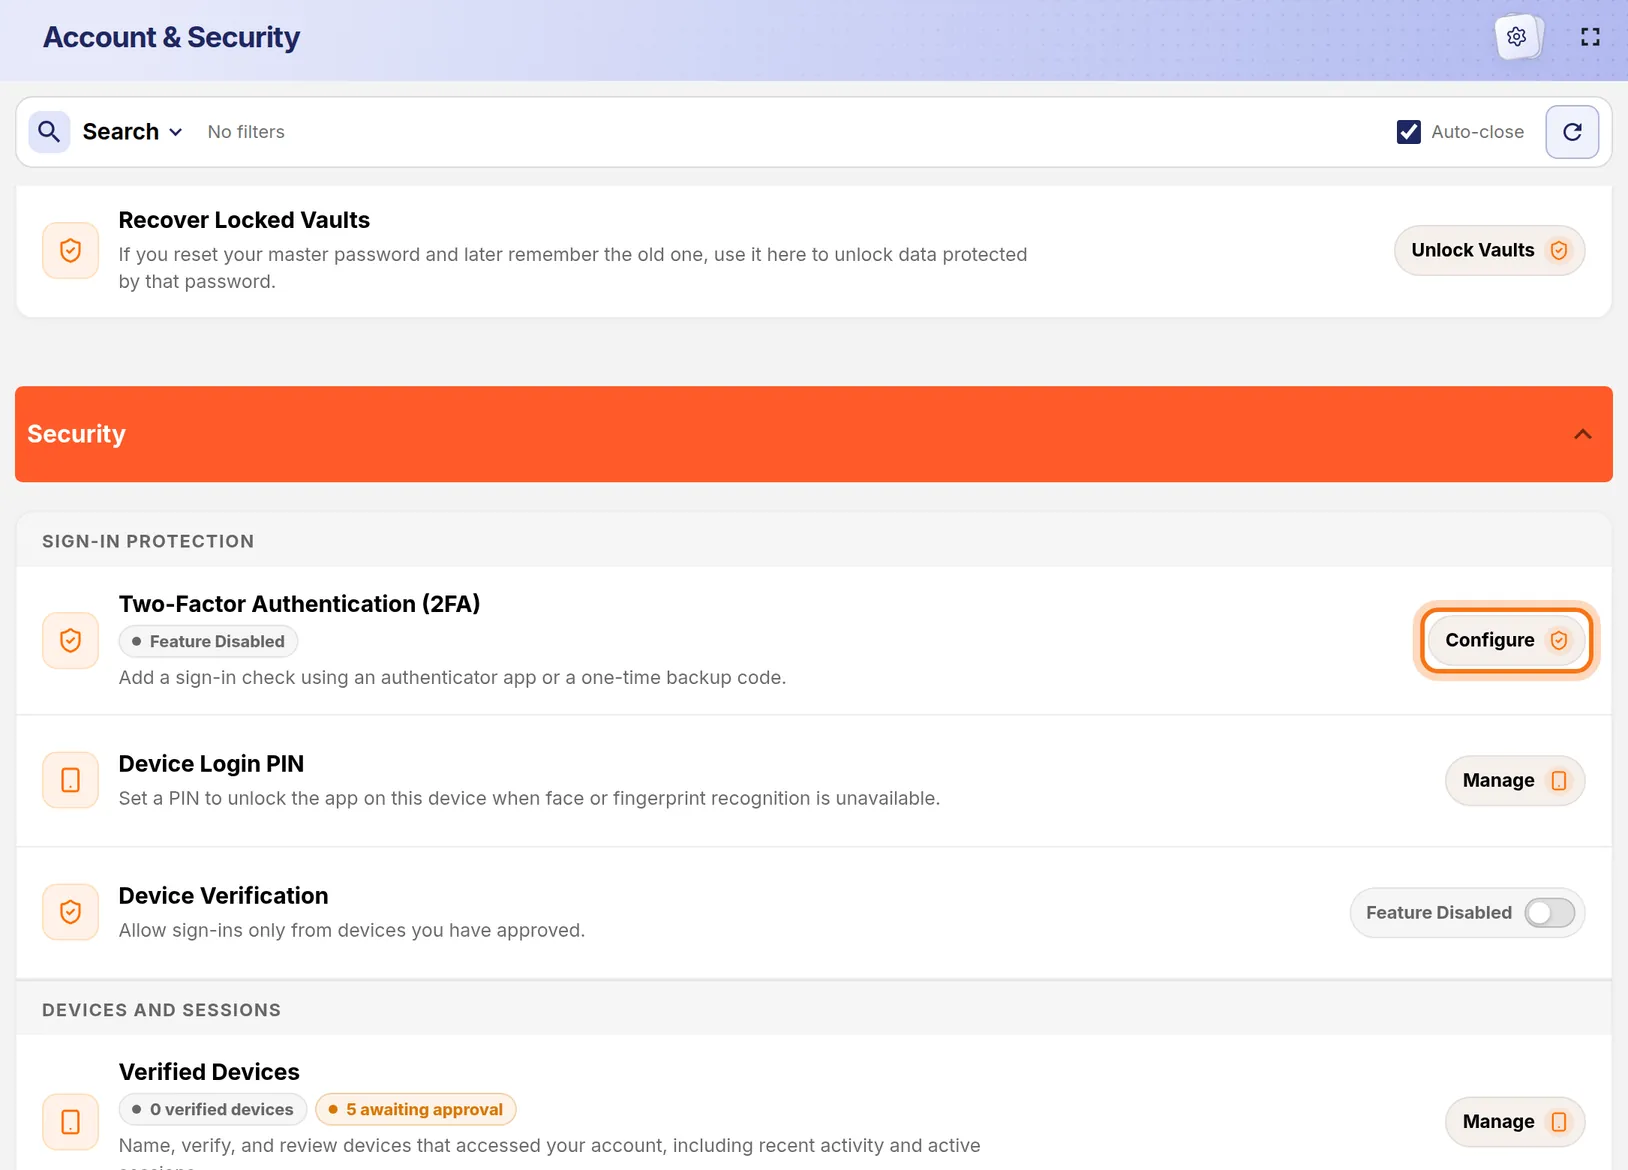
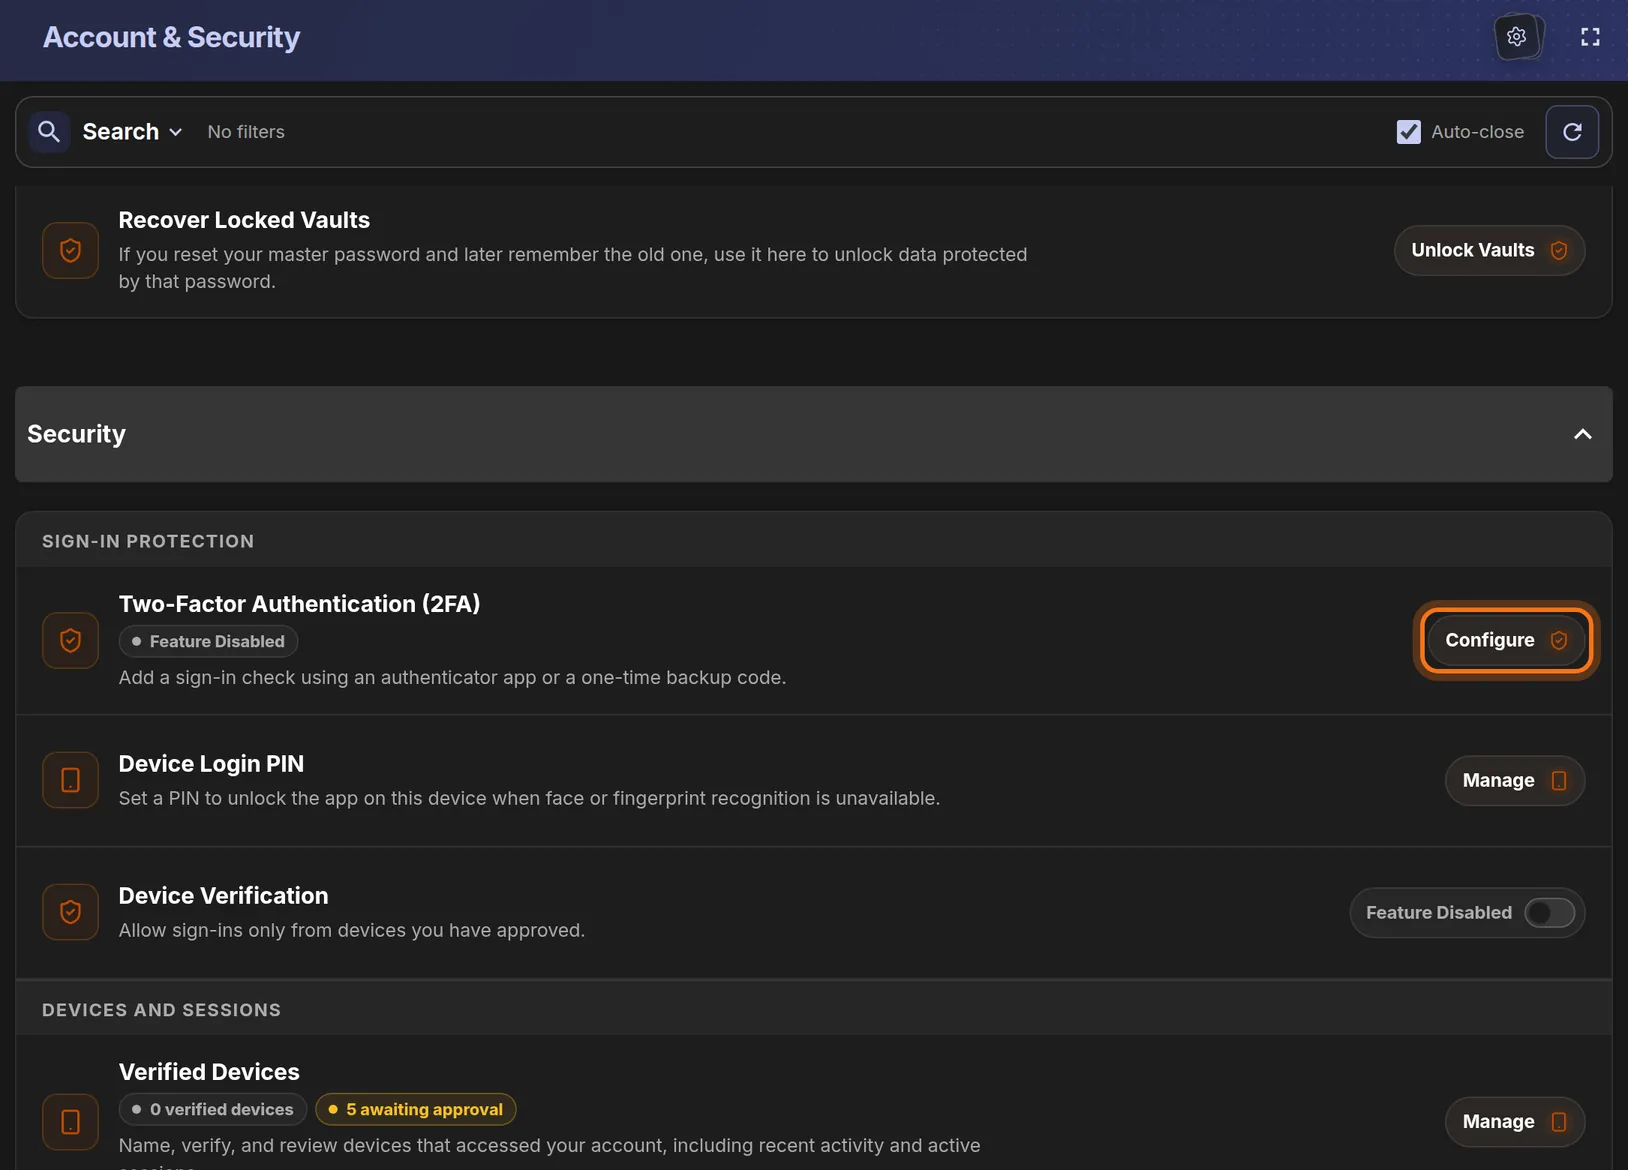
- Scroll down to the orange Security bar.
- Find the row Two-Factor Authentication (2FA). It says Feature Disabled for now.
- Click Configure at the right end of that row.
You should see: A window titled Two-factor authentication.
 Full size
 Full size
The row sits at the top of the Security section, under Sign-in protection. Step 3: Confirm it is you
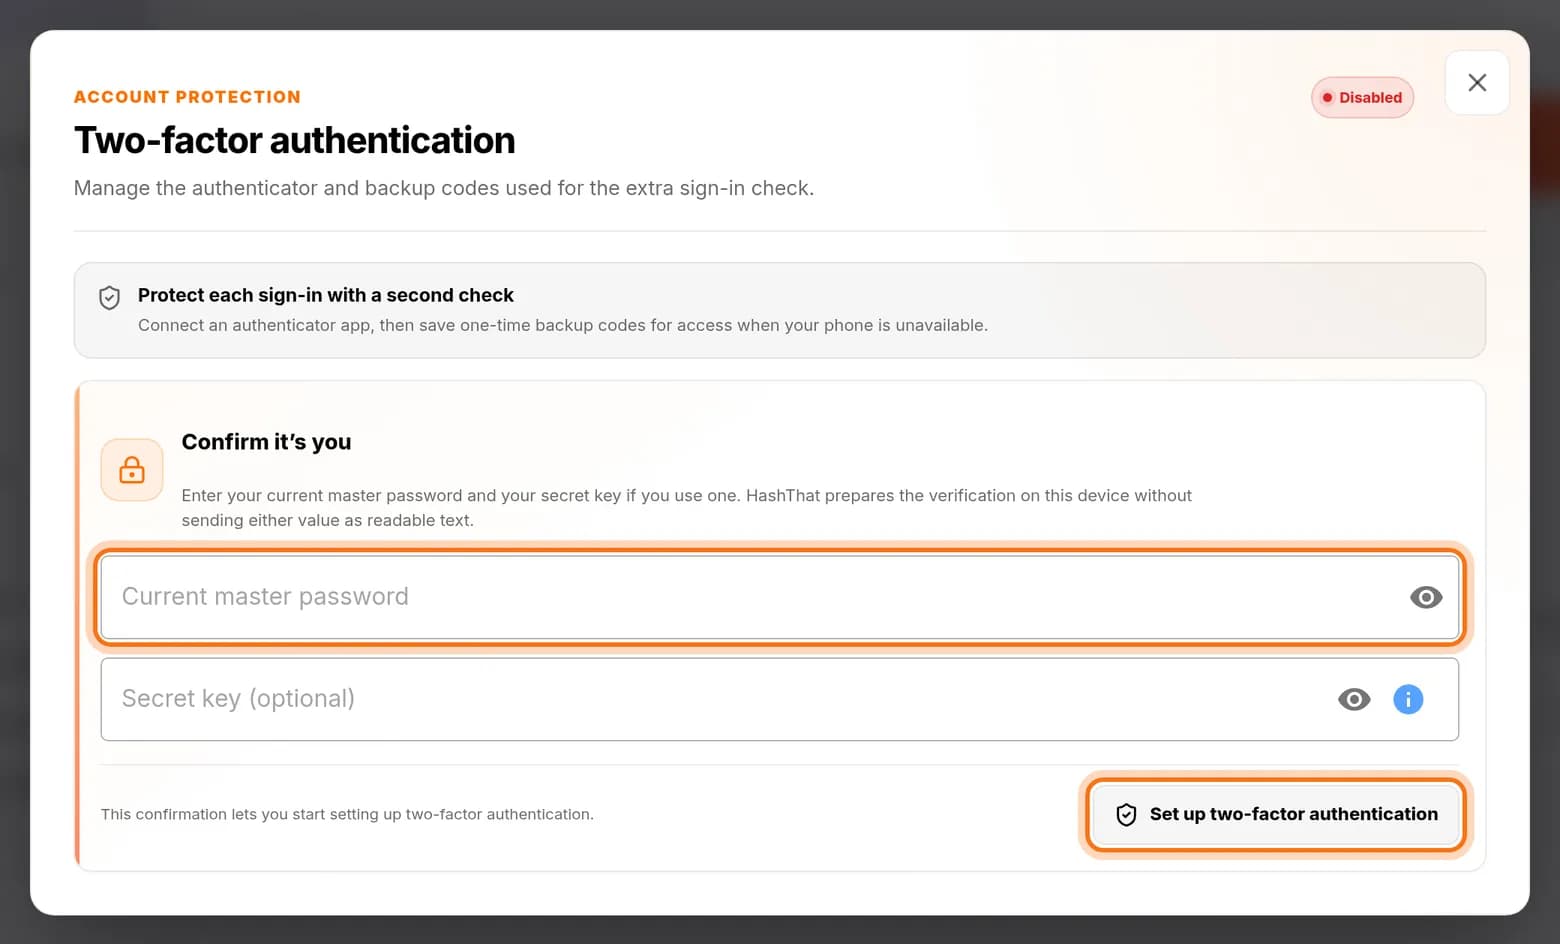
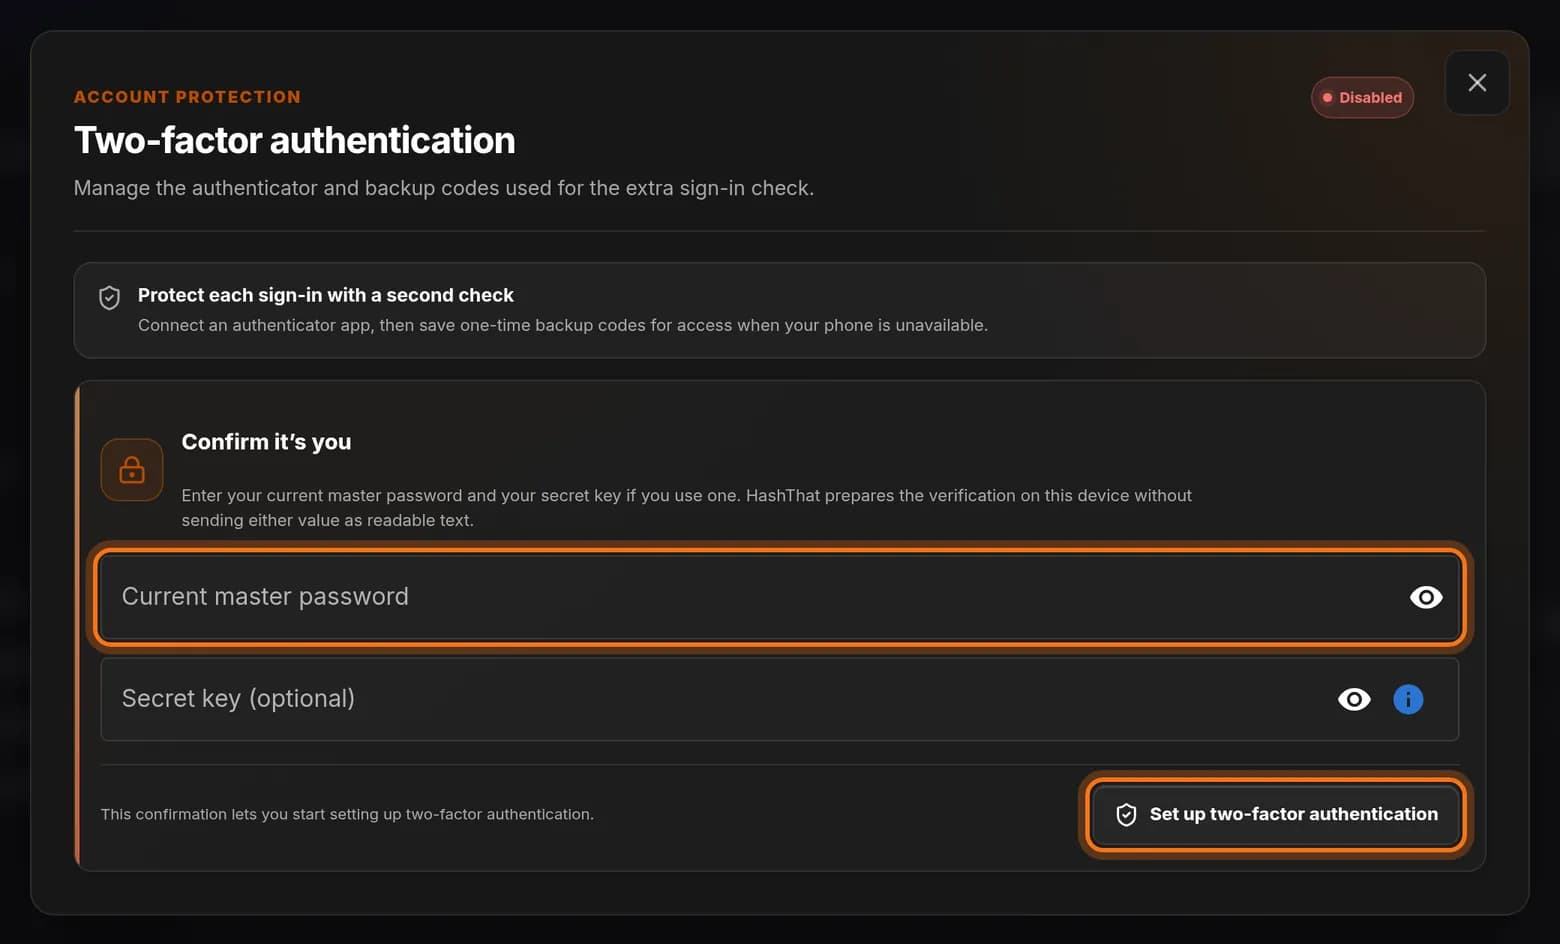
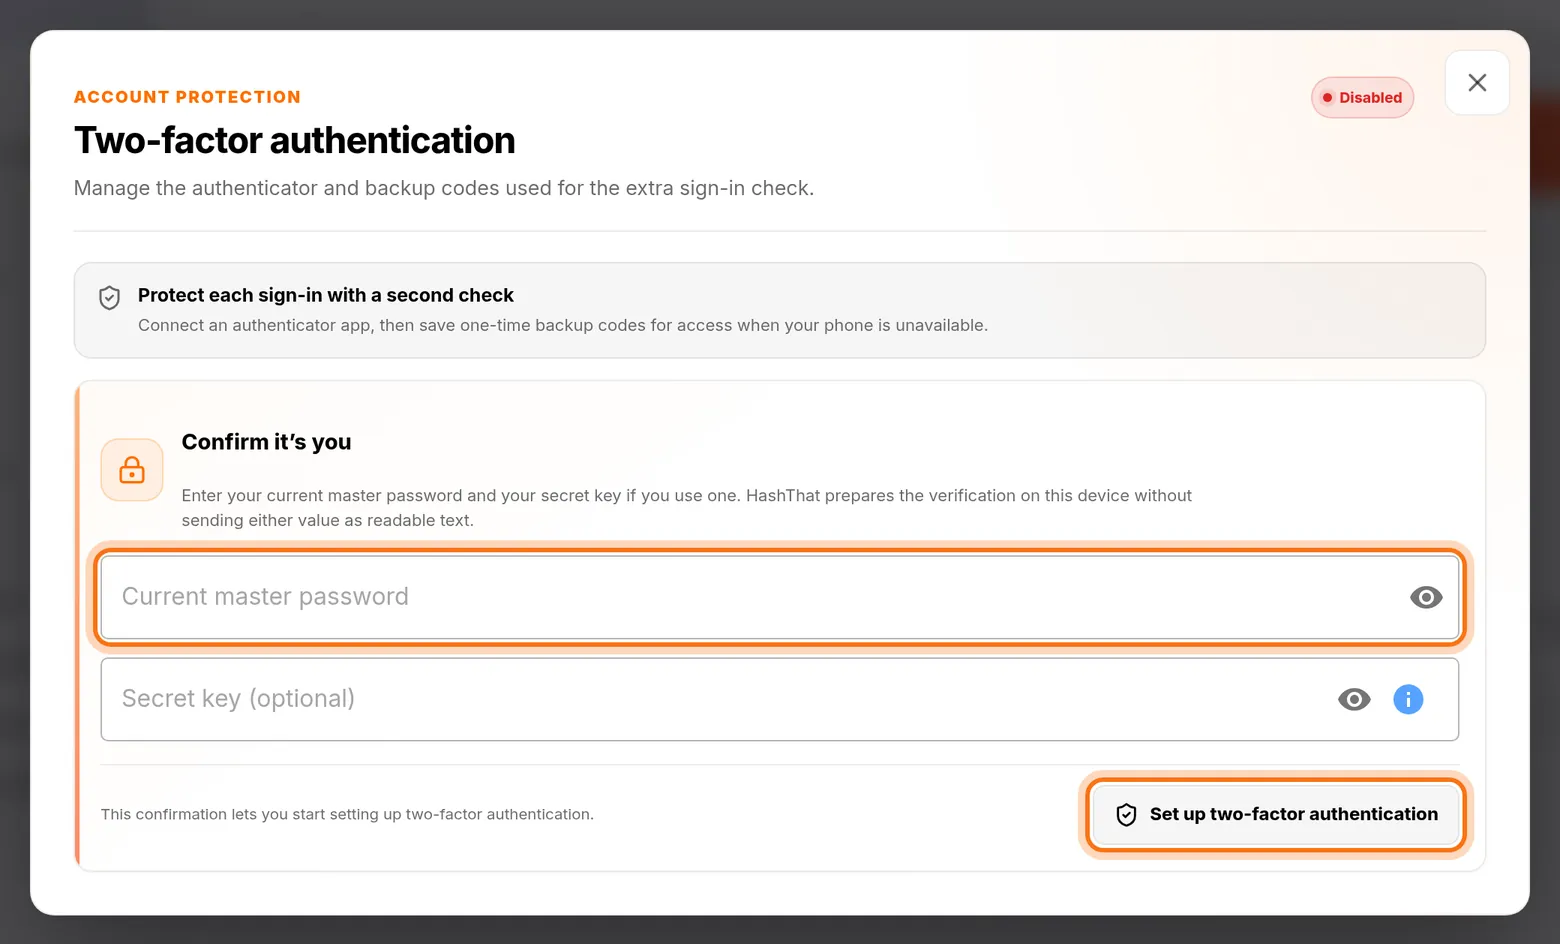
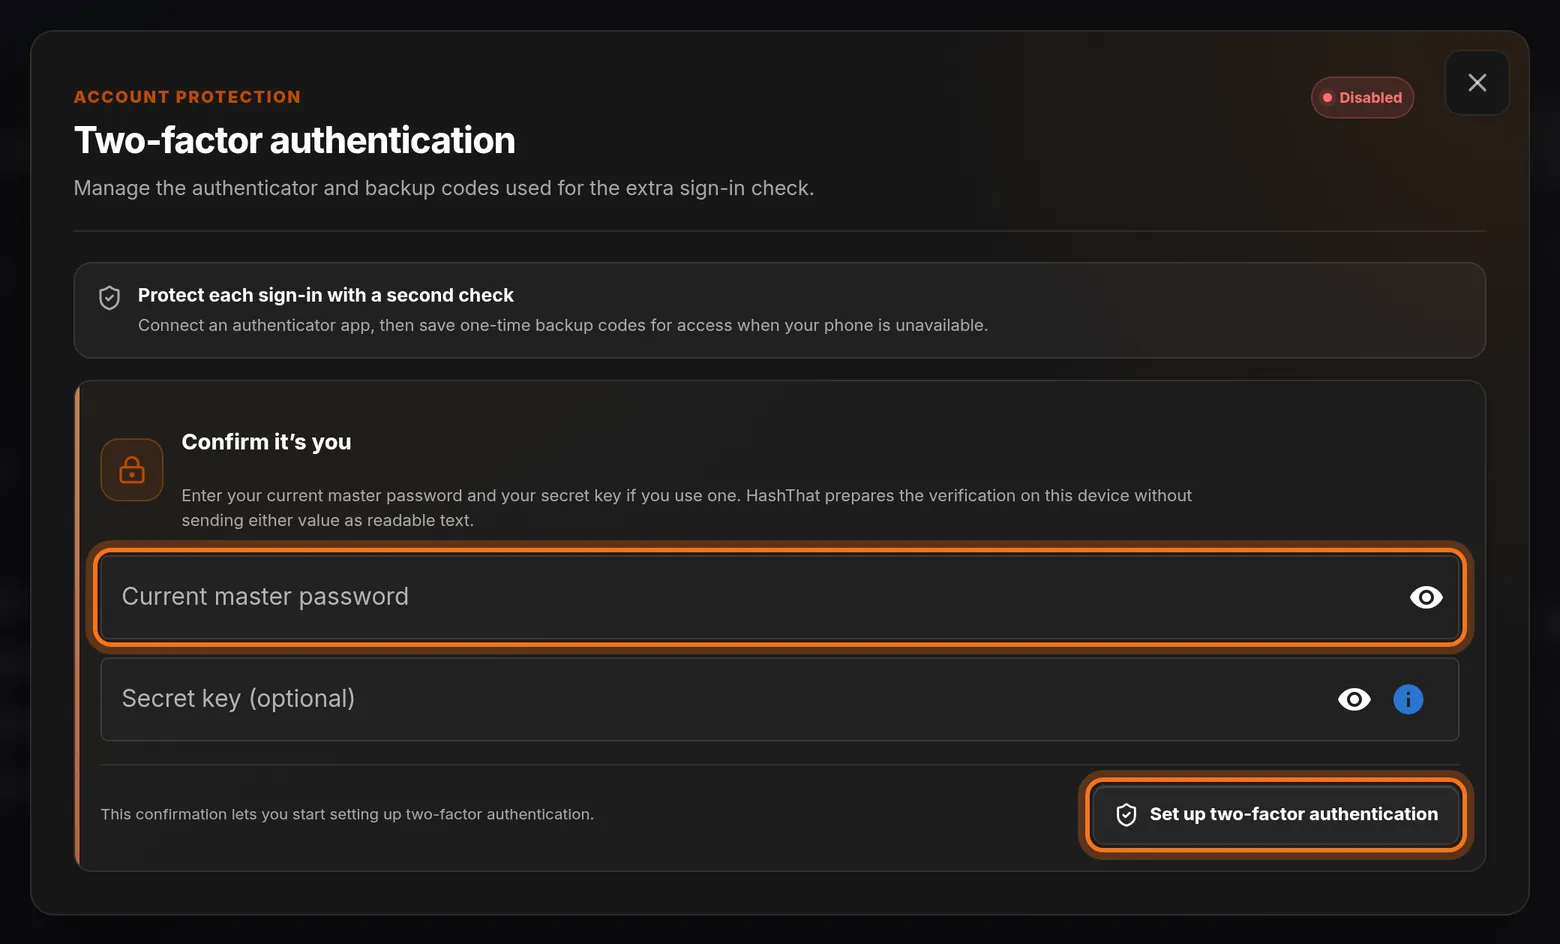
- Click Current master password and type your master password.
- If you use a secret key, type it in Secret key (optional). Otherwise leave it empty.
- Click Set up two-factor authentication.
 Full size
 Full size
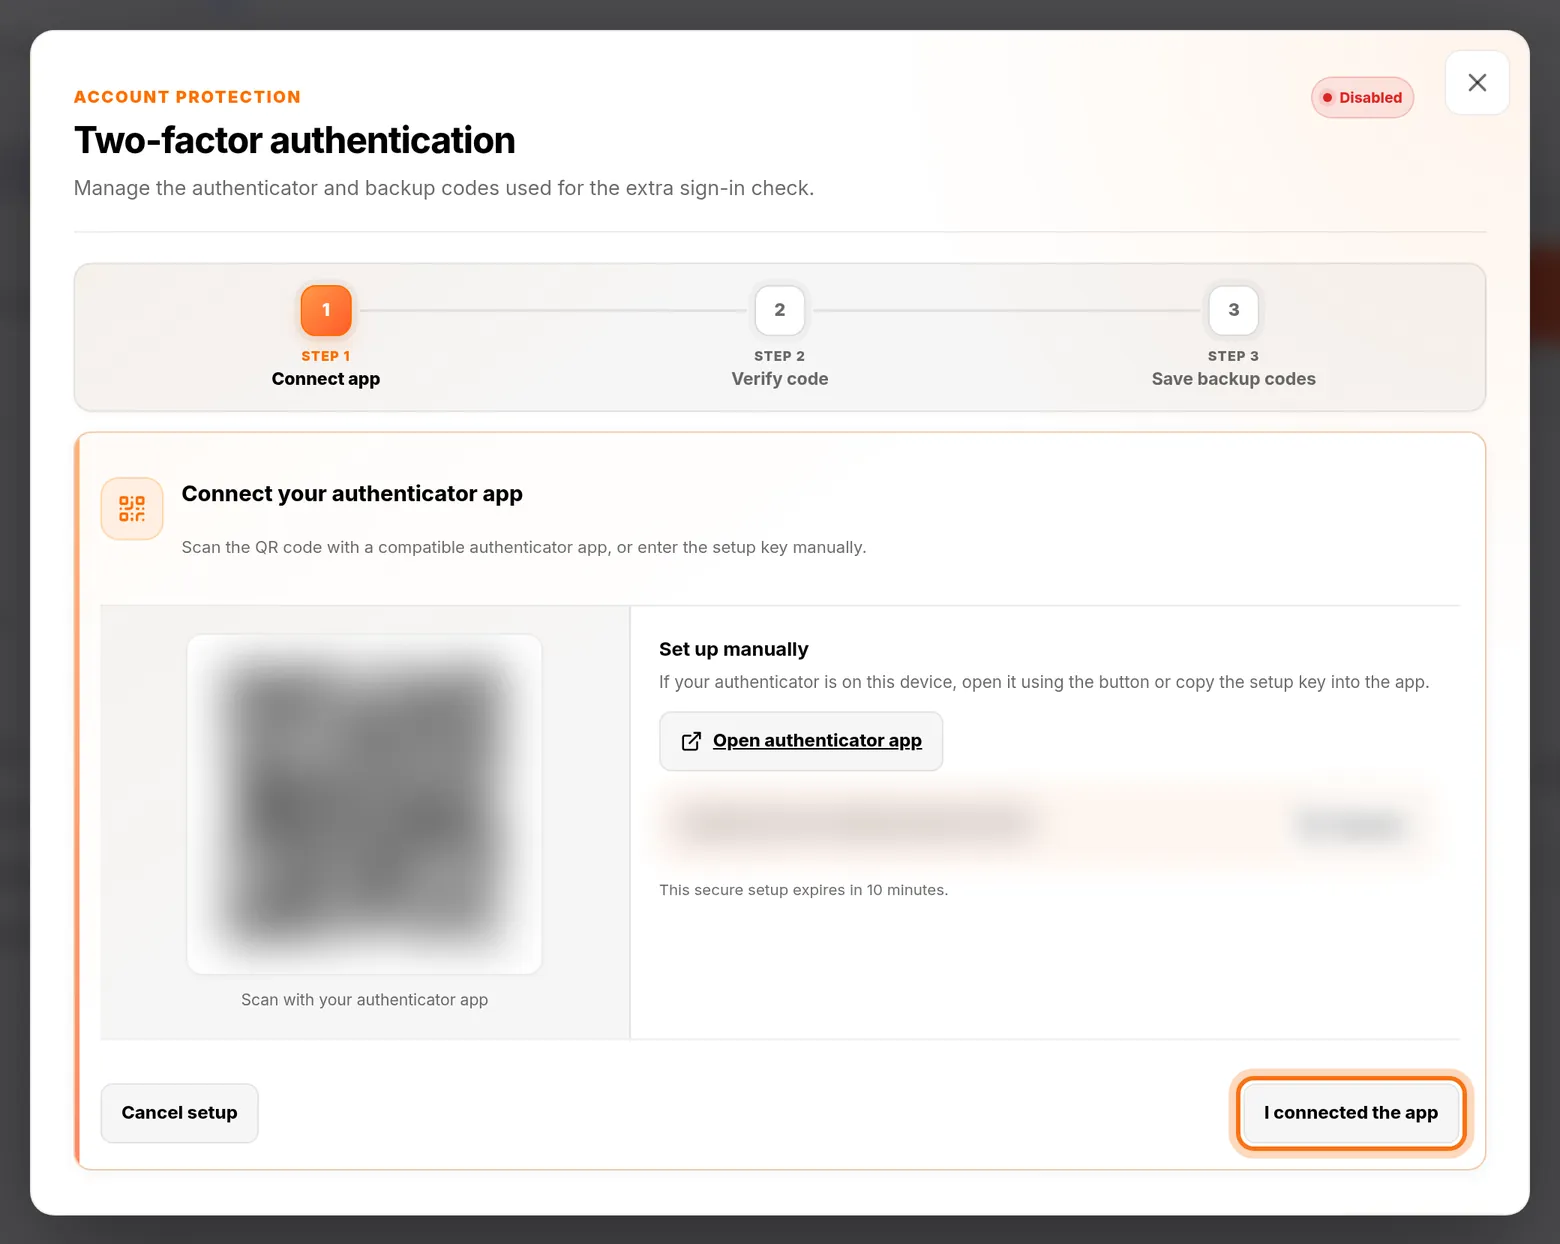
HashThat checks these on your device. They are not sent as readable text. Step 4: Scan the QR code with your phone
- Open the authenticator app on your phone.
- Tap its button for adding an account. It is usually a + sign.
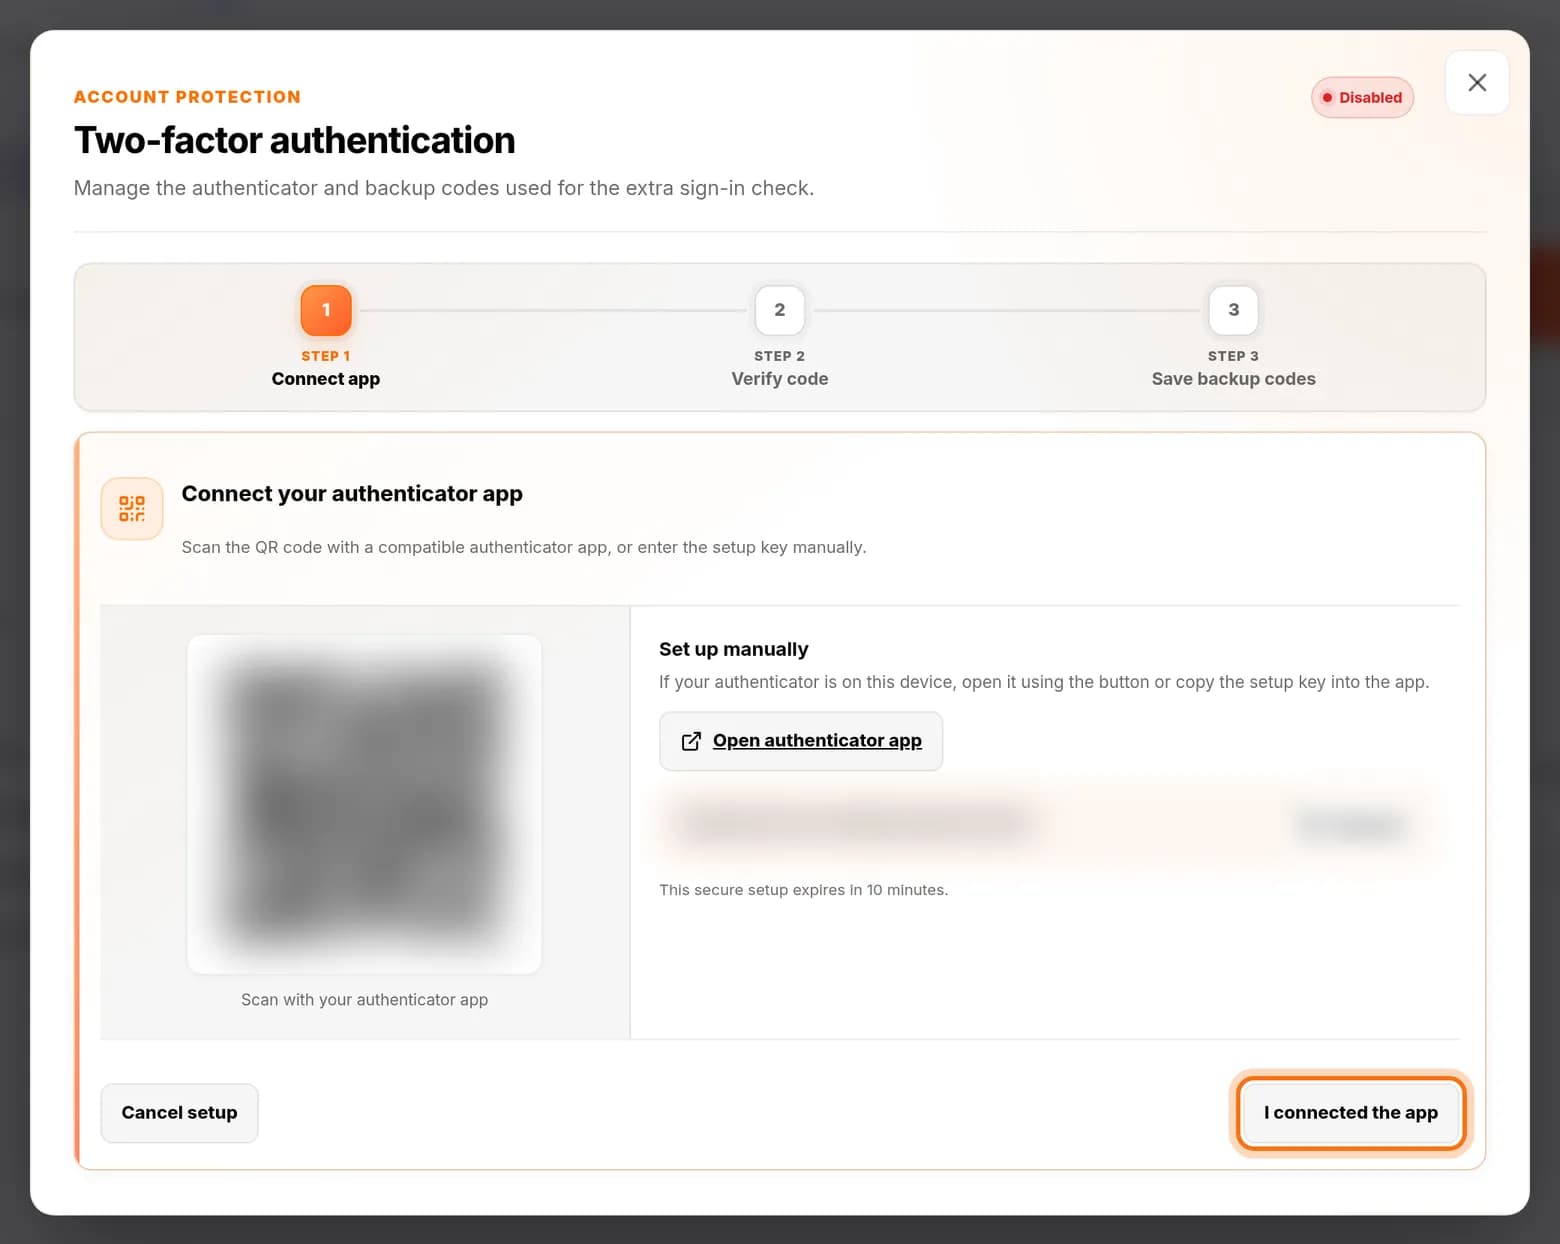
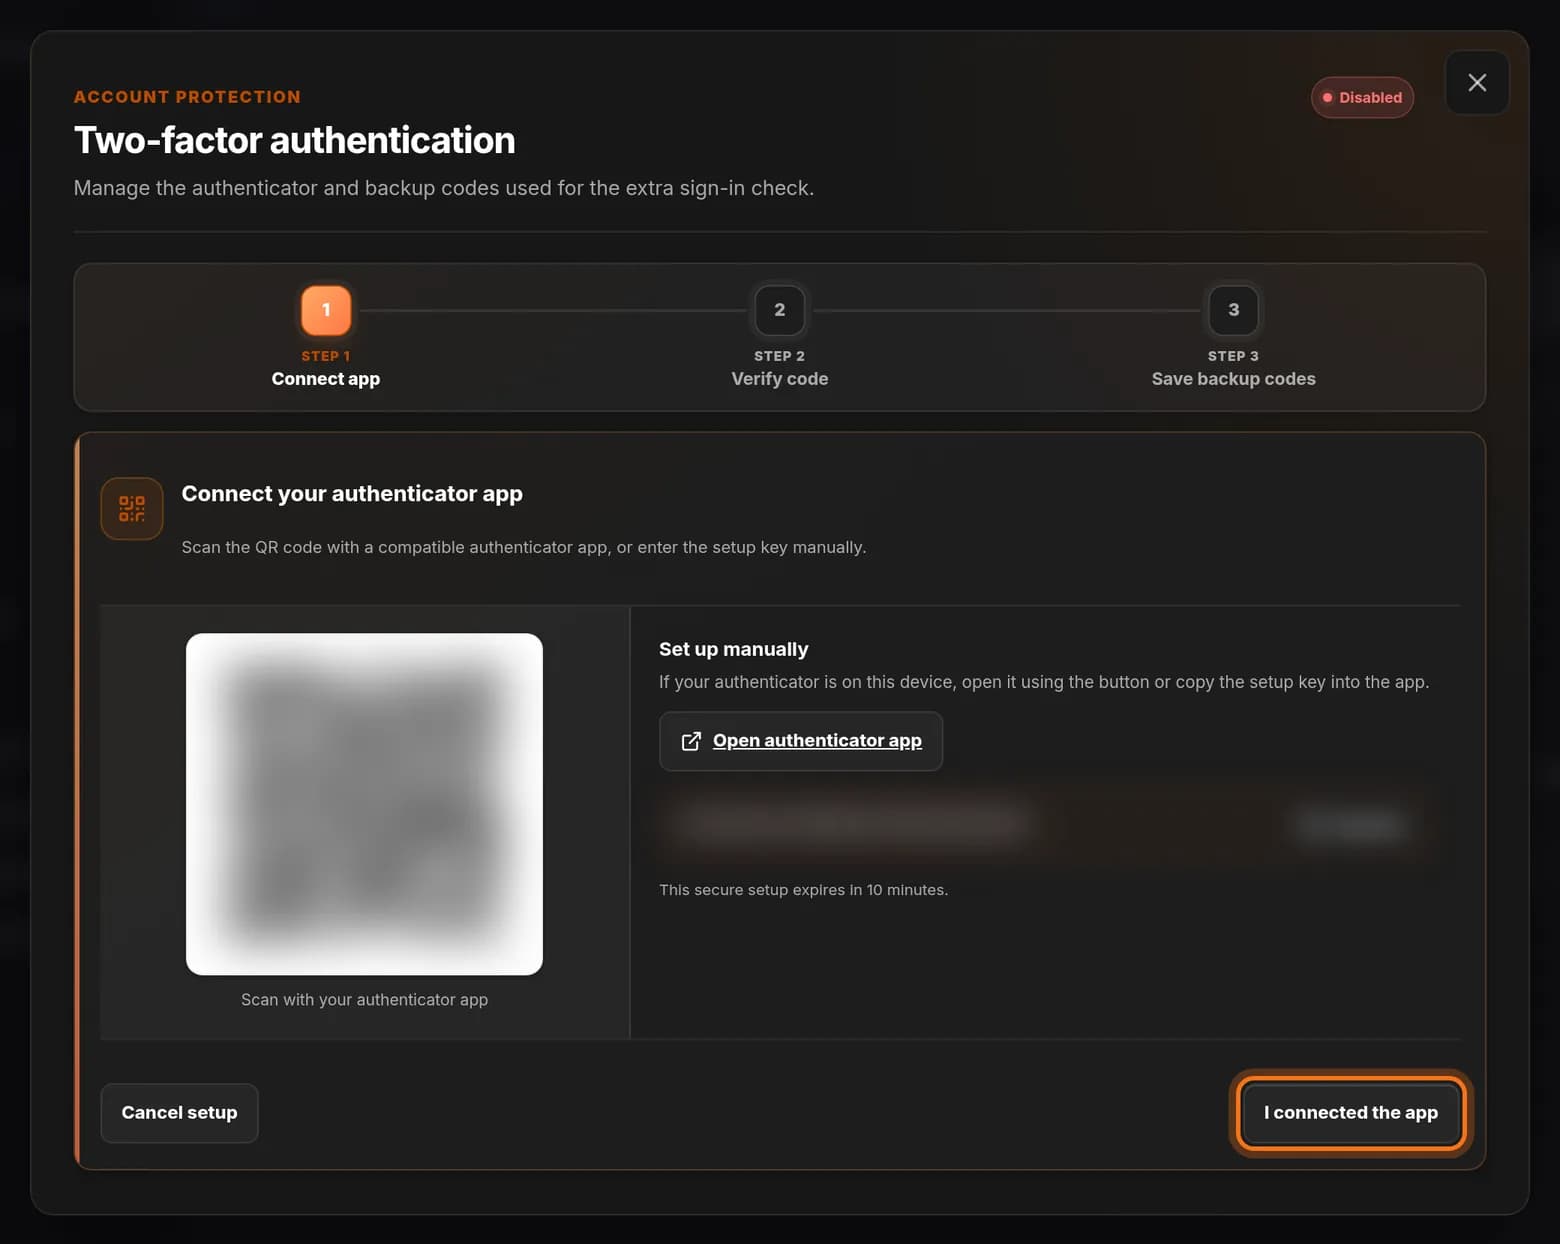
- Choose Scan a QR code and point the phone’s camera at the square code on your screen.
- When the app shows a HashThat entry with six digits, click I connected the app.
 Full size
 Full size
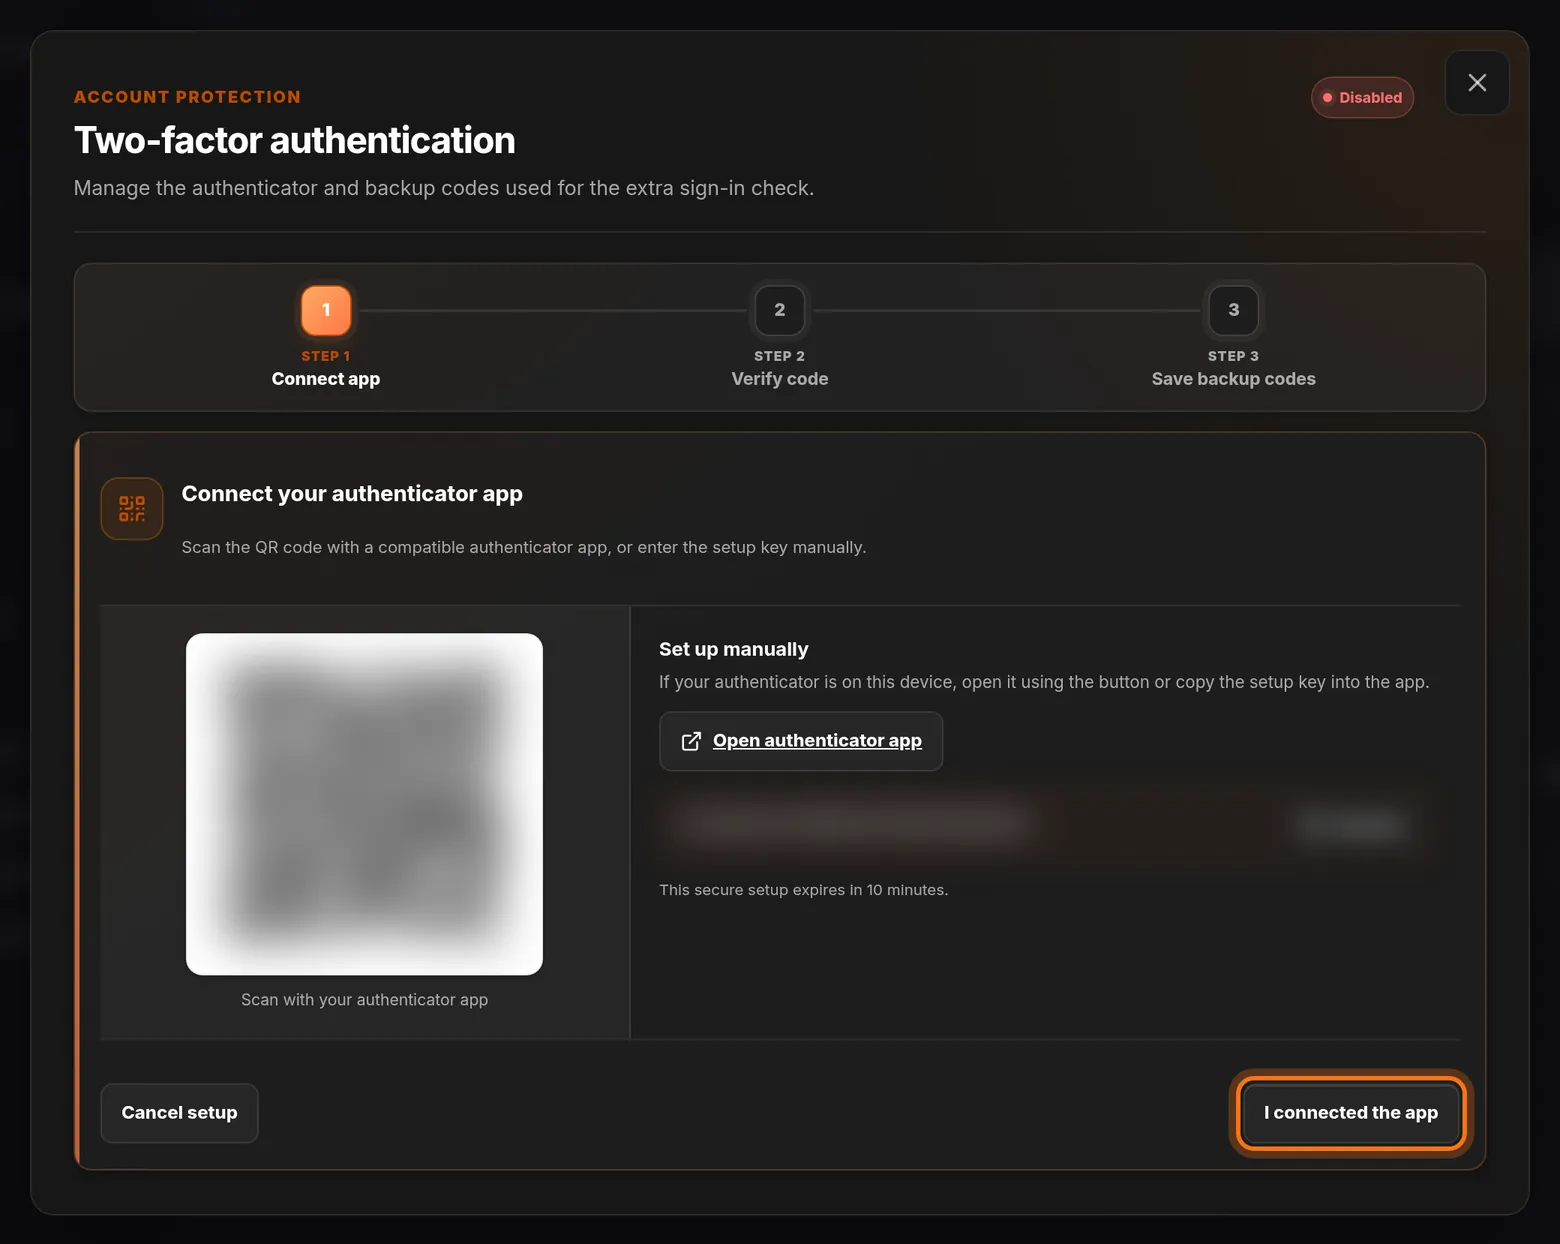
Your own QR code and setup key appear here. They are blurred in this picture. Phone and HashThat on the same device? Use Open authenticator app, or click Copy key and paste the setup key into the app instead of scanning.
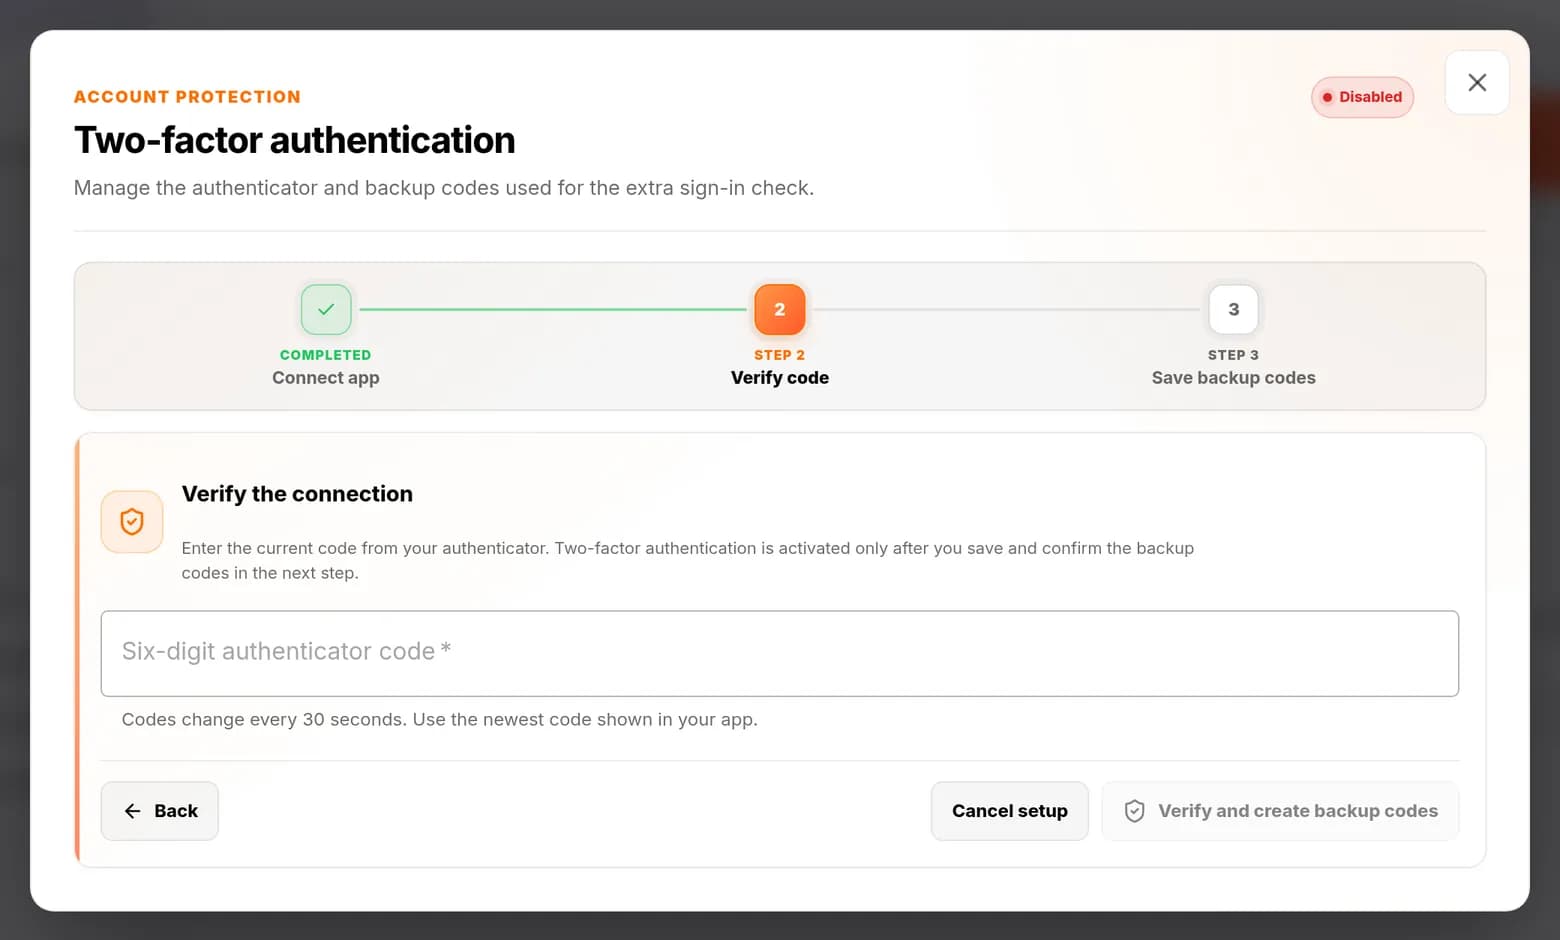
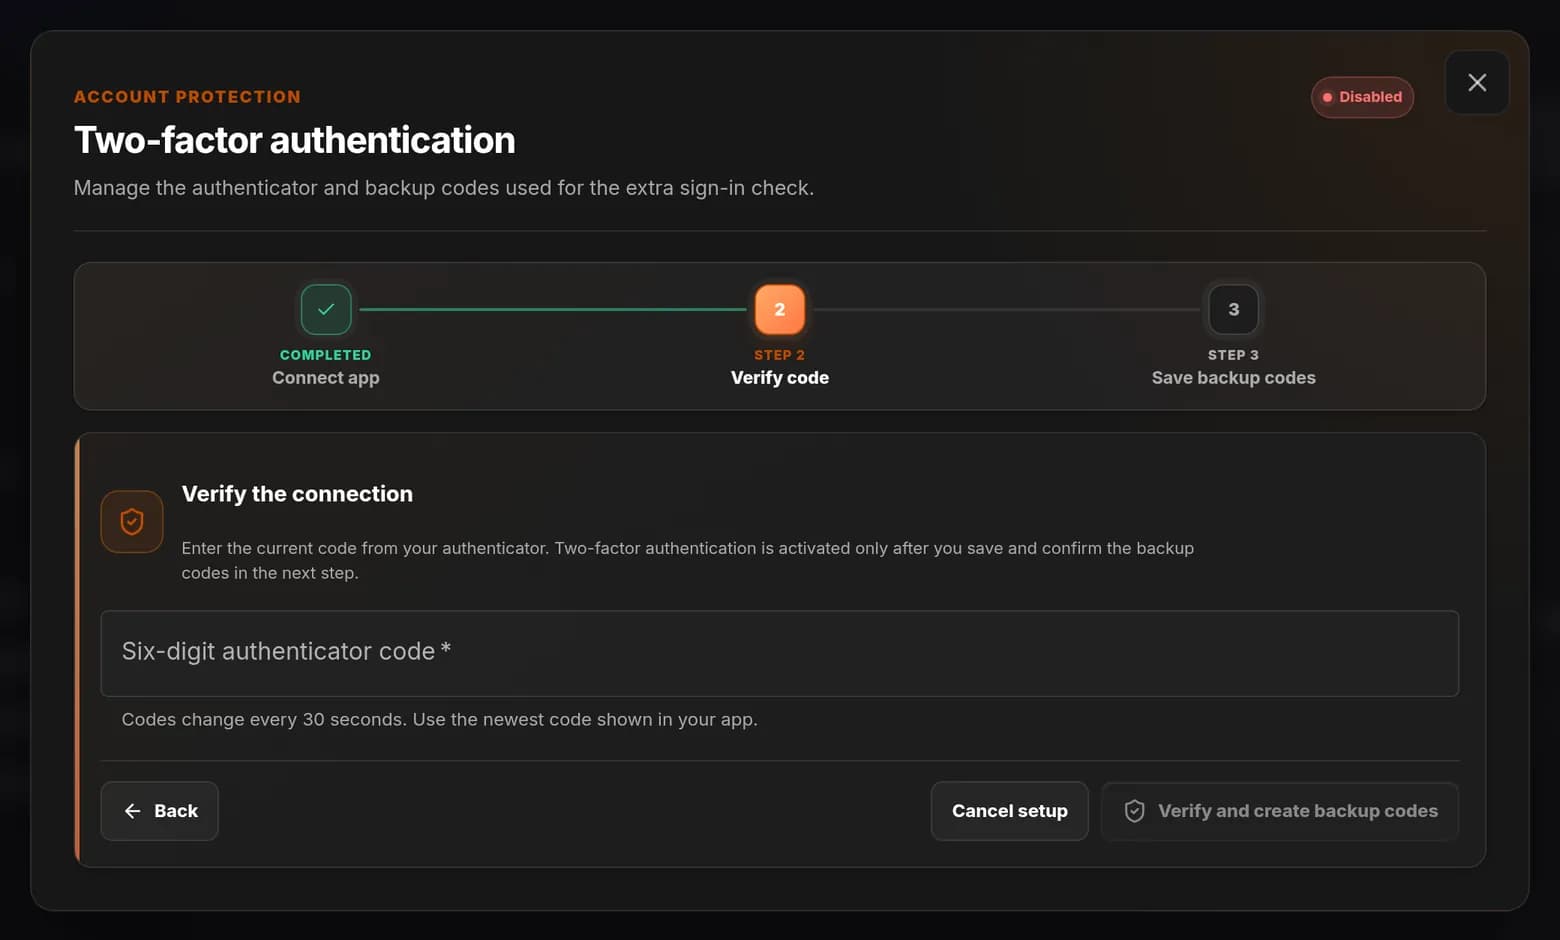
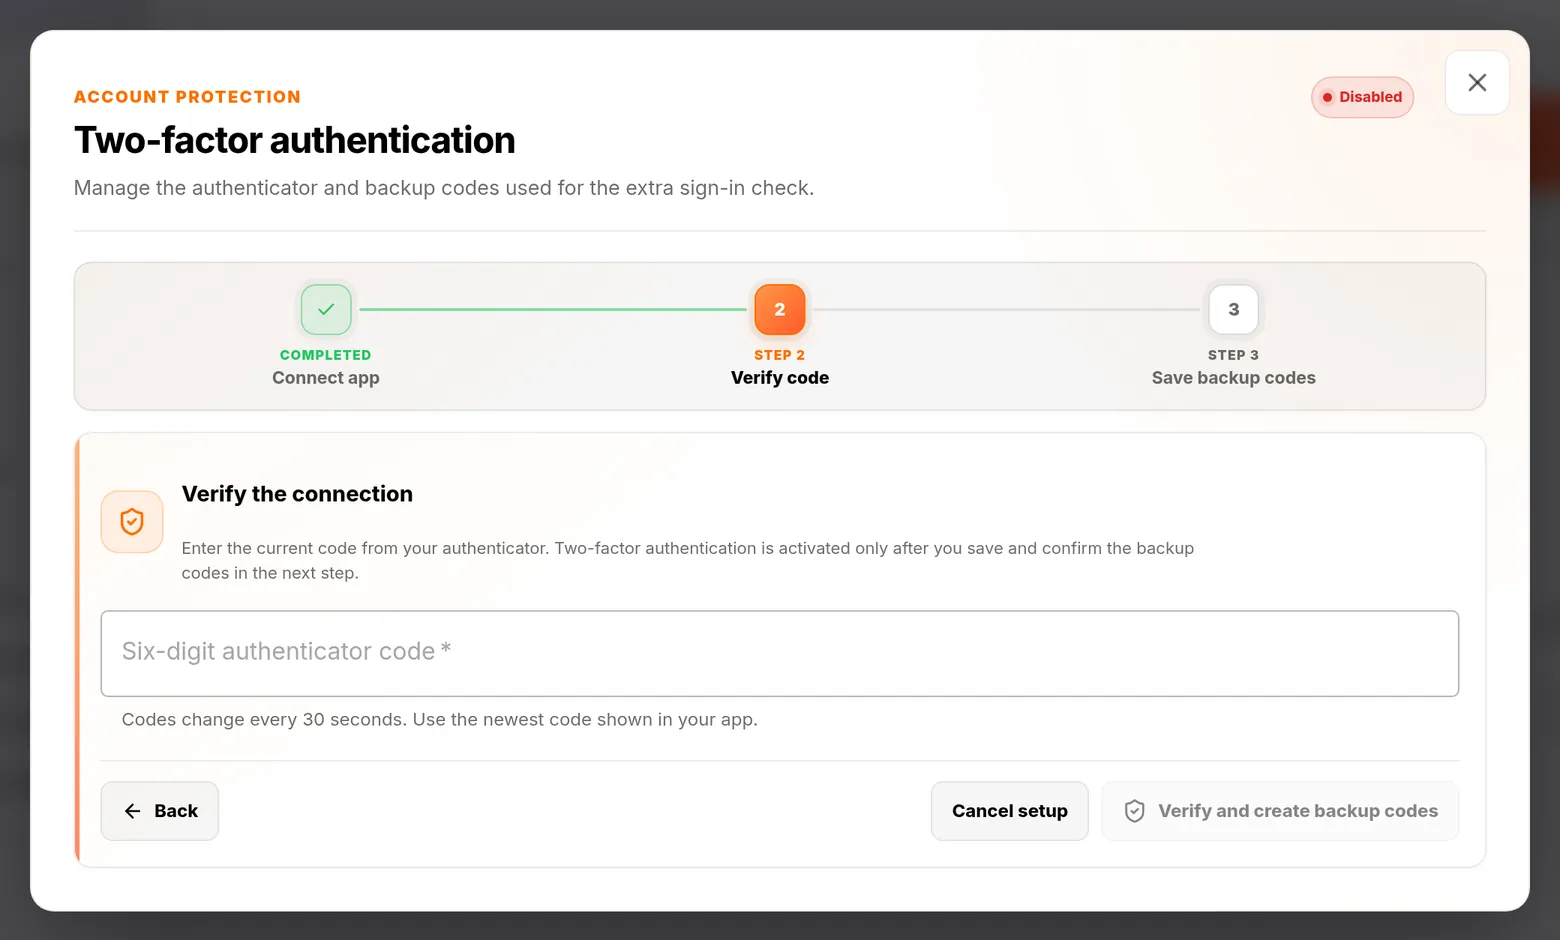
Step 5: Type the six-digit code
- Look at the HashThat entry in your authenticator app.
- Type its six digits into Six-digit authenticator code.
- If the digits change while you type, clear the box and type the new ones.
- Click Verify and create backup codes.
 Full size
 Full size
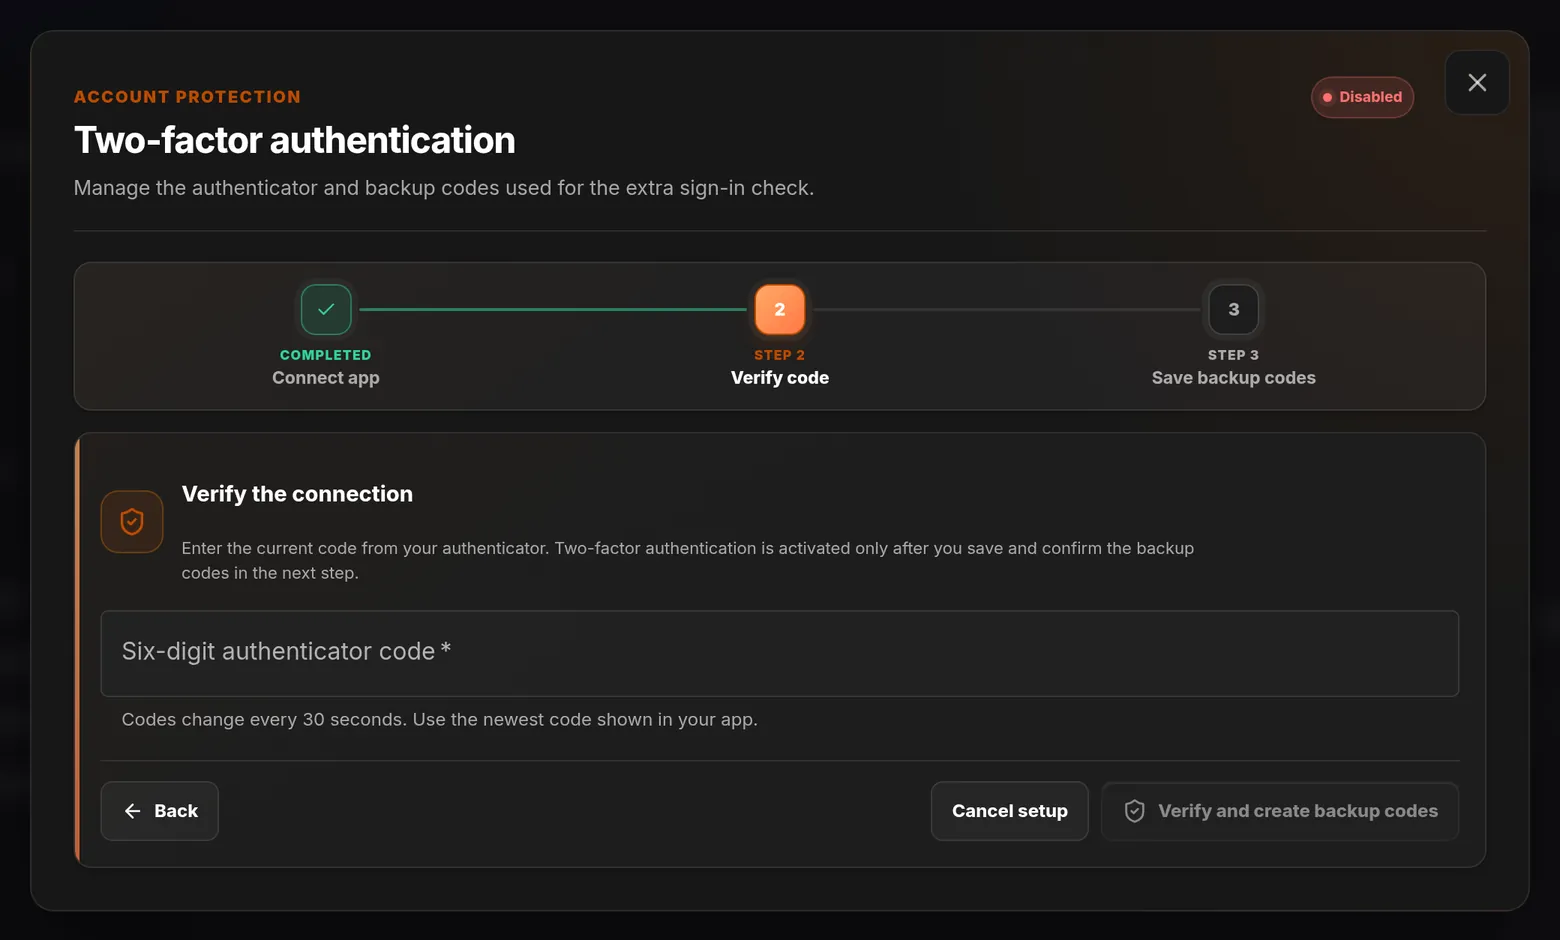
The code changes every 30 seconds. Always use the newest one. Step 6: Save your backup codes
- HashThat shows a list of backup codes. Each one can replace your phone once.
- Click Download text file, or click Copy all and paste them somewhere safe.
- Keep them outside HashThat, for example printed and stored with your important papers.
Do not skip this step. Without your phone and without backup codes, you cannot pass the second check.
Step 7: Turn it on
- Tick I saved these backup codes.
- Click Activate two-factor authentication.
You should see: The row in Settings no longer says Feature Disabled.
Check it worked
- The two-factor row in Settings shows that the feature is on.
- Sign out and sign in again. After your password, HashThat asks for a six-digit code from your app.
- Your backup codes are stored somewhere you can reach without HashThat.
If something looks different
HashThat says the code is wrong
Codes expire after 30 seconds, so type the newest one. Also check that your phone sets its time automatically. A clock that is off by a minute makes every code wrong.
The setup expired
A setup stays valid for 10 minutes. Click Configure again and start over. Delete the unfinished HashThat entry from your authenticator app first, so you do not mix up two entries.
I changed my mind halfway
Click Cancel setup. Two-factor authentication stays off until you finish the last step.
Tip: Each backup code works only once. When you are running low, open the same window in Settings and create a new set.