Invite a teammate to your workspace
Send a colleague an invitation to your business workspace and choose which products they get.
- 8 steps
- About 5 minutes
Before you start
- A HashThat business workspace where you are the owner or an admin.
- Your colleague’s work email address.
- A free employee seat. If you have none, the invitation form lets you buy one as you invite.
Step 1: Open the business portal
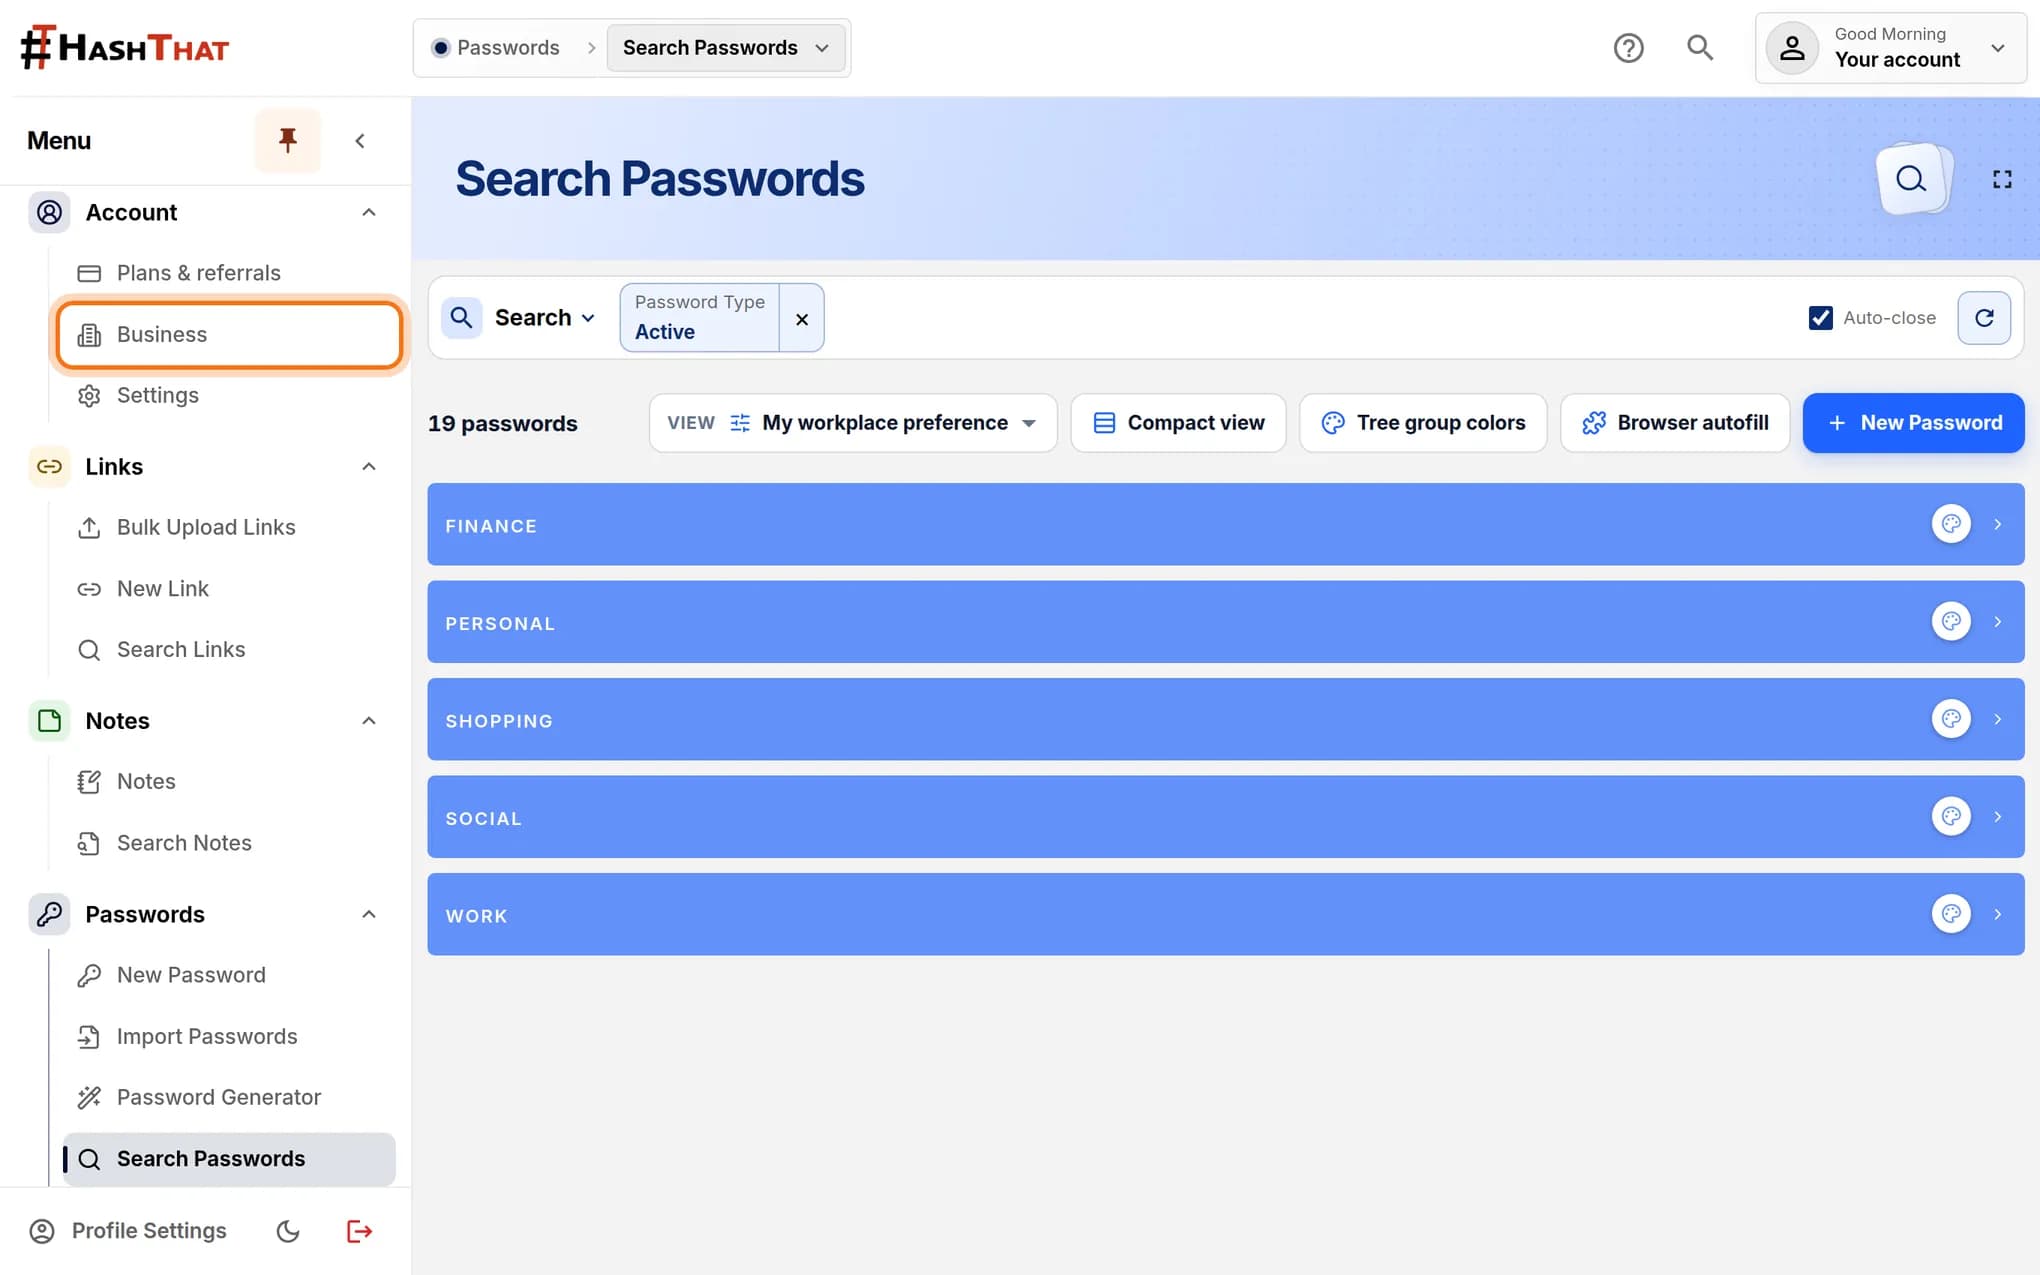
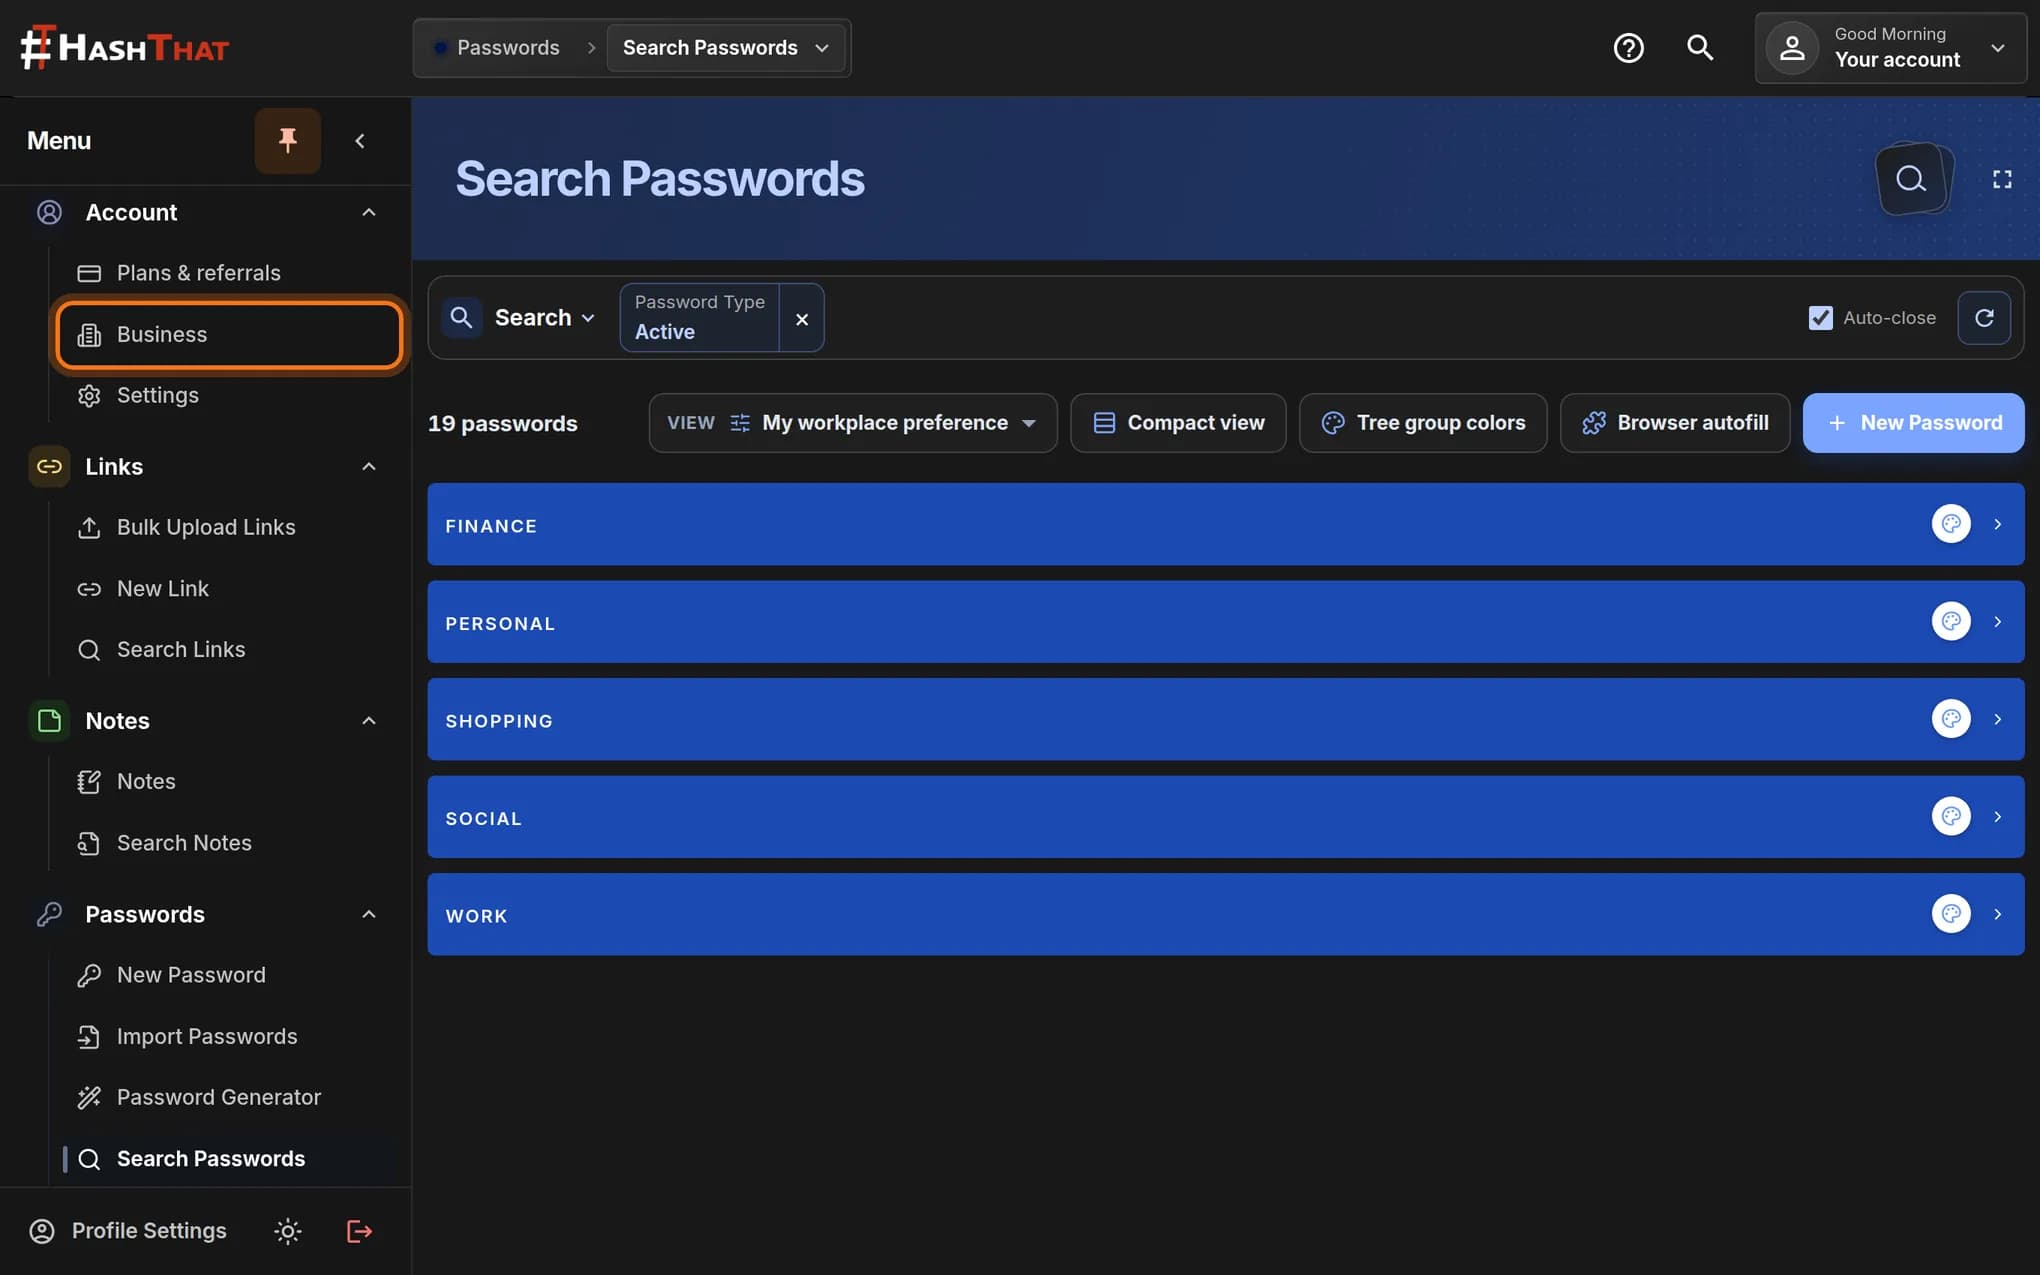
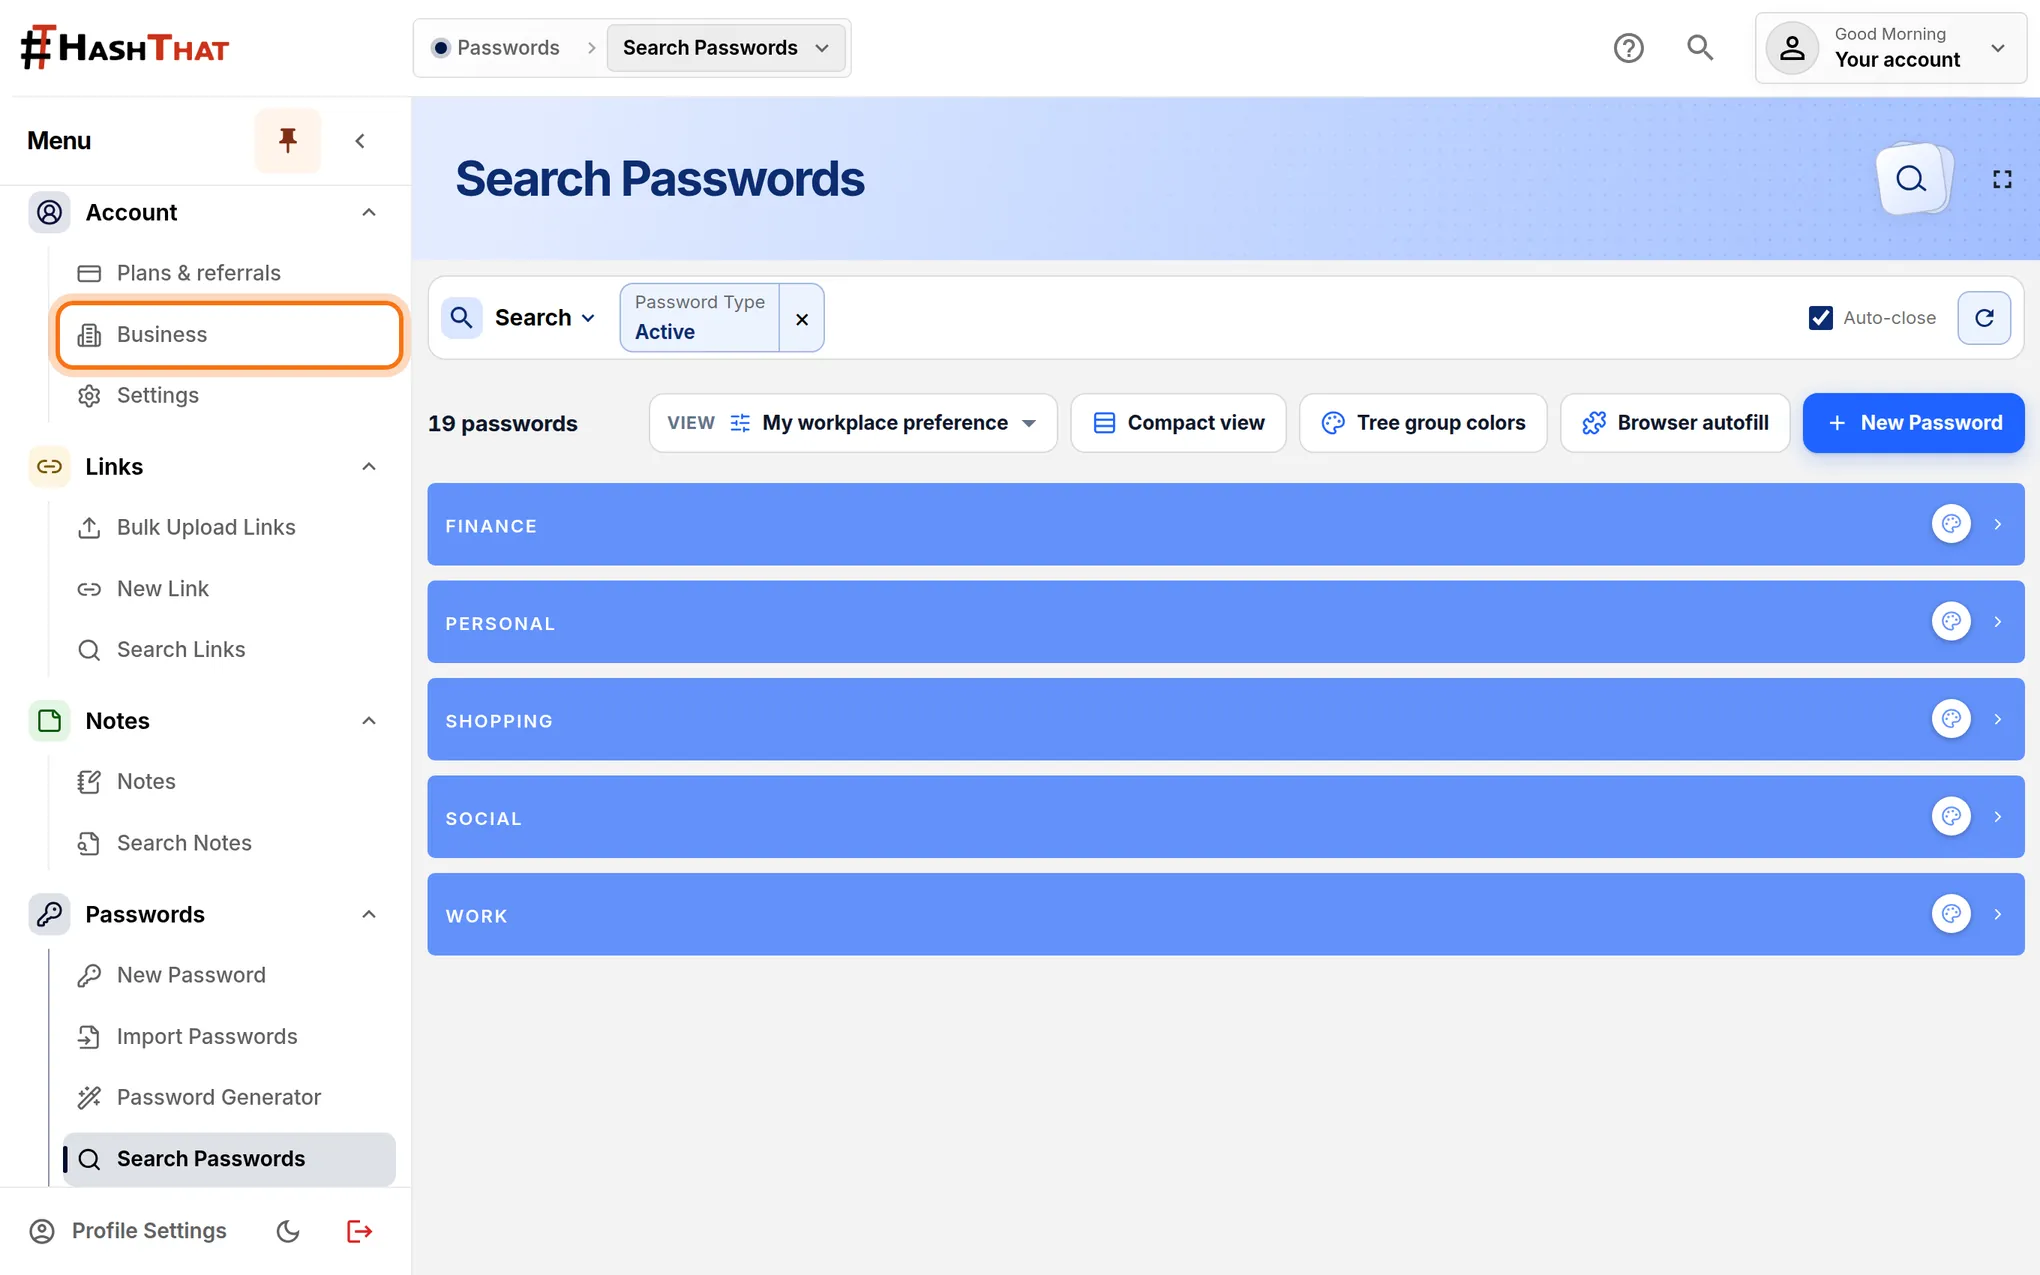
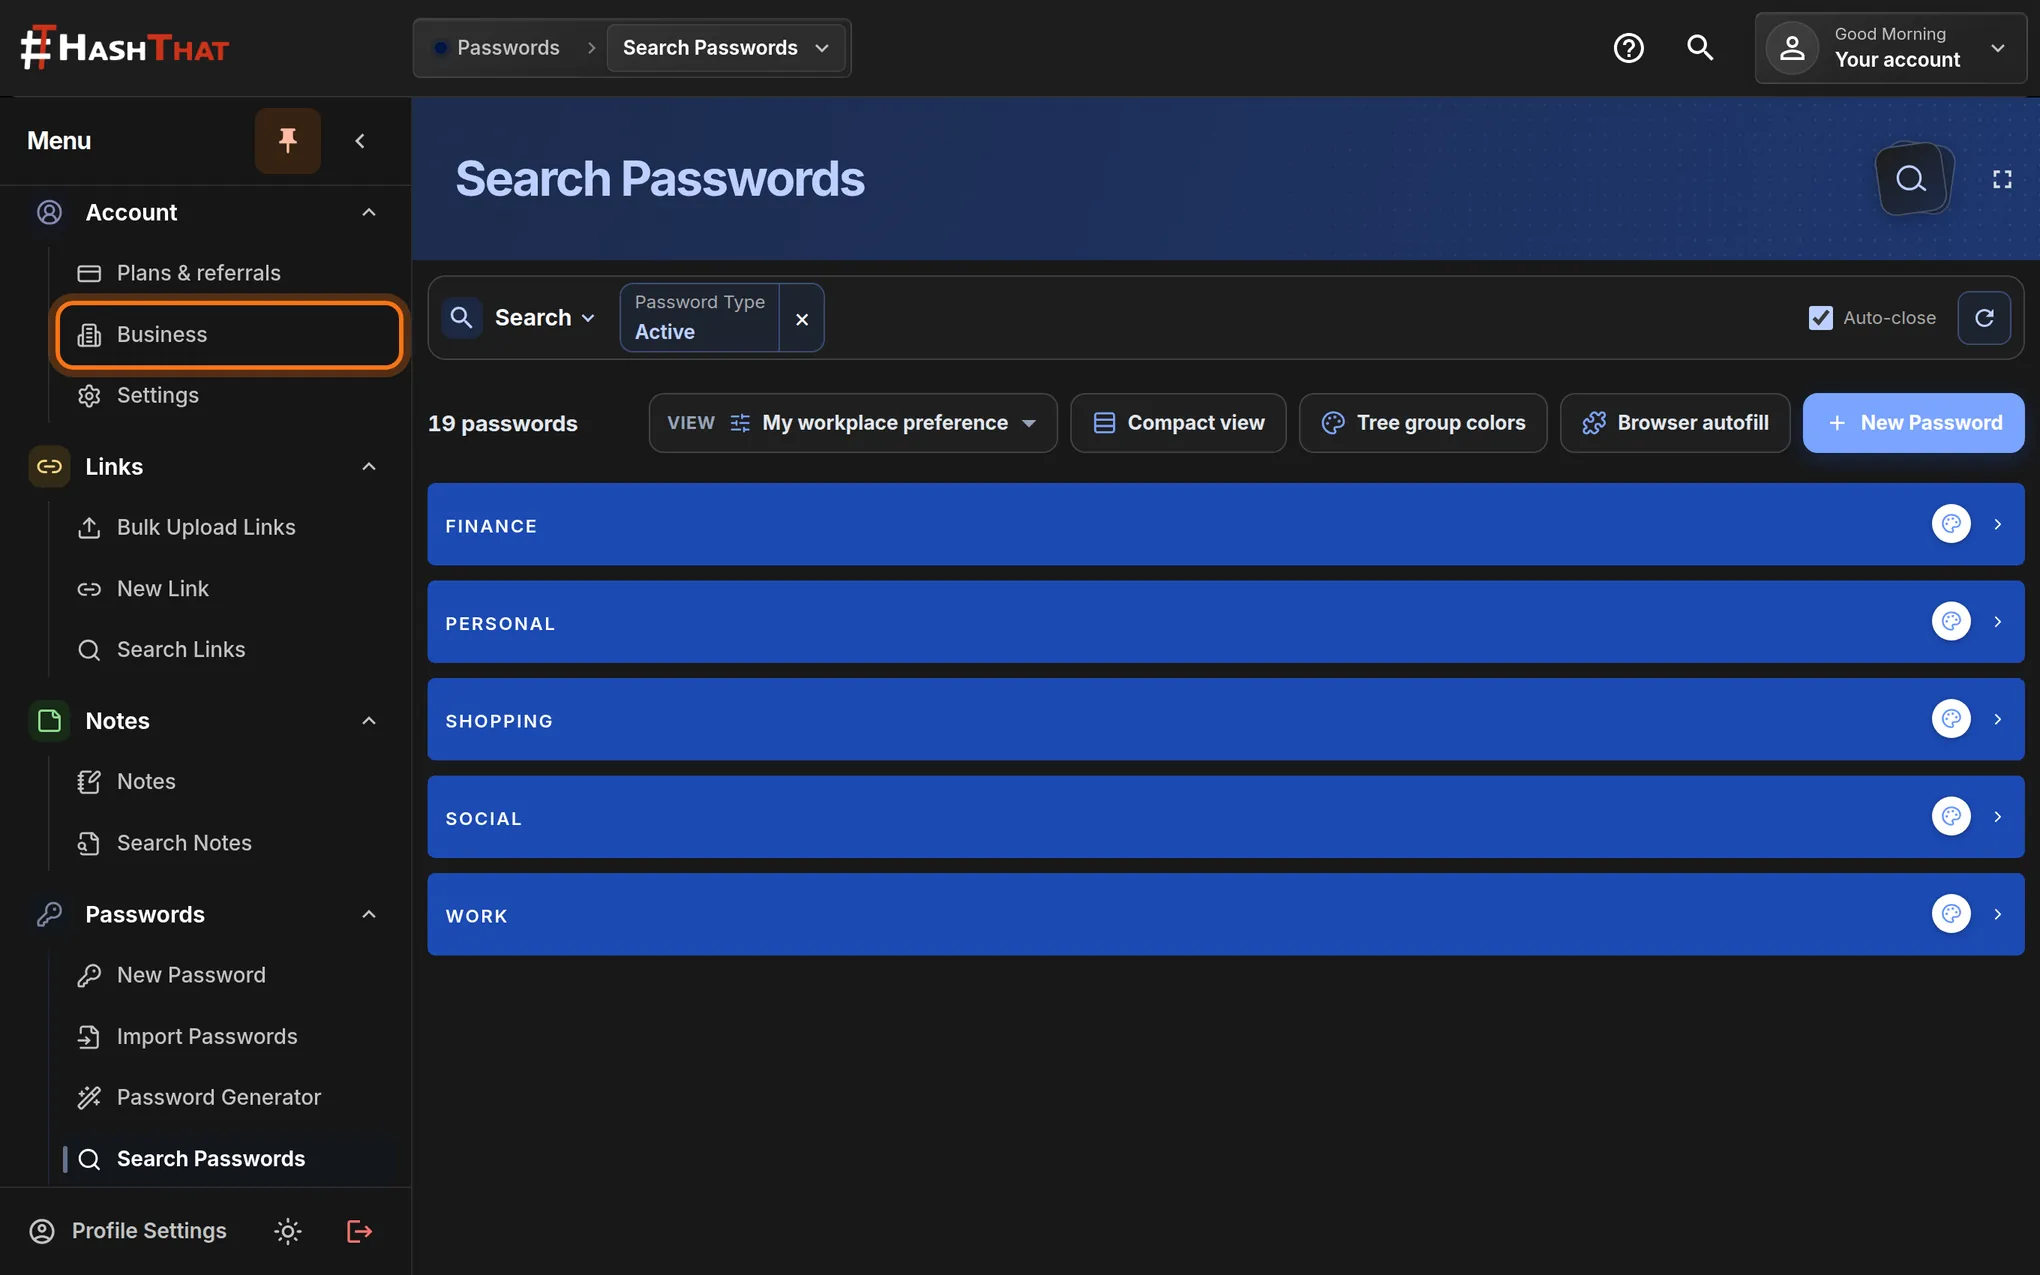
- Look at the menu on the left.
- Under Account, click Business.
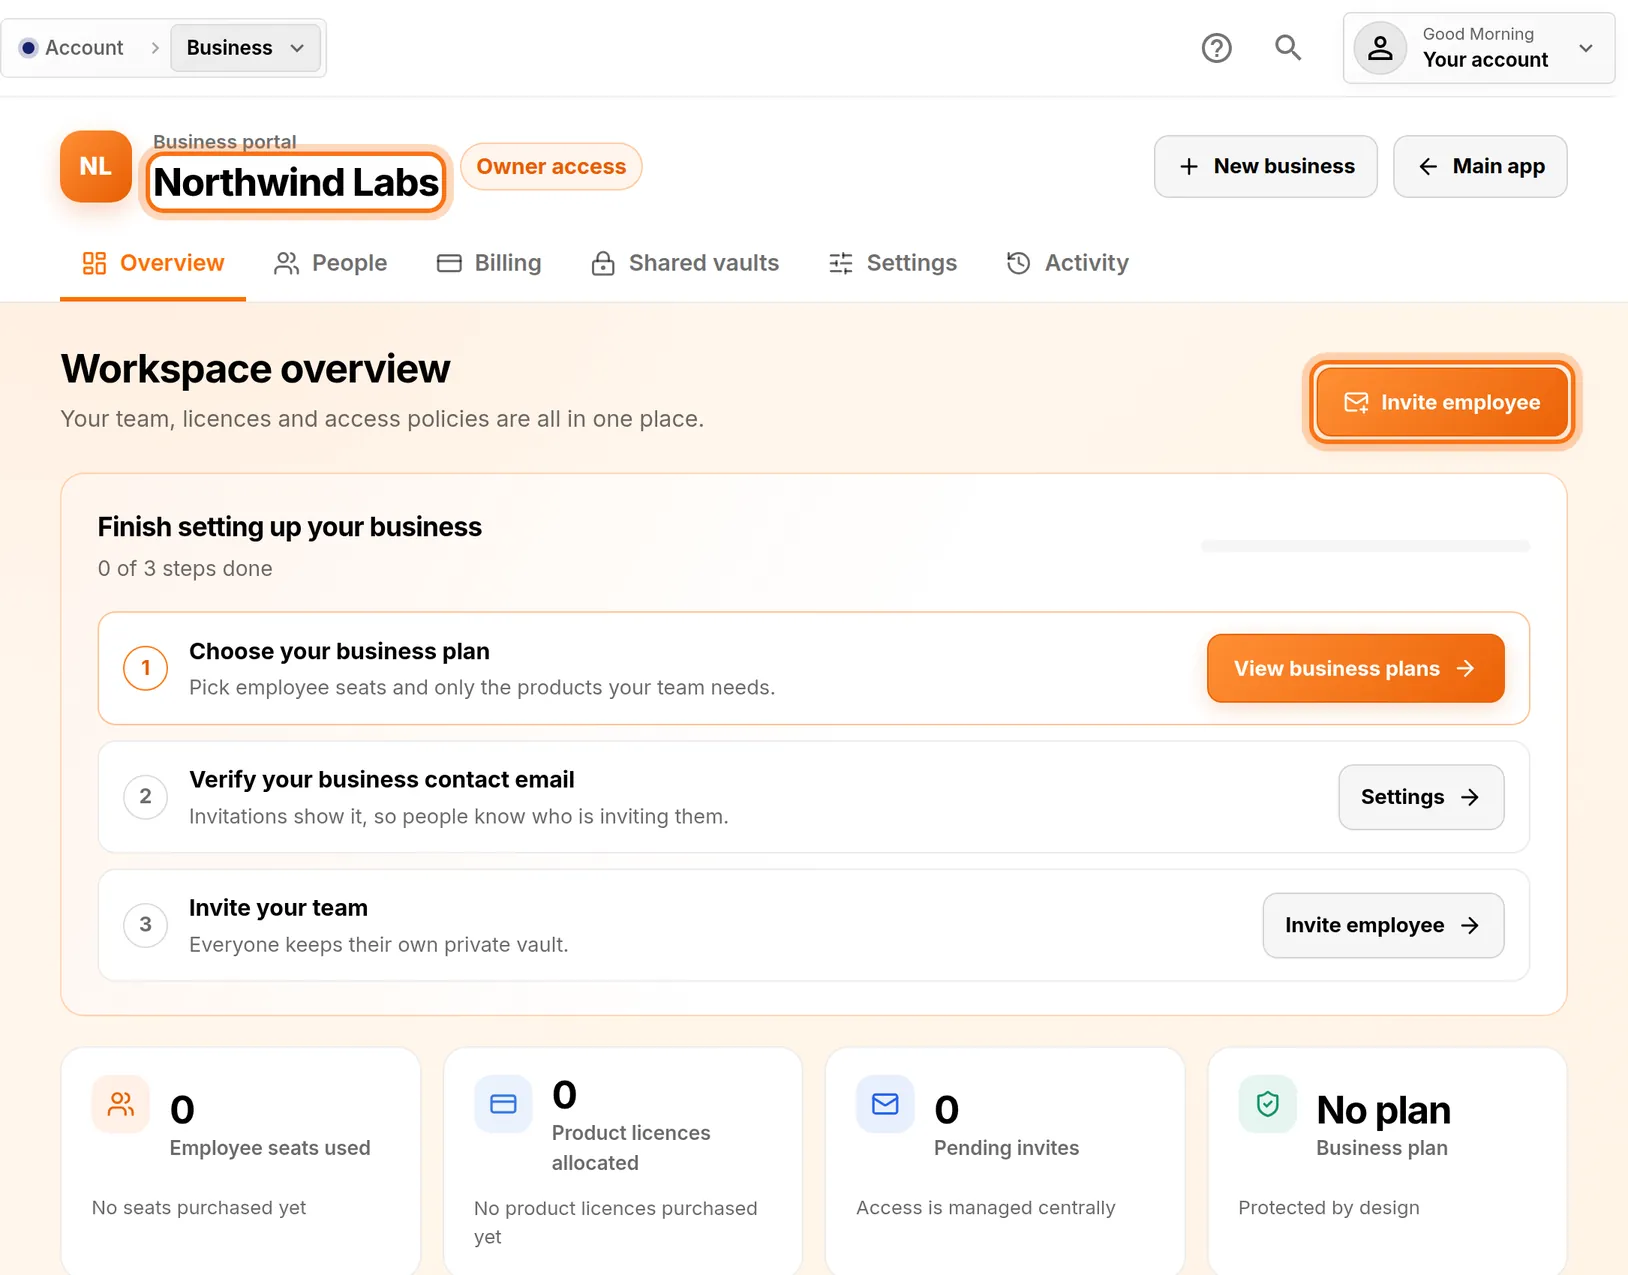
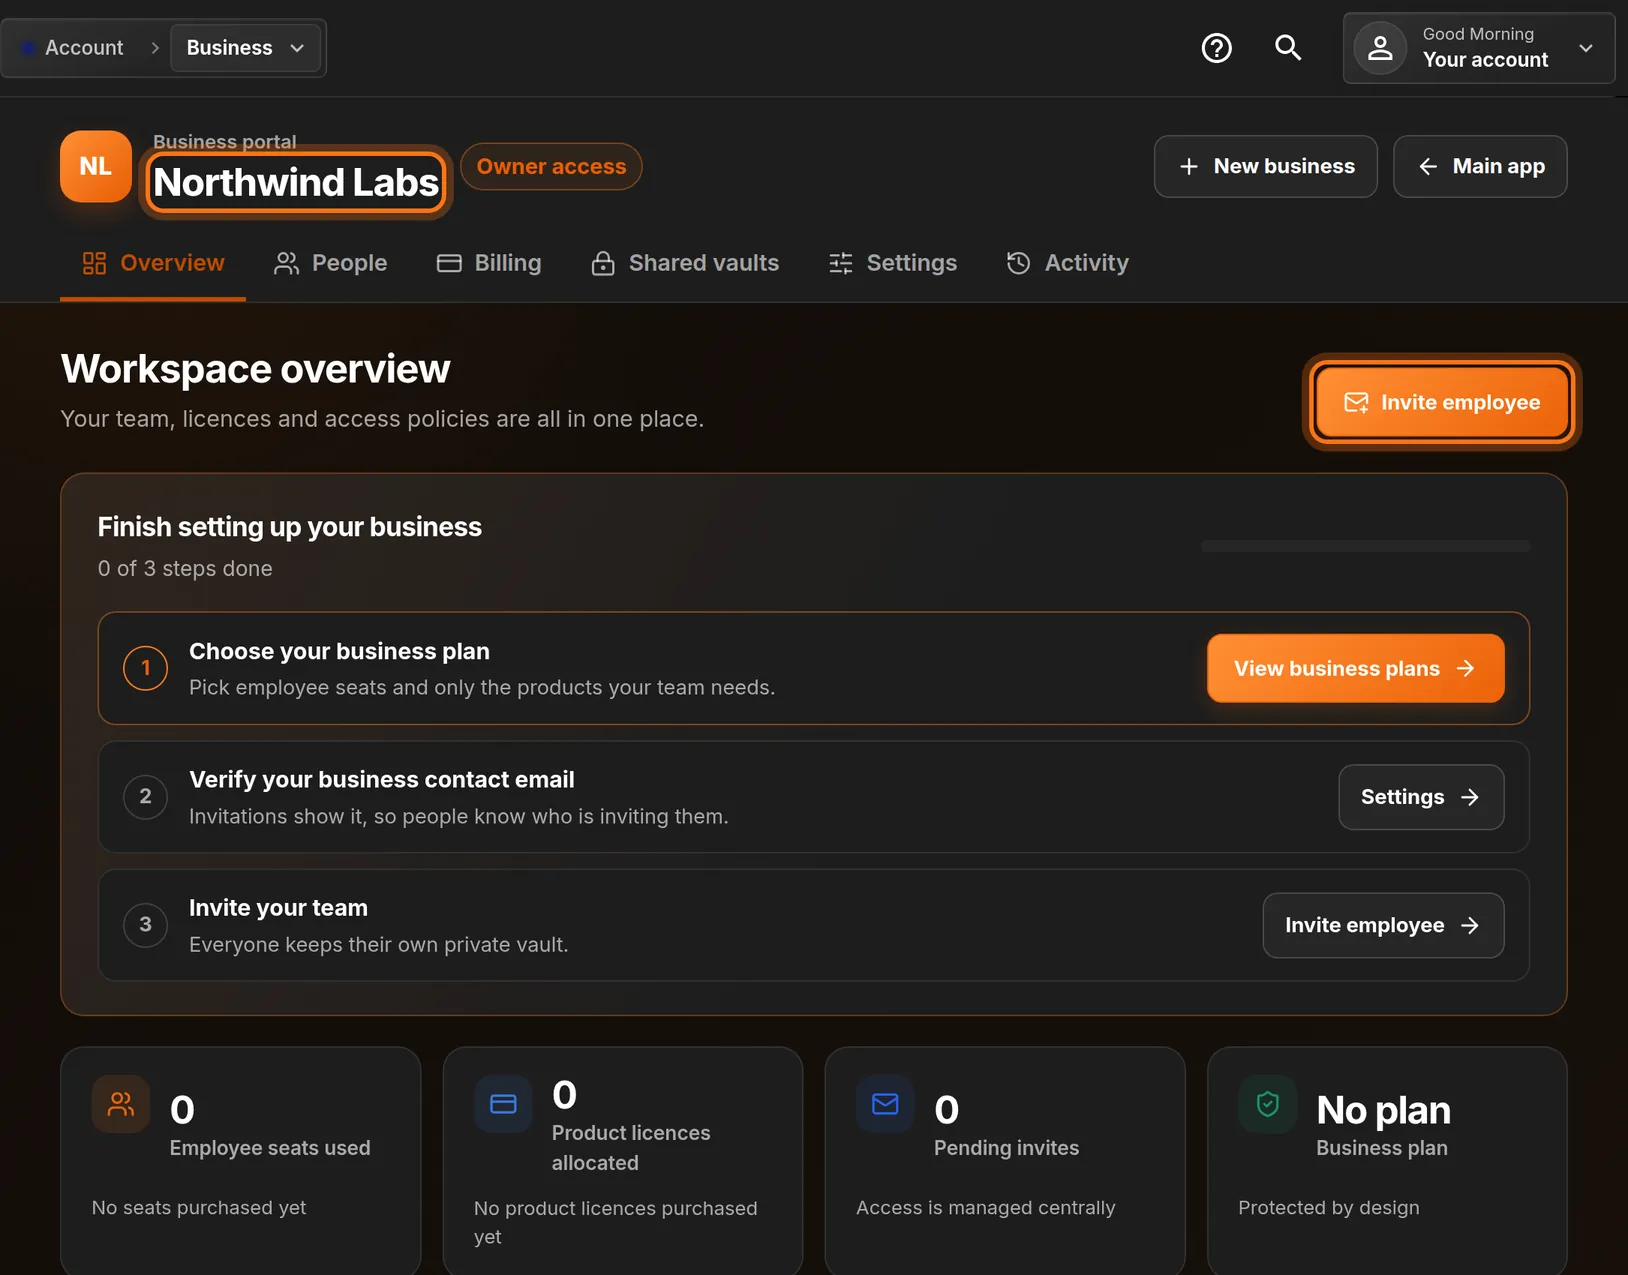
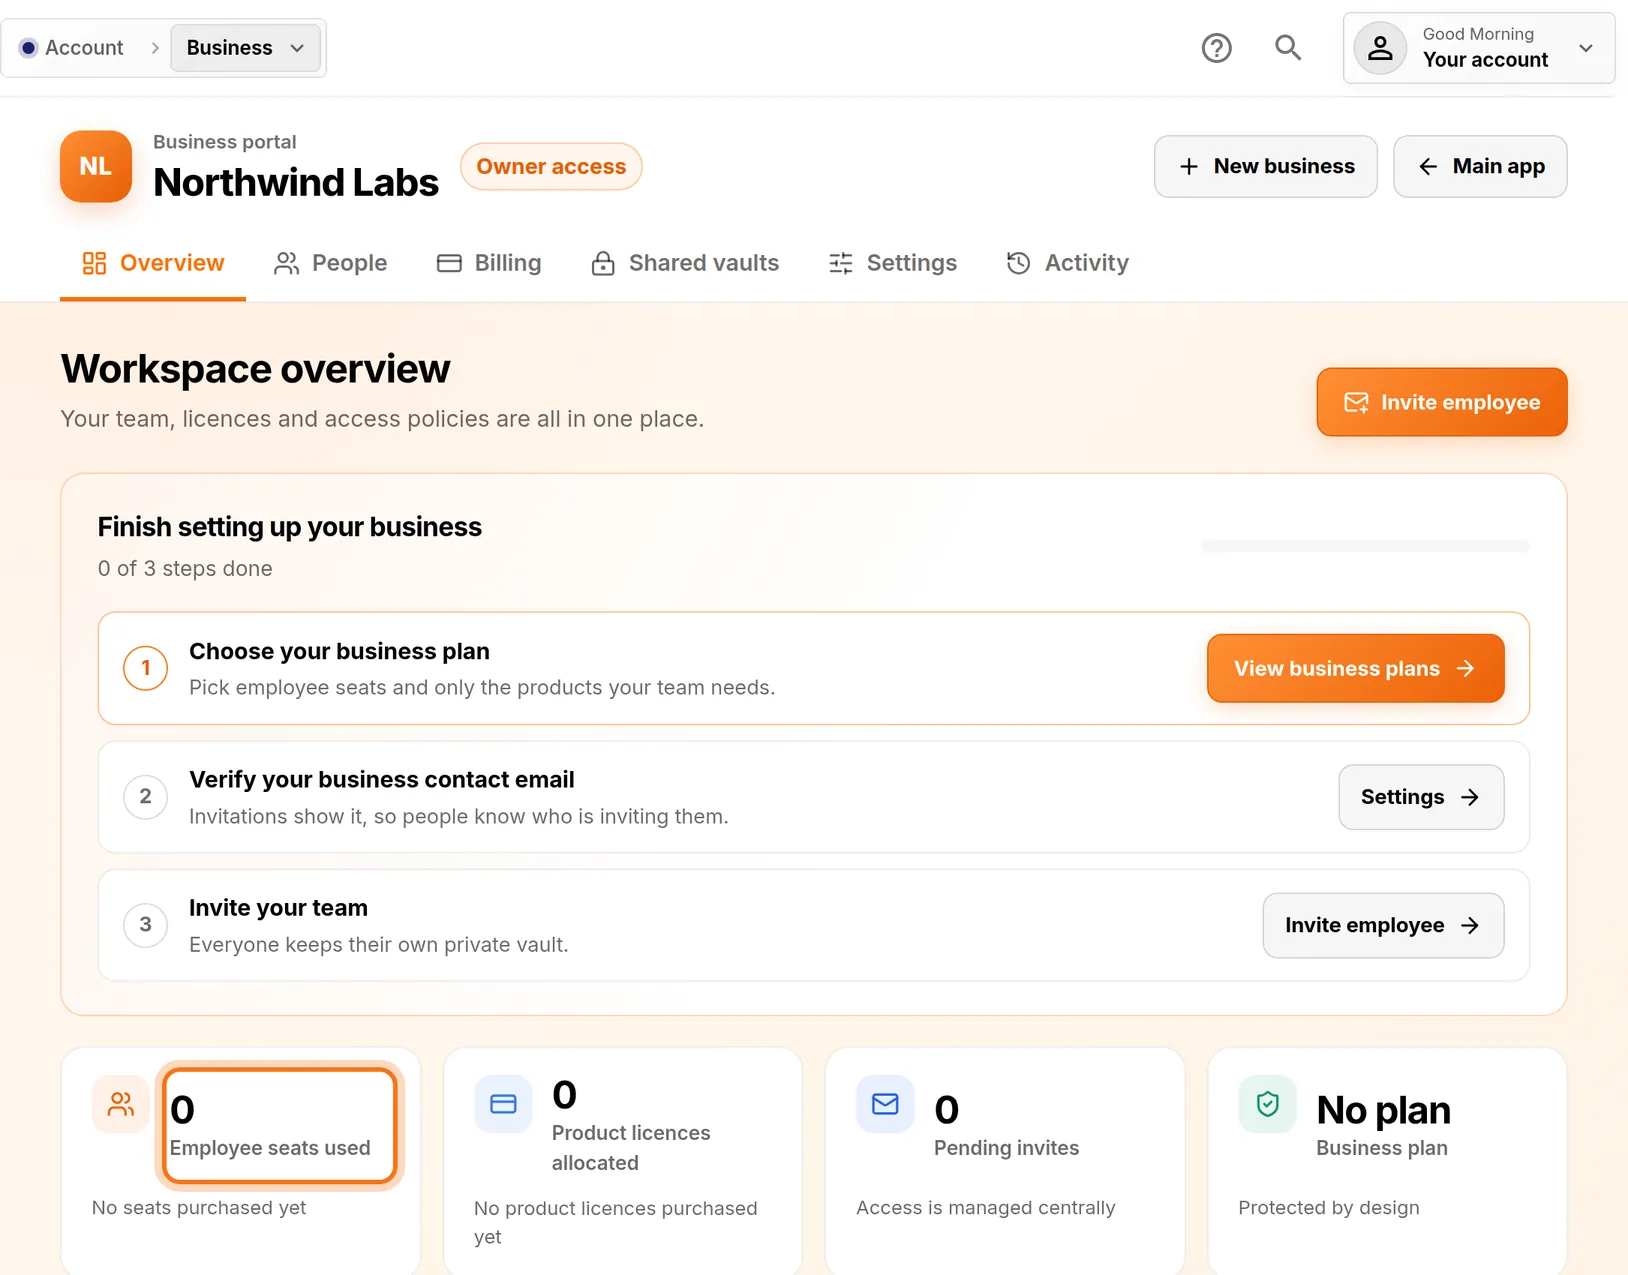
You should see: The business portal, with your workspace name at the top.
 Full size
 Full size
Business is the second item under Account. Step 2: Check the workspace, then click Invite employee
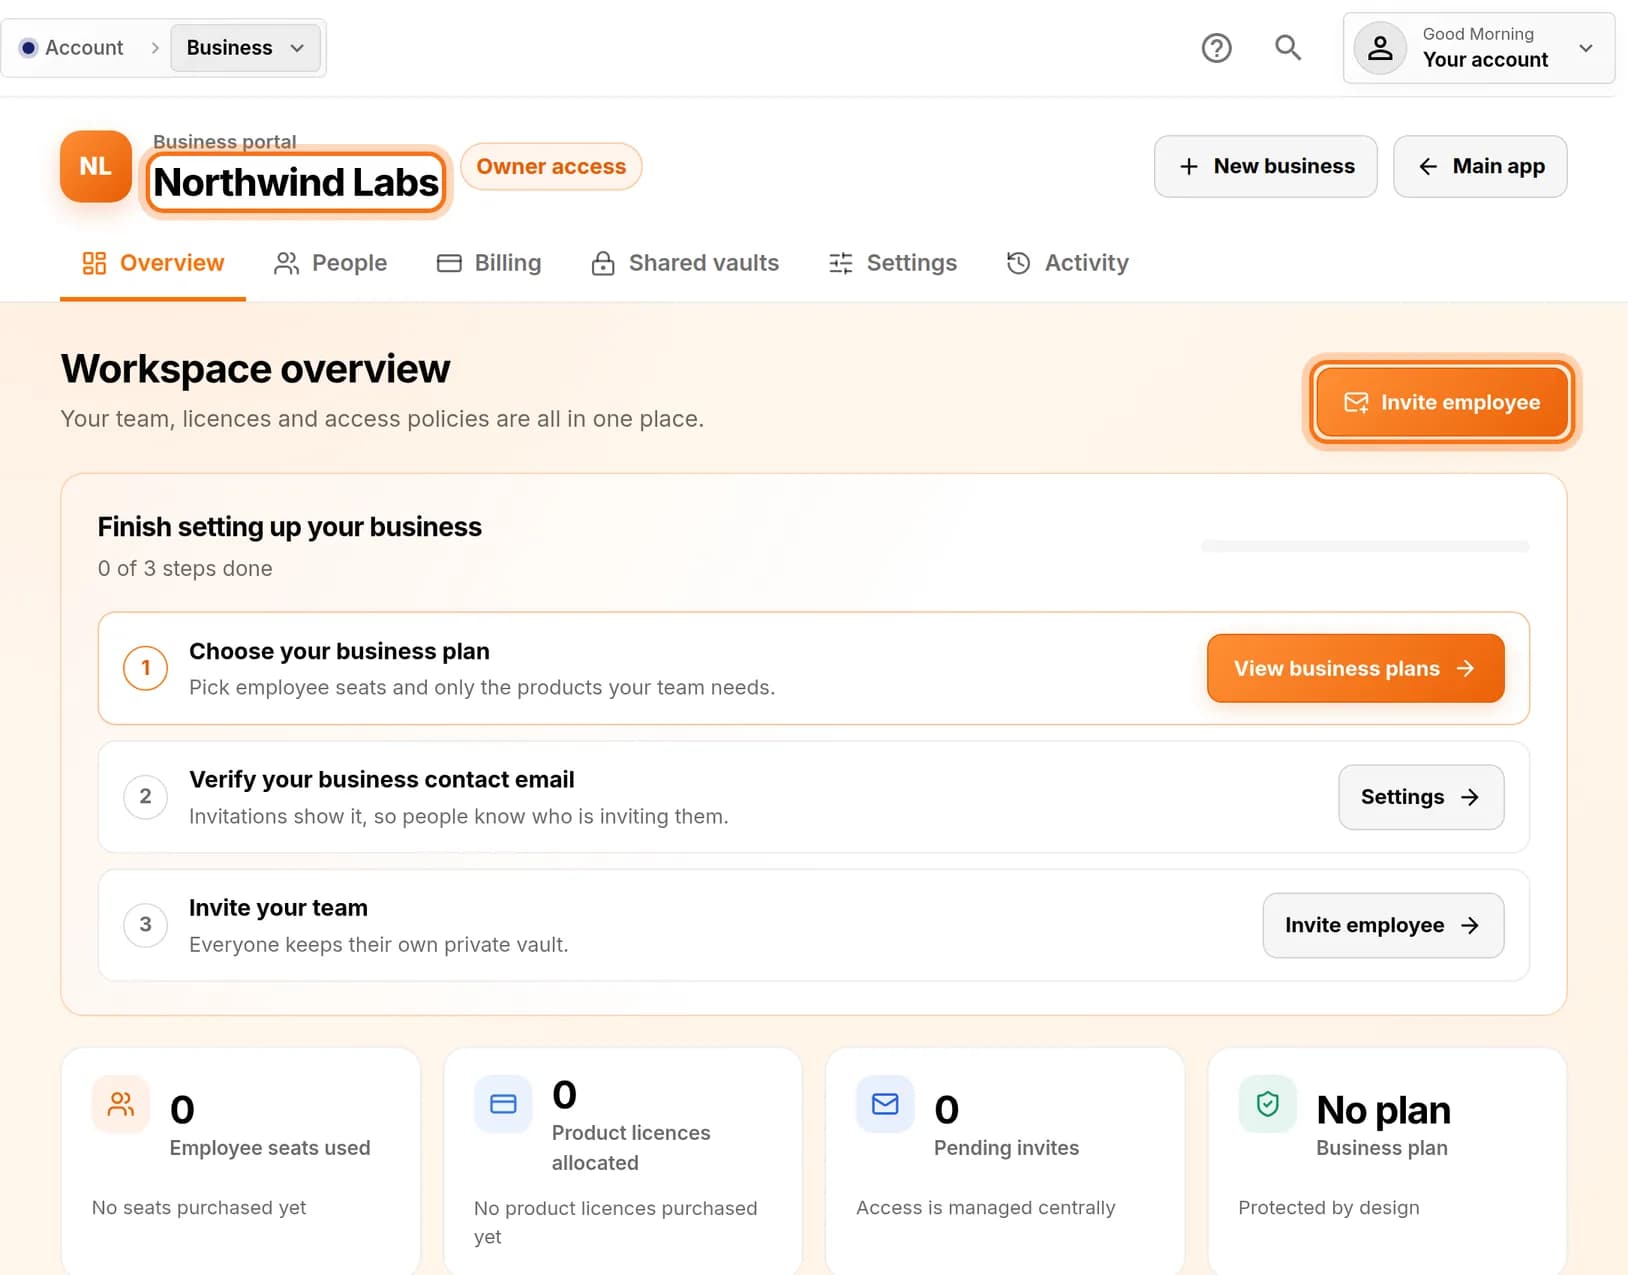
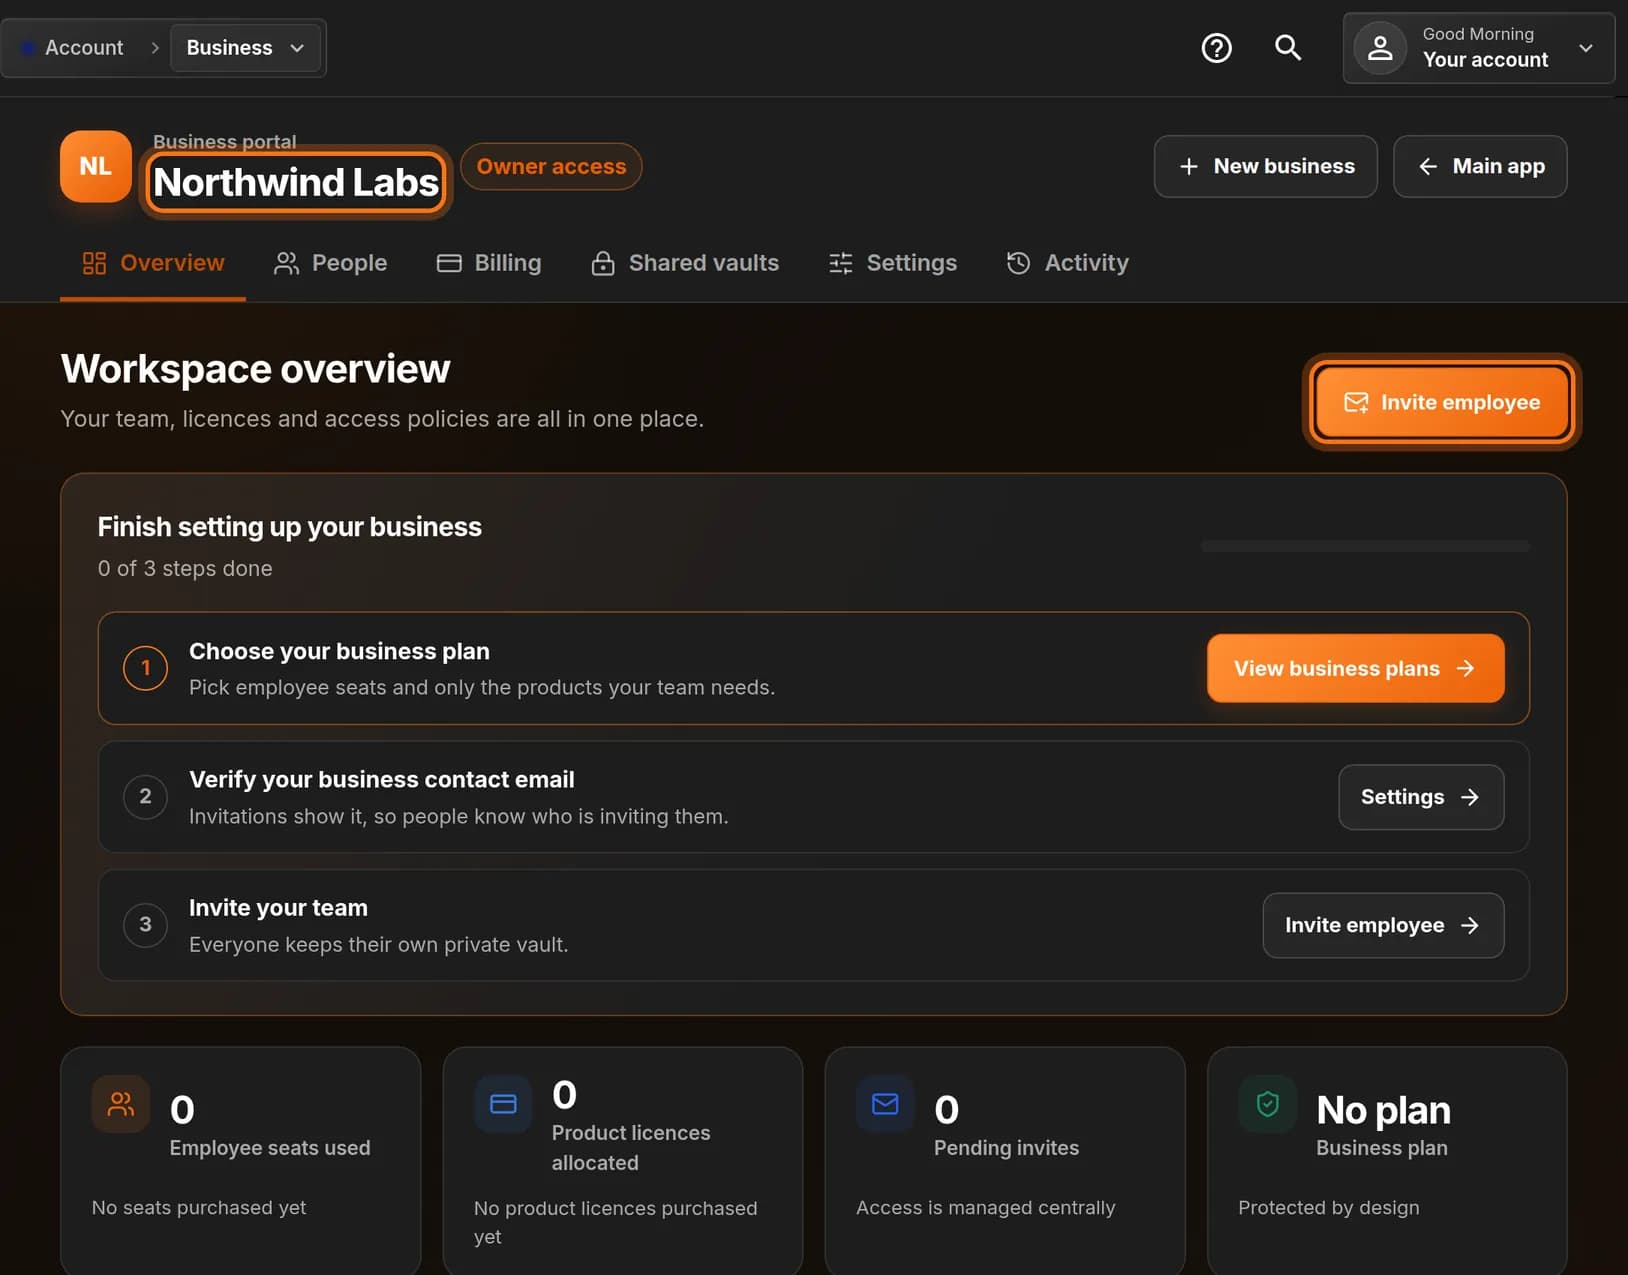
- Read the workspace name at the top left. If you manage more than one business, make sure it is the right one.
- Click the orange Invite employee button on the right.
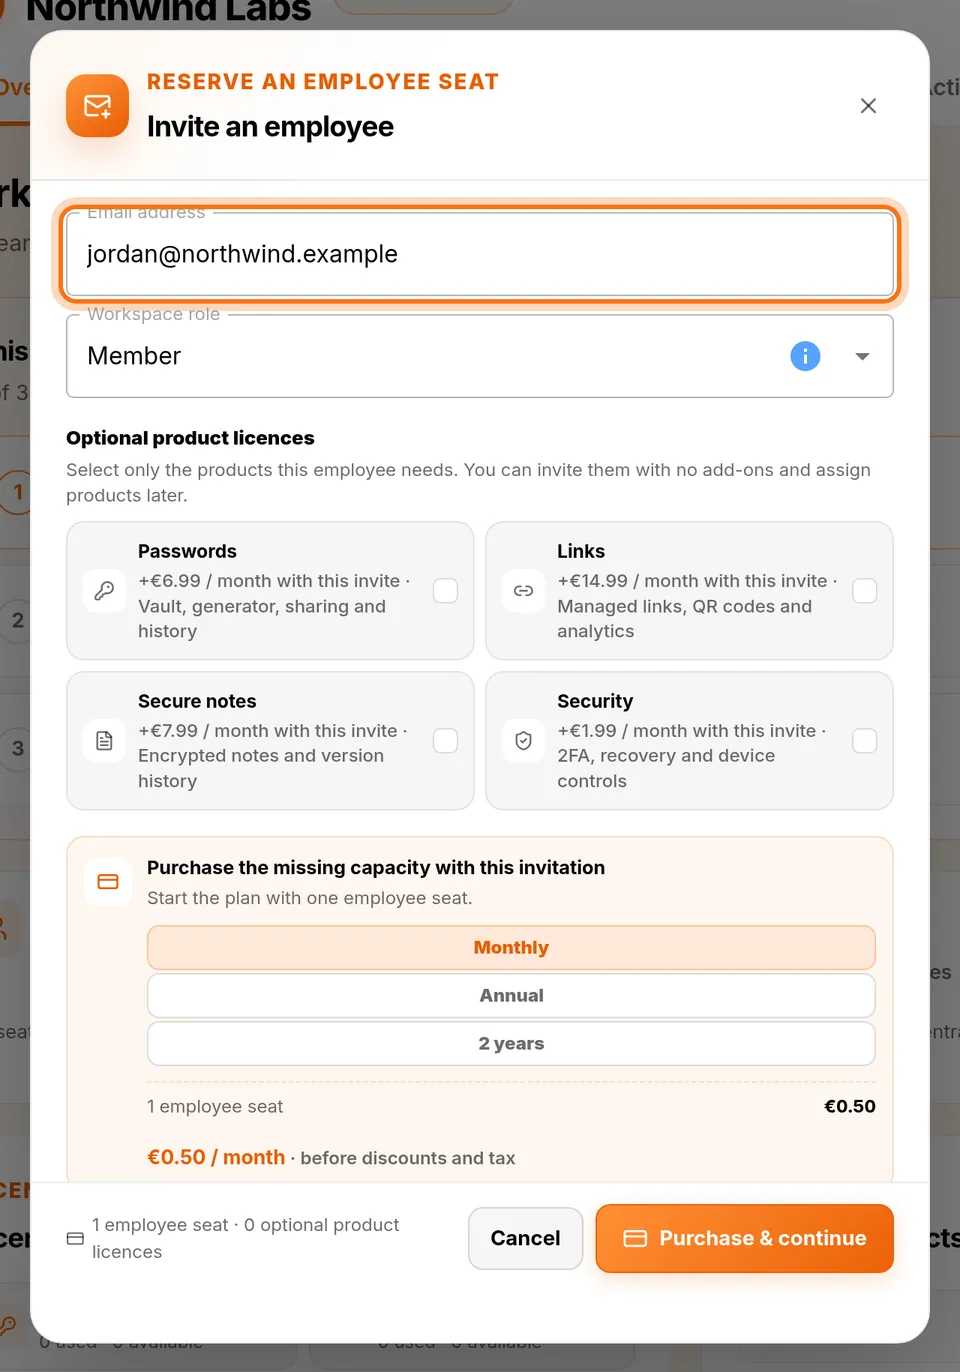
You should see: A window titled Invite an employee.
 Full size
 Full size
The name at the top shows which business you are inviting someone into. Step 3: See how many seats you have
- This step is optional. Close the window with Cancel if you want to look first.
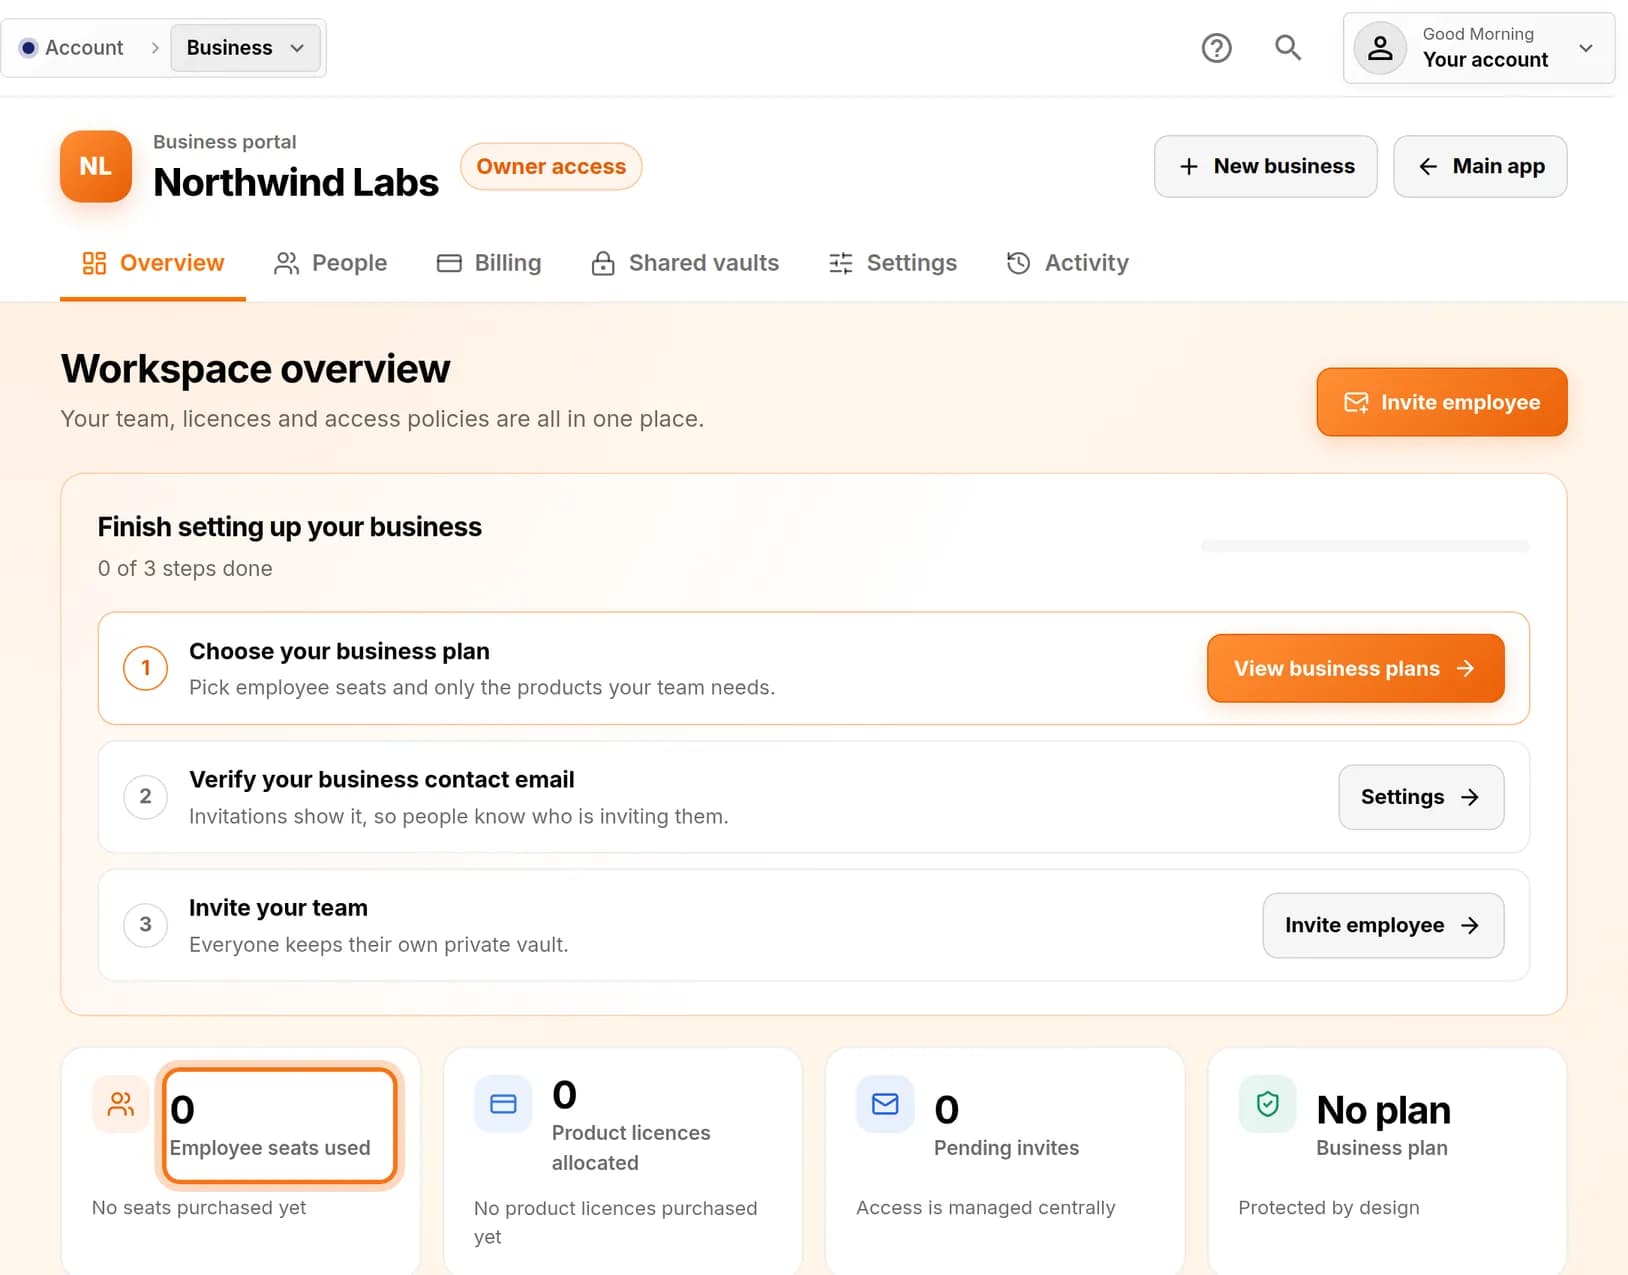
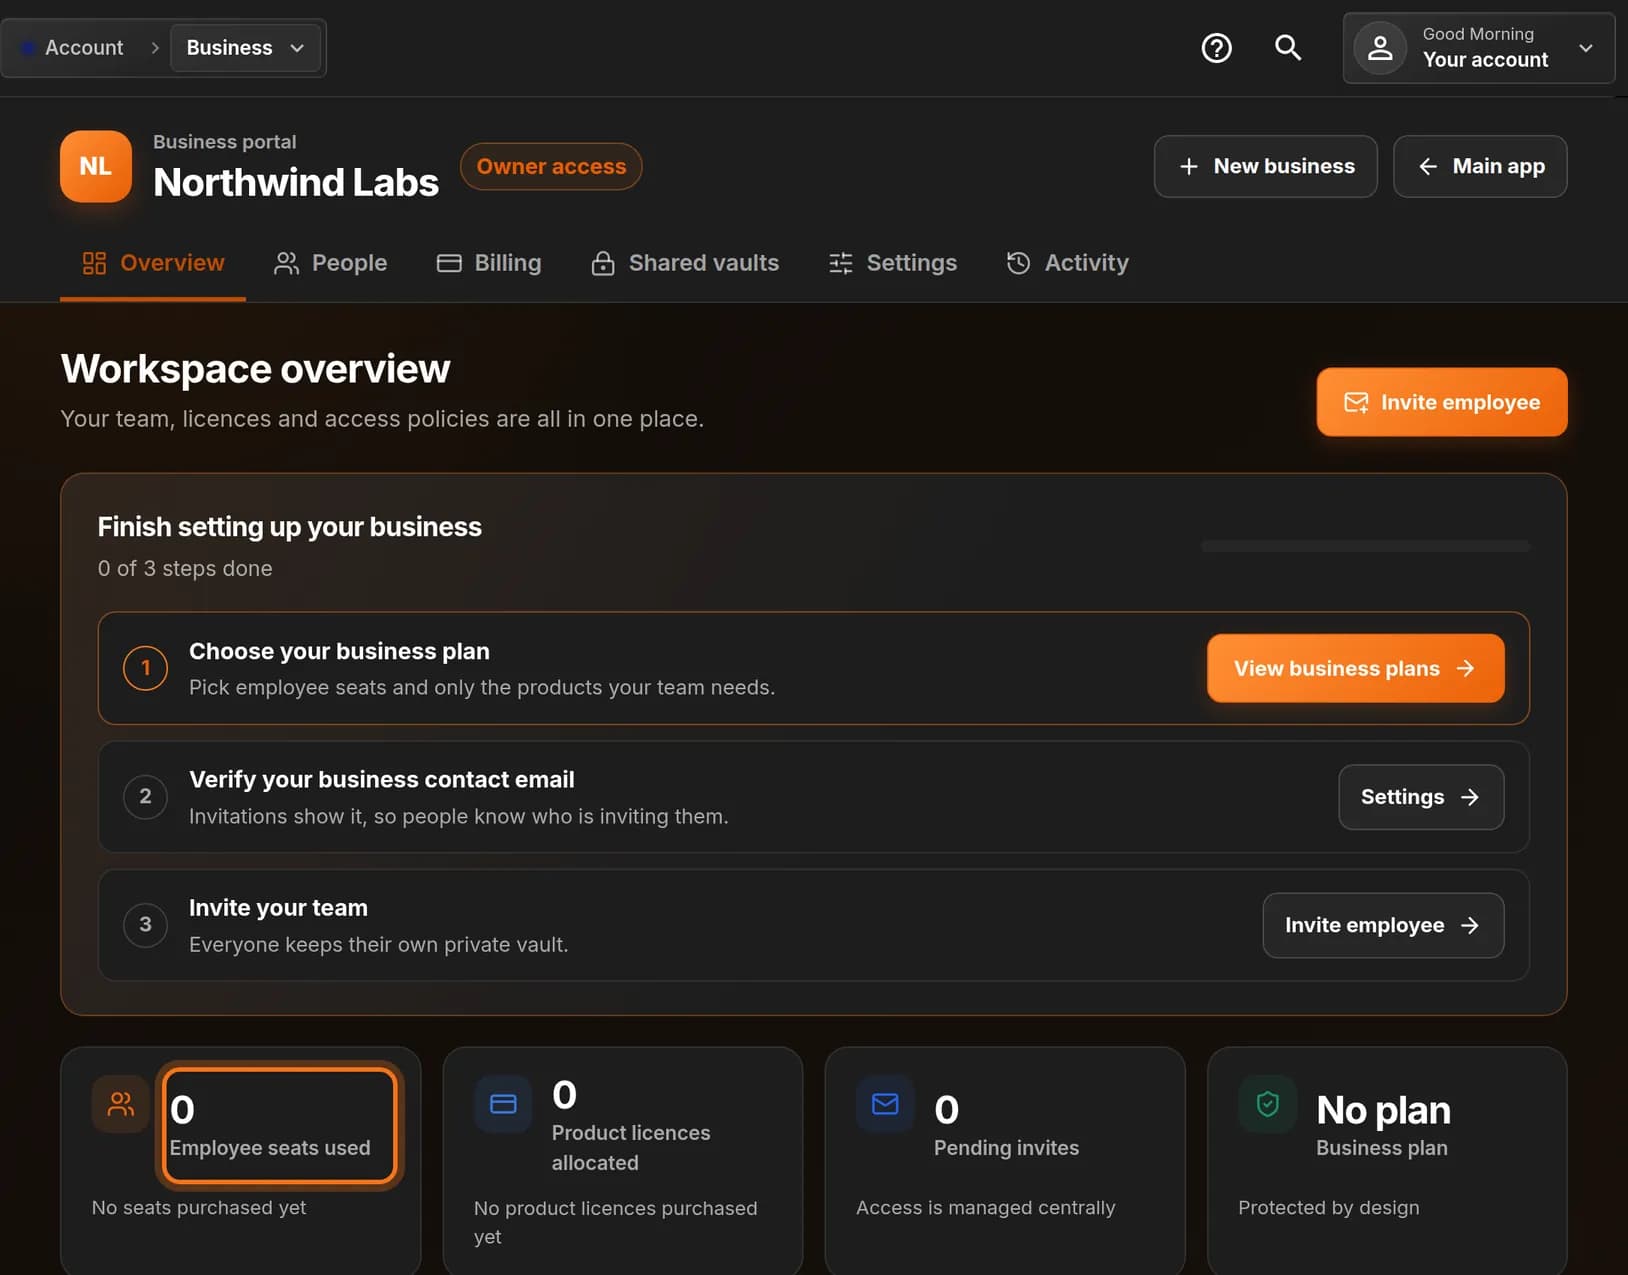
- On the Overview tab, find the tile Employee seats used.
- Each person you invite needs one seat.
 Full size
 Full size
This example workspace has not bought any seats yet. Step 4: Type your colleague’s email
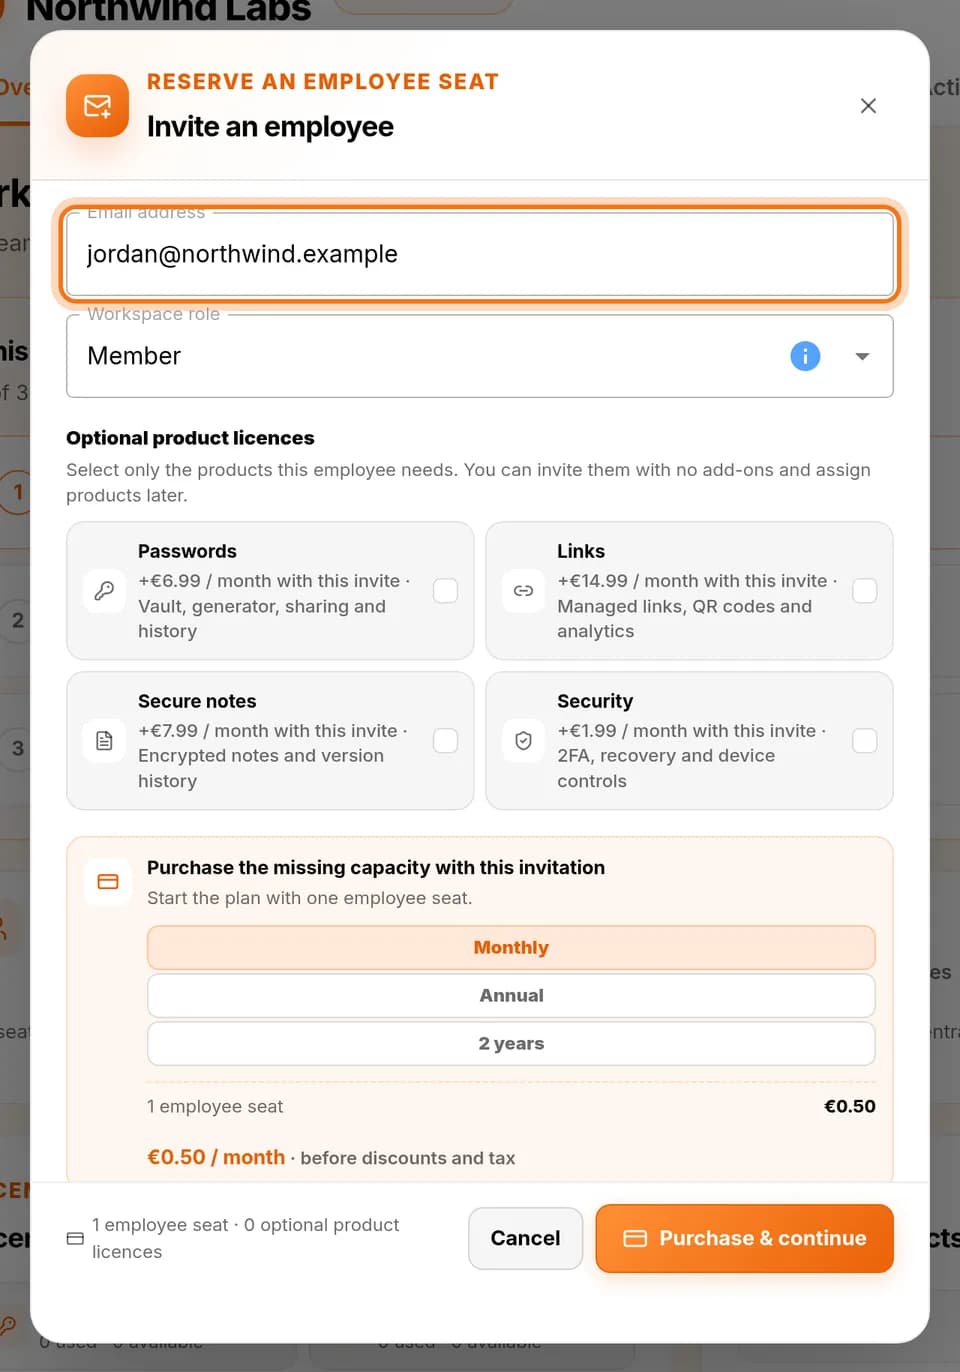
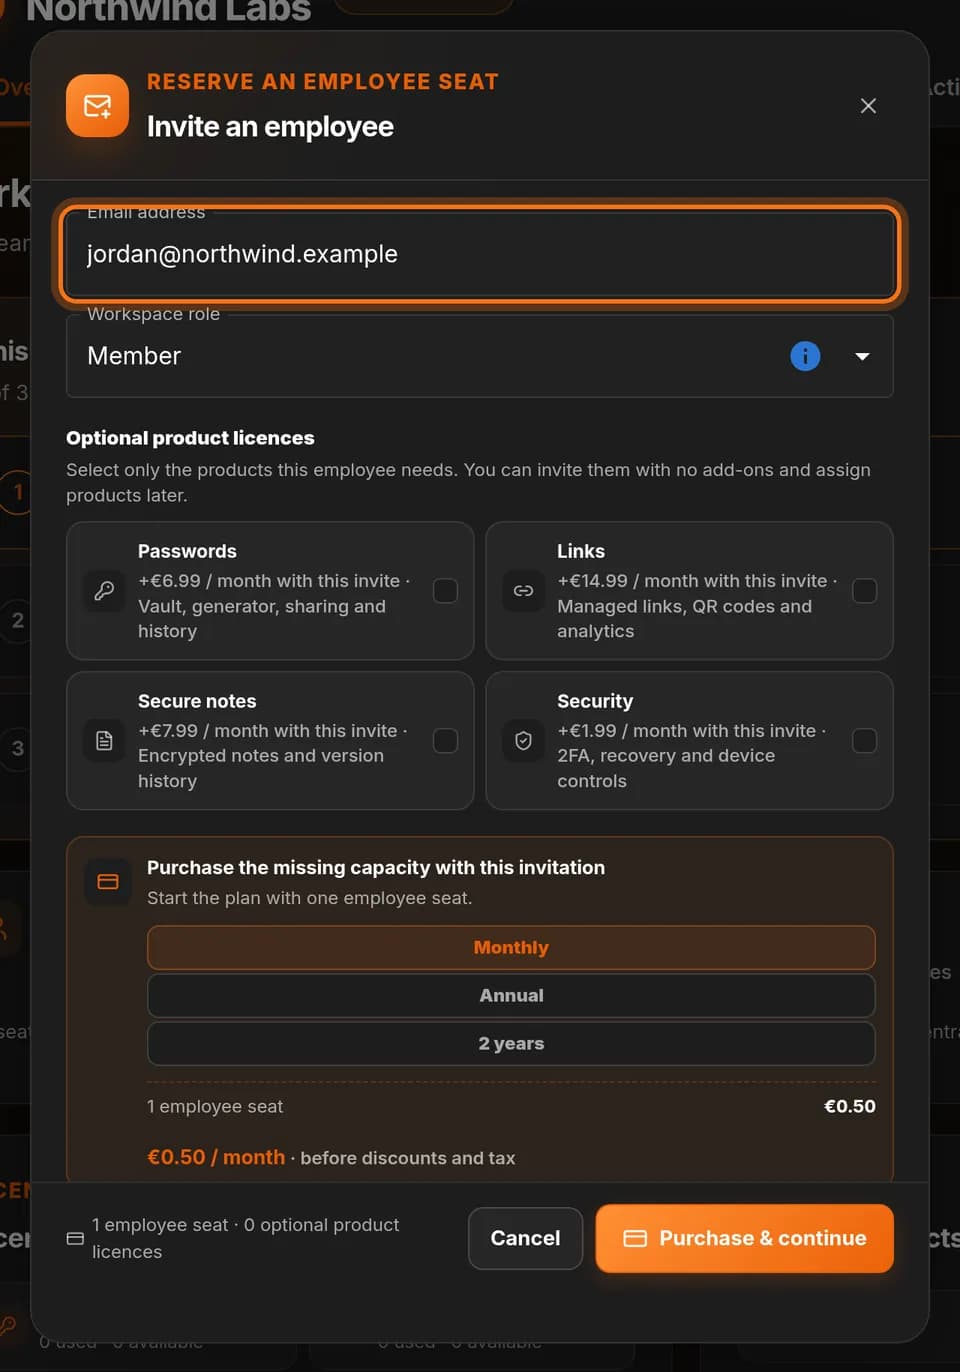
- In the Invite an employee window, click Email address.
- Type your colleague’s email address, for example jordan@northwind.example.
 Full size
 Full size
The invitation is sent to this address. Step 5: Choose their role
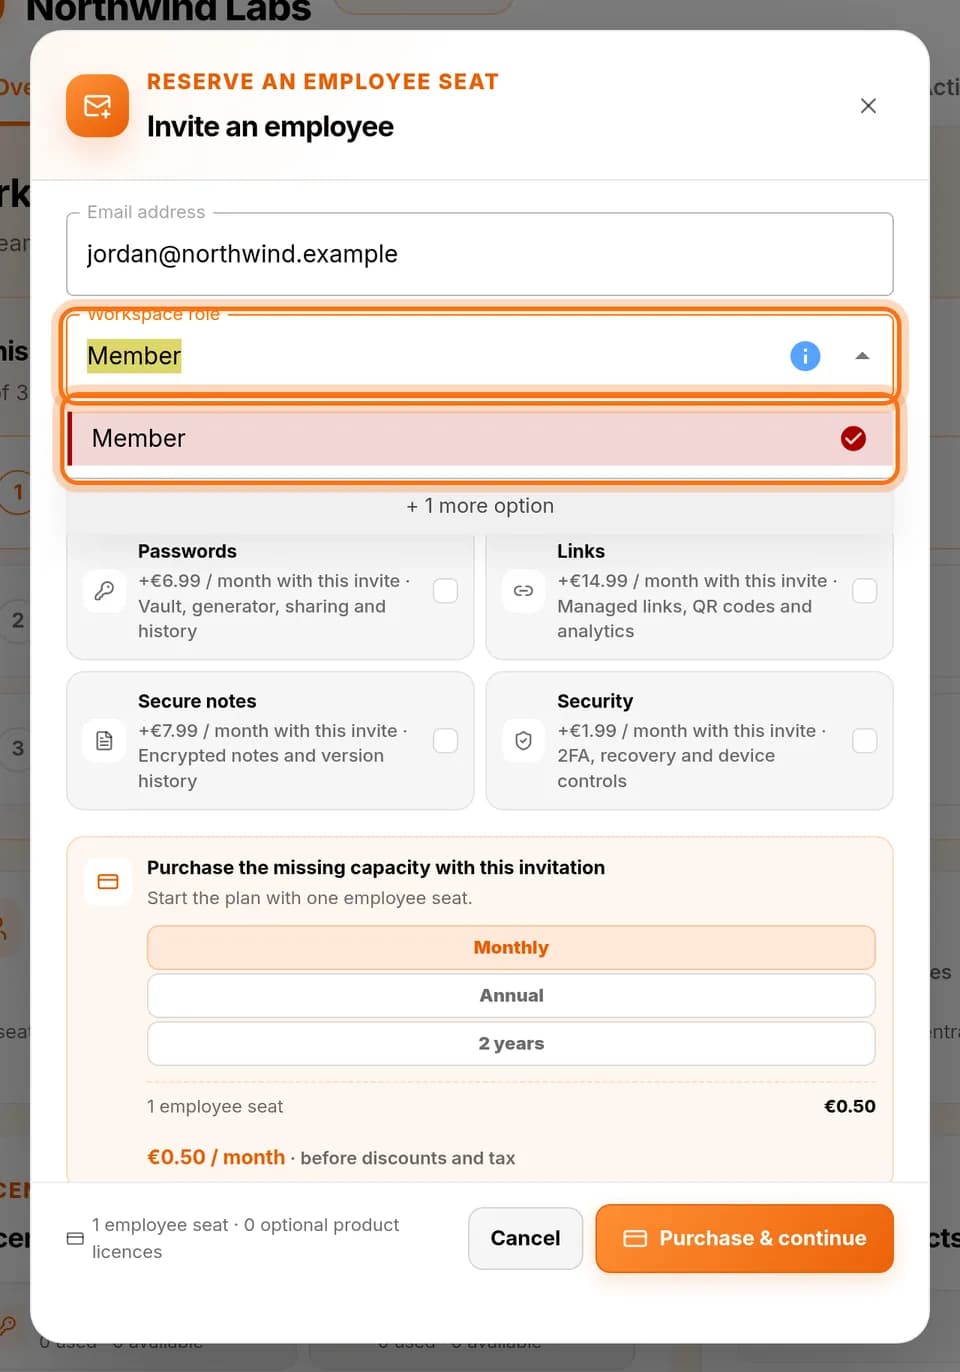
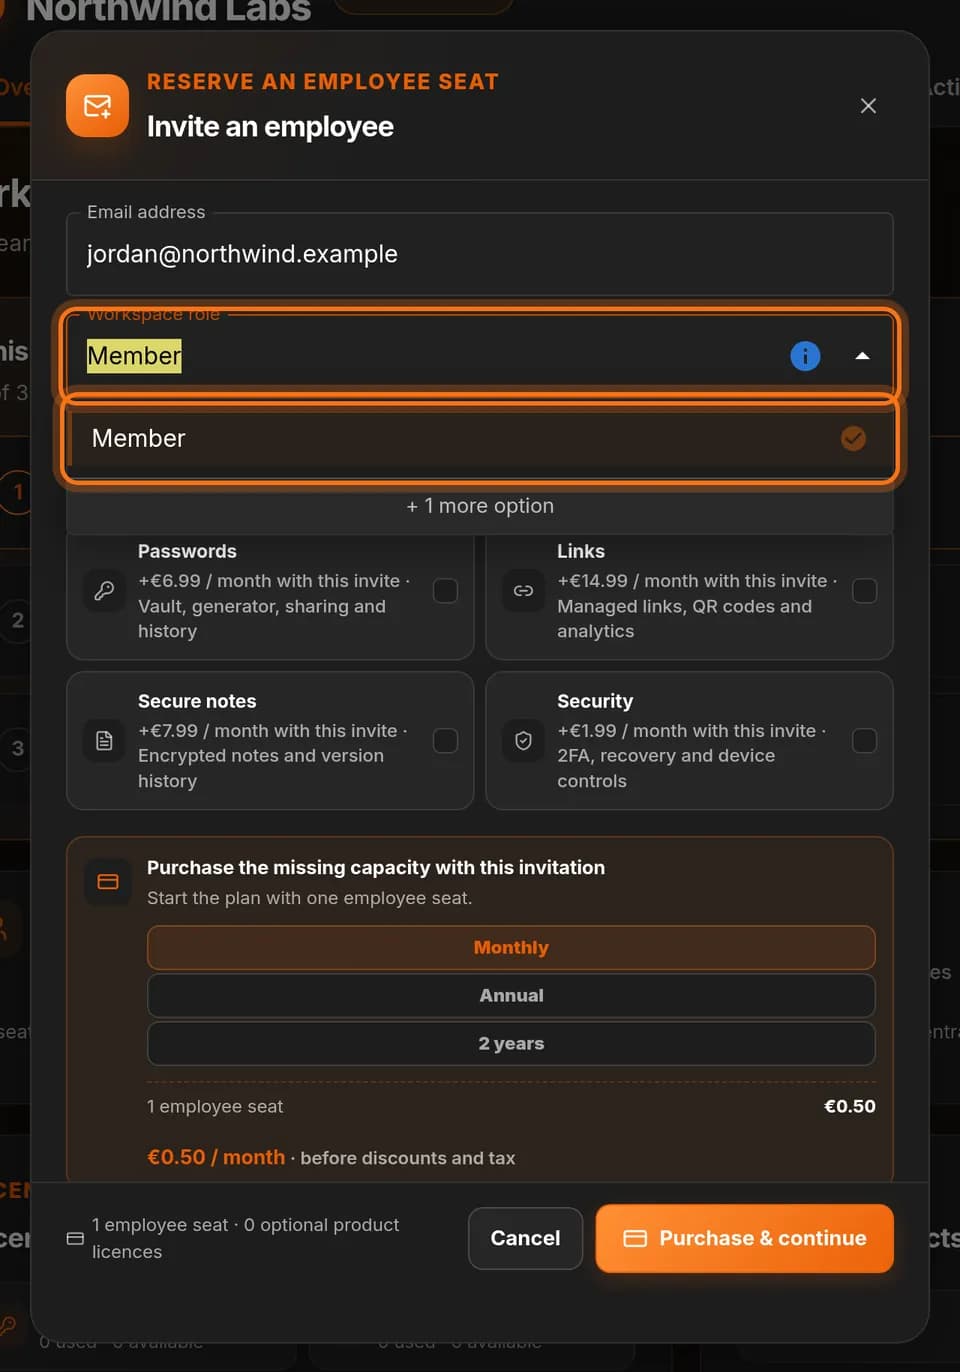
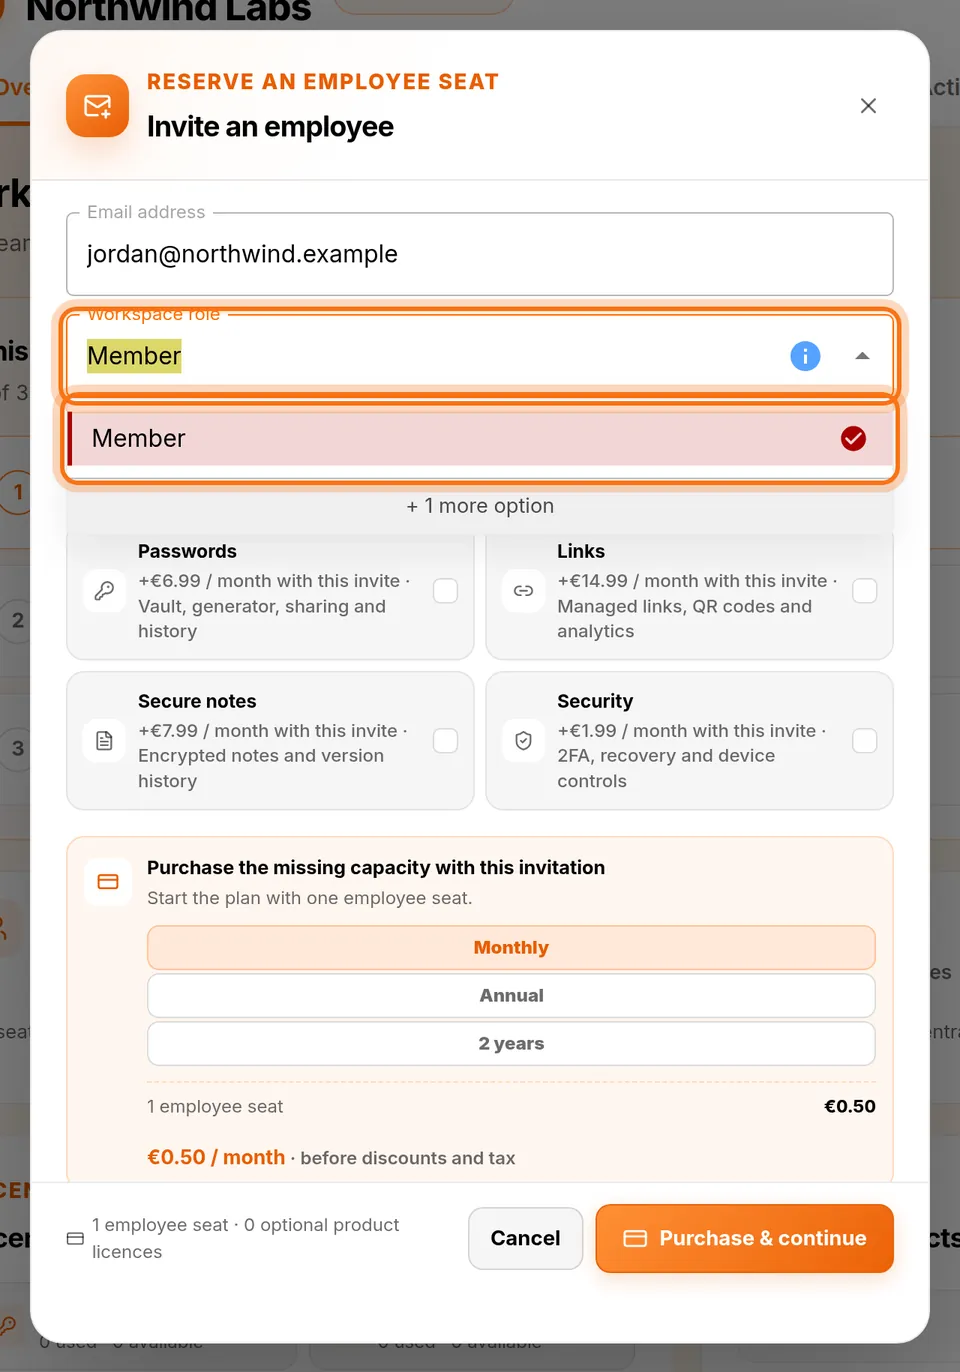
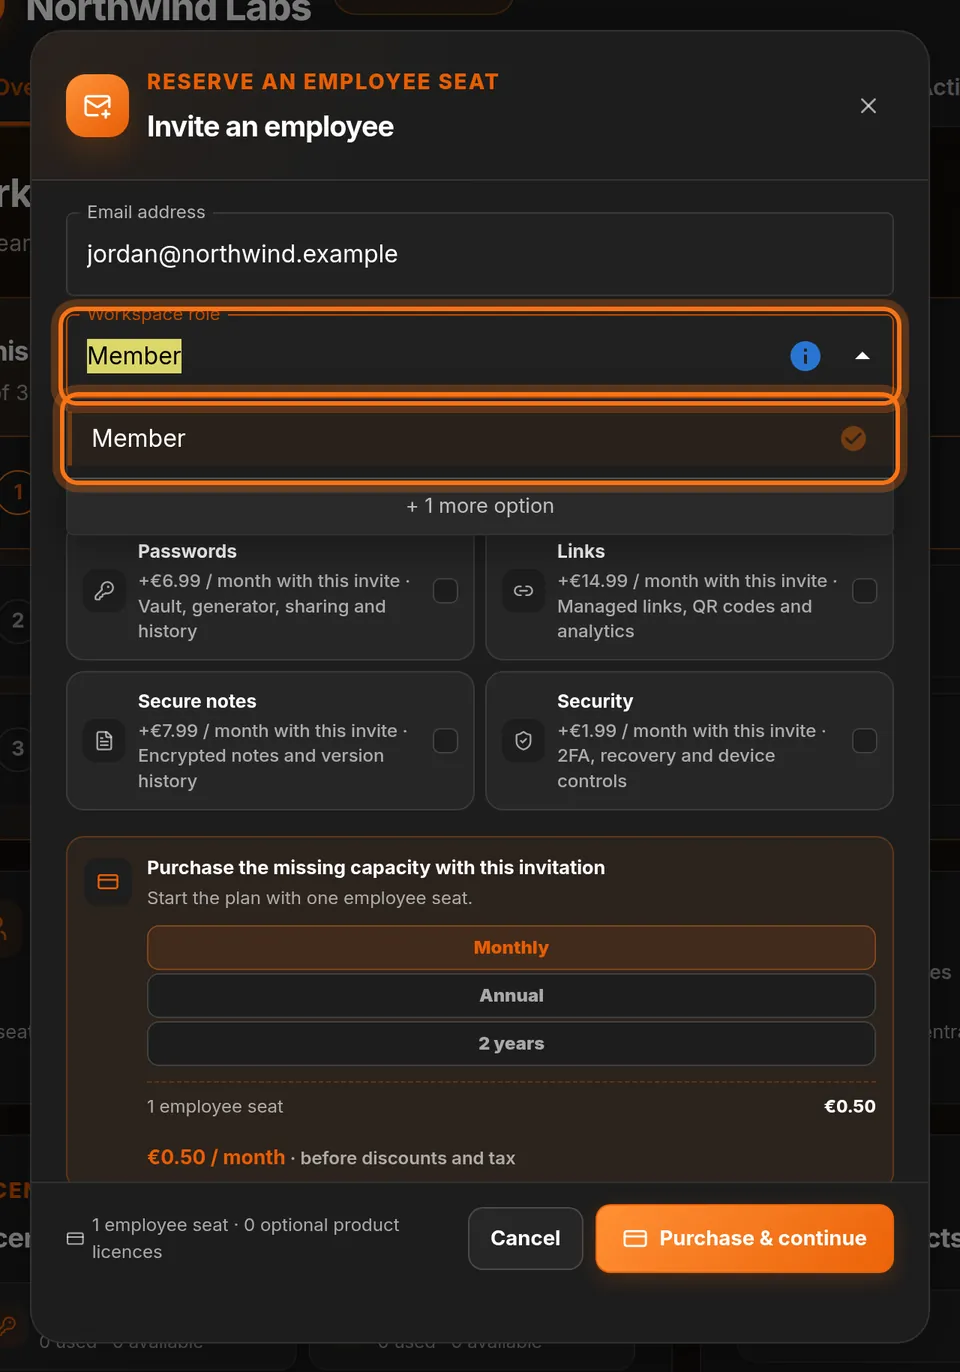
- Click Workspace role.
- Pick Member for someone who will simply use the workspace.
- Pick Admin, where it is offered, for someone who should also manage people.
 Full size
 Full size
Member is the right choice for most colleagues. Step 6: Choose their products
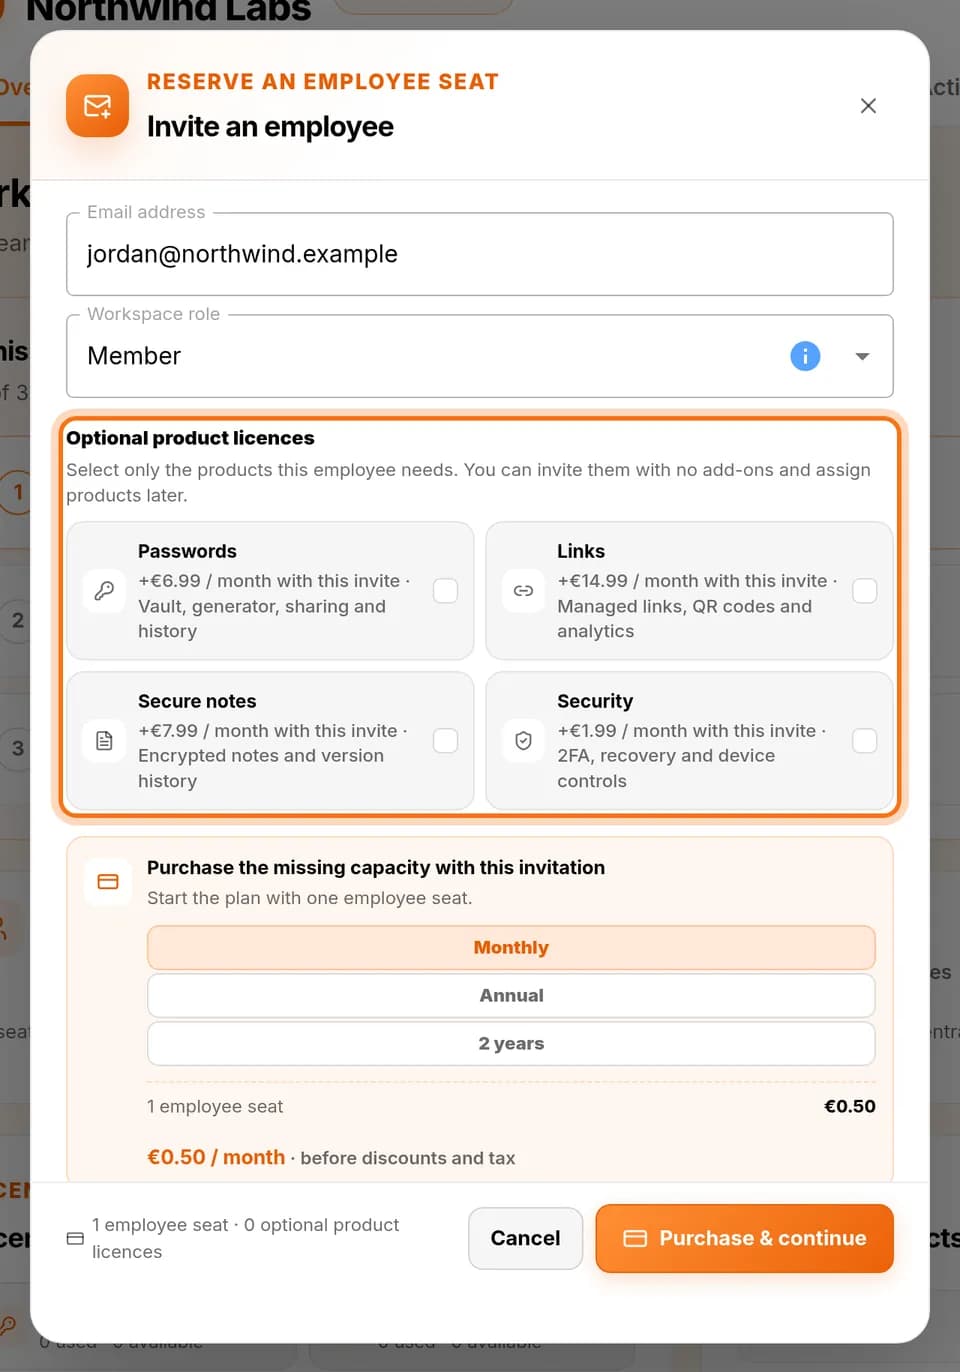
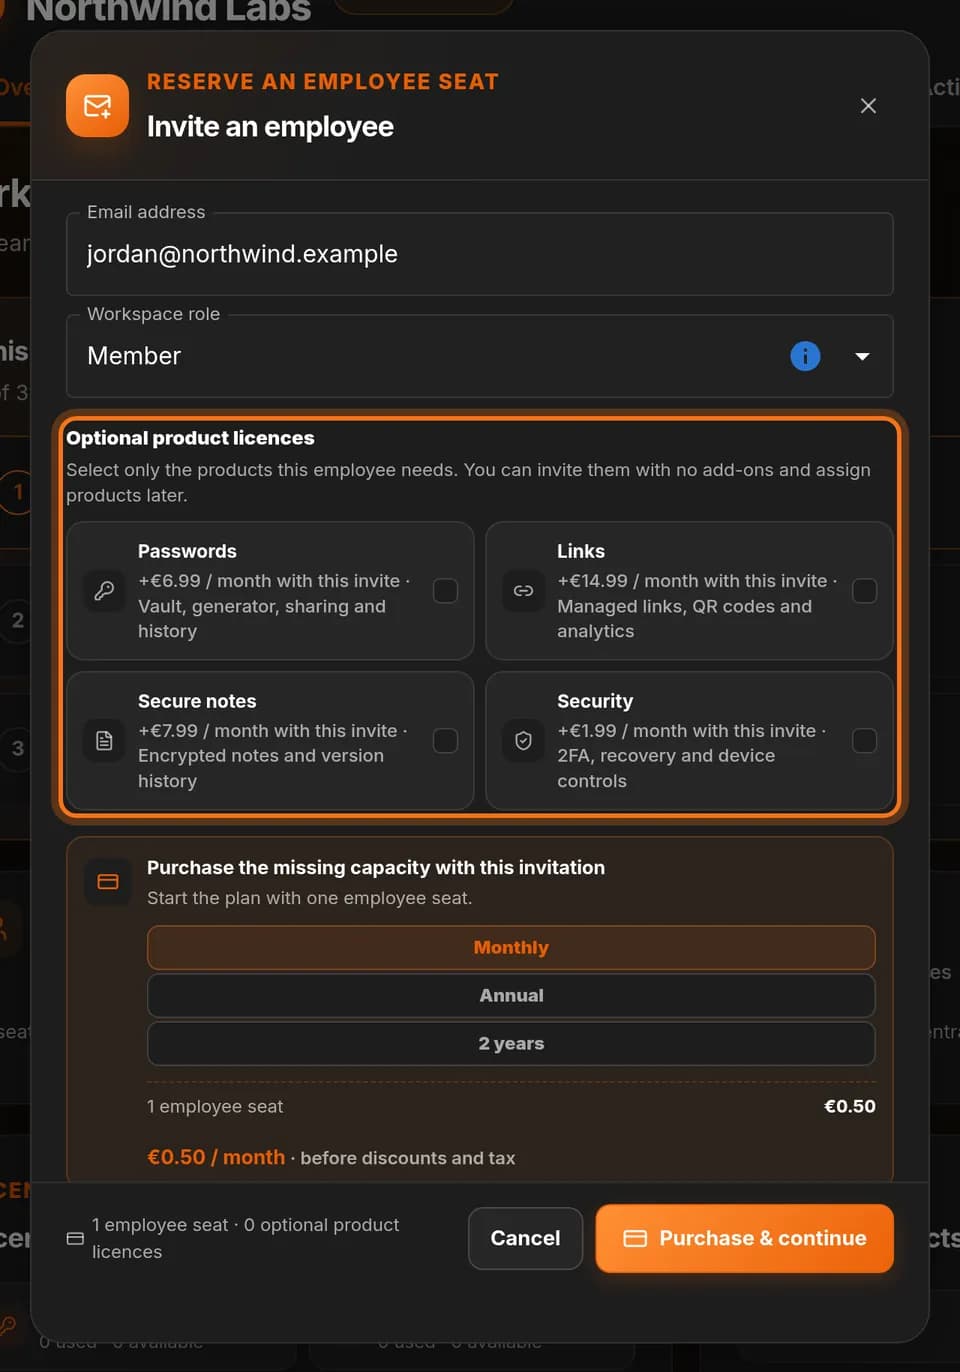
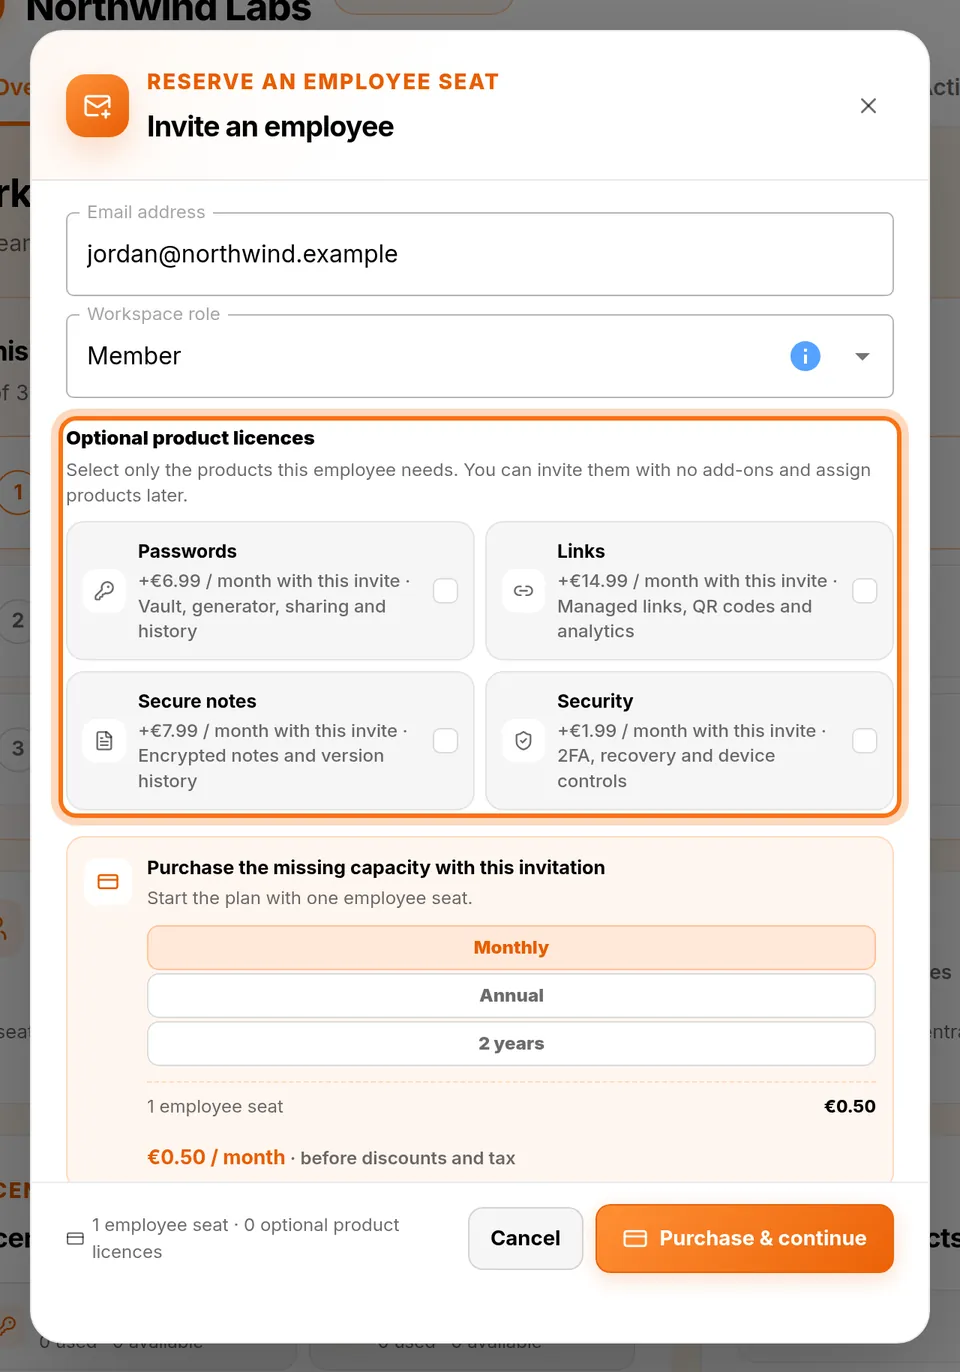
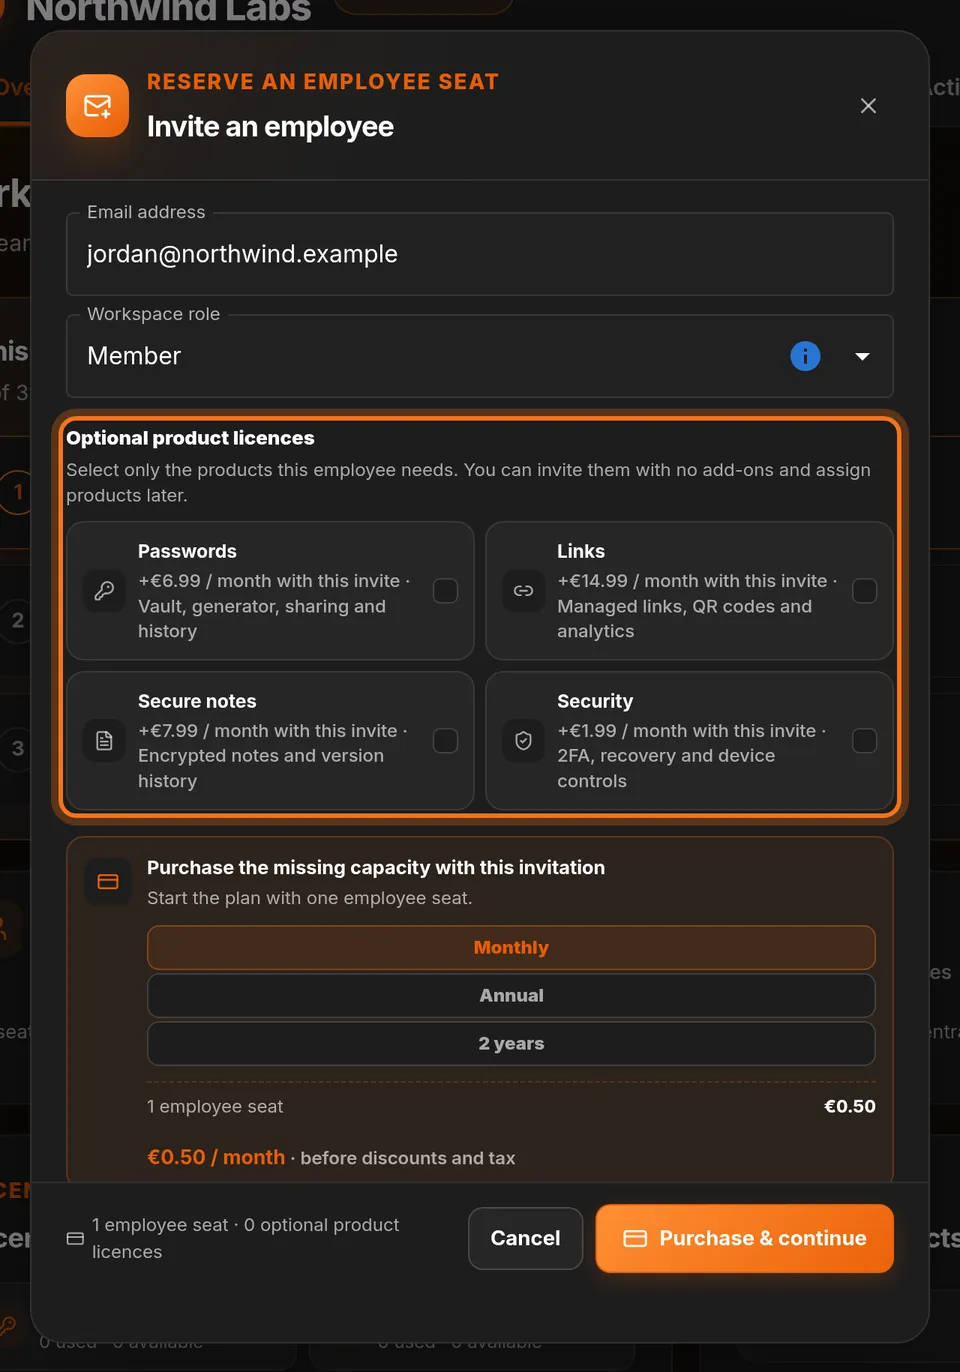
- Under Optional product licences, tick only the products this person needs: Passwords, Links, Secure notes or Security.
- You can leave them all empty and add products later.
 Full size
 Full size
Each product shows what it adds to your bill when you have no spare licence. Step 7: Send the invitation
- Check the email address, the role and the products.
- Click Send invitation.
- If the button says Purchase & continue instead, you have no free seat. Read the price shown above it before you continue, or click Cancel and ask the workspace owner.
You should see: The Pending invites number on the Overview tab goes up by one.
In the pictures above the workspace has no seats yet, so the window offers to buy one seat together with the invitation.
Step 8: Ask your colleague to accept
- Tell your colleague to open the invitation email.
- They sign in with the invited email address. If they are new to HashThat, they create an account with that address first.
- They read the invitation and accept it.
Check it worked
- Before they accept: the invitation is counted under Pending invites on the Overview tab.
- After they accept: open the People tab. Your colleague is listed with the role and products you chose.
If something looks different
My colleague did not get the email
Ask them to check their spam folder. You can also open the pending invitation from the People tab and choose Resend invitation.
I cannot see the Business menu item or the Invite employee button
Only the owner and admins of a workspace can invite people. Ask the workspace owner to invite your colleague or to make you an admin.
Tip: Joining the workspace does not put someone in your shared vaults. After they accept, add them to the vaults they need from the Shared vaults tab.